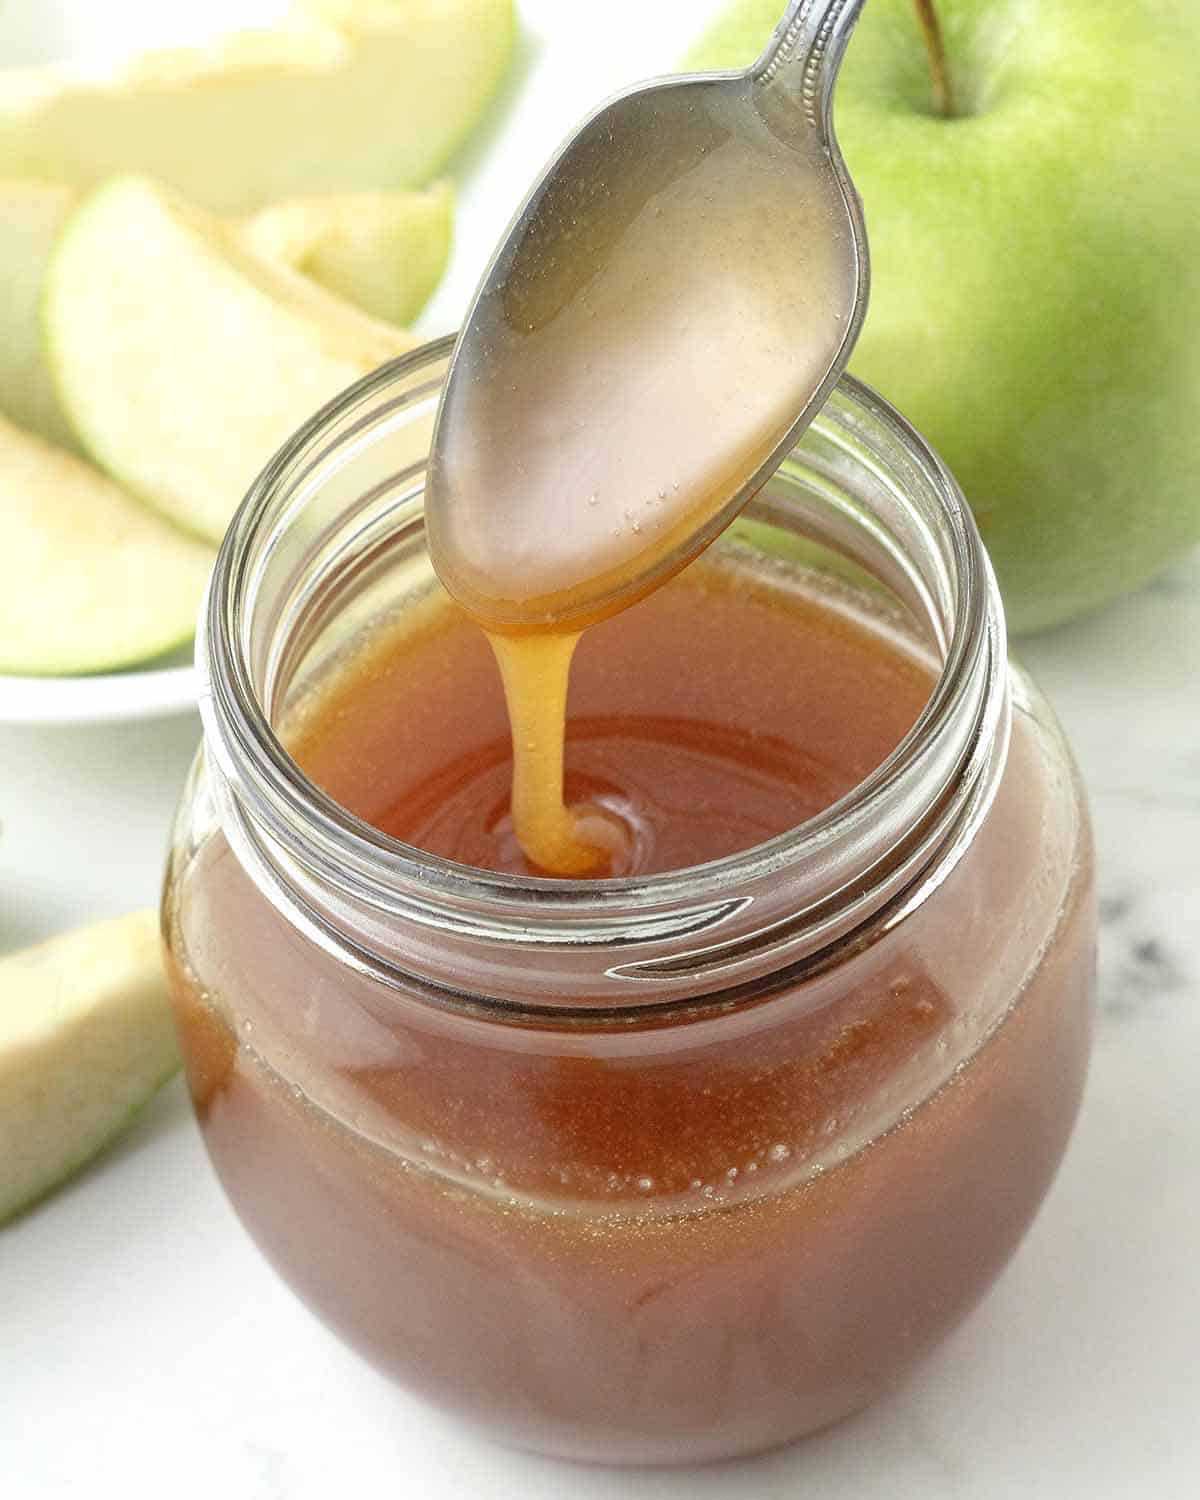
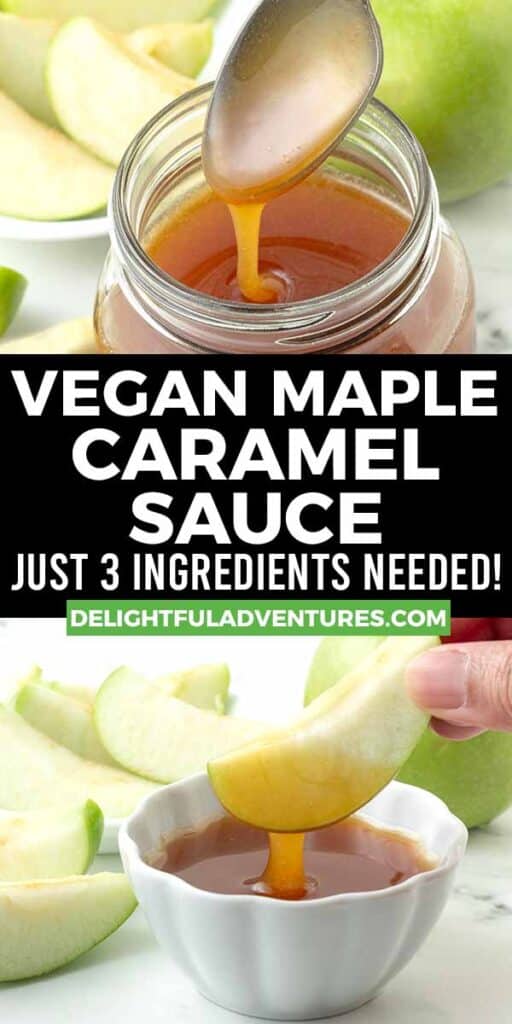
An easy recipe for rich, creamy, and delicious homemade vegan maple caramel sauce. It takes just a few minutes to make with three simple, gluten-free, dairy-free, nut-free ingredients (no sugar and no corn syrup!).
You can make it plain or salted, directions for both ways are included.
Save This Recipe!
In a rush? Don't have time to scroll through this page right now? Enter your email below and this recipe/article will be sent straight to your inbox so you can come back to it when you're ready. Plus, you'll receive delicious recipes every week! You may unsubscribe at any time.
If you're looking for a smooth, creamy, vegan maple caramel that's so delicious, you're not going to be able to stop "taste-testing" after you make it, then this recipe is especially for you and your sweet tooth.
It's easy to prepare caramel from maple syrup and you need just three ingredients (four if you want to make it salted maple caramel sauce) and it's also quick to make.
When it's ready, there are so many things you can do with it, I've listed some suggestions below.
Before you head down, check out and bookmark some of my other delicious vegan sauce recipes you may also like:
Ingredient and Substitution Notes
All you need is THREE simple ingredients! There is no corn syrup, no almond butter (or any nut butter!), no gluten, no dairy products, no vegan butter, and no granulated sugars (no refined sugar).
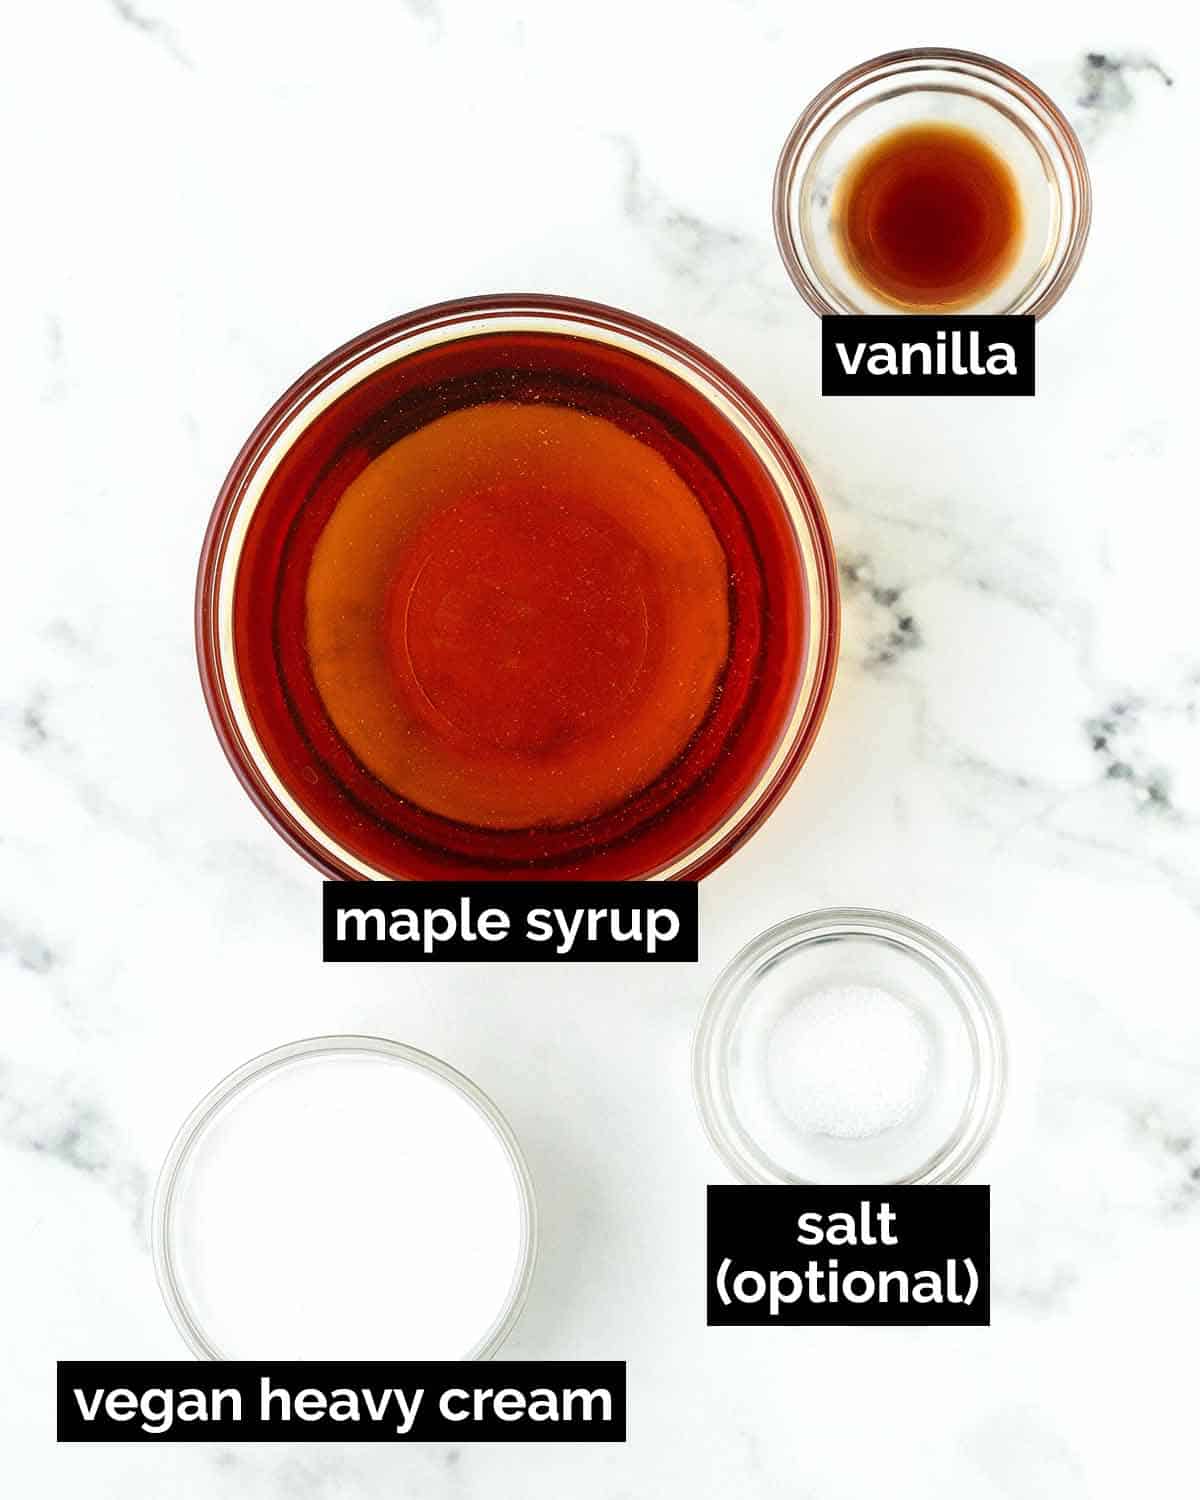
Pure Maple Syrup - You need real maple syrup for this recipe, it will not work with imitation/corn syrup-based pancake syrup.
Unsweetened Vegan Heavy Cream or Vegan Whipping Cream - You will need a plant-based alternative to dairy cream/whipping cream. Look for vegan heavy cream which is sometimes referred to as vegan whipping cream. Silk, Country Crock, Becel, Califia Farms, and Violife are just a few brands that make it.
This is an essential ingredient in this recipe since caramel sauce needs some sort of fat. Butter and heavy cream are used in traditional caramel sauce but since this is made without butter or any dairy, the vegan heavy cream is the substitute for both of those ingredients in this vegan version.
If you can't find vegan heavy cream or whipping cream, you can use canned full-fat coconut milk or lite coconut milk instead, but your maple caramel will have a coconut flavour.
Vanilla Extract - Just a little to enhance the flavour of your vegan maple syrup caramel.
Salt (optional) - Only use salt if you want to make salted maple caramel sauce. Details are below on when to add it.
How to Make It
(Note: I’ve outlined the step-by-step on how to make this recipe here, but find the full recipe, ingredients, and directions in the recipe card at the end of this post.)
NOTE BEFORE STARTING: It's very important to not stir the maple syrup until necessary. When the syrup is boiling, don't stir it. Stirring will encourage crystallization which will affect the consistency of your maple caramel. Only stir when the directions say to do so.
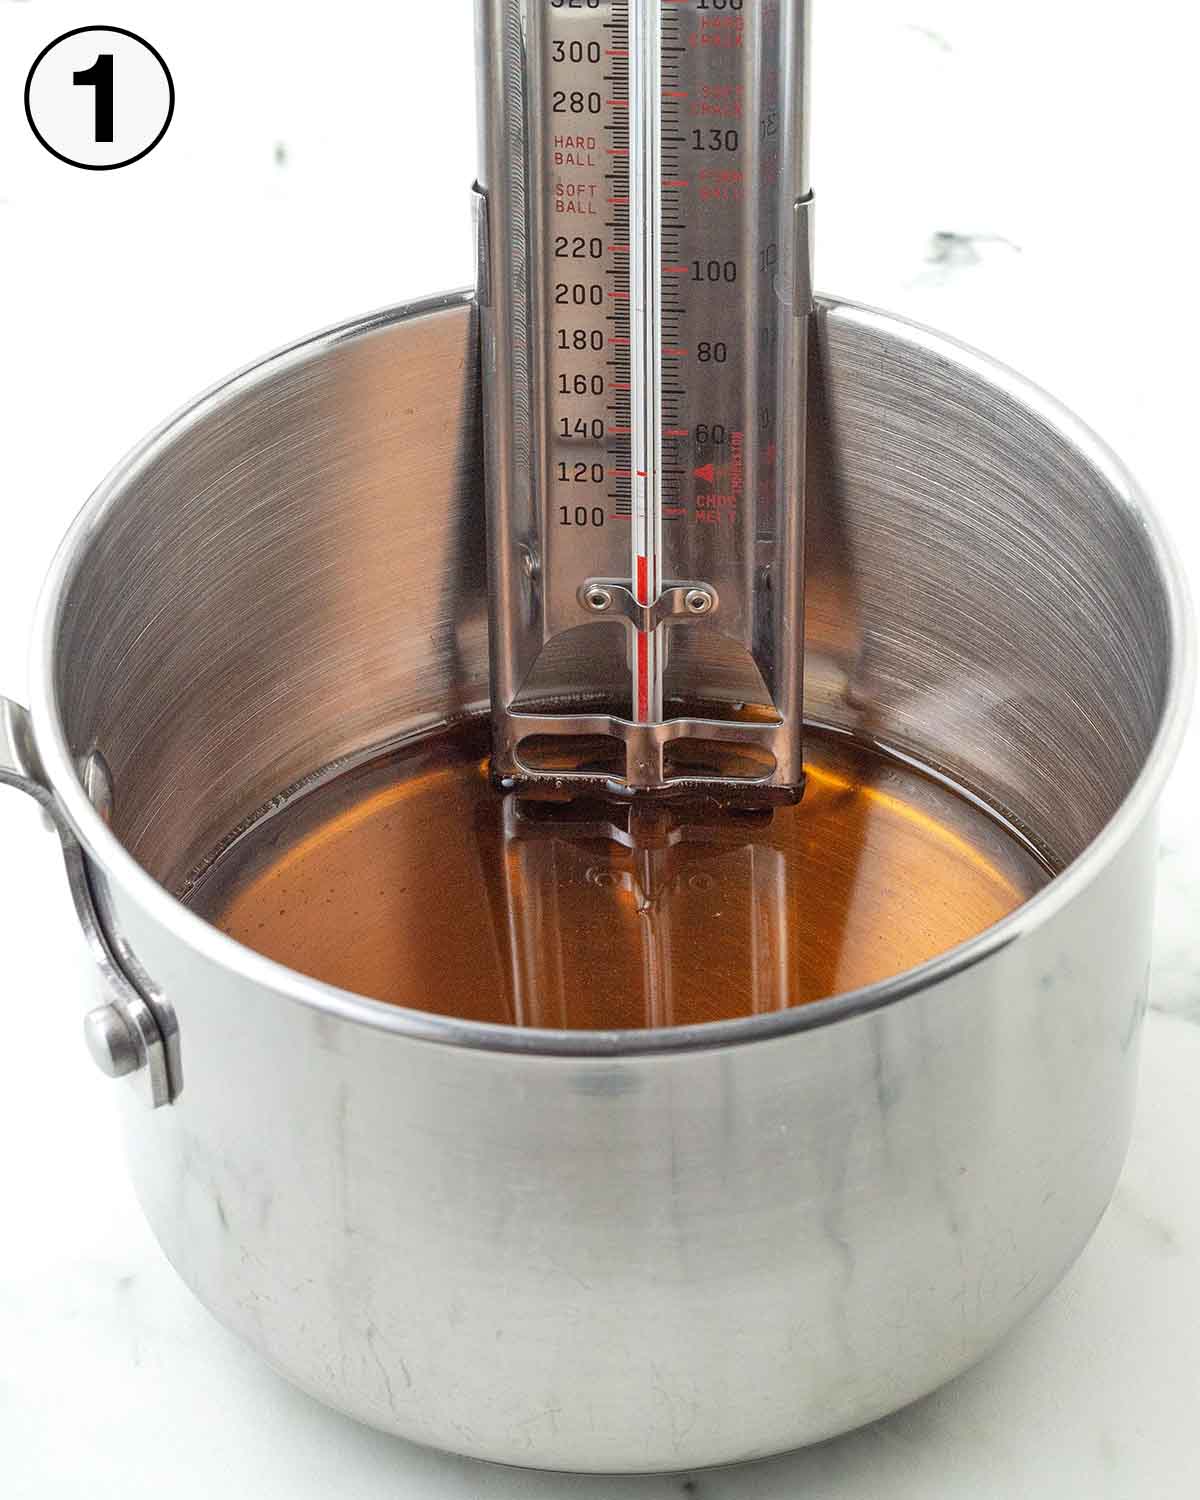
1. Start by adding the maple syrup to a medium or large pot and if your thermometer has a clip, clip it onto the side of the pot. Make sure the tip is immersed in the maple syrup but not touching the bottom of the pot.
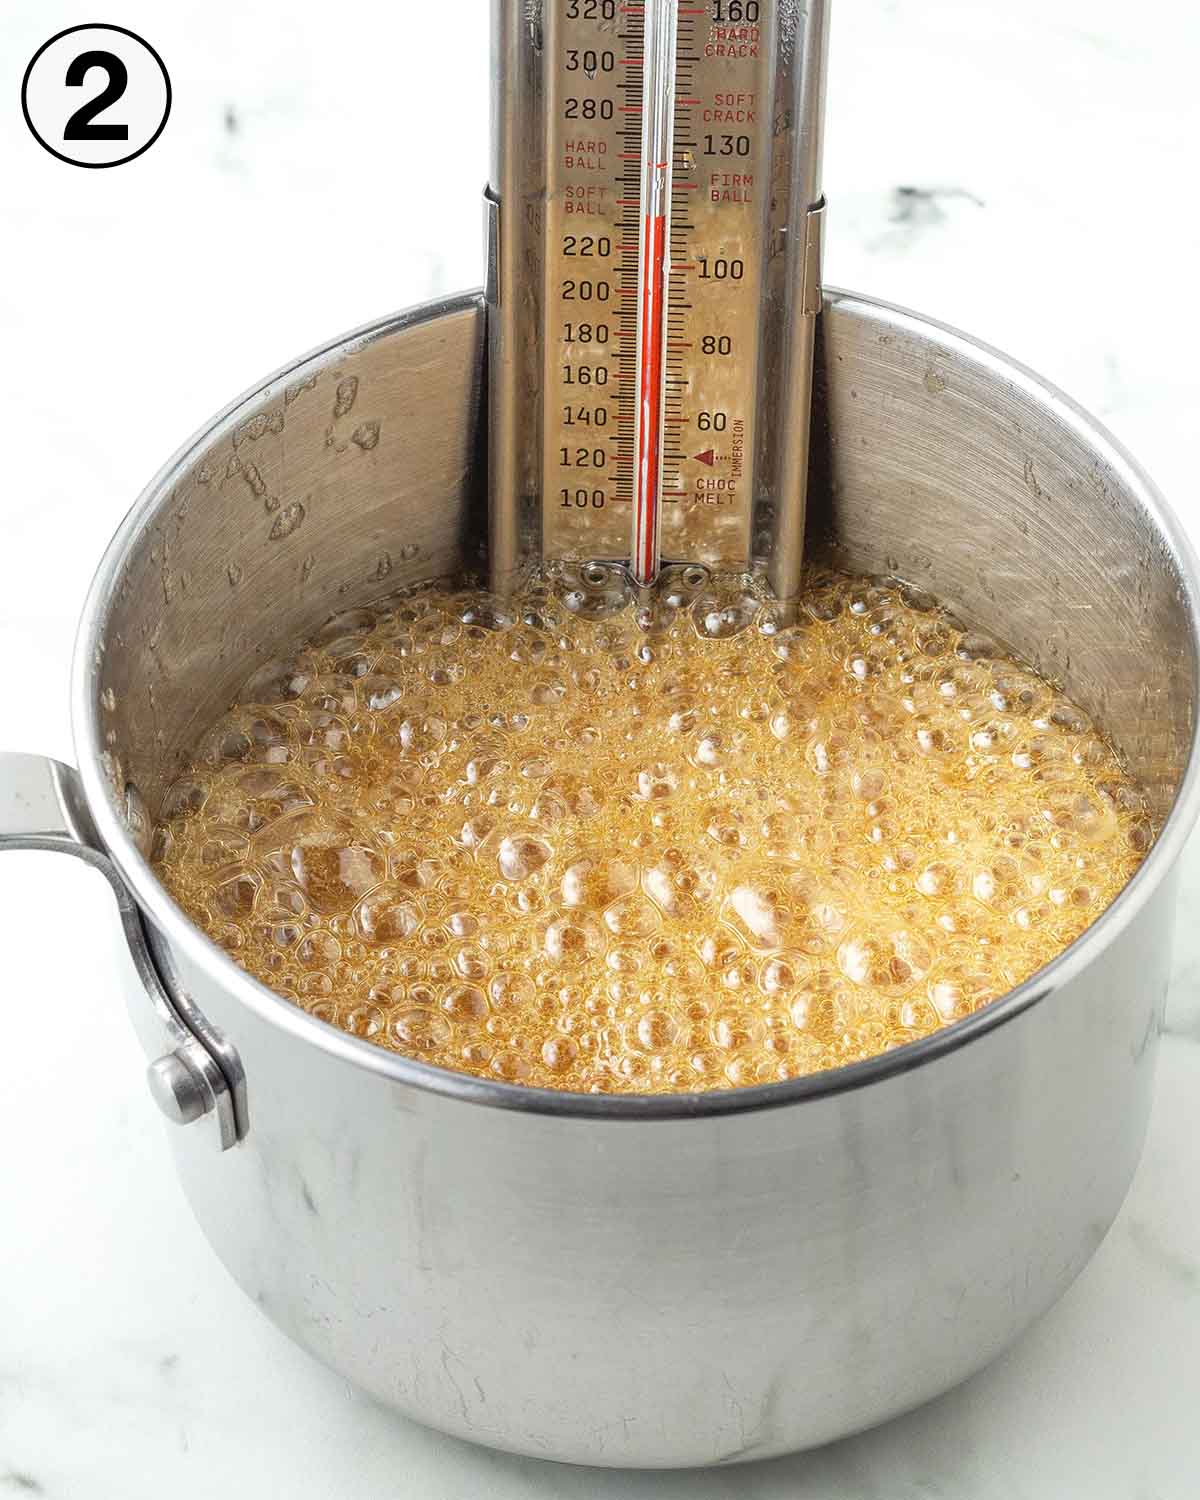
2. Bring the maple syrup to a boil and continue boiling until the temperature reaches 230°F on the candy thermometer.
3. When the syrup reaches the proper temperature, remove the pot from the heat. Add the vegan heavy cream, vanilla, and if using, the salt.
4. GENTLY stir them in.
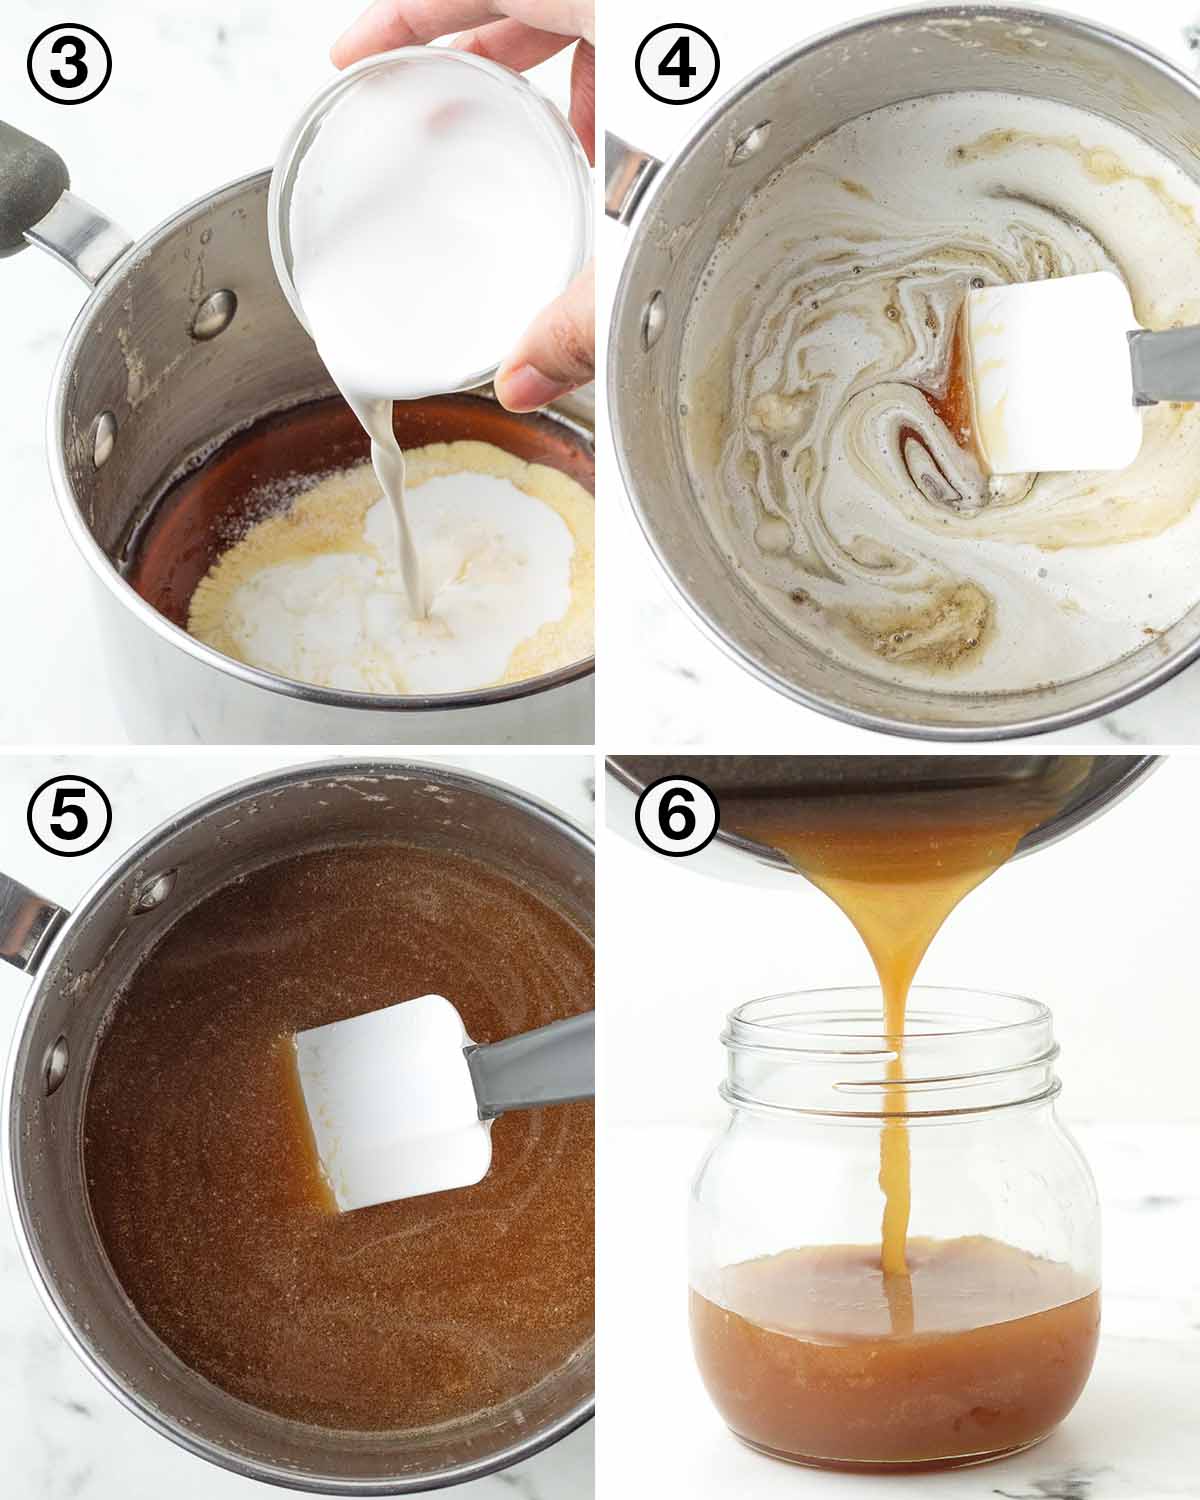
5. Stop stirring when everything has fully combined. Don't over-mix.
6. At this point, the maple syrup caramel is still very HOT so let it sit in the pot for a few minutes to cool slightly, then pour it into a heat-safe glass jar. Let it sit until it has cooled, then cover the jar and move it to the refrigerator so it can finish thickening.
NOTE: It will be a little thin and runny before it cools, but that's okay, it will thicken while it's cooling and even more while it's refrigerated.
Troubleshooting
Making caramel is a precise process and the recipe must be followed to ensure success. However, as we all know, mishaps happen. Here are some common things that can happen and how to avoid them:
- The sauce is hard and not pourable - This will happen when it is cooked for too long.
- SOLUTION: Use a thermometer so you know exactly when to stop cooking it. If the thermometer reached the proper temperature and this still happened, make sure your thermometer is working correctly.
- The sauce is very thin - It will be thin right after it has been heated to the proper temperature but it will thicken after it cools and even more after it is chilled. If it is still thin after refrigeration, then it was undercooked and not heated to the proper temperature. (A thin sauce will still be delicious and usable, though!)
- SOLUTION: Use a thermometer to avoid this. If the thermometer reached the proper temperature and this still happened, make sure your thermometer is working correctly.
- The sauce is crystallized and grainy - It will get a little crystallized after it cools and is chilled in the fridge, which is unavoidable and normal. It is not normal when the sauce is grainy and overrun with sugar crystals after it finishes cooking and a large majority of it is gritty after cooling.
- SOLUTION: Keep stirring to a minimum, only stir when directed and when you do, do it gently. If you end up with a grainy sauce, it will still taste delicious and will still be usable, just not as a sauce.
- The sauce has a bitter taste - It was cooked for too long and burned.
- SOLUTION: Use a thermometer to avoid this. If the thermometer reached the proper temperature and this still happened, make sure your thermometer is working correctly.
Storage
It's best to use your maple caramel within one week. Store it in the refrigerator in an airtight container or jar, I highly recommend using glass.
After it chills in the refrigerator, it will get a little crystallized, which is unavoidable with maple caramel, but it will not be excessive if you keep stirring to a minimum when preparing it.
To get rid of the crystallization, simply warm the sauce in the microwave for 30 seconds and it will be back to how it was before and ready to be devoured. If you don't have a microwave, it can be warmed on the stove. Note that it will thin out after it has been heated but will thicken again when chilled.
The more you repeat the cycle of cooling, reheating, and refrigerating, it will continue to grow more crystals each time making it harder to return to its original consistency when it’s heated again, so use your sauce as soon as possible.
If it ever gets to the point where the crystals are not melting and they are dominant in the sauce causing it to become very grainy, you can heat it and then run it through a sieve. At this point, though, it's best to discard what you have left and make a new batch.
Freezing
You can also freeze the syrup in an airtight container or jar. Make sure your container or jar is a little too large for the amount of caramel you will be storing, ESPECIALLY if it's glass.
The maple caramel will expand while freezing and if the jar is too small to account for the extra growth, it will break.
Store for up to two months. Thaw it in the refrigerator and serve it cold or warm it in the microwave before using it.
Looking for more sweet treats? Check out all of my easy vegan dessert recipes.
How to Serve It
It's the perfect topping for so many things, here are some good ideas on what you can do with it:
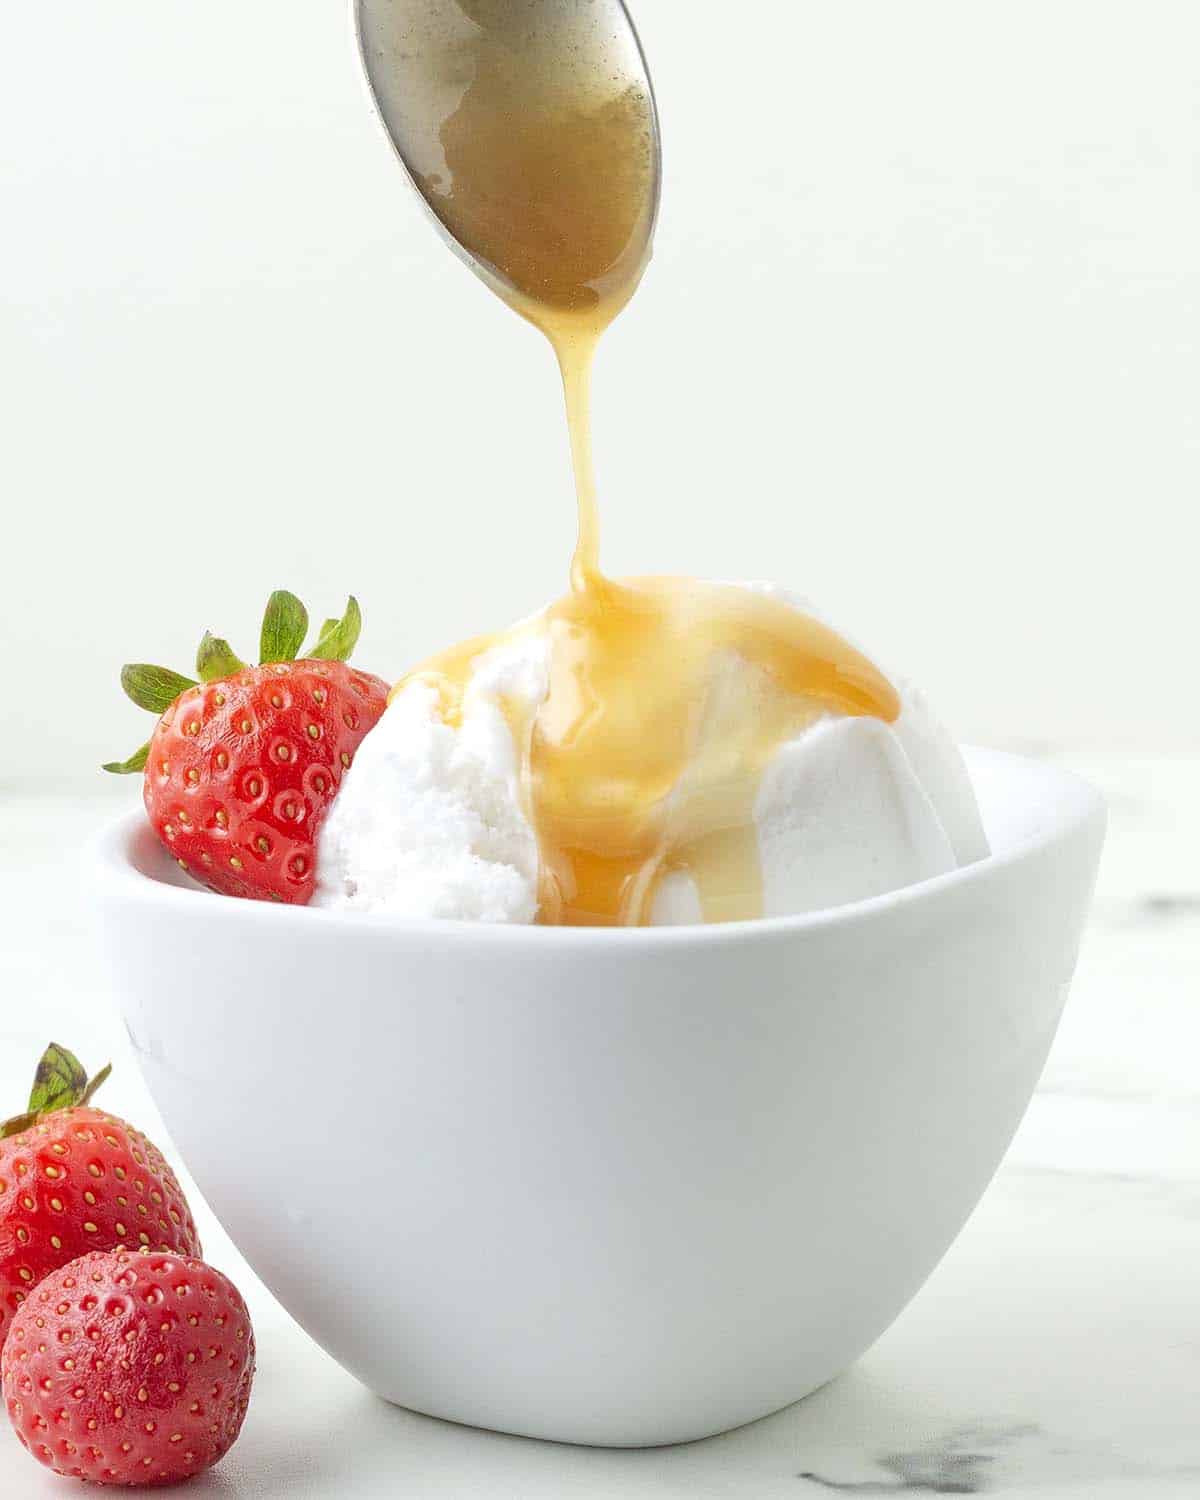
- Use it as an ice cream topping.
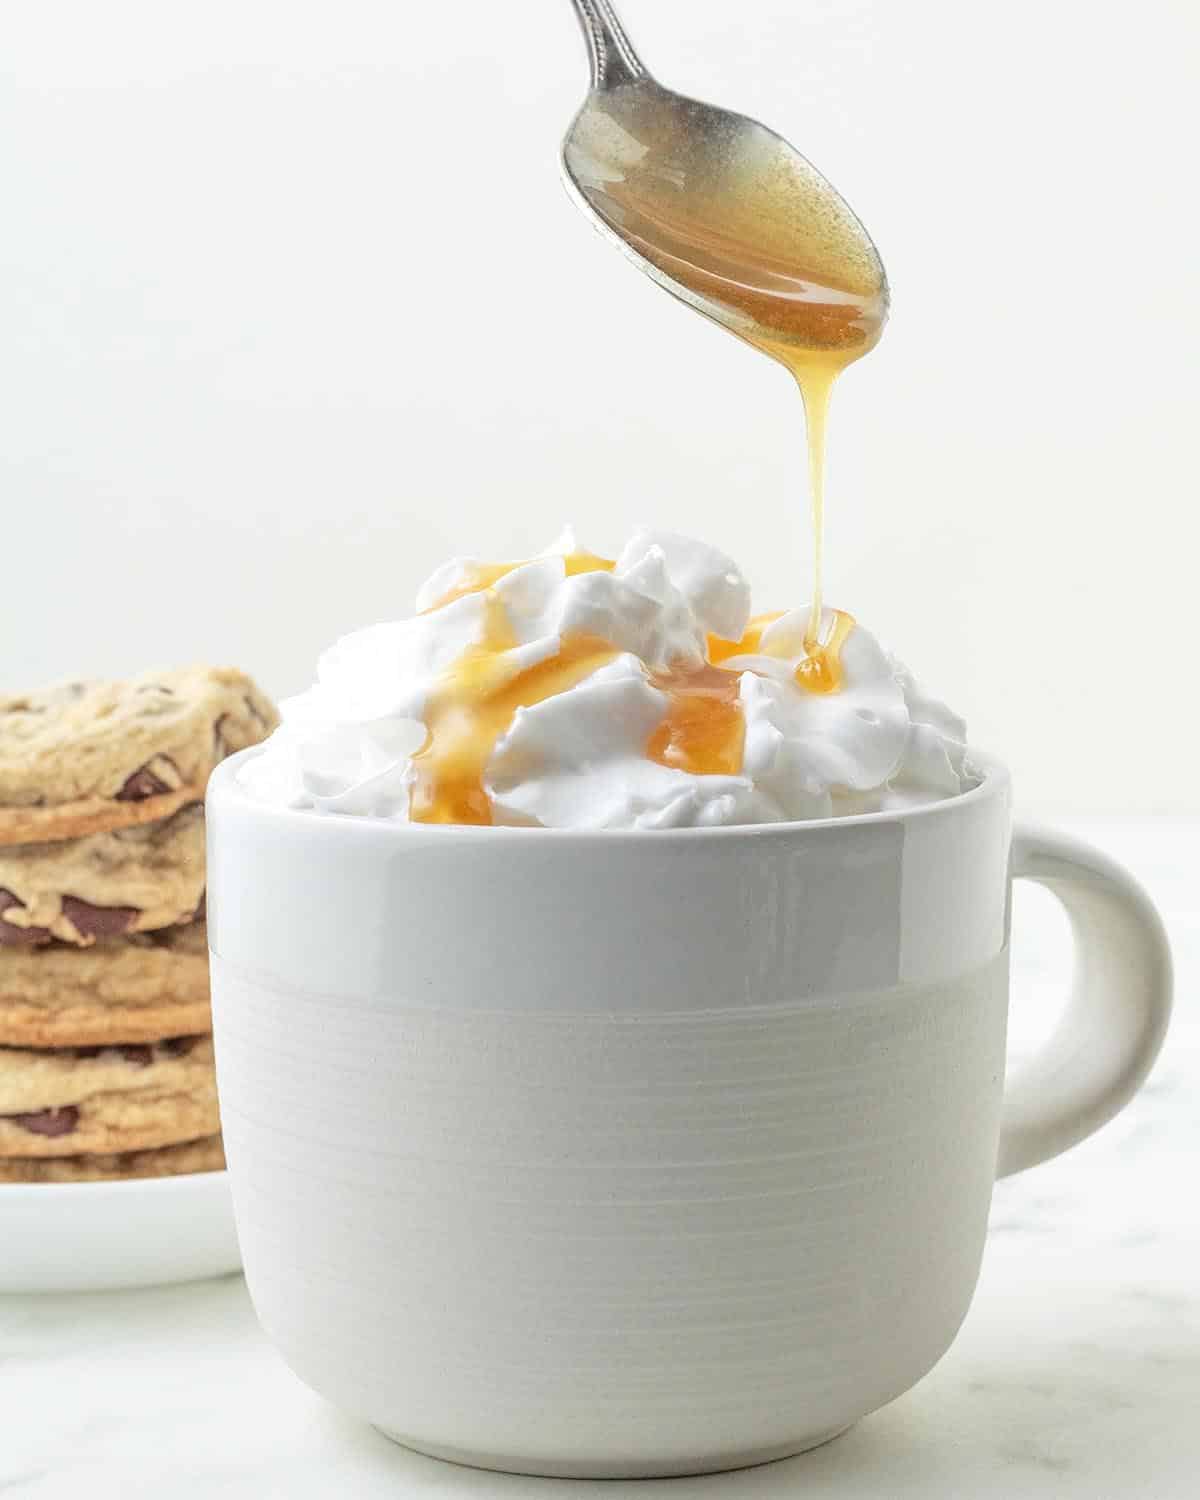
- Drizzle it over your hot and cold coffee drinks like any of these:
- Drizzle it over oat milk hot chocolate or creamy vegan hot chocolate.
- Drizzle it over baked apples, vegan apple pie, or apple crisp.
- Use it as a topping for waffles and pancakes.
- Drizzle it on top of oatmeal and baked oatmeal.
- Use it for desserts that call for maple caramel sauce, like vegan sticky toffee pudding during the holiday season.
- Drizzle it over vegan cinnamon rolls, apple raisin cinnamon rolls, vegan pumpkin cinnamon rolls, or vegan gluten-free cinnamon rolls.
- Drizzle it over cake, cupcakes or brownies. (I don’t recommend using it as a filling for chocolates or cakes and cupcakes, it’s not thick enough for those uses)
- Dip something salty into it (like pretzels), the combination of sweet and salty is so good!
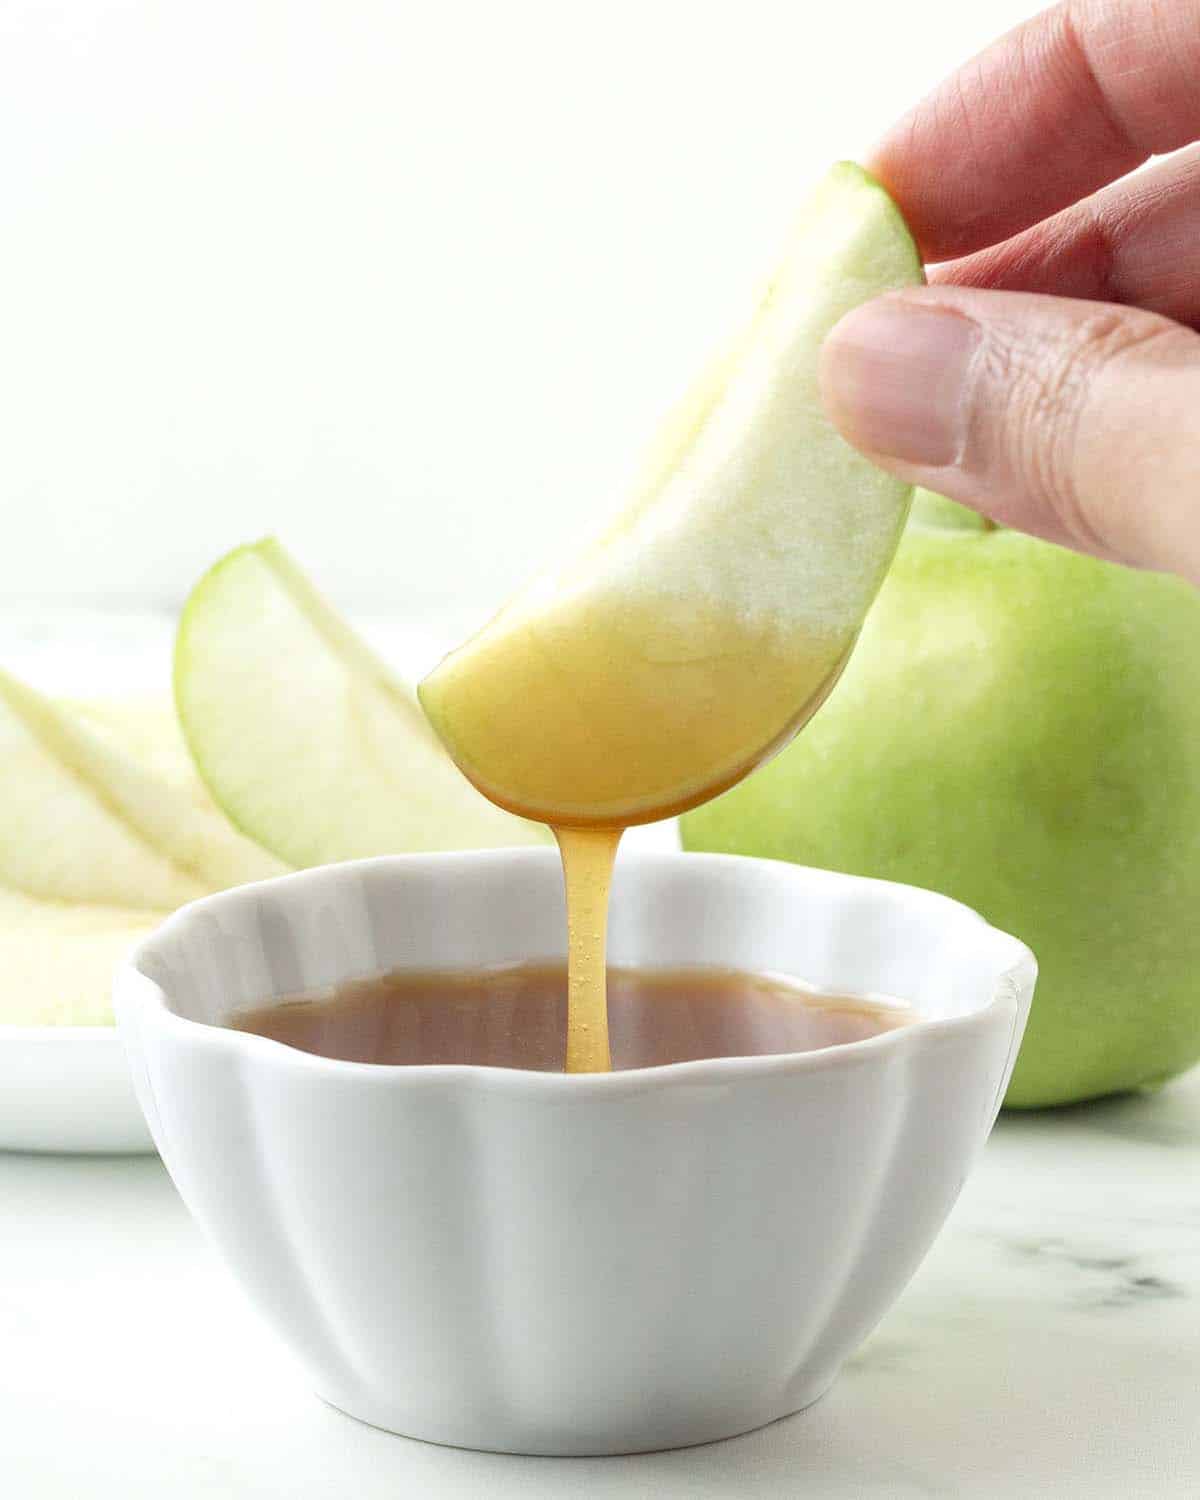
- Dip something sour into it, like green apple slices.
Tips for Success
Here are some tips I recommend when making any of my recipes and a few that are specific to this particular recipe to ensure you have success when you make it.
- Measure and have all your ingredients ready to go before starting. This will make the process run smoothly, quickly, and easily.
- Measure your ingredients correctly. This tip is essential to getting the results you expect with any recipe.
- Use a larger pot than you think you need. The maple syrup will bubble and rise, so even though you are not using a large amount of maple syrup, don't be tempted to use a small pot.
- Use a heavy bottom, good quality pot/saucepan. Sugar of any type gets very hot when heated so you need a pot that can handle that kind of heat. Don't use one that is made of aluminum or one that has a thin bottom.
- Use a candy thermometer, don't try to make this recipe without one. This tool is essential to get the proper consistency, to know when to remove it from the heat, and to not have it overheat or burn. A standard or digital candy thermometer will both work.
- Don't stir the maple syrup while it is boiling. This will cause the sugar in the maple syrup to crystallize and your caramel will be grainy and gritty.
When making caramel, don't be tempted to speed up the process by turning up the heat to rush the cooking time. Allowing the maple syrup to slowly get to the right temperature will give you the best result.
Tips for Success (continued)
- Keep a very close eye on it while it's heating, don't leave it unattended. It can boil over quickly, so stay very close keeping your eye on it at all times. If it starts to rise and get too close to the top of the pot, touch the bubbles with a wooden spoon to send them back down or you can lower the heat slightly, but not too low, you need it to get to 230°F. If you need to turn the heat down, you will have to cook it a little longer than the recipe states to get to the right temperature, that's okay.
- Gently stir in the vanilla and salt (if using). Don't stir vigorously, you need to keep stirring to a minimum with this recipe.
- Don't skip the chilling time. Chilling allows the sauce to reach its full thickness. Keep in mind that maple syrup contains water so this sauce will never be as thick as a caramel made with granulated sugar unless you boil it to a higher temperature.
- Read this post from top to bottom before you start. It's not difficult to make but I’ve included a lot of tips and tricks I've gathered while testing that you may not think of. Also, read through the full recipe before getting started and take the chilling time into account so you know exactly how long the recipe will take from beginning to end.
- Follow the recipe exactly as it’s written for the very best results. Maple syrup is not inexpensive, so please follow the recipe to avoid wasting ingredients.
Recipe FAQ
Look for real maple syrup in the grocery store where pancake syrup is found. If your store does not carry it, you can buy it online at Amazon or another vendor that sells grocery items.
Yes, this maple caramel recipe can be doubled, it can also be tripled, if needed. It can also be halved if you just need a small amount.
There are different grades of maple syrup but I wouldn't be too concerned about which one you use. I use grade A amber maple syrup because this is what is easiest to find where I live, but grade B will also work. The final colour of your sauce may be darker or lighter than mine, depending on the grade you use, but no matter what you use, it will be delicious. The most important thing is to make sure you are using 100% maple syrup.
The maple syrup in this particular recipe cannot be substituted since it was developed to specifically be maple caramel sauce. If you want to use a recipe that calls for brown sugar, coconut sugar, or any other type of granulated sugar, then it's best to search for a recipe that uses the type of sugar you prefer as its base rather than changing this recipe.
Want more delicious sauce recipes? Have a look through all of my vegan sauces, spreads, and dips!
If You Make This Recipe...
Please let me know by leaving a comment and rating below or by posting a picture of your decadent maple caramel on Instagram and tagging me so I can see it! (I'm @delightfuladventures on Instagram)
If You Like This Recipe...
You may like these other vegan maple recipes:
Vegan Maple Caramel Sauce
Suggested Equipment:
Ingredients:
- 1 cup (250ml) pure maple syrup
- ¼ cup (63ml) vegan heavy cream or vegan whipping cream (see note below)
- ½ teaspoon vanilla extract
- ½ teaspoon salt (optional)
Instructions:
- Add the maple syrup to a medium or large pot and if your thermometer has a clip, clip it onto the side of the pot.
- Place the pot over medium heat, bring the maple syrup to a boil, and continue boiling until the temperature reaches 230°F on the candy thermometer. This will take roughly 10-15 minutes. Do not stir the maple syrup during this time.
- Remove the pot from the heat. Add the vegan heavy cream, vanilla, and if using, the salt. Gently stir them in, stop stirring when everything has fully combined. Don't over-mix.
- Let the sauce sit in the pot for a few minutes to cool slightly, then pour it into a heat-safe glass jar. Allow it to cool, then cover the jar and move it to the refrigerator to chill for at least 2 hours so it can finish thickening.
- Serve cold or warm in the microwave for 20-30 seconds.
Recipe Notes:
- Please take the time to read all of the information and FAQ info above, as well as the notes below before making this recipe to ensure success.
- This recipe makes a little under 1 cup of maple caramel sauce. The recipe can be doubled or halved.
- Silk, Country Crock, Becel, Califia Farms, and Violife are just a few brands that make vegan heavy cream (also labelled as vegan whipping cream). If you can't find any of these brands, you can use canned full-fat coconut milk or canned lite coconut milk instead but your sauce will have a coconut flavour.
- Refrigerate any unused sauce in a covered glass jar. When you're ready to use it again, you will find that it has crystallized a little. To fix that, microwave for 20-30 seconds and it will return to its original consistency. When warmed, the sauce will thin out, it will thicken again as it cools.
- The sauce will last for 1 week in the fridge.
- Nutrition info is for 1 tablespoon of sauce prepared as the recipe is written, no salt. The nutrition info below is only to be used as a rough guide. Click to learn how nutrition info is calculated on this website.
Nutrition Info:
This post was published in December 2017 but updated in February 2024 to simplify the recipe and add more helpful information.

Abby M says
Used this sauce and added toasted, chopped pecans to top homemade, gluten-free, vegan cinnamon rolls. The family *LOVED* it!! Thanks for such a simple, yet delicious recipe.
Gwen Leron says
It's so good on cinnamon rolls! I'm glad you enjoyed it, Abby!