This page may contain affiliate links. Click to learn more. As an Amazon Associate I earn from qualifying purchases.
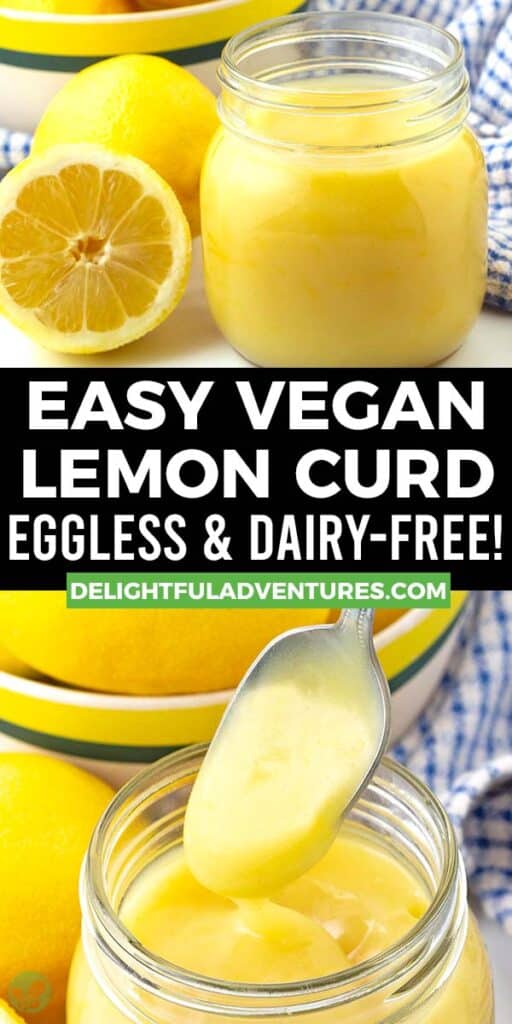
This mouthwatering, easy vegan lemon curd recipe is bursting with zesty citrus flavour! It’s a sweet, tangy, creamy, smooth spread that’s bright and refreshing plus, since it’s plant-based, it’s dairy-free and egg-free, of course. (It's gluten-free, too!)
Enjoy your divine homemade lemon curd on toast, scones, and pancakes, or as a luscious filling for cakes, cupcakes, tarts, pie and more! Read on for all of the details.

Save This Recipe!
In a hurry? Drop your email below, and this recipe will be sent straight to your inbox for later. You'll also get fresh recipes every week! You can unsubscribe anytime.
Lemon curd made with no dairy and no eggs? Yes, it's true! Vegan lemon curd is a thing (such a good thing!) and it's so quick and easy to make, you'll want to have a jar on hand at all times.
(And yes, the vegan version is just as good as the traditional version!)
If you've never had lemon curd before, it's a sweet, tangy treat that has a smooth, creamy texture and can be used as a topping, spread, or filling.
Before you head down to learn how to make it, check out these other vegan lemon recipes any lemon lover will enjoy:
Ingredients You'll Need
Only five common, simple ingredients are needed to make this recipe, plus, there are two that are optional. I've included details about each ingredient below along with info about substitutions.

Ingredient and Substitution Notes
Dairy-Free Milk - You will need to use plant milk such as almond milk, oat milk, soy milk, etc., that is unsweetened and unflavored and does not have a strong taste. I recommend no coconut milk and no coconut cream since they leave a slight coconut flavour, it's best to let the lemon flavour shine through.
Cornstarch - Traditional curd uses egg yolks to thicken it, but since this recipe is made without egg yolks, cornstarch is what is used as the thickener. Without it, the curd will not thicken so it cannot be left out. If you want to make your vegan lemon curd without cornstarch, arrowroot starch (also referred to as arrowroot flour or arrowroot powder) can be used instead.
Sugar - I use granulated organic cane sugar, but white sugar can also be used. Make sure the type you use is vegan, if you aren't sure, buy organic since organic sugar is always vegan. I haven't made this recipe with any other types (like coconut sugar or brown sugar), a liquid sweetener (like maple syrup or agave), or any sugar alternatives to make it sugar-free.
Don't reduce the sugar in the recipe since the amount will give the perfect balance between sweet and sour.
Lemon Juice - Freshly squeezed lemon juice is the only type to use in this recipe. Do not use bottled lemon juice, you will not get the same flavour as when fresh juice is used.
Lemon Zest - This ingredient is essential and contributes a lot to the bold lemon flavour of your curd. When zesting the lemons, use a microplane grater or one of the finer panels of your box grater. Zest the lemons before juicing them and don't zest too deeply. If you go deeper than the yellow skin, you will be grating pith (the white part of the lemon under the skin) and it will add a bitter taste. Wash your lemons very well before zesting them and I recommend using organic lemons if possible.
Vegan Butter (Optional!) - Whisking in a little vegan butter (salted or unsalted, both will work fine) at the end of the cooking time will result in a creamier, glossier, and smoother curd. This is an optional ingredient so it can be omitted if you prefer the recipe to be oil-free and the result will still be great.
Ground Turmeric (Optional!) - Regular lemon curd gets its colour from the egg yolks, but since this recipe is eggless, it will end up with a very pale colour that has a slight yellow tint. Ground turmeric is used to make the curd look yellow. The turmeric can be left out if the colour is not important to you. Yellow food colouring can also be used if you don't have turmeric.
TIP: This recipe can be used to make lime curd, orange curd, or even grapefruit curd if you'd like. Just replace the lemon juice and lemon zest with the juice and zest of the citrus fruit you want to use.
How to Make It
(Note: I’ve outlined the step-by-step on how to make this recipe here, but find the full recipe, ingredients, and directions in the recipe card at the end of this post.)
Start by zesting and juicing the lemons. Always zest first before juicing, zesting a juiced lemon is not easy!
Squeeze the lemon juice into a small strainer that is placed over a measuring cup.
Next, whisk the plant milk and the cornstarch together in a small bowl and set it aside.

1. Add the lemon juice and sugar to a small pot over medium-high heat.
2. Heat until all of the sugar granules have melted.

3. Add the milk/cornstarch mixture and the lemon zest to the pot and whisk.
4. Whisk the mixture continuously as it heats until it has thickened. Remove the pot from the heat after the cooking time has ended.
NOTE: The mixture starts to bubble towards the end of the cooking time but don't allow it to boil. If it does, lower the heat.

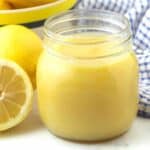
After the cooking time has ended, the mixture will be thick and have a very pale yellow colour.

If you will be making it with vegan butter and turmeric, add them at this point and whisk well.
Let the hot curd cool down in the pot at room temperature for 15-20 minutes, then transfer it to a jar and let it fully cool before covering the jar and refrigerating it.
Chill for at least 2 hours. The curd will continue to thicken and will reach its full thickness while chilling.
TIP: If you prefer to have a completely smooth curd with no bits of lemon zest, pass it through a sieve when transferring it to the jar.
Troubleshooting
This recipe was tested extensively, so if you make it exactly as it's written, your lemon curd will turn out perfectly, however, mistakes happen, so if any of the following takes place, here's how to fix them.
1. If the lemon curd is not thickening as you get close to the end of the cooking time stated in the recipe, do not add more cornstarch, it will clump up and make the curd lumpy.
The first thing to try is to cook it for a few more minutes until it thickens properly.
If that does not work, your cornstarch was not measured correctly, and not enough was added.
To fix with more cornstarch, make a slurry by whisking 1 teaspoon of cornstarch with 1 teaspoon of water in a small bowl. Slowly whisk the slurry into the pot while it is still over the heat and whisk continuously until it has thickened properly.
It's important to add the slurry while the curd is still over the heat, it will not thicken if added after the cooking time has ended.
2. If there are lumps in the lemon curd, whisk until they are gone. If that does not help, run it through a sieve when adding it to the jar before refrigerating.
3. If You Can Taste Cornstarch In the Lemon Curd, either: 1) You used too much cornstarch. I highly recommend weighing cornstarch rather than scooping it. Too much will result in a curd that is too thick, gelatinous, and tastes like cornstarch. 2) You did not cook the curd long enough. Cook it for the proper amount of time so the cornstarch fully dissolves and does its job of thickening.
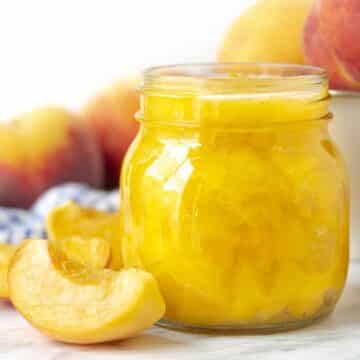
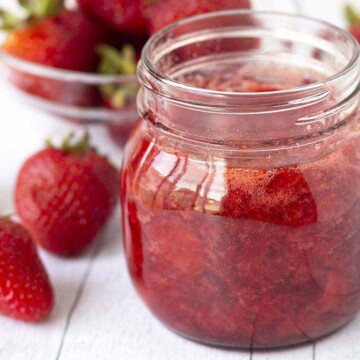
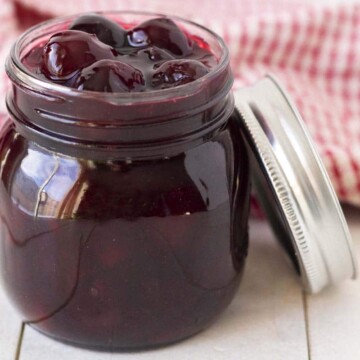
Looking for more delicious fruity dessert toppings? How about strawberry sauce, cherry sauce, or peach sauce?
Storing Leftovers
Store your dairy-free lemon curd in the refrigerator in an airtight container for up to one week. After being in the fridge for a while, you may notice liquid separating from the curd and settling on top, this is normal. You can stir it back in and the curd will be just fine.
If you want the curd to be a little looser when serving you can bring it to room temperature before serving it.
Typically, recipes that are thickened with cornstarch do not freeze well since the texture changes when defrosted, however, I still tested freezing it and the results were as expected.
The texture changed and it became grainy and separated. The taste was still wonderful, but it was no longer smooth like lemon curd should be, so I do not recommend freezing it.
How to Serve It
There are so many ways to enjoy lemon curd! You can use it as a topping, for layering, or as a tangy spread for any of the following:
- french toast, pancakes, waffles, crepes
- cheesecake
- plain yogurt
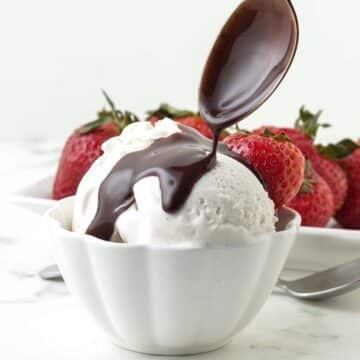
- vanilla ice cream and sundaes
- panna cotta
- pound cake, shortcake
- trifles, parfaits
- vegan scones, biscuits, English muffins, and toast (in place of jam)
This vegan curd can also be made thicker (see the recipe notes for info on how to do that) and used in any of the following ways:
- cake filling or cupcake filling (lemon cake or vanilla cake would be perfect!)
- macaron or cookie filling
- lemon tart and mini lemon tarts (shown in the image below!)
- vegan lemon bars
- vegan lemon meringue pie (the recipe would also need to be doubled in this case)
It also makes a great gift to jar and give away.

Tips for Success
- Measure and have all your ingredients ready to go before starting. This will make the process run smoothly, quickly, and easily.
- Measure your ingredients correctly. I highly recommend using a scale (this is the one I have) and my weight measurements when making this recipe.
- Cornstarch can be difficult to measure properly since it clumps up, so I highly recommend using a scale especially for this ingredient, if you don't have one, use the scoop and level method outlined in my article about how to measure flour the correct way. Too much or too little cornstarch will result in a curd that is way too thick or too thin.
- Make sure to use unsweetened, unflavoured milk so you have complete control over the sweetness and flavour.
- Zest the fresh lemons before juicing them and don't zest too deeply, you don't want any of the pith (white part under the yellow skin) in your curd because it will add a bitter taste.
- Only use fresh lemon juice. Bottled juice will not provide a good flavour!

Tips for Success (continued)
- Don't let it boil. This eggless lemon curd recipe only requires a light simmer to thicken, boiling is an indicator that the heat is too high. It will start to bubble when it's almost done, that is okay, just as long as it isn't bubbling for the entire cook time, it can burn easily.
- Make sure to whisk constantly during the cooking time, and don't leave it unattended. This is to ensure no lumps form and that it doesn't stick to the bottom of the pot. If lumps do form (they can form quickly), it's very hard to get rid of them, so keep whisking!
- If there are lumps in the curd and whisking is not helping, run it through a sieve after it has finished cooking.
- If you prefer a silky smooth lemon curd without bits of lemon zest, run the lemon curd through a sieve while adding it to the jar to get rid of the zest.
- Don't skip the chilling time. The lemon curd will be a little thick after cooking, but it will reach its full thickness when it chills.
- Read this post from top to bottom before you start. It's not difficult to make but I’ve included a lot of tips and tricks I've gathered while testing, things you may not think of. Also, read through the full recipe before getting started.
- Follow the recipe exactly as it’s written for the very best results.
Looking for more vegan desserts? Have a look through all of my easy vegan dessert recipes.

If You Make This Recipe...
Please tell me about it! Leave a comment and star rating below or you can post a picture on Instagram and tag me so I can see it. (I’m @delightfuladventures on Instagram!)
If You Like This Recipe...
You may like these other fruity vegan sauces:
Quick, Easy Vegan Lemon Curd
Suggested Equipment:
Ingredients:
- ¾ cups (180ml) unsweetened dairy-free milk (see note below)
- 4 ½ teaspoons (12g) cornstarch (arrowroot starch may also be used, see note below)
- ½ cup (100g) granulated sugar
- ¼ cup (60ml) lemon juice (freshly squeezed, see note below)
- 1 tablespoon (6g) lemon zest
- 1 tablespoon (14g) unsalted vegan butter (optional, see note below)
- ⅛ teaspoon ground turmeric (optional, see note below)
Instructions:
- Add the milk and cornstarch to a small bowl and whisk well until the cornstarch has combined with the milk. Set aside.
- Add the sugar, and lemon juice to a small saucepan over medium-high heat. Whisk until all of the sugar granules have dissolved, roughly 3 minutes.
- Give the milk/cornstarch mixture another mix and then add it to the pot along with the lemon zest.
- Continuously whisk until mixture has thickened enough to coat a spoon, this will take roughly 6 minutes.
- Remove the pot from the heat and whisk in the vegan butter and turmeric, if using. Continuously whisk until the butter has melted and the turmeric has been incorporated into the mixture.
- Allow the lemon curd to sit in the pot for 15-20 minutes. Whisk every few minutes during the rest time so it does not start to form a skin on top.
- Pour the lemon curd into a jar and let it sit until it has cooled.
- Place the lid on the jar and refrigerate for at least 2 hours. The lemon curd will continue to thicken as it chills.
Recipe Notes:
- Please read all of the information and troubleshooting info above, as well as the notes below before making this recipe.
- This recipe makes a little over 1 cup of lemon curd and can be doubled if needed. If doubled, the cook time will be 8 minutes.
- If you want to use the lemon curd for pie, tarts or something else that would require the curd to be thicker, use 2 tablespoons (16g) of cornstarch instead of what's written in the recipe. This version firms up quite a bit so it's best to pour the cooled curd directly into the tart or pie shell and then chill it rather than chilling it in a jar.
- Any type of unsweetened non-dairy milk can be used as long as it is unsweetened and unflavoured.
- If you want to make your lemon curd without cornstarch, arrowroot starch (also referred to as arrowroot flour) can be used instead.
- Only use freshly squeezed lemon juice, don't use store-bought bottled lemon juice. You will need roughly 2.5 medium lemons to get the amount of juice needed, more if your lemons are on the small side, and less if they are large.
- You don't want the mixture to boil, but it will start to bubble towards the end of the cooking time. It will take roughly 6 minutes to thicken properly. No noticeable thickening will happen until around the 3.5-4 minute mark.
- The vegan butter is optional if you prefer to have an oil-free lemon curd, however, adding the butter will result in a richer, smoother, and creamier curd.
- Ground turmeric is also optional if you don't mind the curd not having a bright yellow appearance. See the images in the post for a visual of what it will look like without it. The turmeric flavour does not come through in the finished curd, only the colour will.
- If you prefer to have a completely smooth curd with no bits of lemon zest, pass it through a sieve before chilling it.
- Store in the refrigerator in an airtight jar or container for up to 1 week. It cannot be frozen or the texture will change (see info above).
- The nutrition info listed below is for 1 of 9 servings (each serving is 2 tablespoons) with the recipe made as written using unsweetened, unflavoured almond milk. Nutritional data is only to be used as a rough guide. Click here for more info on how nutrition info on this website is determined.
Cristy Entrikin says
Delicious! I didn't even add the turmeric. Because I didn't have any. Wow!!
Gwen Leron says
Hi Cristy! I'm glad you like it! And no worries about the turmeric, it's totally optional and only for if you want more of a yellow colour, the flavour will be the same either way. Enjoy!
Amanda says
Of i were to makenthis to use in between cake layers should I increase the starch to 2 tbs as mentioned in the notes? Or would that be too thick? Thanks!
Gwen Leron says
Hi Amanda, yes, I would use 2 tablespoons, this will make the curd a little thicker and suitable for a cake filling. Let me know if you have any further questions, enjoy!
Janita says
This is a wonderful recipe, thank you. I had to make it a few times…. the first 2 times it was really runny. Then I realised it was because I was using gluten-free cornflour. Changed to arrowroot flour and it came out perfectly. The taste is amazing. I am looking forward to utilising my lemons so much more now. Thank you.
Gwen Leron says
Thanks, Janita! I'm glad you were able to make it work and that you are like it. Enjoy!
Dorothy Wyckoff says
I am not vegan, but I do have a sensativity to egg yolks. Can I use 2% cow's milk and unsalted butter ?
Gwen Leron says
Hi Dorothy, the vegan milk and vegan butter I use are replacements for the ingredients you would like to use so it should work, but since I have not tried it, I can't tell you exactly what the outcome will be like and whether or not it would be the same as mine. I'm not sure if that helps, but I hope it does!