This page may contain affiliate links. Click to learn more. As an Amazon Associate I earn from qualifying purchases.
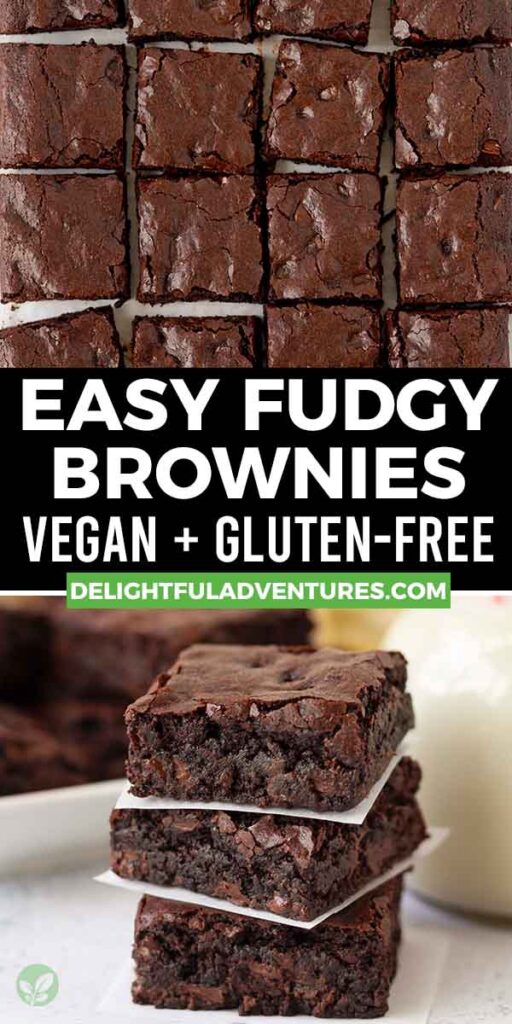
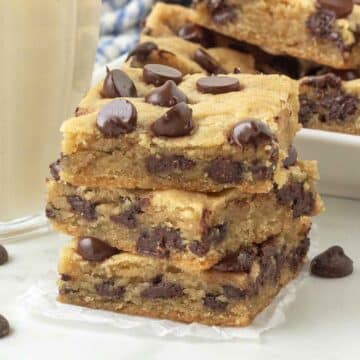
Crackly top homemade vegan gluten-free brownies that are chewy, fudgy, rich, and super chocolaty! Not only is this simple recipe easy to make, NO ONE will know this recipe is eggless, dairy-free, and gluten-free.
This recipe was tested with a few different flours and also contains info on how to make an oil-free version, so keep reading for all of the details.
 and even an oil-free version.")
Save This Recipe!
In a hurry? Drop your email below, and this recipe will be sent straight to your inbox for later. You'll also get fresh recipes every week! You can unsubscribe anytime.
Corner square? Or center square? Chewy? Or cakey?
As a brownie lover, you know these are very important questions. (For me, it's center square and chewy, how about you?)
Luckily, you can have all of these things when you make this recipe, EXCEPT the cakey part.
This recipe went through extensive testing to make sure it turned out to be the ultimate, from-scratch, easy vegan brownies, so be sure to read this post from beginning to end to learn from everything I learned during my testing.
This will ensure you end up with the best chocolate brownies you'll ever have the pleasure of devouring!
A Quick Look at What You'll Need
 and even an oil-free version.")
Ingredient Notes and Helpful Swaps
(Note: Only ingredients with special notes are included in the list below. The full ingredient list can be found in the recipe card.)
Gluten-Free Flour Blend – You have plenty of options when making brownies with gluten-free flour! The recipe below calls for Bob’s Red Mill Gluten-Free 1 to 1 blend (the one in the blue bag), but I also tested with Bob's Red Mill Gluten-Free All-Purpose Baking Flour in the red bag, and the results were great.
I also tested the recipe with oat flour, which also produced great results. The oat flour brownies turned out with edges that were slightly crispier than when the other two blends were used. If you make your oat flour, make sure that you sift it first before measuring / weighing. Don't skip this step or your measurement will be off.
A Quick Note On Flour Weights
If you use a scale to measure your flour, each of the options listed above has a different weight, so pay attention to that. Find the weight info for each one in the recipe notes below.
Vegan Butter – Vegan butter will give you the best results, but I tested with applesauce for an oil-free version. See the recipe notes in the recipe card below for details on how to make this swap.
Flax Egg – Since this is an egg-free recipe, flax eggs are used as a replacement, but chia eggs will work as a replacement, too. I also tested this recipe with Bob's Red Mill Egg Replacer, and the results were great. Note that you may need to bake the version with the egg replacer for a minute or two less than the time specified.
How It Comes Together
(Note: I’ve outlined the step-by-step on how to make this recipe here, but find the full recipe, ingredients, and directions at the end of this post.)
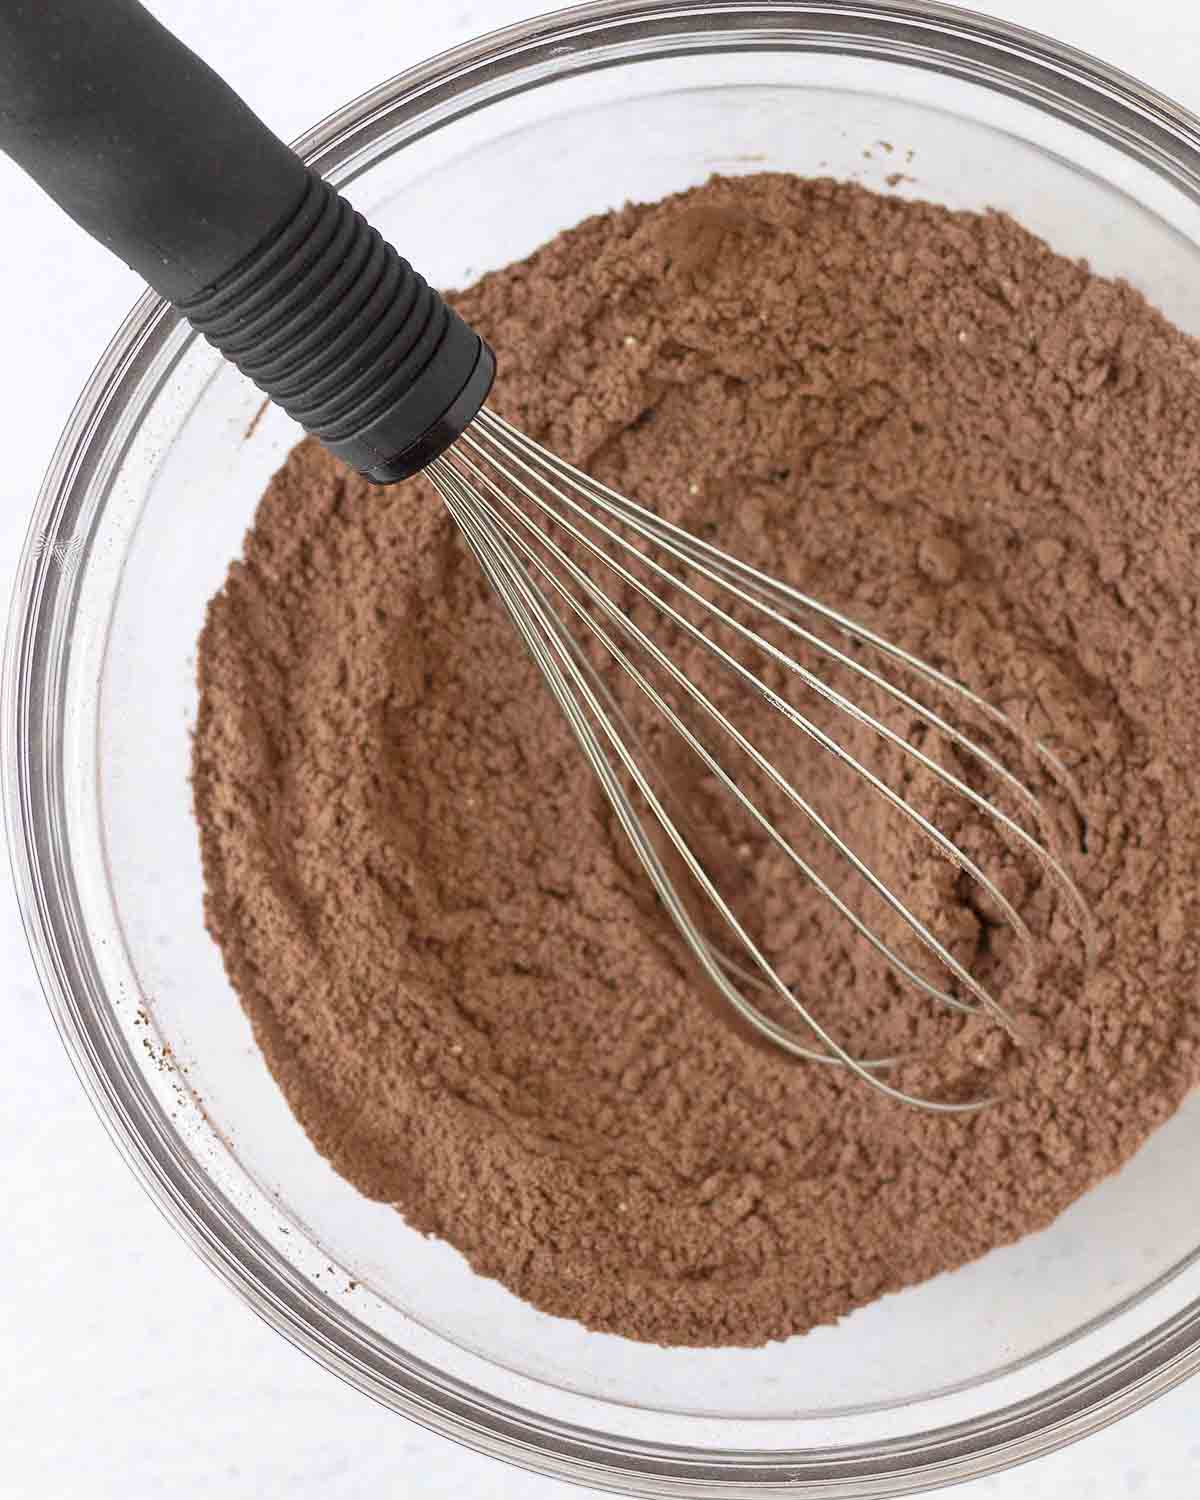
Whisk the dry ingredients together in one bowl.
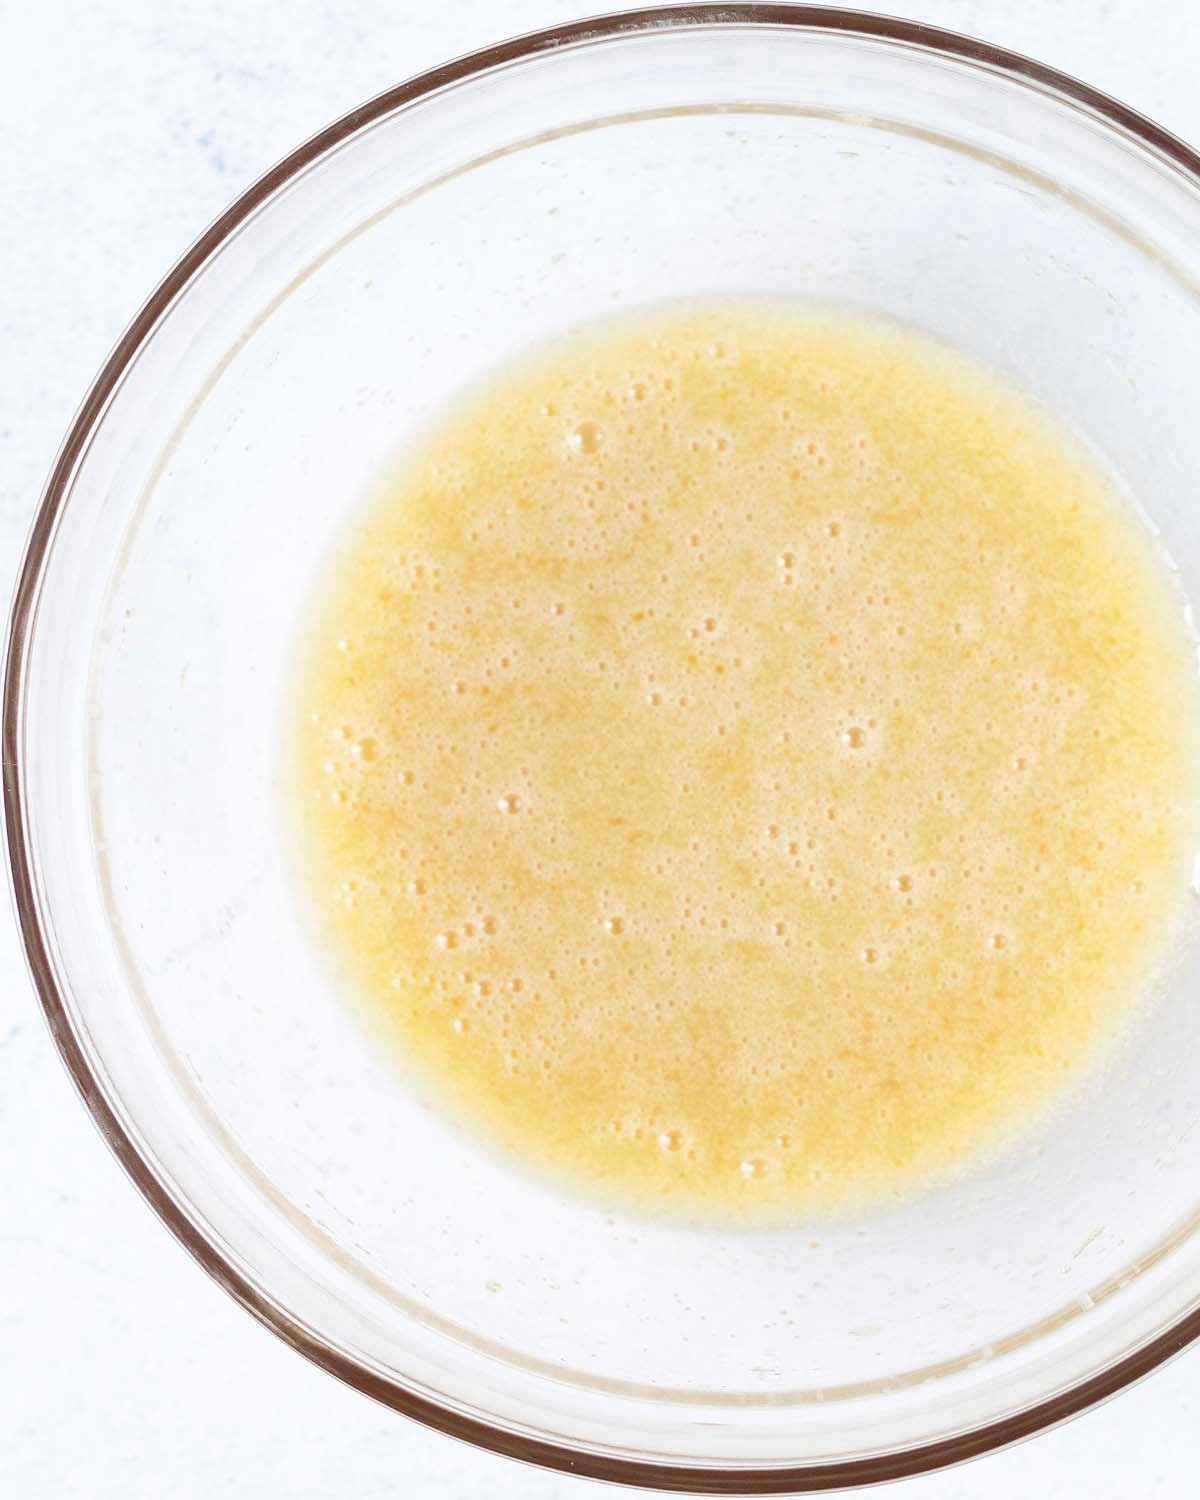
Add sugar and flax eggs to a separate bowl, and beat with an electric mixer. Add the melted butter and vanilla and continue mixing until all sugar granules have dissolved.
How to Get That Crackly Top
I went through quite a few batches until I got this right! The key to getting shiny, crackly, crinkly vegan brownies is to make sure that the sugar has fully dissolved when mixing the wet ingredients. Make sure your butter is melted and HOT before adding it to the recipe. This will help the sugar granules to melt.
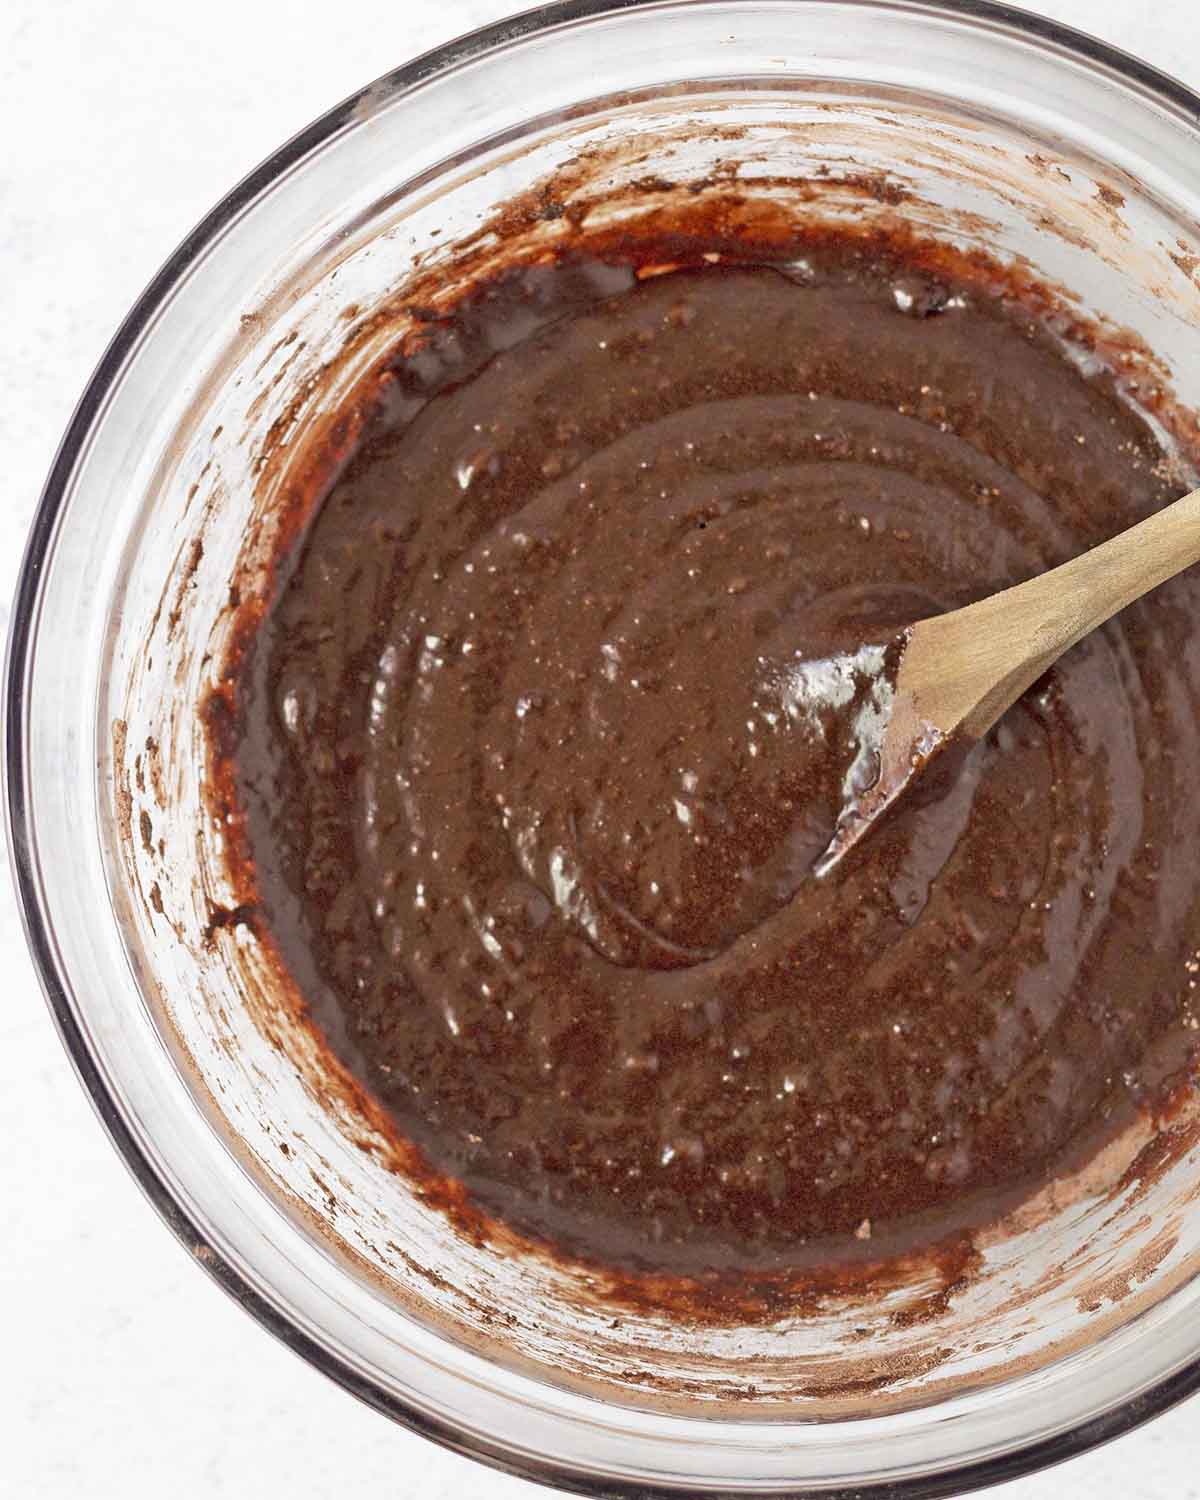
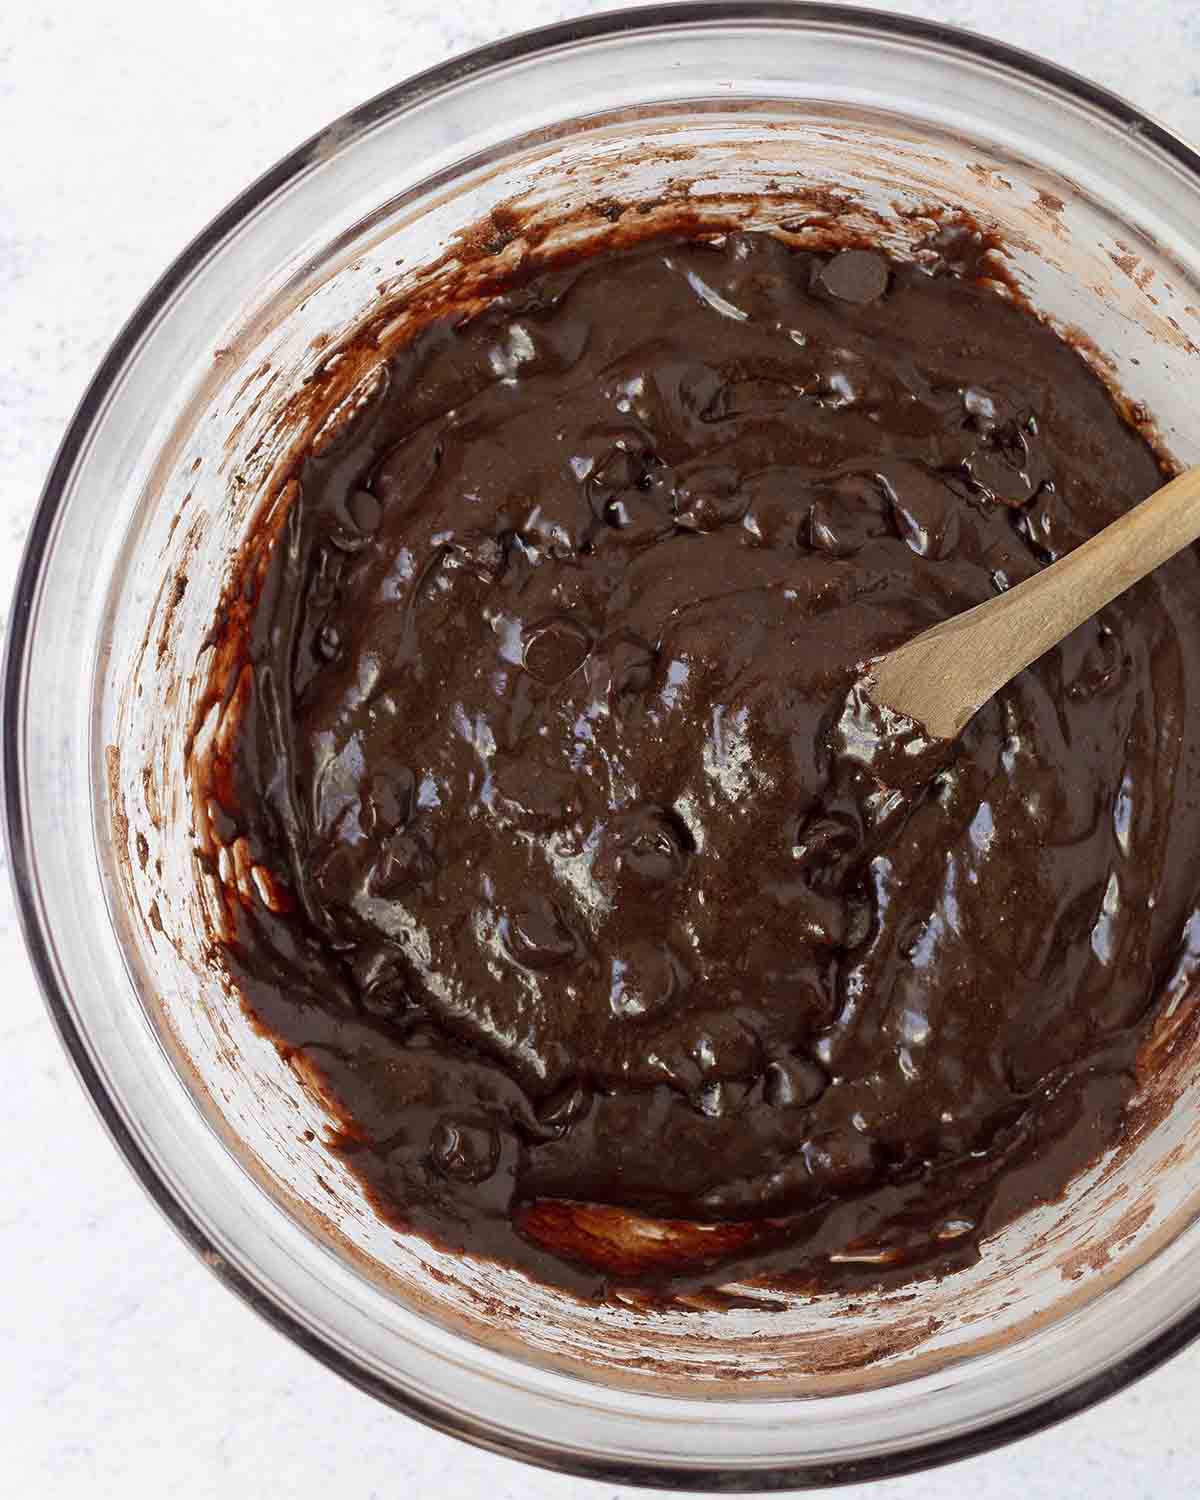
Add the dry ingredients to the wet ingredients and mix until the batter is smooth.
Don't overmix, or you'll add air to the batter and make the brownies turn out cakey. Mix just until everything has combined.
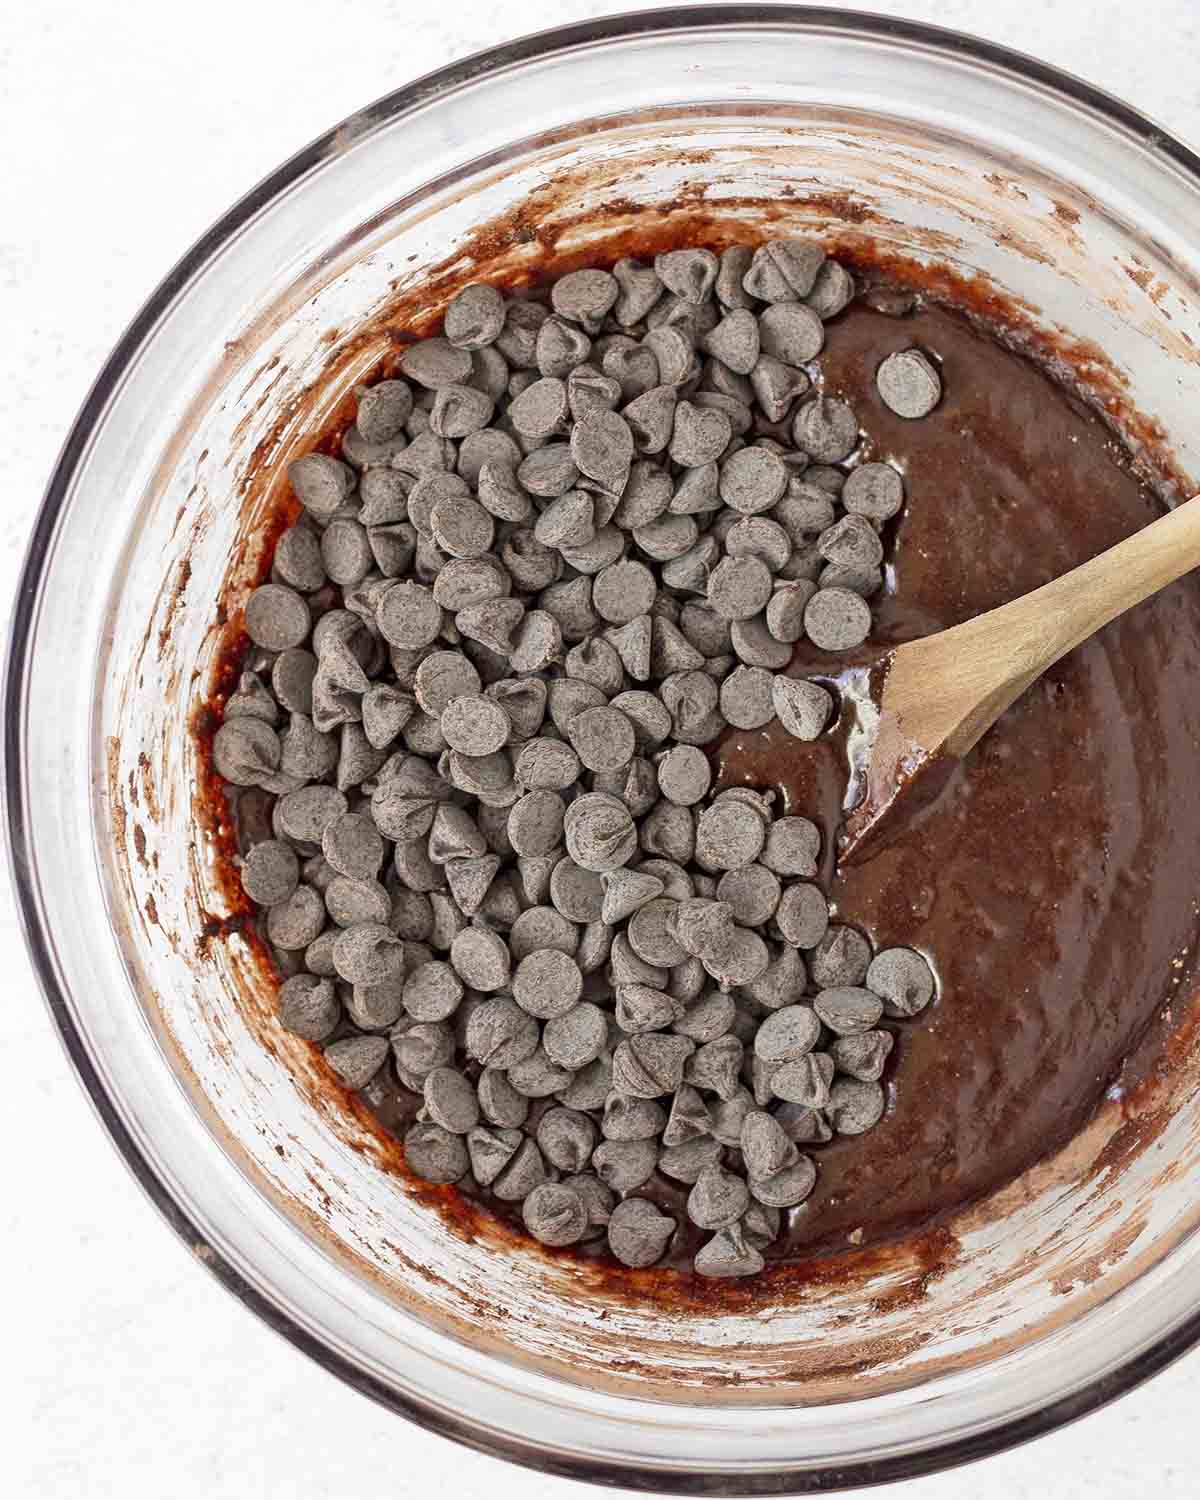
Add the chocolate chips.
Chocolate or Nuts? Your Call
Don't want to add chocolate chips? How about walnuts? Add ½ cup along with the chocolate chips, or you can replace the chocolate chips with walnuts, but note that the chocolate chips contribute to the fudgy texture of the brownies, so you will lose a little of that if you omit the chocolate chips.
Stir in the chocolate chips (Read this article if you aren't sure which brands make vegan chocolate chips).
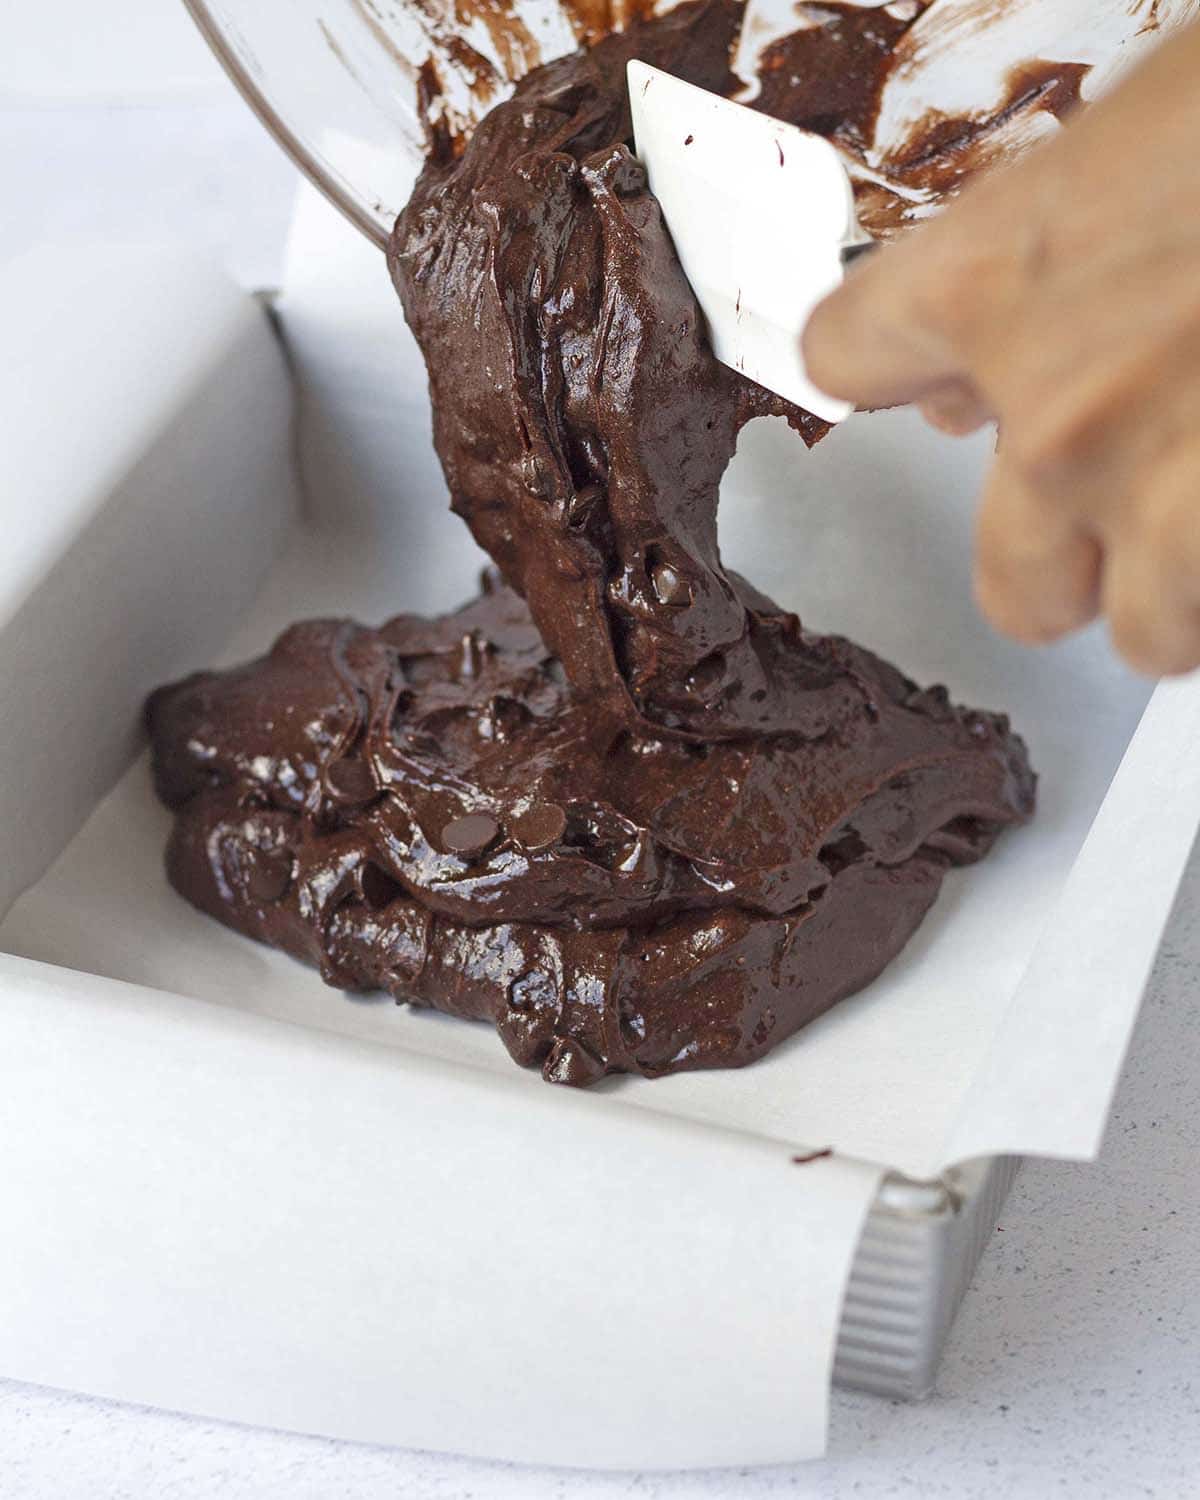
Scrape the batter into the prepared pan. The batter is very thick, so make sure to spread it evenly. Smooth out the top, and then it's time to bake!
Brownie Baking Tip
Lining the baking pan with parchment and leaving an overhang will help make removal from the pan extremely easy. If you don't have parchment paper, foil can also be used.
 and even an oil-free version.")
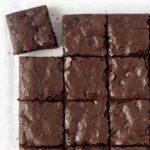
Slicing Tip
Run your knife under hot water, dry it, and then slice to get even, clean slices. Repeat each time you cut. Depending on how small or large you want your squares, slice into 9, 12, or 16 squares.
 and even an oil-free version.")
A Few More Things to Keep in Mind...
- Measure and have all your ingredients ready to go before starting. This will make the process run smoothly, quickly, and easily.
- Measure your flour correctly. Too much flour in this recipe will result in cakey and possibly crumbly brownies. Please read my article about how to measure flour correctly. I highly recommend using a scale and my weight measurements to make this recipe. (See the "Suggested Equipment" section in the recipe card for the scale I use and recommend.)
- Sift your cocoa powder. Cocoa powder tends to be lumpy, and the lumps don't break up easily, so be sure to sift it before adding it to the bowl.
- Use a light-coloured metal pan (the baking time provided in the recipe below is for a metal pan). (This is the pan I always use for this recipe) A metal pan gives brownies a crispier edge, while a glass dish makes them softer. Since glass heats and cools more slowly, add a few extra minutes to the bake time. Glass also holds heat longer, so remove the brownies from the dish after a minute or two to prevent them from overbaking and turning cakey.
- Read this post from top to bottom before you start. I’ve shared my tips gathered during testing, so you get everything right. Also, read through the full recipe before getting started.
- Follow the recipe exactly as it’s written for the very best results.
Are you new to recipes with gluten-free flour or vegan gluten-free baking? If so, be sure to read all of my vegan gluten-free baking tips!
 and even an oil-free version.")
How to Serve Them
These vegan chocolate gluten-free brownies are perfect to enjoy just as they are, but if you want to take things up a notch, you can top the squares with ice cream or chocolate drizzle.
Another option is to frost them with chocolate buttercream, coffee frosting, peanut butter frosting, raspberry frosting, or, for the holidays, peppermint buttercream topped with crushed candy canes.
 and even an oil-free version.")
When You Make Them...
...please leave a comment and rating below! You can also share a picture on Instagram and tag me so I can see it. I'm @delightfuladventures over there.
Vegan Gluten-Free Brownies with Crackly Tops
Suggested Equipment:
Ingredients:
- 2 tablespoons ground flax seeds
- 6 tablespoons water
- ¾ cup (111g) gluten free flour **weight listed is for the Bob's Red Mill gluten-free blend in the blue bag, see important notes about flour below**
- ½ cup (42g) Dutch-process cocoa powder (sifted)
- ½ teaspoon baking powder
- ¼ teaspoon salt
- ½ cup / 1 stick (113g) melted hot vegan butter
- ¾ cup (150g) organic cane sugar or granulated sugar
- 1 ½ teaspoons vanilla extract
- ¾ cup (135g) vegan chocolate chips
Instructions:
- Preheat oven to 350°F (177°C).
- Line a square 8" x 8" baking pan with parchment paper, set aside.
- Prepare your flax eggs by whisking together ground flax seeds and water. Set aside to thicken.
- In a small bowl, add the gluten-free flour, sifted cocoa powder, baking powder, and salt. Whisk well to combine and set aside.
- Add sugar and flax eggs to a medium bowl, and using an electric mixer, beat for 2 minutes. The mixture will become very thick, but that's okay, keep mixing!
- Add the melted butter and vanilla to the bowl and continue mixing for another 4-5 minutes, until all sugar granules have dissolved. Stop to scrape down the sides of the bowl, if needed.
- Add the flour mixture to the bowl and mix with a wooden spoon until the wet and dry ingredients have fully combined. The batter will be thick. Don't over mix.
- Add chocolate chips and stir until they have combined with the batter. Don't over mix.
- Using a rubber spatula, scrape the mixture into the prepared baking pan, spread it evenly, and smooth out the top.
- Bake for 22-24 minutes, until the center is slightly set and a toothpick inserted into the center of the brownie comes out with moist crumbs and no wet batter (be careful not to overbake!)
- Remove from the oven and let sit for 2 minutes. Using the parchment overhang, remove from the baking pan and place on a cooling rack.
- Cool completely, at least 1.5 - 2 hours, before slicing.
Watch How to Make It:
Recipe Notes:
- Please read all of the information above, as well as the notes below before making this recipe.
- It’s important to know that different gluten-free flour blends use different ingredients and ratios, so results may vary if you substitute. This recipe was tested with Bob’s Red Mill Gluten Free 1 to 1 Baking Flour (Amazon link) in the blue package, Bob's Red Mill Gluten-Free All-Purpose Baking Flour (Amazon Link) in the red package, AND Oat Flour (Amazon Link) and each of them produced excellent results. Please know that your results may not be the same as mine if you substitute another gluten-free flour blend that was not tested with this recipe. The weight listed in the recipe above is for the Bob's Red Mill 1 to 1 baking flour in the blue bag.
- Weights for Alternate Flours: Bob's Red Mill Gluten-Free All-Purpose Baking Flour in the red package (105g) and Oat Flour (63g) (OR use the same cup measurement (¾ cup). If you make your oat flour, make sure that you sift it first before measuring / weighing. Don't skip this step or your measurement will be off and your brownies will be crumbly.
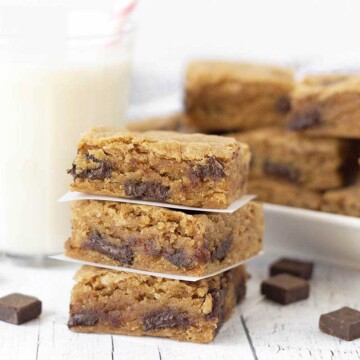
- For an oil-free version, replace the vegan butter with ½ cup (123g) plain, unsweetened applesauce. Note that you will not get the same texture or the crackly top if they are made oil-free.
- Store your brownies for up to five days in an airtight container at room temperature.
- Freezing for Later: Fully cool, freeze unsliced (to prevent them from drying out), wrap in plastic and store in a freezer bag or container for up to 2 months. Thaw, slice, and serve.
- Freezing Individual Slices: If you prefer freezing sliced squares, wrap them individually or tightly together (so they are touching) in plastic, store in a freezer bag or container for up to 2 months. Thaw at room temperature and serve.
- Nutrition info is based on 1 of 16 brownies with the recipe made as written (using the Bob’s Red Mill Gluten Free 1 to 1 Baking Flour in the blue package) and is only to be used as a rough guide. Click to learn how nutrition info is calculated on this website.
Anisa says
Can i use apple sauce as the flax egg replacer? If so, would it work at the same quantity?
Gwen Leron says
Hi Anisa, I did not test applesauce as a replacement for the flax egg, so I'm not certain if or how well it would work. I know this is not what you asked but I did test applesauce as an oil replacement and it worked very well, if interested, you can see the recipe notes for details. Any further questions, please feel free to ask!
Shan says
My now go to brownie recipe, easy and delicious for being GF, pleasantly surprised!
Gwen Leron says
I'm so happy you like the recipe, Shan! Enjoy!
ANNA D KATSIMPERI says
hello! woderfull recipe I just wanna know if I also want sugar free with what Ican replace sugar? thank you in advance!
Gwen Leron says
Hi Anna! I have not experimented with any sugar replacements in this recipe, the sugar is very important to the taste and texture of the brownies so I am not sure how it would turn out. I hope this helps a little, if you do try a sugar substitute, please let me know how it goes.
Susan says
Just finished making this and waiting the 1 1/2 hours cool time. I actually had all the ingredients including the flax seed. I’m looking forward to trying them as they smell amazing! I did goof. I put everything in my ninja and blended. Hoping it still turns out.
Gwen Leron says
I hope it turned out well for you, Susan!
Victoria says
Just made a batch of these Brownies for my gf daughter. Then realised baking powder has wheat in it. Therefore they are not gluten free!
Gwen Leron says
Hi Victoria, this is a common confusion for people new to being gluten-free, this article will help you: https://delightfuladventures.com/is-baking-powder-gluten-free/
It's really important to pay attention to the ingredient label when cooking and baking gluten-free. In the case of baking powder, there are a few brands out there that have wheat starch in them, I'm assuming you have one of these? The good news is that there are plenty of brands that make baking powder free from gluten, that article lists a bunch of them. Let me know if you have any questions.
Gemma says
I am having to make vegan, gluten free and nut free brownies so cannot use the flax egg method. I have found a vegan egg substitute but I need to know how many 'eggs' are in the recipe. Can you tell me how many eggs would be used in a non-vegan version of this recipe?
Gwen Leron says
Hi Gemma, the flax mixture in this recipe is equivalent to two eggs.
Amanda says
Hi! Question about chia egg - would I do the same measurements of flax & water in this recipe? I am new to this kind of egg replacement. Thank you!
Gwen Leron says
Hi Amanda, yes, use the same measurements for the chia seeds and water. Let me know how things go, I hope you love the brownies!
Siri says
Thank you for an excellent recipe! I've tried several that were goopy messes but this one worked well. I did use a glass pan (it would be helpful to put in the size pan, or maybe I missed that?) so I did end up having to bake it about 10 minutes longer.
Gwen Leron says
I'm so glad you enjoyed the recipe, Siri! The pan size is 8" x 8", it's listed just above the ingredients, but I've just added it to the instructions as well to avoid any confusion. Thanks very much for pointing that out. Enjoy the brownies you have left 🙂
LR says
Finally! GF, vegan brownies that really are good, proper brownies! For over 8 years I have tried so many recipes and all had something that just made them seem like "not a real brownie", but at last, my quest for the right brownie recipe has ended with yours...thank you! I actually make 1.5x of the recipe to bake in an 8"x12" pan. For those in the UK, I successfully made them using Asda Plain Free From (Gluten) Flour with xanthan gum. For the 1.5x recipe, it was 158g of Asda Plain FF Flour + 1 tsp xanthan gum. Also, I used the Flora vegan butter (block). I still haven't gotten that crinkly top yet, but these brownies have gotten thumbs up from those who can have gluten and those who can't, so high praise indeed. Thank you!
Gwen Leron says
I'm glad you found the recipe and gave it a try! And good to know that it worked well with that brand of gf flour. Keep trying for that crinkly top and enjoy what you have left over. Thanks very much for coming back to leave your note 🙂
Summer Pekita says
I made these brownies for a family movie night, and they were delicious! I'm gluten-free and lots in my mother's family are vegan. They satisfied everyone, even my dad, who steers away from all things vegan. Thank you for your work and for sharing!
Gwen Leron says
You're welcome, Summer! I'm so happy to know they were enjoyed by all. Thanks for coming back to leave your comment, I appreciate it very much!
Sharon says
I have spent the last several years trying and failing to bake a successful gluten free vegan brownie recipe….this is a WINNER! I made them tonight with no hope of them turning out like all the other recipes I have tried and am happily surprised to announce that these were a great success! The consistency is spot on which is hard to get right with gf/vegan and the taste is delish! I did not add the chocolate chips and I soaked the flax in some leftover coffee I had instead of water. I measured out the flour and cocoa by weight which I think is key and I was super patient and actually waited 1.5 hours to cut them and try them….these look and taste like regular ‘ol brownies which is exactly what I wanted! Thank you for all your trials in trying to get this recipe right..you nailed it!
Gwen Leron says
Thank you so much for this amazing note, Sharon! I am SO HAPPY to know you enjoyed them this much and that you've finally found the recipe you were looking for. Thank you for taking the time to come back and let me know how things turned out for you, enjoy the rest!
Windi says
Can I use the whole chia seed for the chia egg? or we have to grind it first? Thanks 😊
Gwen Leron says
Hi Windi, it's up to you. Chia seeds do not need to be ground up before making a chia egg. The only difference will be that you will possibly feel the whole seeds in the finished recipe, so if that will be an issue for you, grind them up. Let me know if you have any other questions!
Paula says
Just made these with oat flour and half butter half applesauce and they came out so good! Really appreciate all the detailed instructions and weight measurements. The best gluten free brownies I've made.
Gwen Leron says
Hi Paula, I'm glad they came out so well for you! I spent a lot of time on this recipe and tested so many variations, so it makes me happy to know you appreciated all the little details. Enjoy the rest and thanks so much for coming back to leave your review, I appreciate it very much!
Nicole says
Ooooooh. These look GREAT. I'm going to try them, albeit with regular flour as we aren't GF. I'll let you know how they go!
Gwen Leron says
Hi Nicole!! Thank you! Let me know how things work out with the regular flour.
Amy S says
These brownies look amazing and I can’t wait to try! Quick question: can I use Bob’s Red Mill Egg Replacer instead of the flax/chia egg? Thanks!
Gwen Leron says
Hi Amy! I have not tried to use the Bob's egg replacer instead of the flax eggs, but I do think it would work. I have some in my cupboard and will give it a try and update the post, but if you can't wait until I have a chance to do it and decide to give it a go, please let me know how it turns out.
Gwen Leron says
Hi Amy! I had some time to test the recipe using the Bob's Red Mill Egg Replacer this past weekend and it worked great! I baked them for 22 minutes and found that the edges were a bit more on the crispy side than when flax eggs are used. I would suggest testing around the 20 minute-mark, it could be possible that this version needs a little bit less baking time. If you try it, please let me know how things go!
Amy S says
I made these this past weekend and they were delicious! I didn’t get the crackly top, but still amazing! Will be our new go-to brownie recipe. Thanks!
Gwen Leron says
Very happy to know that you liked them so much, Amy! Enjoy the rest of them, thanks for your comment 🙂