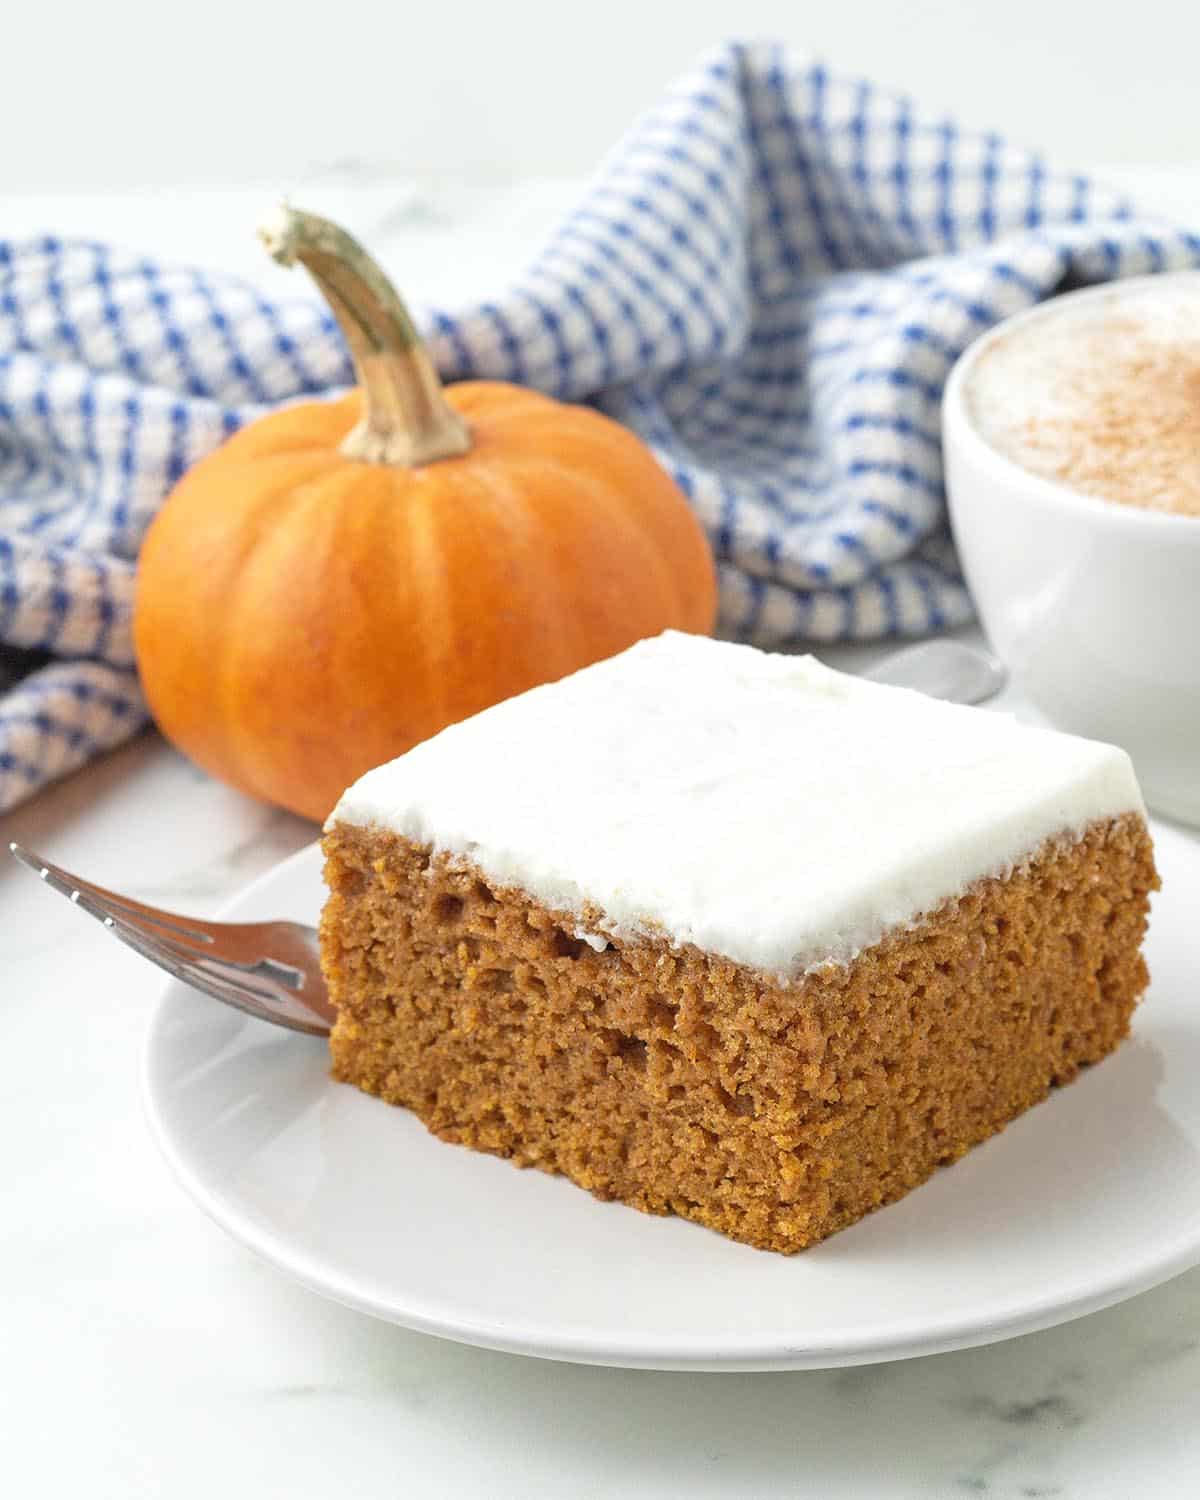
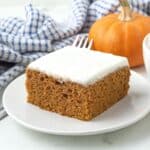
Delicious, easy vegan pumpkin bars filled with warm pumpkin spices and topped with the best dairy-free cream cheese frosting.
These thick, moist, eggless pumpkin cake bars are the perfect dessert to make during the holidays for a crowd, as a potluck contribution, or just to treat yourself and your family. This recipe can also be made gluten-free, all the details are below!
Save This Recipe!
In a rush? Don't have time to scroll through this page right now? Enter your email below and this recipe/article will be sent straight to your inbox so you can come back to it when you're ready. Plus, you'll receive delicious recipes every week! You may unsubscribe at any time.
If you're looking for another recipe to add to your fall-season baking list, I highly suggest these vegan pumpkin bars!
They're so quick and easy to make but the best part is how delicious and irresistible they are. They contain the perfect amount of spice and are topped with a creamy layer of mouthwatering vegan cream cheese frosting.
BUT, if you don't want to add frosting or you want to use a different kind, you have options. I've included them in the "Variations" section below.
Before you head down to go through all the details, be sure to bookmark these other vegan pumpkin season recipes I think you'll also love:
Ingredients You'll Need
I always recommend sticking with the recipe the way it's written for the best results, especially since this is baking which always has to be precise, however, some small ingredient changes can be made, if needed. I've listed info about each one below.
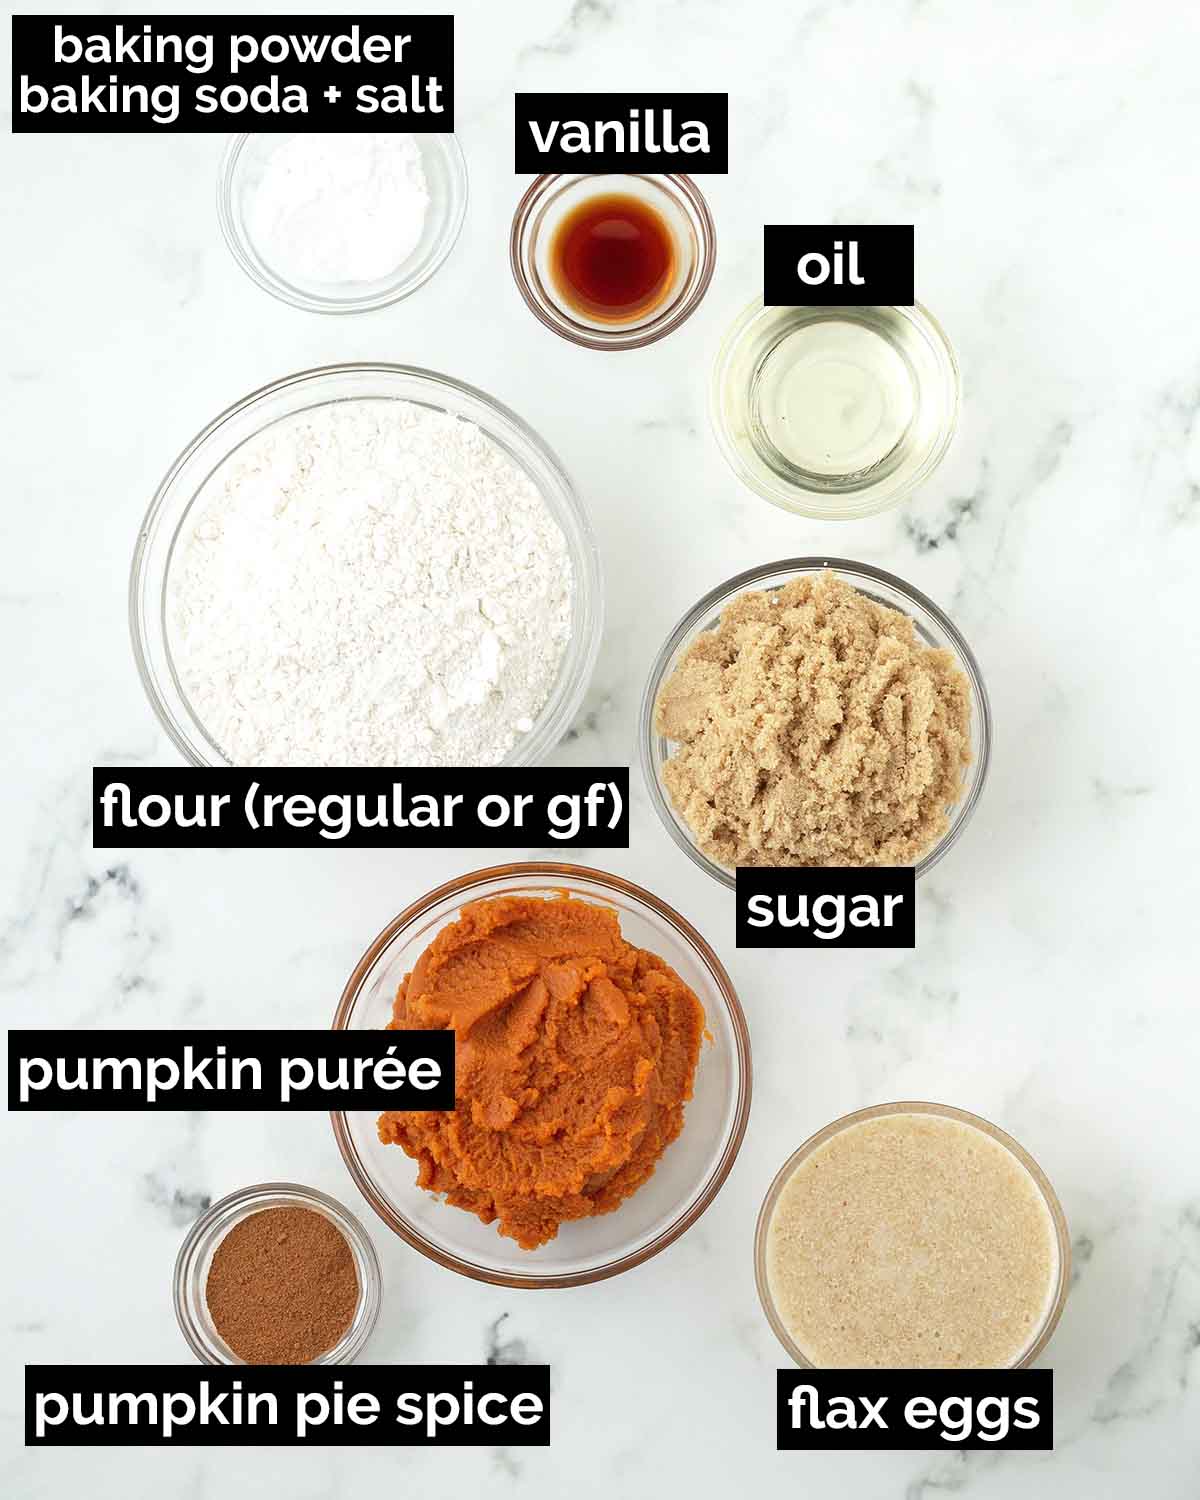
Ingredient and Substitution Notes
Flour – You have two choices: Bob's Red Mill All-Purpose Gluten-free Flour Blend in the RED bag WITHOUT xanthan gum if you want to make vegan gluten-free pumpkin bars, and all-purpose white flour if you need them to be just vegan pumpkin bars.
I have not tried making this recipe with any flour other than these two, so stick with one of these for the best results.
NOTE: When baking, measuring your flour accurately, no matter what type you use, is so important to get the best results. Check out my article about how to measure flour correctly before you start.
Pumpkin Purée – Either canned or homemade pumpkin purée can be used. Make sure you are using plain, unsweetened pumpkin, and NOT pumpkin pie filling. If your homemade purée is runny and not firm, line a colander with cheesecloth and put your purée in. Place the colander over a large bowl and let it sit for 30-60 minutes so some of the extra moisture drains out.
If you don't have pumpkin or don't have access to it, you can use a different type of squash like butternut squash since the flavour is similar to pumpkin.
Sugar – Either brown sugar or coconut sugar can be used, make sure you're using a vegan brand (organic will always be vegan). Note that each type calls for a different amount, so pay attention to the measurements. I have not made this recipe with a liquid sweetener like pure maple syrup or agave syrup and I have not tried using any artificial sweeteners.
Oil - This recipe is made without butter, instead, I use a neutral-flavoured oil, like safflower, or sunflower. You can also use coconut oil but if you do, make sure that your other ingredients are at room temperature so it does not solidify when added to the recipe.
I have not tried to make this recipe with vegan butter and I have not tried to make it oil-free; the combination of the oil and pumpkin helps to give the bars an extra soft and moist texture.
Flax Eggs – Since this recipe is made without eggs, flax eggs are used as a replacement (you just need ground flaxseed and water to make them). Chia eggs will work as well if you cannot have flax.
Pumpkin Pie Spice – Pumpkin spice is what gives the bars their classic flavour, so don't leave it out. If you don't have a pre-made blend, I've included info on how to make your own homemade pumpkin spice blend in the recipe notes below.
Baking Powder and Baking Soda - Make sure these ingredients are both fresh and active, they’re both very important for the bars to have the ideal rise and texture.
Vanilla and Salt - Just a little of each is needed to enhance the flavour.
These bars make the perfect treat to serve during pumpkin season. For more festive season-inspired recipes, browse through all of my vegan fall recipes.
Variations
Here are a few ways you can customize the bars:
- Include chocolate chips - Make them vegan pumpkin chocolate chip bars by folding in ½ cup of mini vegan chocolate chips before baking (see the green box below this section for a tip about chocolate chips!).
- Include a different add-in - Fold ½ cup of raisins or ½ cup of toasted walnut or pecan pieces into the batter before baking.
- Use a different frosting - If you prefer to not use cream cheese frosting, you can use plain vegan buttercream frosting instead, or vegan chocolate buttercream since pumpkin and chocolate go well together. You can also use the cinnamon buttercream used on my applesauce cake or the pumpkin spice buttercream used on my pumpkin cupcakes.
- No frosting - Serve them plain with no topping(s) at all.
- Top with nuts, fall-themed sprinkles, or spices - Sprinkle toasted walnut or pecan pieces, vegan sprinkles, cinnamon, or pumpkin spice on top of the frosting. If using nuts or sprinkles, add them immediately after frosting the bars so they stick.
- Dust with powdered sugar - Dust the top of the bars with powdered sugar just before serving but don't do this too far in advance or it will melt into the bars.
Not sure which chocolate chip brands are vegan? Read my article "Are Chocolate Chips Vegan" to find a comprehensive list of vegan brands to look for at your grocery store.
How to Make It
(Note: I’ve outlined the step-by-step on how to make this recipe here, but find the full recipe, ingredients, and directions in the recipe card at the end of this post.)
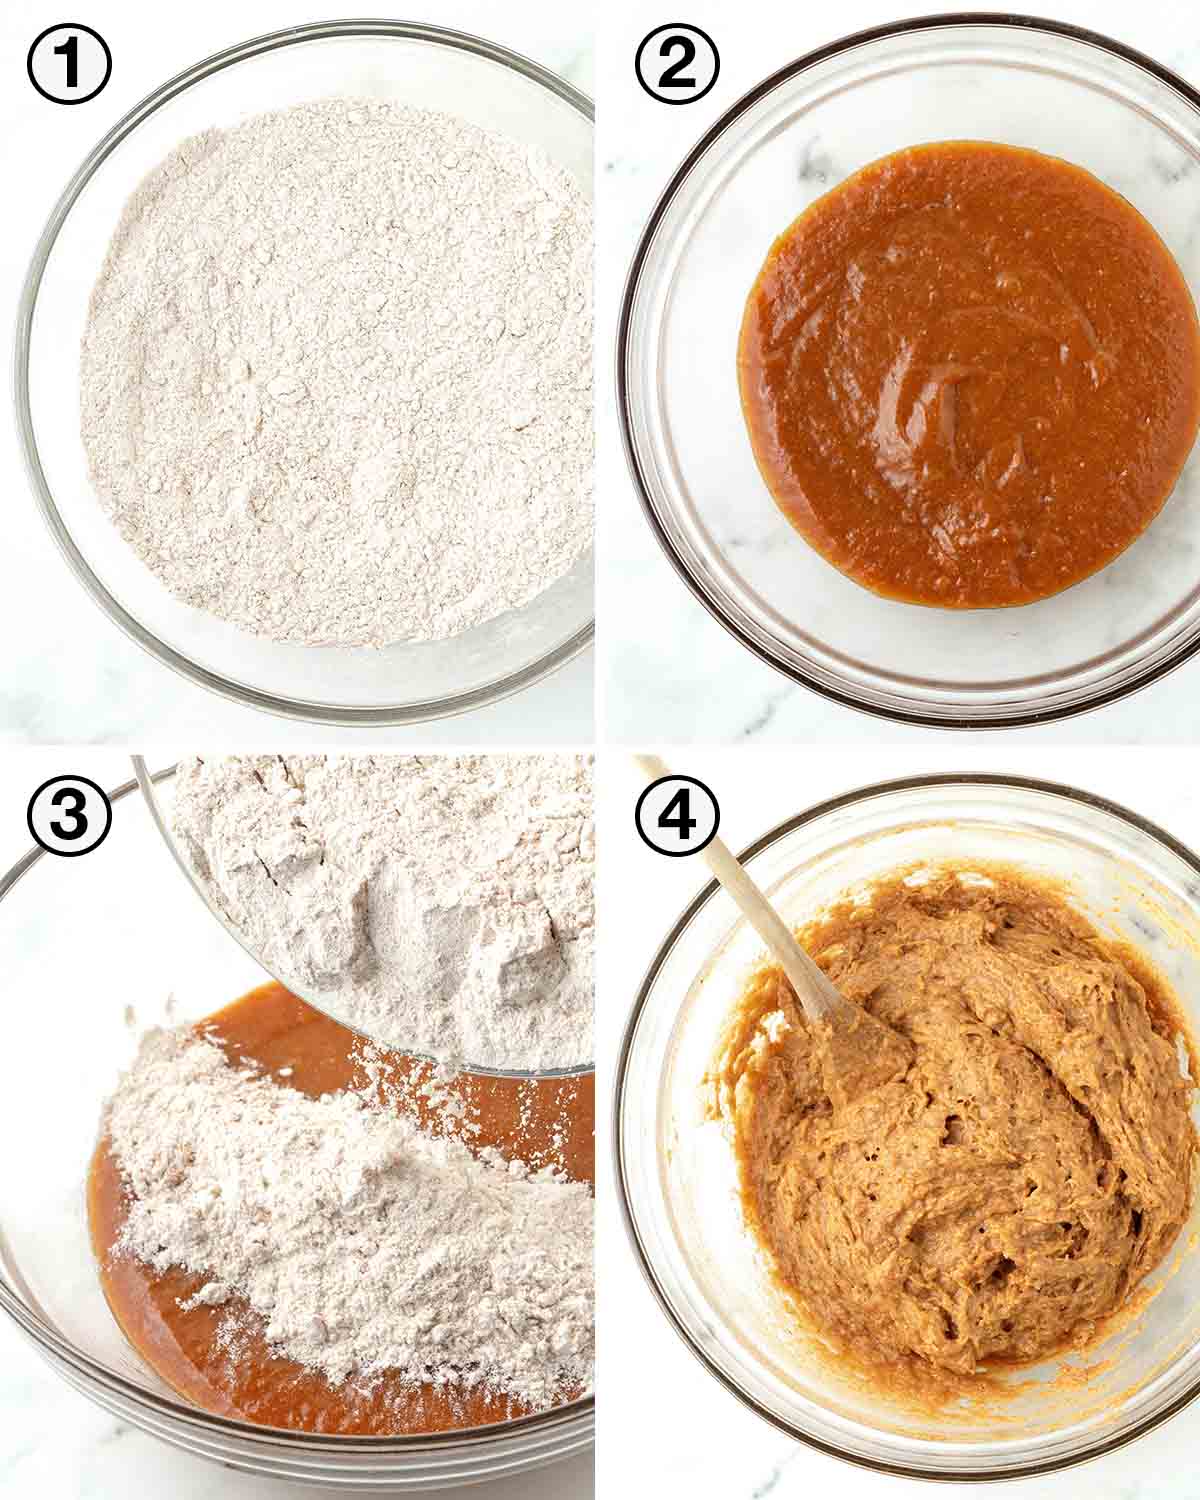
Start by lining a square pan (8" x 8") with parchment paper.
1. Mix the dry ingredients in a small bowl, and set aside.
2. Mix the wet ingredients in a large mixing bowl.
3. Add the dry mixture to the wet mixture.
4. Mix the wet and dry ingredients into a batter, don't overmix. The batter will be very thick, that's how it should be.
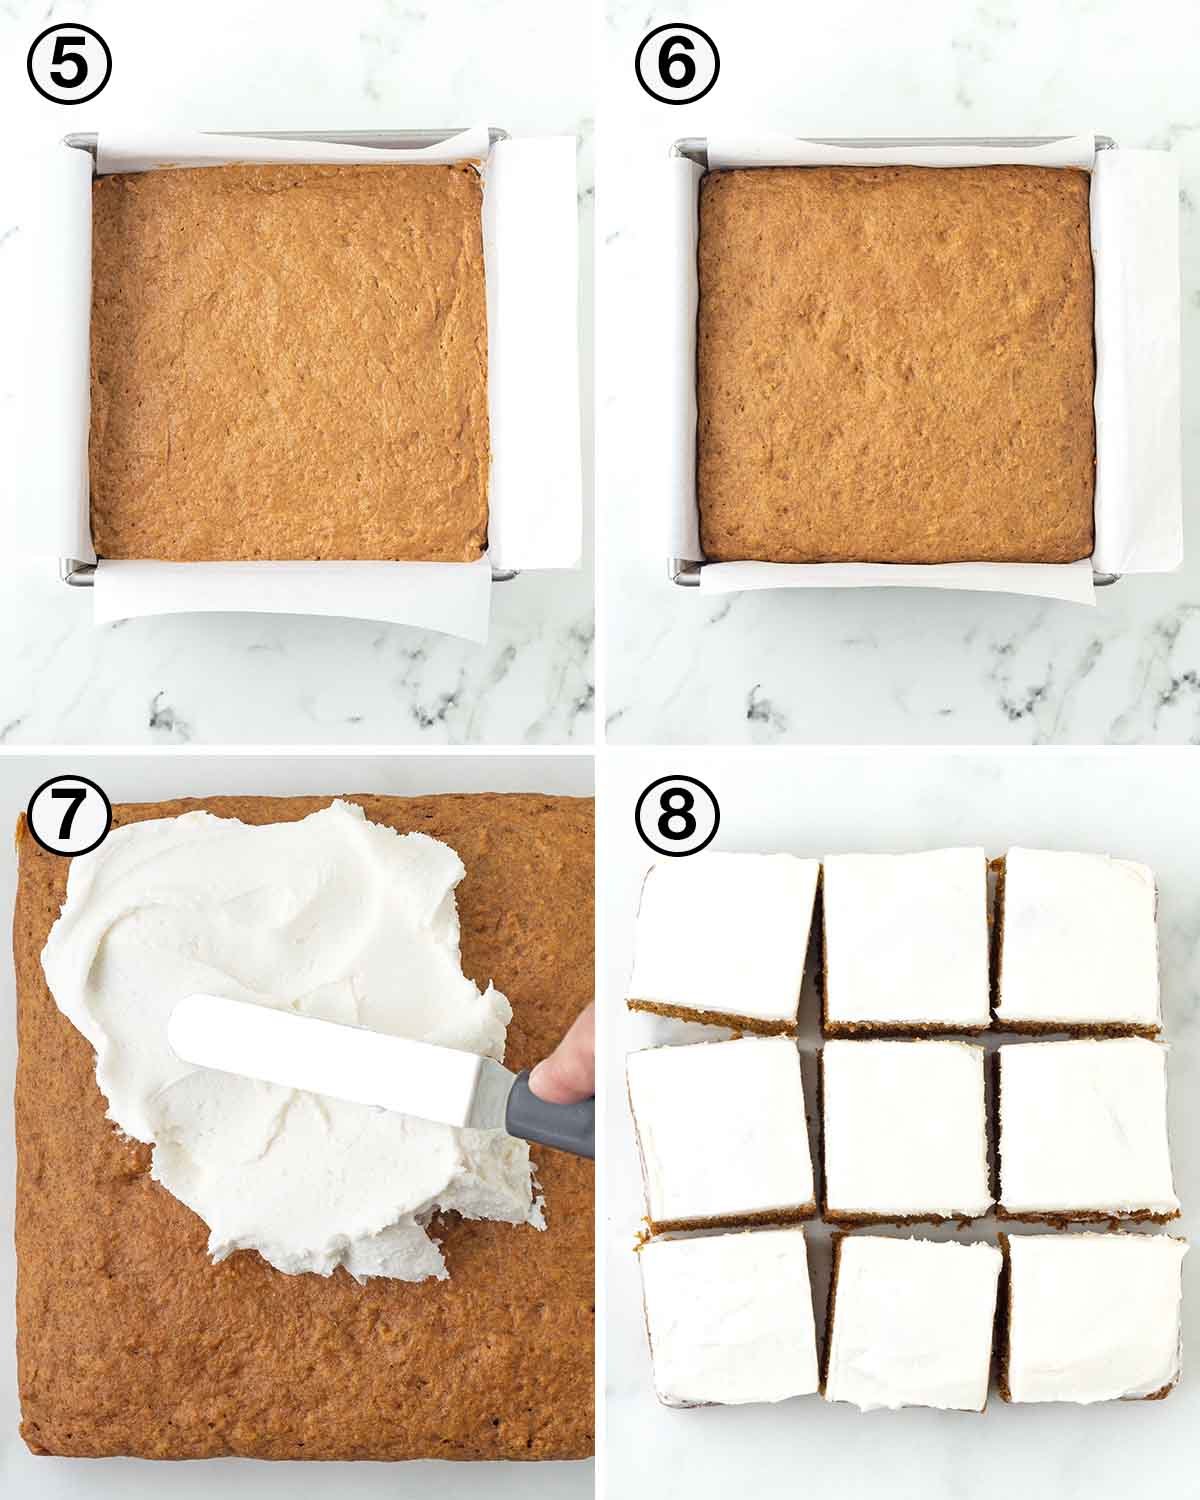
5. Add the batter to your prepared baking dish and spread it into an even layer. I like to use a small offset spatula to do this.
6. Bake. Once done, remove it from the oven, let it rest in the pan for a few minutes, then remove it and place it on a cooling rack. While it's cooling, you can prepare the vegan cream cheese frosting.
7. Once fully cooled, frost the bars with a layer of the frosting. Make it as thick or as thin as you'd like.
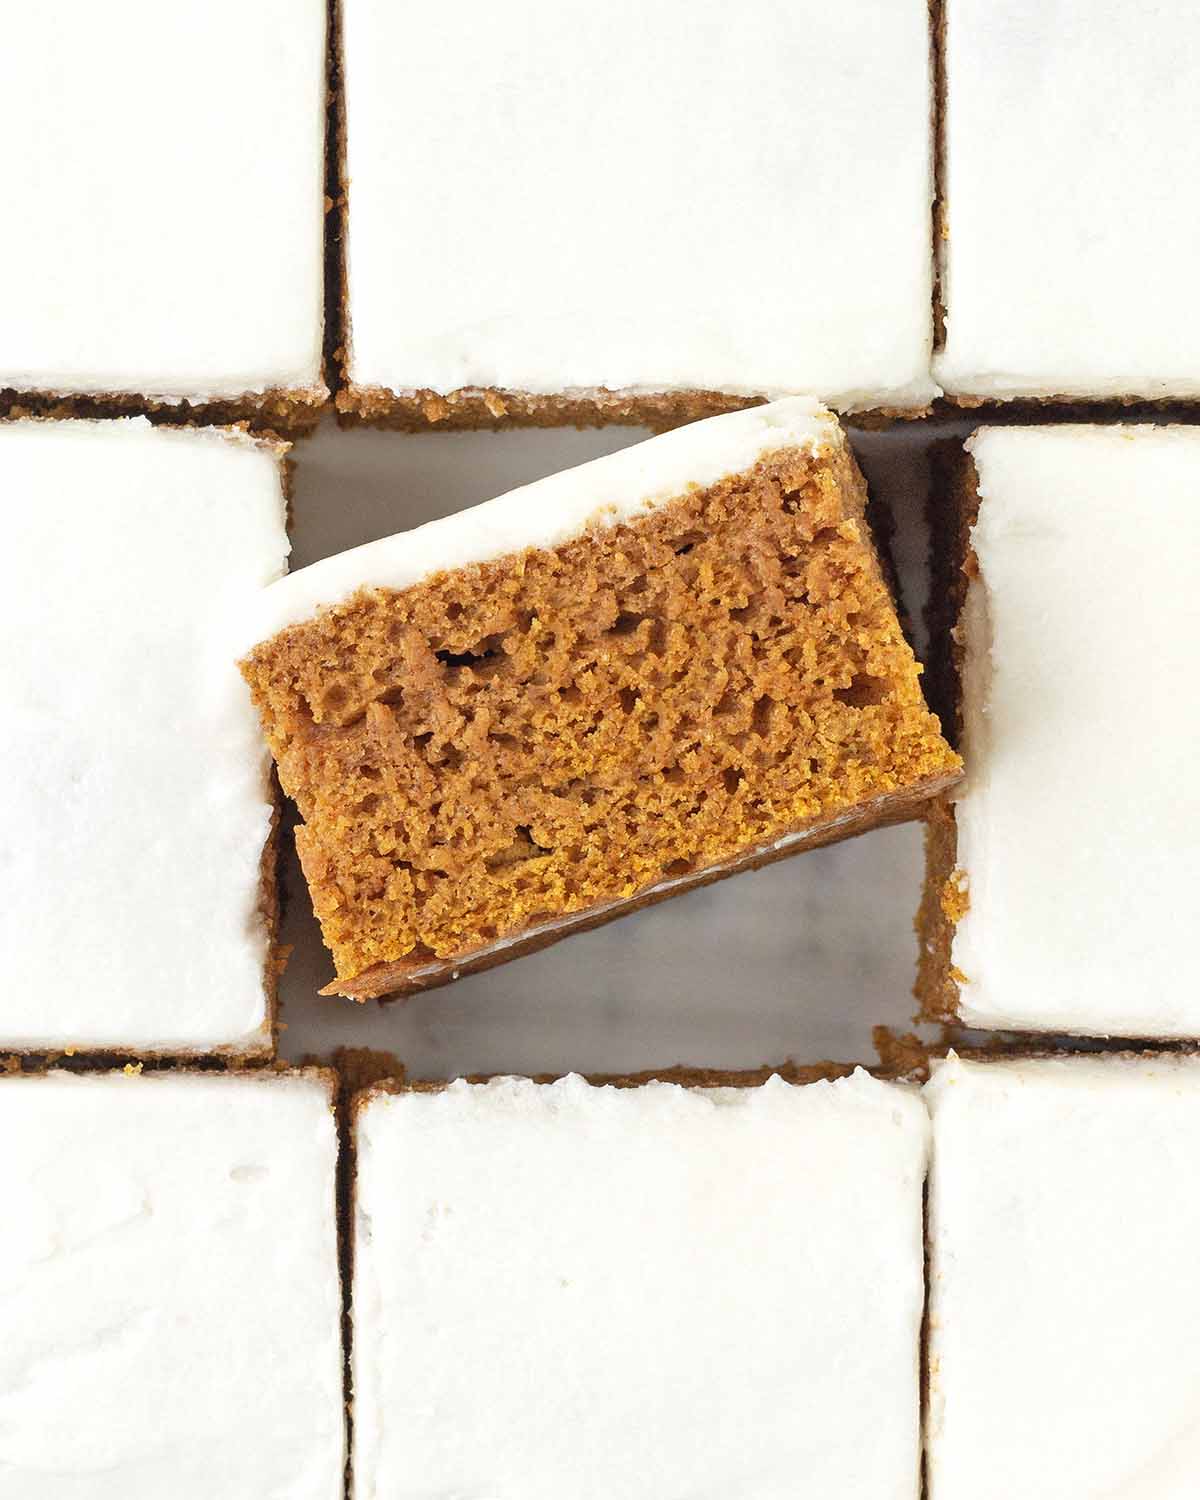
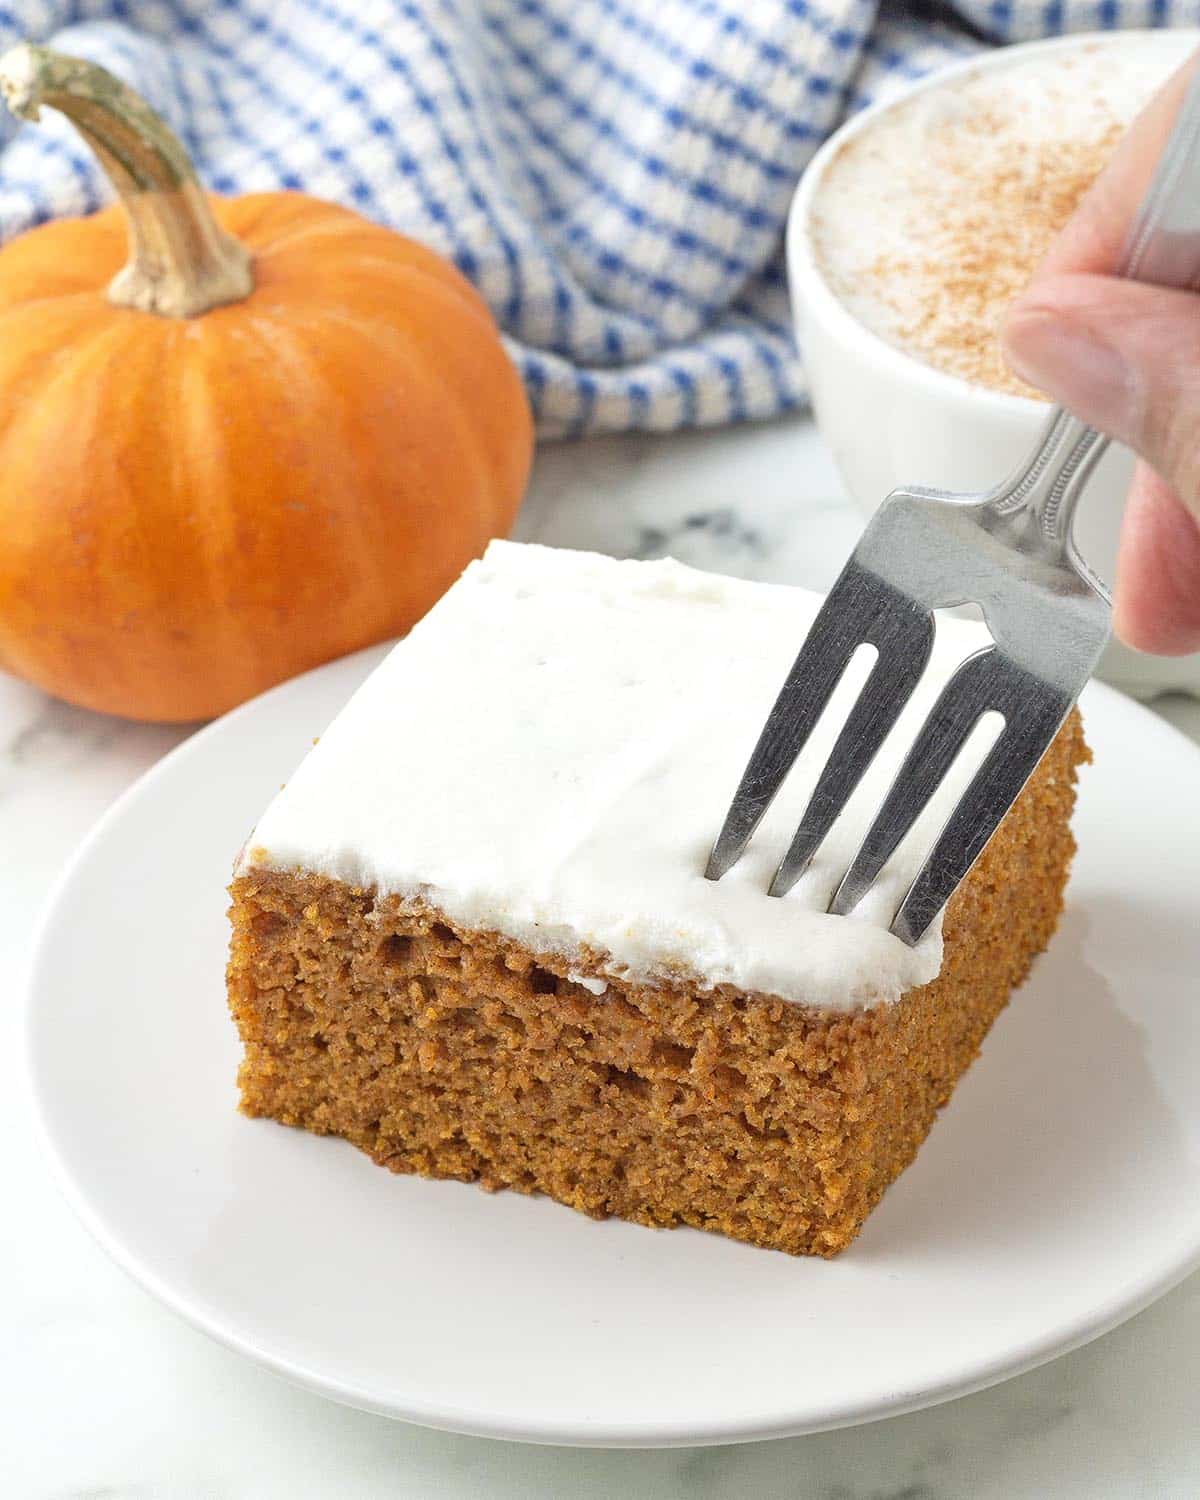
8. Carefully slice into 9 bars and serve. A vegan pumpkin spice latte on the side is highly recommended!
What's the Difference Between Pumpkin Cake and Pumpkin Bars?
Understandably, there's a little confusion over the difference between pumpkin bars and pumpkin cake since they're both very similar.
Can we just call them vegan pumpkin cake bars?! Because to me, they're the perfect mashup of fluffy cake and dense bars like blondies or brownies. However, while they have the same flavours, there are distinct differences when you compare the textures.
Pumpkin cake is lighter, airy, fluffier, and more delicate.
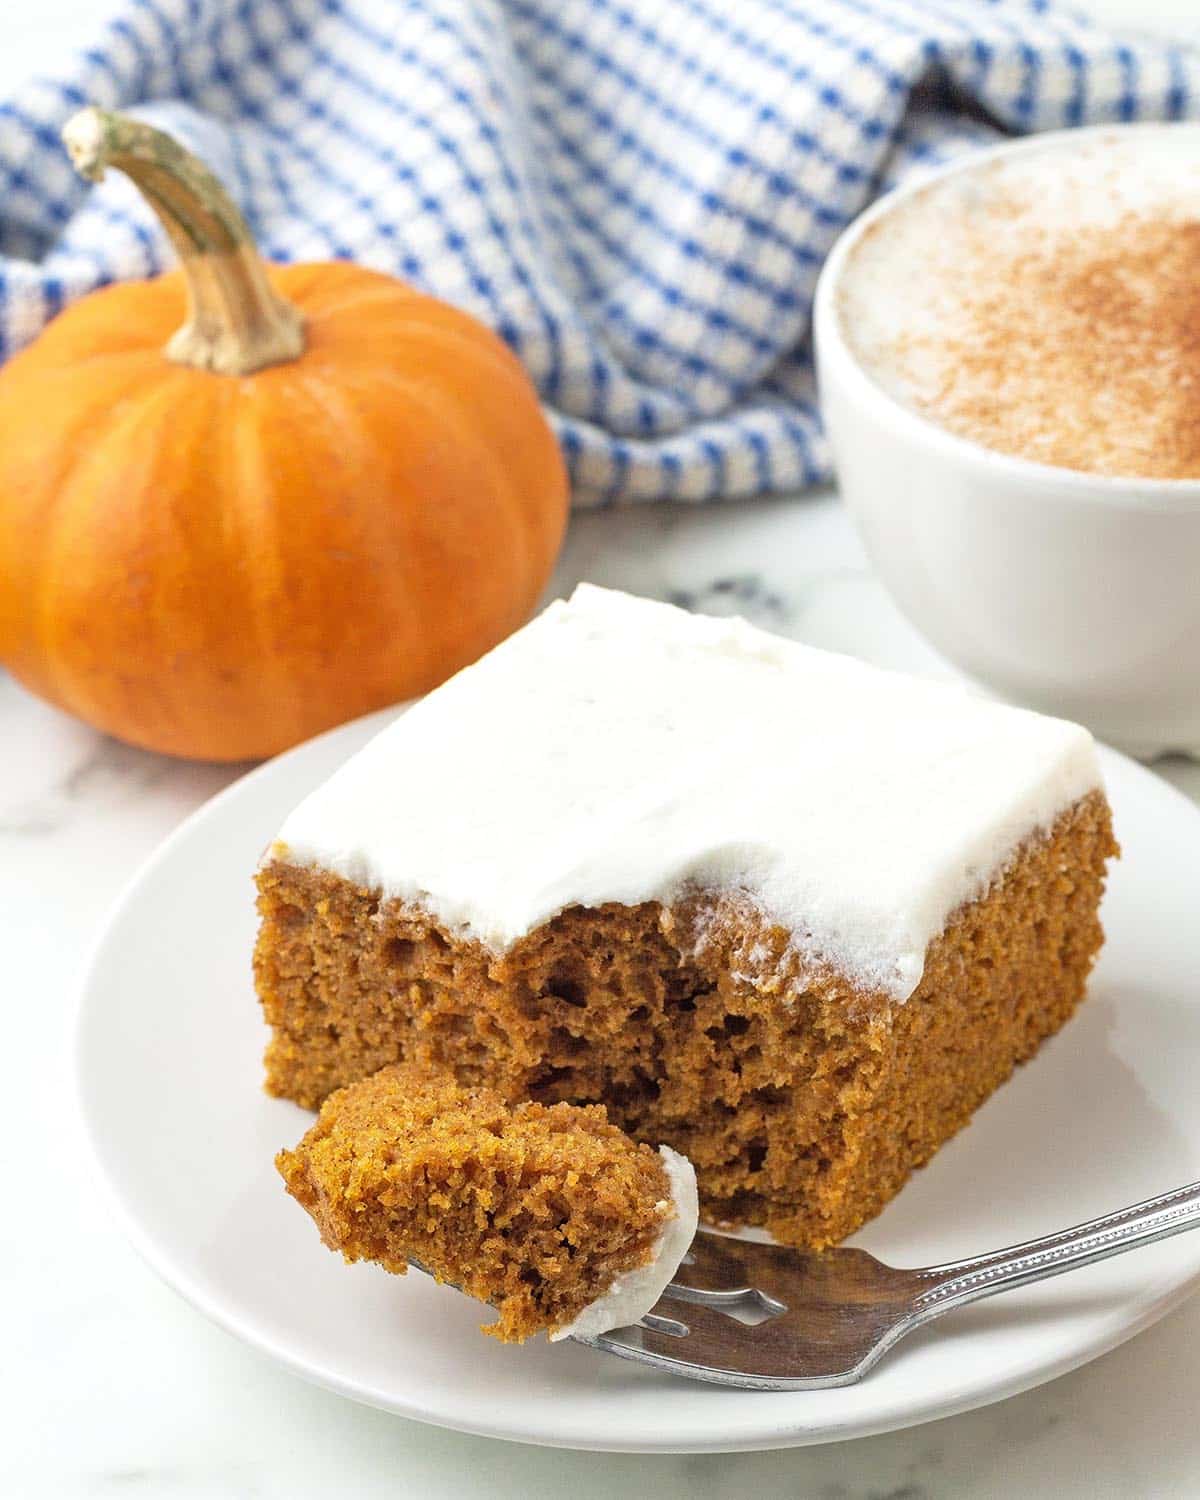
Pumpkin bars are more solid, extra moist, denser, and richer. They're firm enough that they can be eaten with one hand without a fork but at the same time, they're still cake-like and will stand in perfectly if you prefer to make this recipe instead of a pumpkin cake.
Storing and Freezing
Since the frosting used on this dessert contains cream cheese, it needs to be refrigerated. Store leftovers in an airtight container and place them in the refrigerator for up to 5 days. Serve cold or bring to room temperature before serving.
If you make the vegan gluten-free version, it has a shorter life span because it will dry out quicker than the version made with all-purpose flour, so the quicker they're eaten, the better. They will last up to 4 days in the refrigerator.
If you are not frosting the bars, they do not need to be refrigerated.
Freezing
Once thoroughly cooled, don't slice, and don't frost, instead, wrap tightly with plastic wrap so it's airtight, place it in a container or freezer bag, and freeze it for up to two months.
When you're ready to serve, thaw in the refrigerator overnight or at room temperature, then frost.
Tips for Success
Both versions of this recipe were tested extensively to make sure they are perfect, please go through the following list for all of my tips.
- Measure and have all your ingredients ready to go before starting. This will make the process run smoothly, quickly, and easily.
- Measure your ingredients correctly. I highly recommend using a scale (this is the one I have) and my weight measurements when making this recipe. Please read my article about how to measure flour correctly. This tip also applies to all other ingredients, make sure to measure them accurately to get the best results.
- Use the same flour I use. If you are making the vegan gluten-free version, remember that vegan gluten-free baking can be tricky because different flours and blends produce different results. The particular gf flour I use for this recipe works perfectly, so to duplicate that perfection, please use Bob’s Red Mill Gluten-Free All-Purpose Flour (in the RED bag!). If you don't need your pumpkin bars to be gluten-free and you are making the vegan-only version, I have only tested with white all-purpose flour, so proceed with caution if you use a different type.
- If you are using homemade pumpkin purée, make sure you make it in advance and that it is fully cooled. Drain any excess moisture if it's runny (see the recipe notes for details on how to do this). Too much moisture in your purée will throw the wet-to-dry balance off in the recipe and will affect the texture of the bars.
If you're making the vegan gluten-free version of these bars and you are new to this type of baking, please read all of my vegan gluten-free baking tips before starting!
Tips for Success (Continued)
- Make sure your baking powder and baking soda are fresh. These are important ingredients that make the bars rise. If they are not fresh, the bars will turn out too dense and very gummy.
- Use an offset spatula or a rubber spatula to spread the batter in the pan. This batter is VERY thick so it won't spread on its own when added to the baking pan. Also, make sure to spread it evenly. An offset spatula is also great for spreading the frosting.
- Don’t over-mix if you are using all-purpose flour, overmixing will make the bars turn out heavy and tough.
- FULLY cool the bars before frosting. Frosting while warm will cause the frosting to melt and make a mess.
- Read this post from top to bottom before you start. I’ve included many tips and tricks to get things right. Also, read through the actual recipe before getting started.
- Follow the recipe exactly as it’s written for the very best results.
Recipe FAQ
No, they are not. Canned pumpkin pie filling has added ingredients like sugar and spices and should only be used when baking a pumpkin pie or a dessert that specifically calls for pumpkin pie filling. Plain canned pumpkin purée contains no added ingredients, the only ingredient that should be listed on the label is pumpkin. Using this type of pumpkin will give you full control over the flavour and level of sweetness in the recipe you're making.
No, it cannot be used. You must use pure pumpkin purée that is unsweetened and contains no spices. The only ingredient on the label should be pumpkin. Plain pumpkin is best so you can build the sweetness and flavour yourself. Since pumpkin pie filling has sugar and spices added to it, the flavour of the bars will be off.
The recipe, as-is, is already very cake-like but it's a little denser than most people like their cakes. If this is not a problem for you, then by all means, use the recipe to make it a cake! If you are looking for a fluffier, lighter pumpkin cake, I hope to have a recipe for you sometime in the future.
Instead of altering this recipe to make cupcakes or muffins, use my vegan pumpkin muffins recipe and my vegan gluten-free pumpkin cupcakes recipe.
Want more easy vegan desserts? Have a look through all of my vegan dessert recipes for more ideas!
If You Make This Recipe...
Please let me know, I'd love to hear all about your delicious pumpkin bars! You can do so by leaving a star rating and a comment below. You can also share a picture on Instagram and tag me (I'm @delightfuladventures) so I can see them!
If You Like This Recipe...
You may like these other easy vegan fall favourites!
Vegan Pumpkin Bars
Suggested Equipment:
Ingredients:
- 2 tablespoons ground flax seeds
- 6 tablespoons water
- 1 ½ cups (210g) gluten free flour blend OR all-purpose white flour (if using all-purpose flour, use 1 ½ cups (188g), **please see important notes about flour below**
- 2 teaspoons baking powder
- ¾ teaspoon baking soda
- 1 tablespoon pumpkin pie spice (see note below)
- ¼ teaspoon salt
- ¾ cup (180g) unsweetened pumpkin purée (see note below)
- ¾ cup (113g) coconut sugar (or ⅔ cup (133g) brown sugar, see note below)
- ¼ cup (60ml) oil
- 1 teaspoon vanilla extract
- 1 recipe vegan cream cheese frosting (see note below)
Instructions:
- Preheat oven to 350°F (177°C).
- Line an 8" x 8" square baking pan with parchment paper and make an overhang on all sides so removing the bars will be easy, set aside.
- Prepare your flax eggs by whisking together ground flax seeds and water. Set aside to thicken.
- In a large bowl, add the flour, baking powder, baking soda, pumpkin pie spice, and salt. Whisk well to combine and set aside.
- In a medium bowl, add the pumpkin purée, sugar, oil, vanilla, and flax eggs. Mix well until everything has combined.
- Gradually add the dry mixture to the wet mixture and stir with a wooden spoon until a thick batter has formed. Don't over-mix.
- Using a rubber spatula, scrape the batter into the prepared baking pan, spread it evenly, and smooth out the top.
- Bake for 23 minutes, until a toothpick inserted into the center comes out clean. Take care not to overbake.
- Remove from the oven and place the pan on a cooling rack. Let the pan sit for 10 minutes.
- After 10 minutes, using the parchment overhang, carefully remove the cake from the pan, and place it on a cooling rack. Cool completely before frosting, slicing, and serving.
- While the bars are cooling, prepare the cream cheese frosting. Once fully cooled, frost (make the layer as thick or thin as you'd like and save any leftover frosting for another recipe).
- Slice the bars into 9 (or more) squares.
Recipe Notes:
- Please read all of the information and FAQ info above, as well as the notes below before making this recipe.
- This recipe makes 9 bars but you can cut the pieces smaller if you'd like.
- The cup amount for both types of flour is the same but the weights are different because they have different properties and densities. If you are baking by weight, please take note of each weight and weigh your flour correctly.
- If you are making the vegan gluten-free version, it's important to know that different gluten-free flour blends use different ingredients and ratios, so results will always vary if you substitute. I have never used any other brand of flour to make this recipe (other than Bob's Red Mill Gluten Free All Purpose Baking Flour (Amazon link) in the red bag, NOT the blue bag), so please know that your results may not be the same as mine if you substitute with another gluten-free flour blend. This recipe will NOT work with coconut flour or any other single gluten-free flour.
- If you don't have pumpkin pie spice, use the following in its place: 2 teaspoons ground cinnamon, ½ teaspoon ground nutmeg, and ½ teaspoon ground ginger.
- Use unsweetened pure pumpkin purée for this recipe, NOT pumpkin pie filling. You can use canned purée or you can make homemade pumpkin purée. If you do not have access to pumpkin, you can use a different puréed squash, like butternut squash. If you're using homemade purée and it's runny, not firm, line a colander with cheesecloth and put your purée in. Place the colander over a large bowl and let it sit for 30-60 minutes so some of the extra moisture drains out.
- Brown sugar can be used instead of coconut sugar, however, each type of sugar calls for a different amount, so make sure to use the correct amount for the type you are using.
- Any type of neutral-flavoured oil can be used, such as safflower or sunflower. Melted coconut oil can also be used, but if you do use coconut oil, make sure that all of your ingredients are at room temperature so it doesn't harden when it's added to the recipe.
- I recommend dairy-free cream cheese frosting for the bars, but you can use whatever type you'd like. Find other vegan frosting recipes here. If you don't want to use frosting, that's okay, you can dust the tops of each slice with powdered sugar just before serving or you can leave the tops plain.
- Storing Leftovers: Store leftovers in an airtight container in the refrigerator for 5-6 days, the gluten-free version will keep for 4 days. Serve cold or bring to room temperature before serving. If you are not frosting the bars, they can be kept at room temperature.
- Freezing: Once fully cooled, don't slice into bars, and don't frost, instead, wrap the cake tightly with plastic wrap so it's airtight, place it in an airtight container or freezer bag, and freeze it for up to two months. When you're ready to serve, thaw in the refrigerator overnight or at room temperature, then frost.
- Nutrition info is based on 1 of 9 bars made with gluten-free flour, coconut sugar, and without frosting and with the recipe made as written. The bars made with all-purpose flour have a calorie count of 189 per serving. Info is only to be used as a rough guide. Click to learn how nutrition info is calculated on this website.

Leave a Reply