This page may contain affiliate links. Click to learn more. As an Amazon Associate I earn from qualifying purchases.
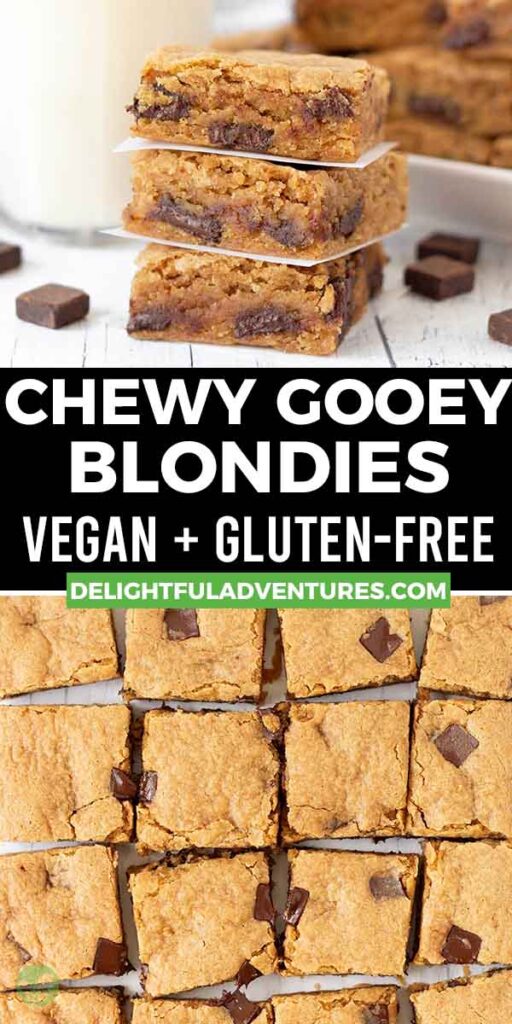
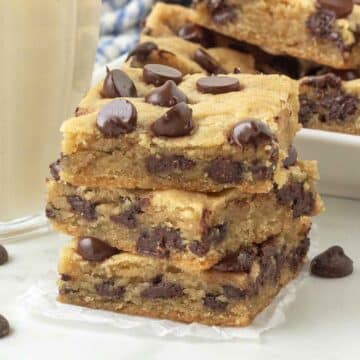
The most delicious and easy-to-make chewy vegan gluten-free blondies also happen to be eggless, and dairy-free!
To make them, all you need is a few ingredients and you’re on your way towards a batch of the best from-scratch blondies. Chocolate chunks (or chocolate chips) make them extra gooey, all the details are below.

Save This Recipe!
In a hurry? Drop your email below, and this recipe will be sent straight to your inbox for later. You'll also get fresh recipes every week! You can unsubscribe anytime.
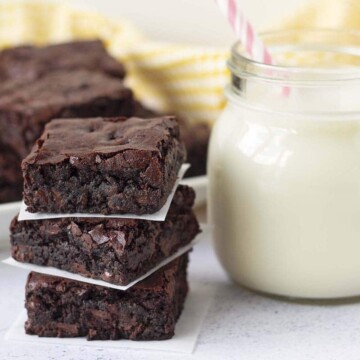
Have you ever had a blondie? If you haven't, get ready to meet these chewy, gooey vegan gluten-free blondies. They'll quickly become one of your new favourites! (They're one of mine!)
If you're not familiar with blondies, they're the more mellow cousin of a fudgy, chocolaty brownie, which is why they're often referred to as "blonde brownies" or "non-chocolate brownies."
But it's not a matter of just removing the cocoa powder from a brownie recipe, and you magically have blondie bars, it's a little more complex than that because there's a specific flavour balance they must have.
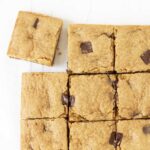
The taste of a blondie is more on the rich butterscotch side with a hint of vanilla. And the texture of these blondies? The center squares are chewy, dense, gooey, and moist, while the outer squares are the same but with crisp outer edges. Dessert perfection, right?
So are you ready? Good. Let's talk about how you can make these eggless gluten-free blondies, too, so you can rediscover an old favourite OR add a new favourite to your baking list!
A Quick Look At What You'll Need

Notes on Ingredients and Options
(NOTE: Only ingredients with special notes are listed below. The full ingredient list can be found in the recipe card.)
Gluten-Free Flour Blend – To make these blondies with gluten-free flour, you'll need Bob’s Red Mill Gluten-Free 1 to 1 blend (the one in the blue bag)
Vegan Butter – This ingredient is essential because, along with the dark brown sugar and vanilla, it creates the blondie’s signature butterscotch flavour. I haven’t tested coconut or vegetable oil, so stick with vegan butter for the intended flavour.
Dark Brown Sugar – This ingredient is essential and can’t be substituted with other sugars or liquid sweeteners. I tested with light brown sugar, but that gave them more of a chocolate chip cookie-like flavour, so use dark brown sugar (it has a deeper, stronger flavour than light brown sugar), so you get the classic blondie taste.
Not all sugar is vegan, some are processed using animal bone char, so to be sure that yours is, buy a brand that’s labelled vegan or organic (organic sugar is not processed using bone char).
Baking Powder – This gives the blondies a tiny bit of lift, but not so much that it makes them fluffy and cake-like. Don’t omit this ingredient, or the texture will not turn out right. It cannot be substituted with baking soda.
Flax Egg - In my testing, I found that a flax egg provided the best result, but if you don't or can't have flax seeds, a chia egg will work as a replacement.
Chocolate Chunks – I always use vegan semi-sweet chocolate in my baking. Using chocolate chunks in this recipe contributes to the gooey texture.
Read this article to find a list of vegan chocolate chip brands to look for.
The Simple Steps
(Note: I’ve outlined the step-by-step on how to make this recipe here, but find the full recipe, ingredients, and directions at the end of this post.)
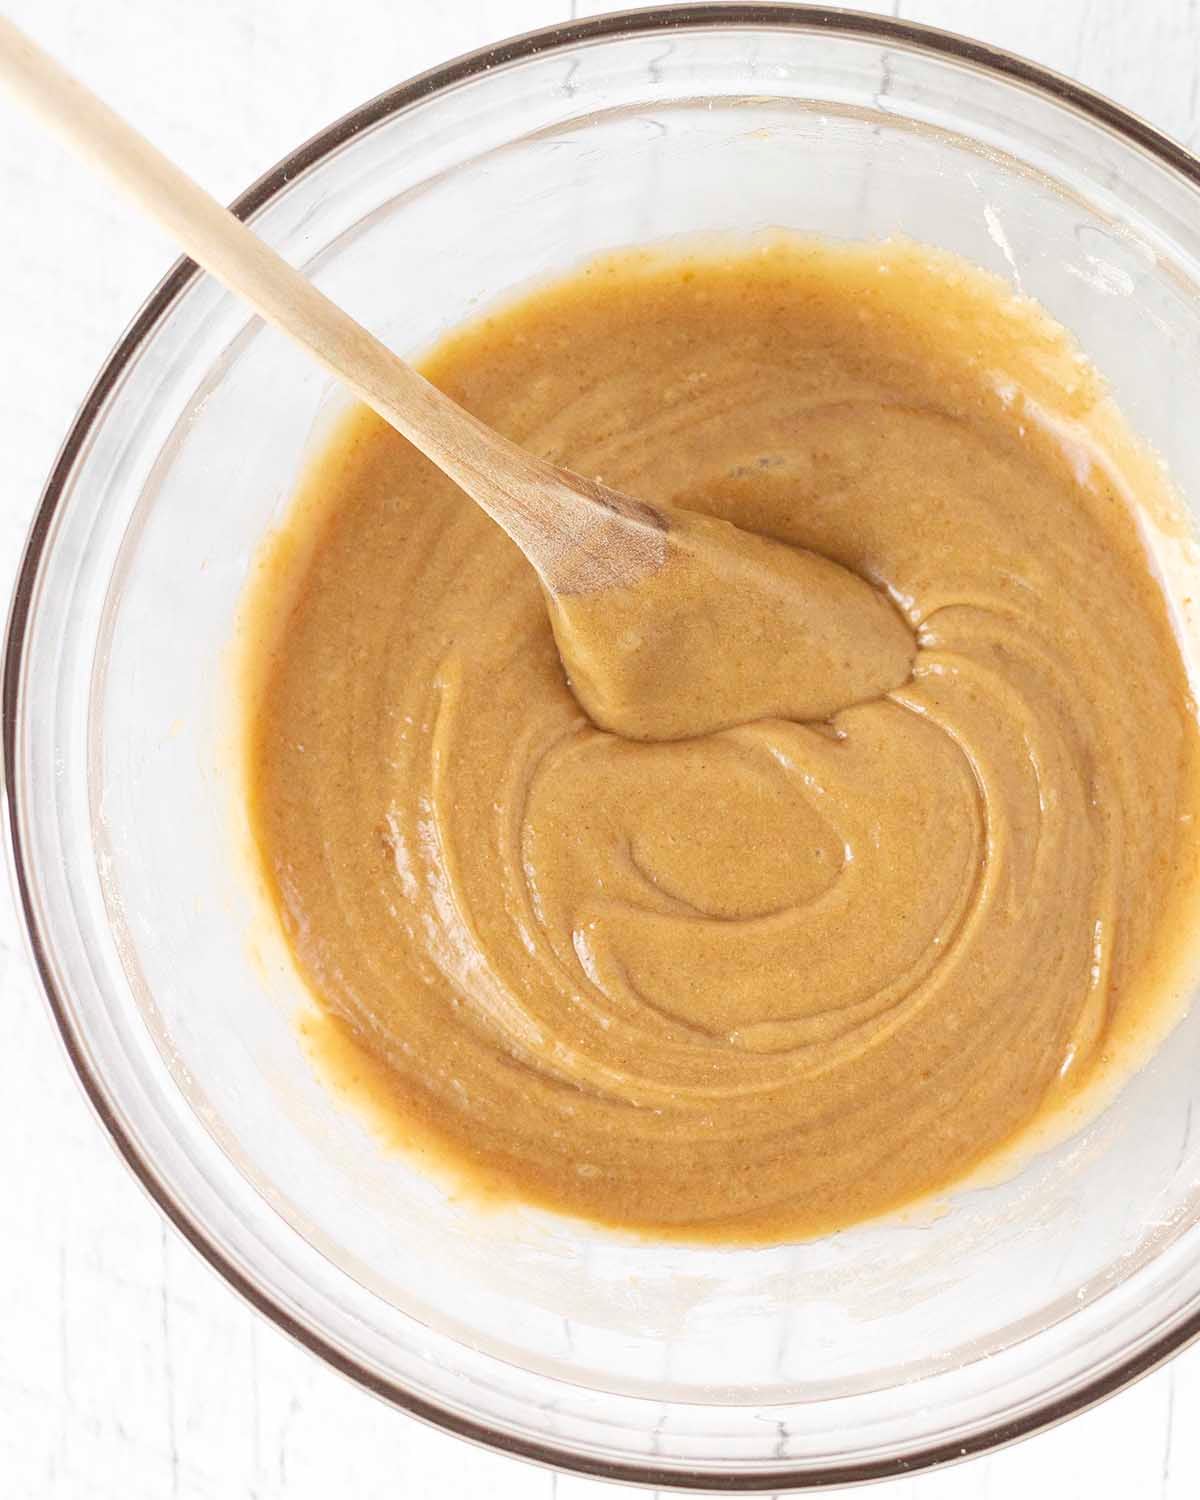
Mix the dry ingredients in one bowl and the wet in another, then combine. The batter will be thick. Stir just until combined to avoid cakey blondies.
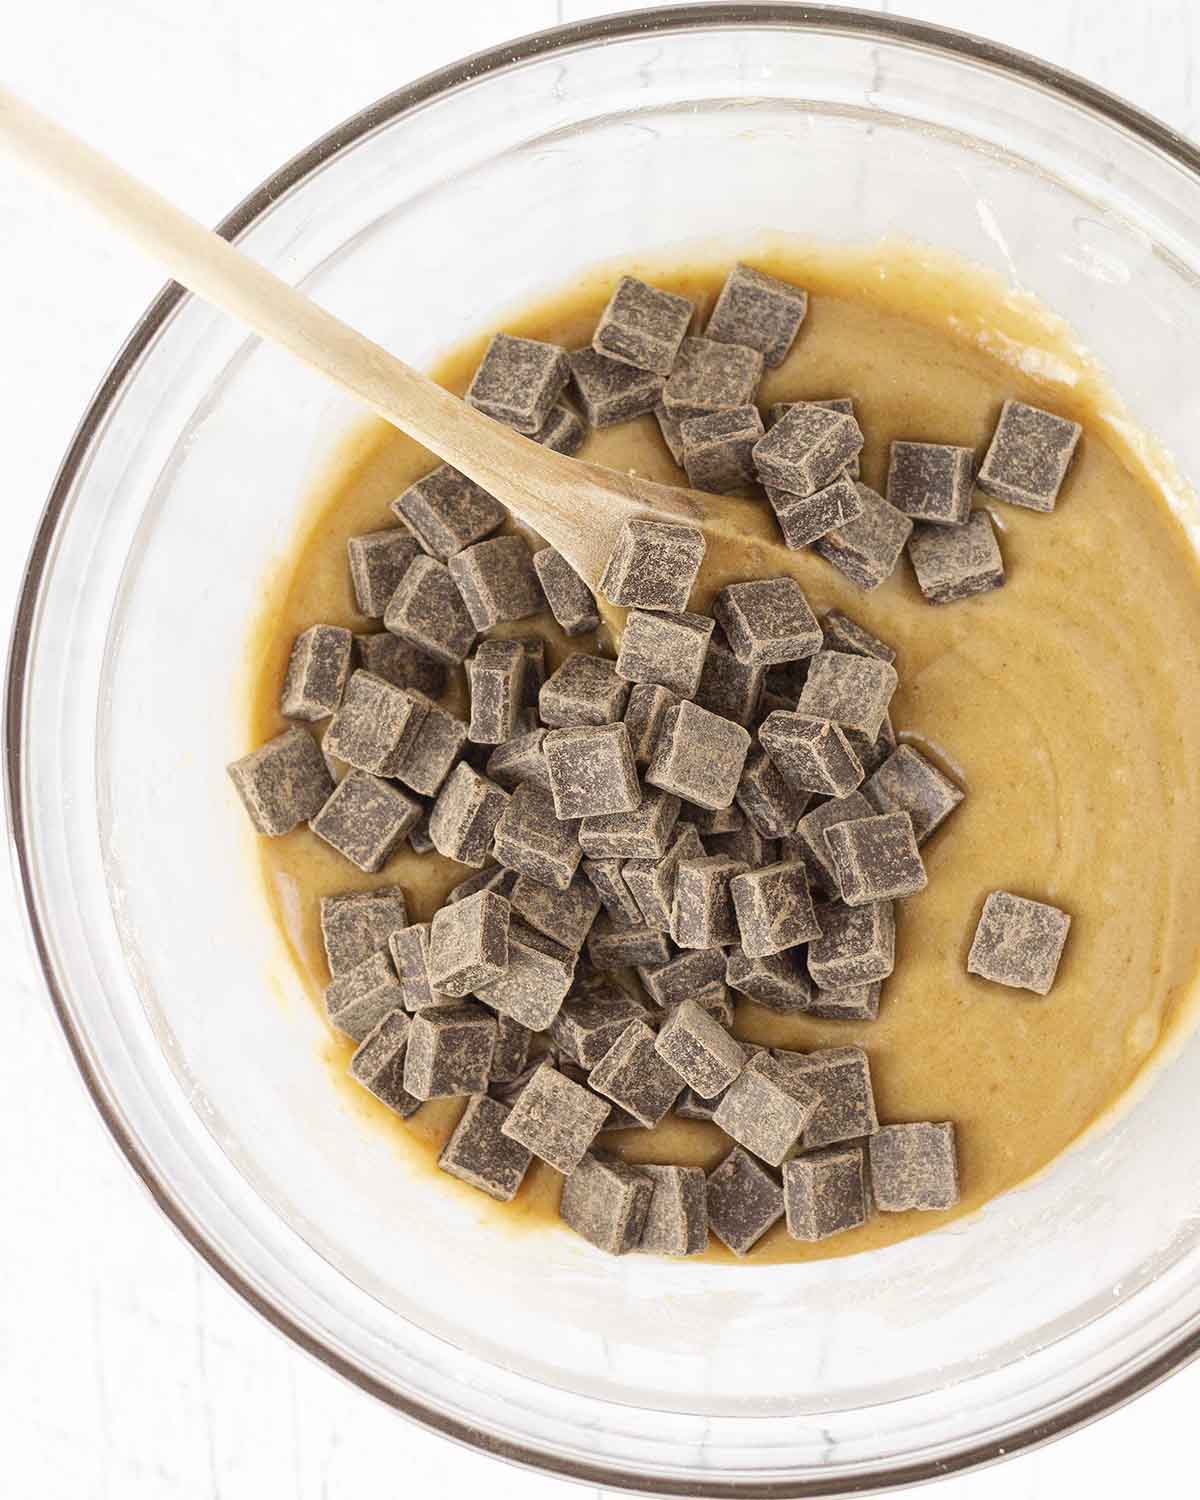
Add the chocolate chunks or chips to the batter.
Recipe Tip
For a crackly, brownie-like top, mix the wet ingredients long enough for the sugar to fully dissolve before adding the dry ingredients. Using hot, melted butter helps. (This step is optional and comes down to personal preference!).

Fold the chocolate in until it’s evenly distributed throughout the batter.
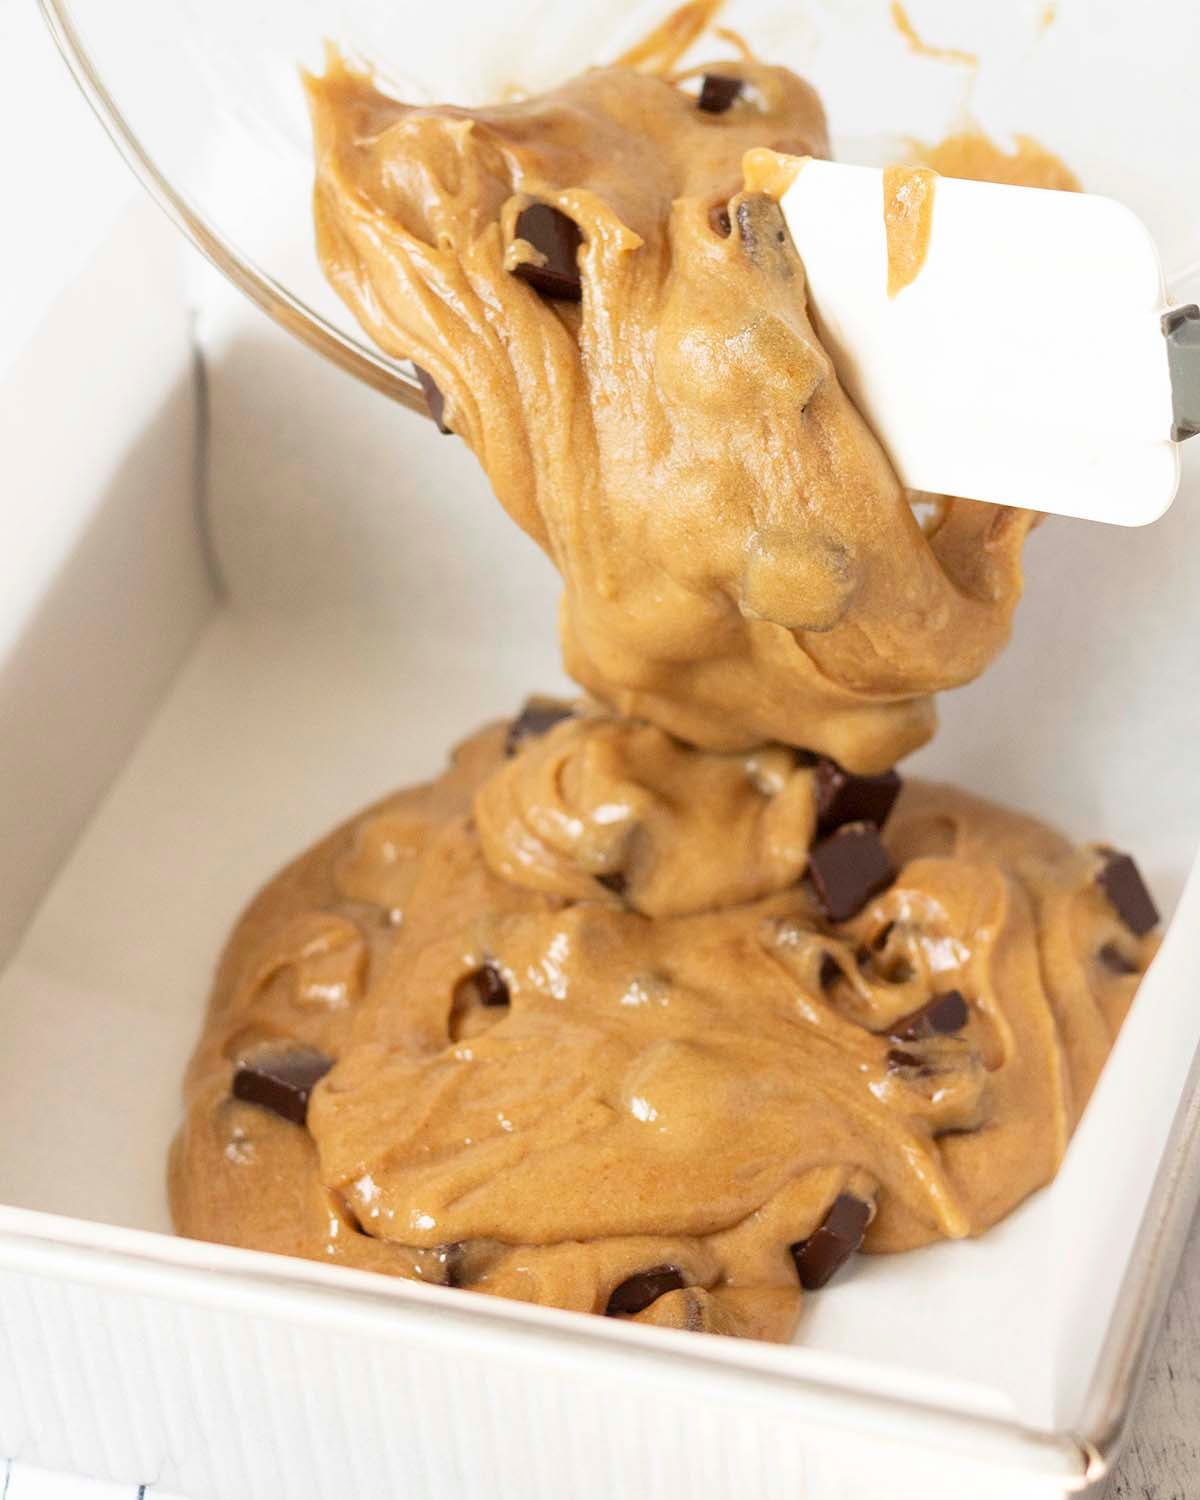
Transfer the batter to your prepared baking pan. Spread it evenly, smooth out the top, and then it’s time to bake!
Blondie Baking Pan Tip
I always bake blondies in a light-coloured metal pan, see the "Suggested Equipment" section in the recipe card for the one I use and recommend. Metal pans give crispier edges than glass. The baking time in this recipe is written for metal. You can use a glass dish for softer blondies, but you’ll need to add a few extra minutes since glass heats and cools slower. Because glass also holds heat longer, remove the blondies from the dish a minute or two after baking so they don’t keep cooking and turn cakey.
How to Know When They’re Done
Follow the time stated in the recipe. You’ll know they’re done when they look a little dry around the edges and on top. The middle should feel soft but firm.
You can do the toothpick test, but you aren’t looking to pull out a clean toothpick, instead, you want to see crumbs on the toothpick. That will mean that the inside will be chewy, just the way it should be.
If you see any streaks of batter, you’ll need to bake for a few more minutes, and because there are chocolate chunks, seeing shiny chocolate streaks come out on the toothpick (along with the crumbs and NO batter) is just fine.

Slicing Tip
Allow to FULLY cool at least 1.5 – 2 hours before slicing so they can set up. Slicing too early will cause them to fall apart. You can also run your knife under hot water, dry it, and then slice to get even cleaner slices. Repeat each time you cut.

Tips, Tricks, and More
- Measure and have all your ingredients ready to go before starting. This will make the process run smoothly, quickly, and easily.
- Measure your ingredients correctly. Please read my article about how to measure flour correctly. I highly recommend using a scale and my weight measurements to make this recipe. (See the "Suggested Equipment" section in the recipe card for the scale I use and recommend.)
- Line your pan with parchment paper or the blondies will stick to the pan! Lining the pan with parchment and leaving an overhang will also make it quick and easy to remove them from the hot pan.
- Read this post from top to bottom before you start. I’ve included a lot of tips and tricks so you get things right. Also, read through the actual recipe before getting started.
- Follow the recipe exactly as it’s written for the very best results.

Vegan Gluten-Free Baking Tip
Are you new to vegan gluten-free baking? If so, be sure to read all of my vegan gluten-free baking tips!
When You Bake Them...
Please let me know by leaving a comment and rating below. You can also take a picture and share it on Instagram. Don’t forget to tag me so I can see your remake! (I'm @delightfuladventures on Instagram.)
Soft & Chewy Vegan Gluten-Free Blondies
Suggested Equipment:
Ingredients:
- 1 tablespoon ground flax seeds
- 3 tablespoons water
- 1 ¼ cup (185g) gluten free flour **see important notes about flour below**
- ½ teaspoon baking powder
- ¼ teaspoon salt
- ½ cup / 1 stick (113g) unsalted vegan butter (melted)
- ¾ cup (150g) dark brown sugar
- 2 teaspoons vanilla extract
- ¾ cup (135g) chocolate chunks
Instructions:
- Preheat oven to 350°F (177°C).
- Line a square 8" x 8" baking pan with parchment paper, set aside.
- Prepare your flax egg by whisking together ground flax seeds and water. Set aside to thicken.
- In a small bowl, add the gluten-free flour, baking powder, and salt. Whisk well to combine and set aside.
- Add melted butter and dark brown sugar to a medium bowl, and mix well until combined. Add the flax egg and vanilla and mix again, until all sugar granules have almost all dissolved.
- Add the flour mixture to the bowl and mix with a wooden spoon until the wet and dry ingredients have fully combined. The batter will be thick. Don't over mix.
- Add chocolate chunks and stir until they have combined with the batter. Don't over mix.
- Using a rubber spatula, scrape the mixture into the prepared baking pan, spread it evenly, and smooth out the top.
- Bake for 22-23 minutes, until the center is set and a toothpick inserted into the center comes out with moist crumbs and no wet batter (be careful not to overbake or they will turn out cakey!)
- Remove from the oven and let sit for no longer than 2 minutes. Using the parchment overhang, remove from the baking pan and place on a cooling rack.
- Cool completely, at least 1.5 - 2 hours, before slicing.
Recipe Notes:
- Please read all of the information above, as well as the notes below before making this recipe.
- Different gluten-free flour blends vary in ingredients and ratios, so your results may differ if you substitute. This recipe was tested with Bob’s Red Mill Gluten Free 1 to 1 Baking Flour in the blue bag (Amazon link), and the listed weight is for that blend. It will not work with coconut flour or any single gluten-free flour, it must be this blend.
- Storing Leftovers: Store for up to five days in an airtight container at room temperature. Keep in mind that when the blondies are sliced, they will start to dry out.
- Freezing for Later: It's best to freeze these blondies unsliced to prevent drying. Once fully cooled, wrap in plastic and store in a freezer bag or airtight container for up to two months. Thaw at room temperature, then slice. If freezing after slicing, wrap the squares individually or closely together, store the same way, and thaw at room temperature before serving.
- Nutrition info is based on 1 of 16 blondies with the recipe made as written and is only to be used as a rough guide. Click to learn how nutrition info is calculated on this website.
Cassandra says
Works great with coconut oil, too!
Gwen Leron says
Good to know it worked well for you with coconut oil, Cassandra! I'm happy you gave the recipe a try.
Cindy says
Made these today and I used a tart pan because I love the crispy edges on each individual "bite."
Delicious! Chewy, with the crunchy edges. They absolutely melted in my mouth.
I too, used coconut sugar instead of brown, as another user has posted. I use earth balance vegan butter.
Thank you for the recipe!!!! Keep 'em coming!
Gwen Leron says
This is wonderful news, Cindy! I'm so happy you loved them, enjoy what you have left! And yes, I plan to keep the recipes coming 🙂
Cassandra says
Hi! What is your preferred brand of vegan butter? Thanks!
Gwen Leron says
Hi Cassandra, I like using Melt sticks and if I can't find that brand, I'll use Becel sticks. I am in Canada and the brands are limited, if you are in the US, you'll have a bigger range to choose from. I hear many good things about Flora, Country Crock, and Miyokos vegan stick butter, although, I have not tried any of them myself. I hope this helps, let me know if you have any further questions.
Cassandra says
Thanks for this. I see now that you've addressed this question many other times throughout your website so sorry to create extra work for you 🙂 I am having a very good time making and eating your recipes!
Gwen Leron says
No worries at all, Cassandra! Enjoy the recipes and let me know if you have any other questions.
V says
Hi! I would like to try this recipe, however I don’t live in Canada/US, so we don’t have Bob’s Red Mill flour mix. Do you think it could work using half almond flour, half oat flour?
Thank you in advance!
Gwen Leron says
Hi there! I have not tried making it with an oat/almond flour blend, so I can't say for sure how it would turn out. Apologies for not being able to help you more with this but if you decide to experiment, I'd love to hear how things turn out.
Kristen says
These are incredible! Thank you so much! I only had about half a cup of the bobs 1:1 flour with xanthum gum (blue bag) so I used that plus the regular bobs (red bag) and replaced one tbsp of the flour with a tablespoon of arrowroot powder to help bind. I also used coconut palm sugar instead of brown sugar. They turned out great! Perfect texture and so delicious. Thanks again!
Gwen Leron says
You're welcome, Kristen! I'm happy you enjoyed them and I'm glad everything worked with your substitutions. Enjoy the rest!
J says
Hi! Do you think I could use 1/4 applesauce in place of the chia / flax egg instead?
Gwen Leron says
Hi! I haven't tried doing that with this particular recipe, so I'm not 100% sure how it would turn out. I think in this case, it may change the texture slightly, though. If you do experiment with it, please let me know how things turn out!
Gord Potter says
5+++. Made this recipe yesterday and they turned out AWESOME. Perfect texture, and taste. I followed your recipe to a T except I used a 9"x9" tin cake pan. I wanted to send a BIG thanks - for the hints and tips which were super helpful for a new vegan, Gluten Free cook like me, the links and extra information on the exact ingredients I needed ( super helpful since I have learned there are way too may types of flours - LOL- so your excellent detailed direction made sure I bought the right one), and the tips about letting the Blondies sit for 2 hours ( I would never have known that. I have tried so many vegan/gluten free recipes as I continue to learn and this is only the 3rd recipe that actually turned out for me because of the detail and thorough instruction - thanks again!!! I will try out your zucchini chocolate loaf next week. ( my daughter has Celiac's and is vegan so having a variety of tasteful meals for her is very important to me - now I have a great dessert too!! Cheers!
Gwen Leron says
Hi Gord! Your note made my day, you're welcome! I am so happy you gave the recipe a try and liked it, but especially happy that you have found recipes that work for your daughter. I'm also glad to know that all the details were helpful to you, I always aim to share everything necessary to make sure the recipe turns out the same for you as it does for me, since, as you know, vegan gluten-free baking can be tricky! I hope you love the zucchini chocolate loaf, too, and if you have any questions at all about my recipes, please always feel free to reach out. Take care, thank you so much for leaving your very kind note, and enjoy the rest of the blondies.