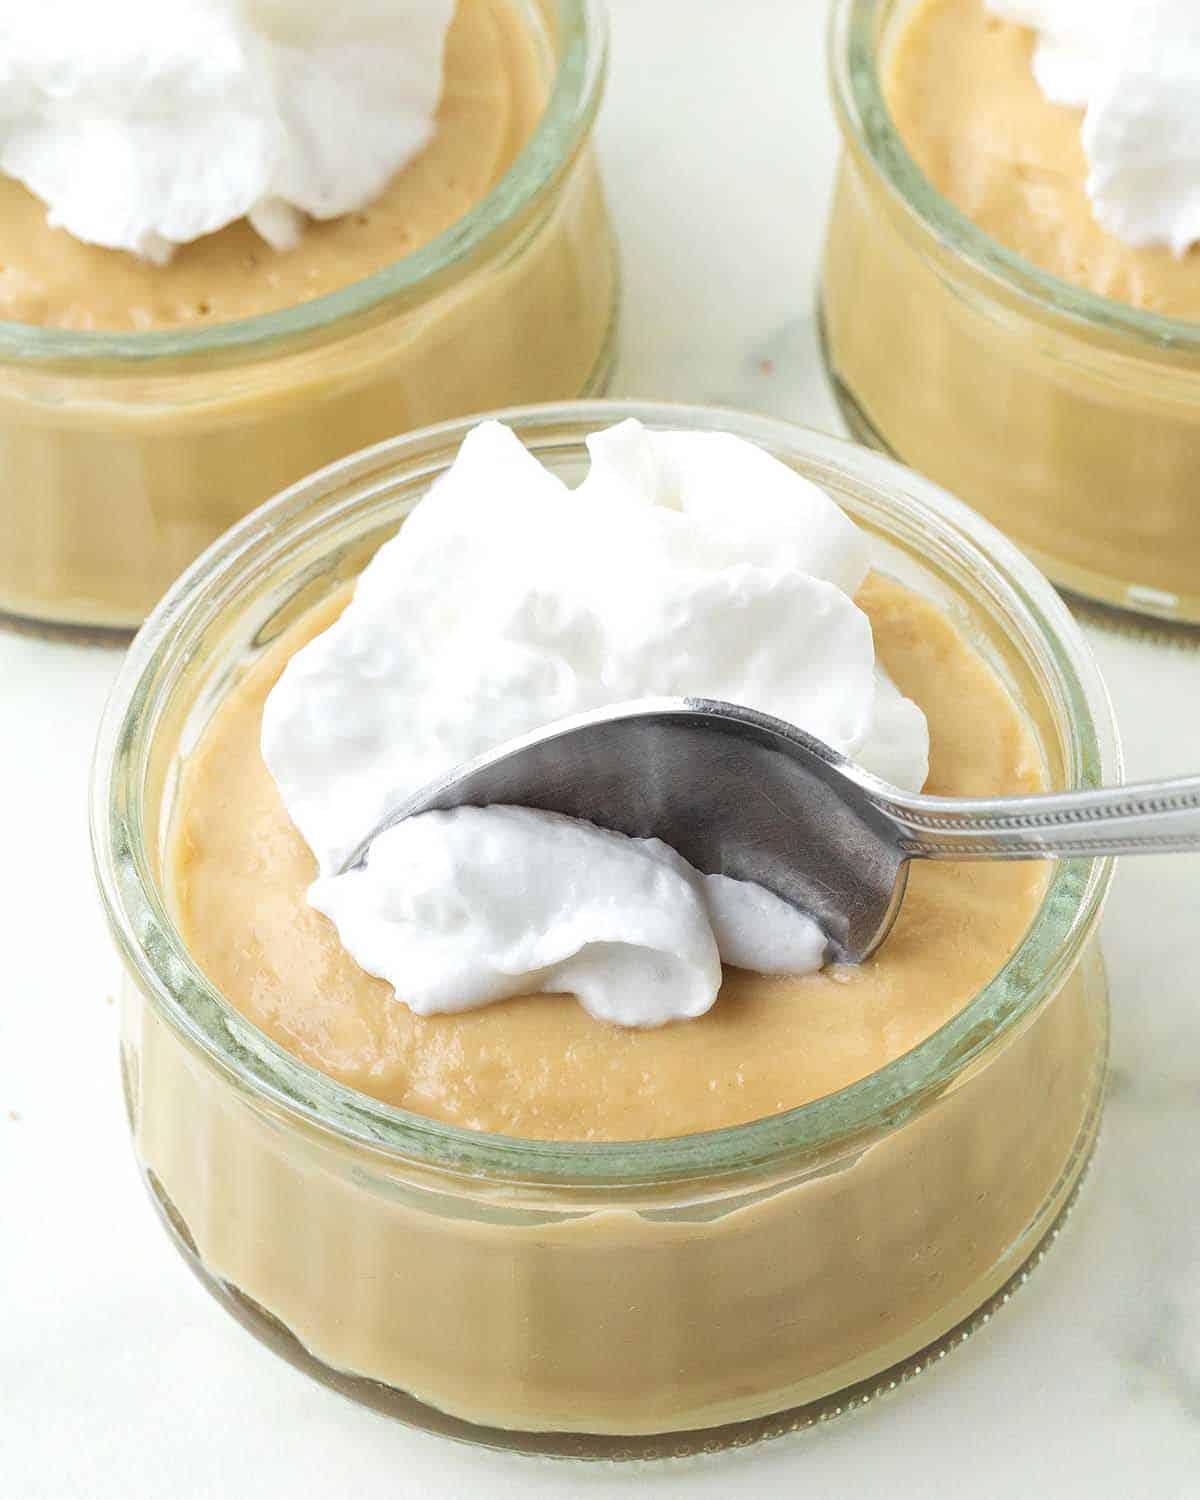
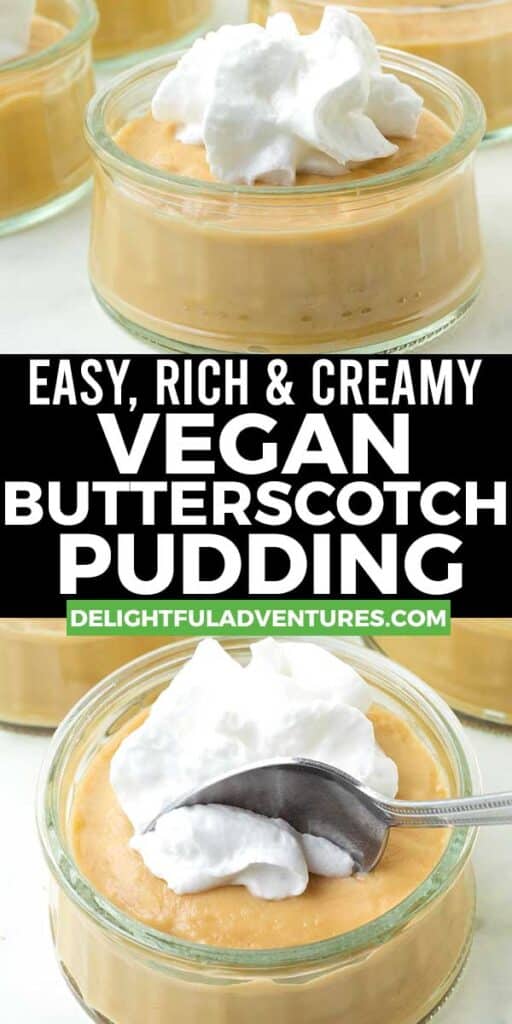
Homemade, creamy vegan butterscotch pudding that’s just like the comforting, old-fashioned version you remember except it’s dairy-free, egg-free, nut-free, and naturally gluten-free.
Save This Recipe!
In a rush? Don't have time to scroll through this page right now? Enter your email below and this recipe/article will be sent straight to your inbox so you can come back to it when you're ready. Plus, you'll receive delicious recipes every week! You may unsubscribe at any time.
If you love pudding as much as I do, you'll love this silky smooth, rich, crave-worthy vegan butterscotch pudding!
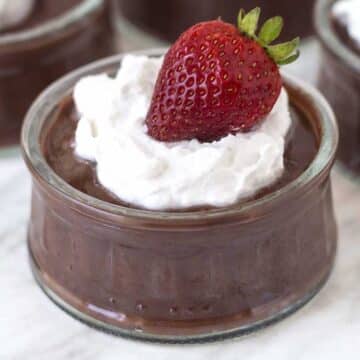
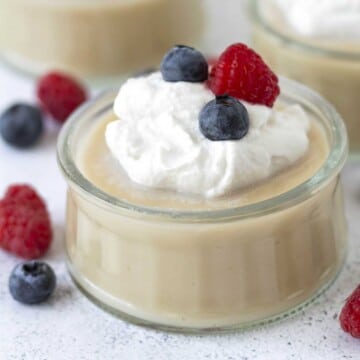
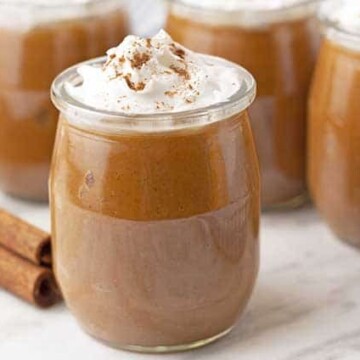
I've already shared my vegan chocolate pudding and vegan vanilla pudding, so adding butterscotch to the mix rounds out the top three classic, nostalgic flavours of pudding cups many of us grew up with in our lunch boxes.
But just in case you've never had butterscotch pudding and you're not sure what it tastes like, imagine caramel but with a more complex, deeper, richer flavour but in creamy pudding form. Caramel is made with white sugar, but this pudding is made with dark brown sugar which is how it gets that deep, decadent flavour.
Before you head down for all the details, check out and bookmark these other delicious easy pudding recipes that are all 100% vegan, too!
Ingredients You'll Need
You need just a few simple ingredients; I go through them below and I've included info about making substitutions.
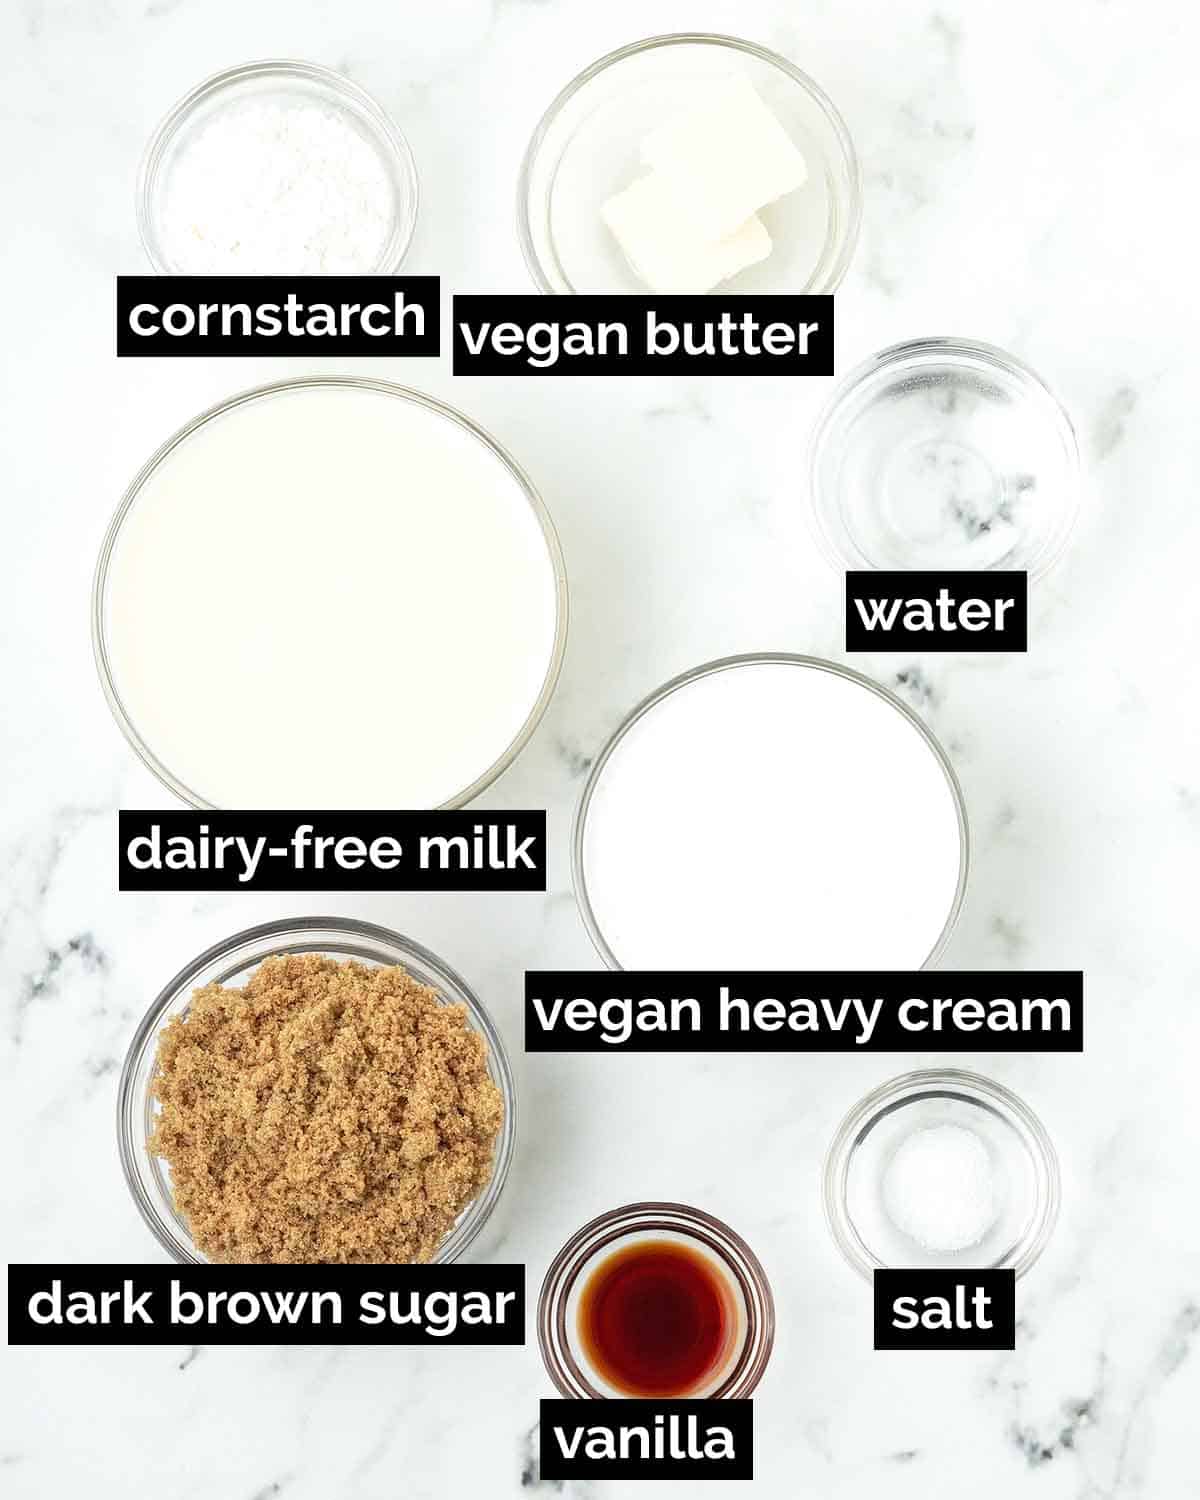
Ingredient and Substitution Notes
Unflavoured, Unsweetened Dairy-Free Milk - Any plant milk will work, I usually use almond milk or oat milk. If you will not be using vegan heavy cream (see the next ingredient!) and will be using all dairy-free milk, I recommend choosing a creamy one (like oat milk or soy milk) and not one that's overly thin and watery (like rice milk). I don't recommend using coconut milk to replace the milk, its flavour is too strong and will overpower the butterscotch flavour.
Unsweetened Vegan Heavy Cream or Vegan Whipping Cream (not vegan whipped cream) - You'll need a dairy-free heavy cream / whipping cream (they're the same but brands refer to them differently) which is the vegan alternative to dairy heavy cream. Silk, Country Crock, Becel, Califia Farms, and Violife are just a few brands that make it.
You can substitute more dairy-free milk or canned lite coconut milk for the heavy cream, but the coconut flavour from the milk will come through slightly (it will be stronger from full fat, which is why I recommend using lite). If you replace it with dairy-free milk, your pudding will not be as rich.
Dark Brown Sugar - This is a key ingredient; it plays a huge role in creating the butterscotch flavour. Dark brown sugar has a deeper, richer flavour than regular brown sugar because it contains more molasses.
If you don't have brown sugar, you can use regular light brown sugar, but in my testing, I found that it did not give a very strong butterscotch flavour to the pudding, so keep that in mind. If you have molasses on hand and can only use regular brown sugar, add ½ teaspoon of molasses to the pot when you add the sugar, water, and salt to help boost the flavour.
This recipe will not work with white sugar or a liquid sweetener (like maple syrup or agave), and I haven't tested any other types of sugar (like coconut sugar). I have not tested with any sugar alternatives, I'm not sure that they can caramelize the way that is needed for this recipe.
NOTE: Make sure the sugar you use is vegan (see the Recipe FAQ section below for more info).
Water - Just a little is needed to mix with the sugar so it melts evenly while it starts to caramelize. This also helps it to not burn as easily.
Cornstarch - This is the magic ingredient that thickens the pudding, without it, your pudding will be runny, so it cannot be left out. If you want to make your vegan butterscotch pudding without cornstarch, arrowroot starch (also referred to as arrowroot flour or arrowroot powder) can be used instead. I don't recommend using tapioca starch, it will thicken the pudding, but it does not give the best texture.
Vegan Butter - It contributes to the butterscotch flavour and makes your pudding extra smooth and silky. Salted or unsalted will both work fine. If you don't have vegan butter, it can be left out but your pudding will not have the same texture and flavour, it will still be great, just not the best it could be.
Salt and Vanilla Extract - Both are needed to balance and enhance the flavour of the pudding, don't leave either of them out.
For more delicious sweets, look through all of these mouthwatering easy vegan dessert recipes.
How to Make It
(Note: I’ve outlined the step-by-step on how to make this recipe here, but find the full recipe, ingredients, and directions in the recipe card at the end of this post.)
Start by whisking the milk, heavy cream, and cornstarch. Set aside.
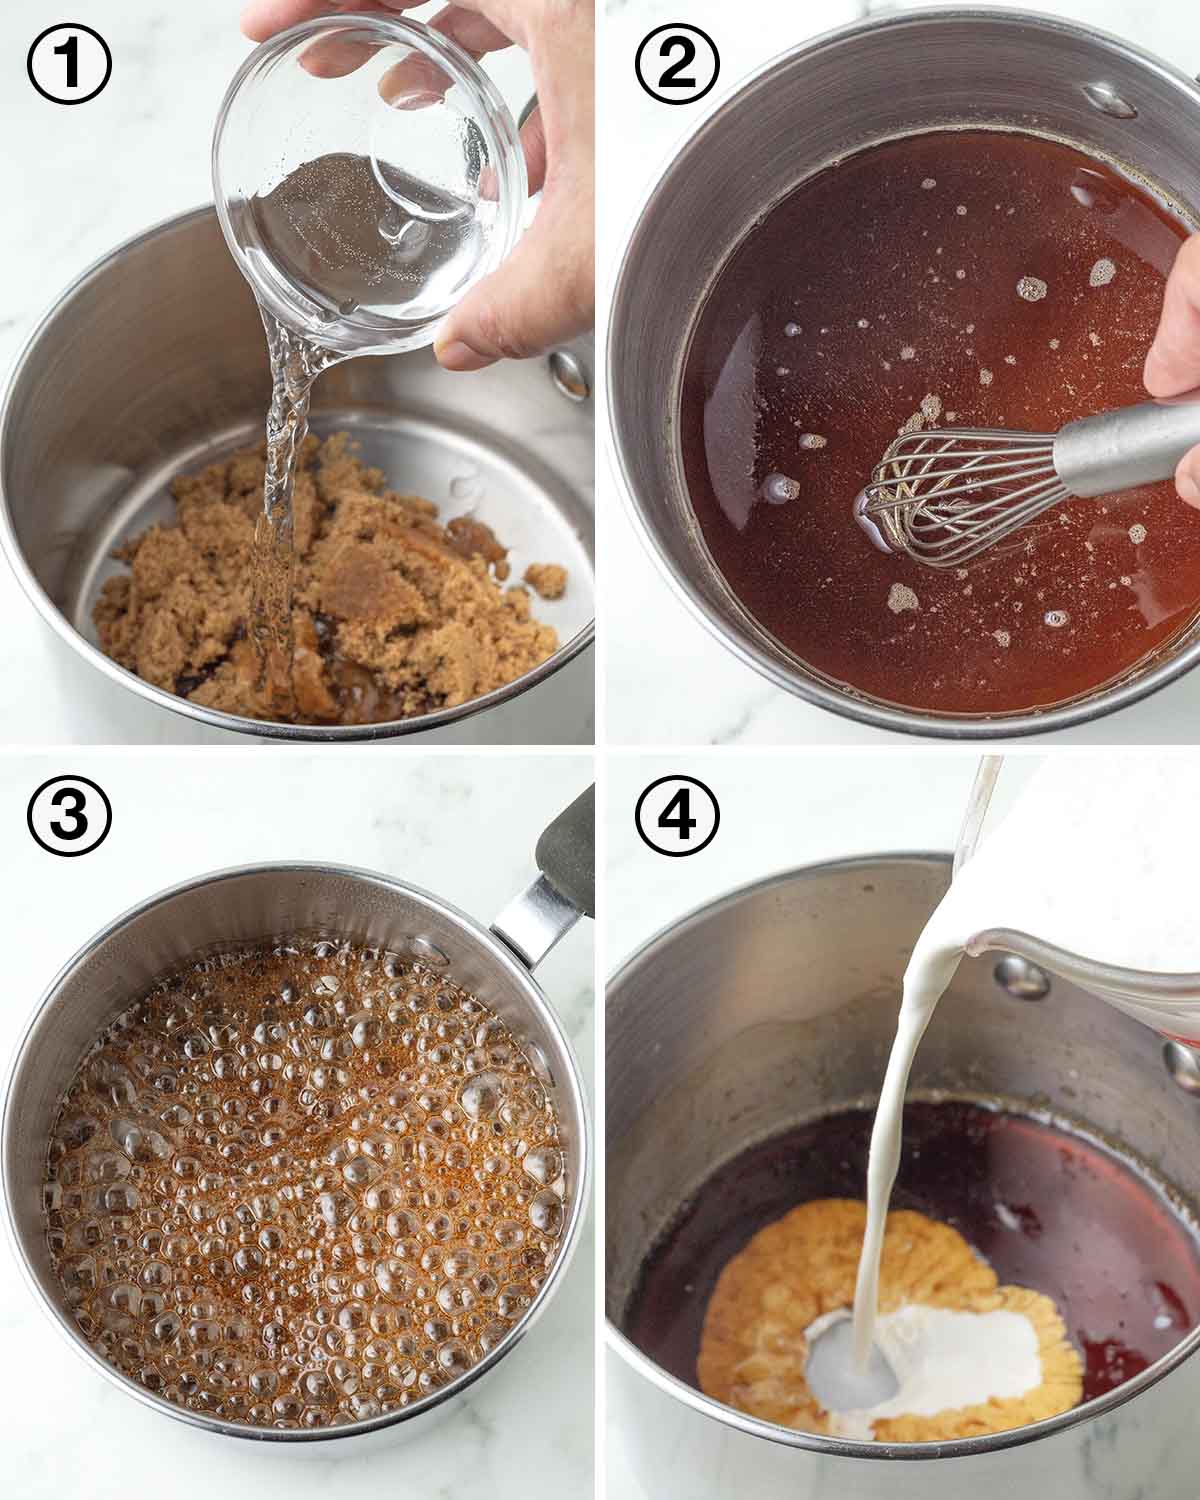
1. Add the sugar, water, and salt to a heavy-bottomed medium pot.
2. Whisk them together, making sure there are no sugar lumps before moving on to the next step.
3. Caramelize the mixture over medium-high heat for a few minutes, it will bubble a lot towards the end, but that's okay. There's no need to stir while it's bubbling unless it starts to rise too high.
4. Remove the pot from the heat and slowly add the milk mixture to the hot sugar mixture and whisk.
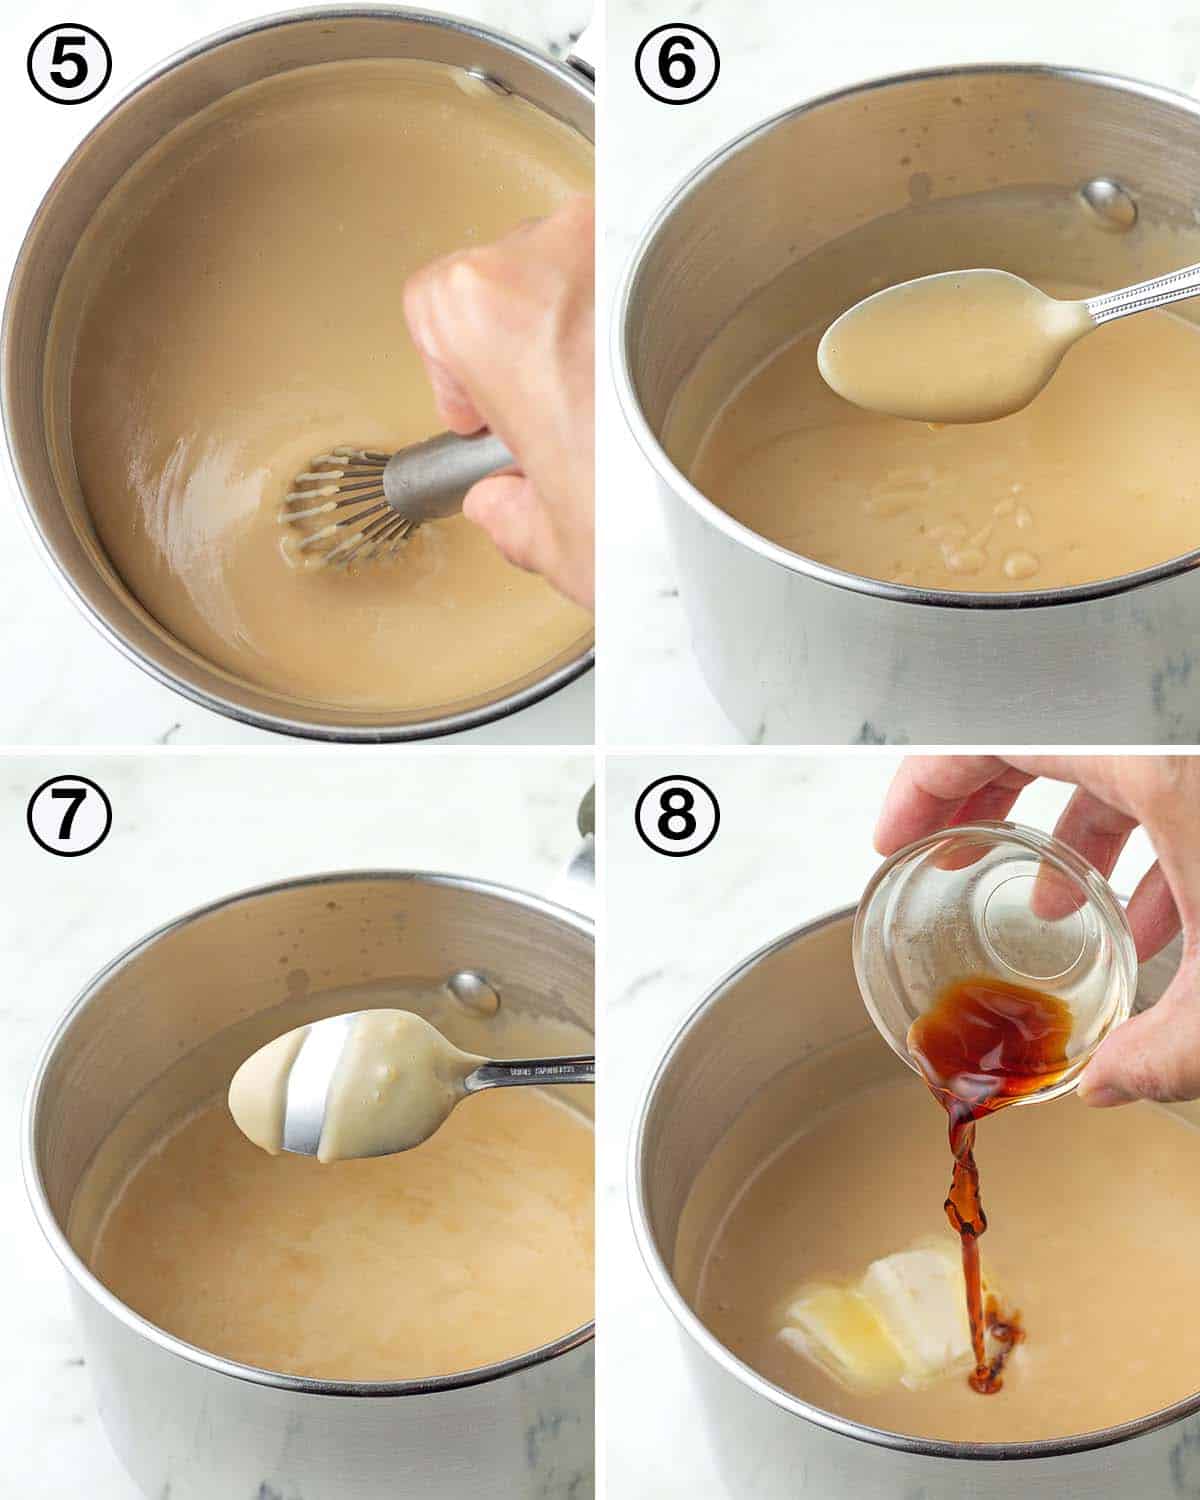
5. Place the pot back on the stove and whisk continuously until it has thickened. You don't want the mixture to boil, but it may start to bubble towards the end of the cooking time. If it does start to boil, lower the heat.
6. Once the pudding has thickened (it will be thick, but still runny for pudding), remove it from the heat. You'll know that it has thickened enough when it's glossy-looking and sticks to a spoon.
7. If you aren't sure if it's ready, test it. Dip the spoon into the pot and run your finger through the pudding on the back of the spoon, a clean line should remain. If pudding runs into the line and the line disappears, it's not ready.
8. Whisk in the vegan butter and vanilla.
Allow the pudding to sit in the pot to cool down for 15 minutes, and this is important, you need to whisk the pudding every few minutes during this rest time so it does not start to form a skin on top. It will thicken more as it cools.
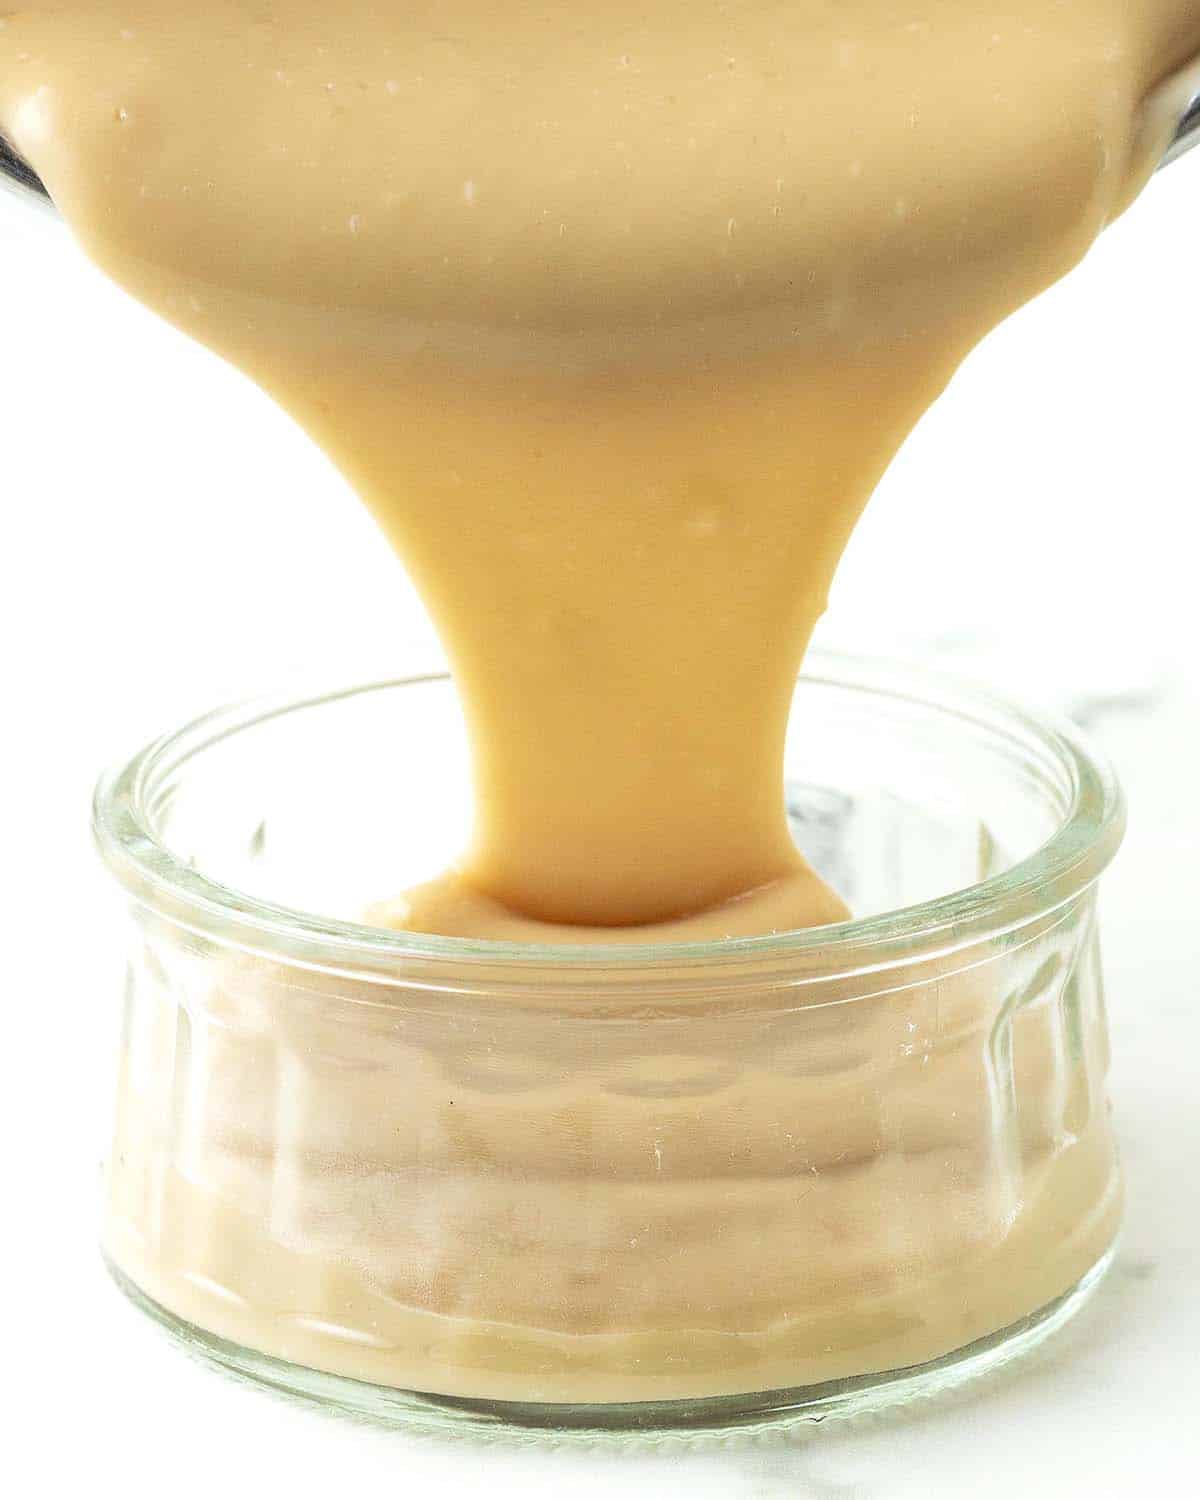
Once the rest time has passed, pour the pudding into a medium-sized glass bowl or evenly divide it between individual serving bowls. It will still be warm but not hot.
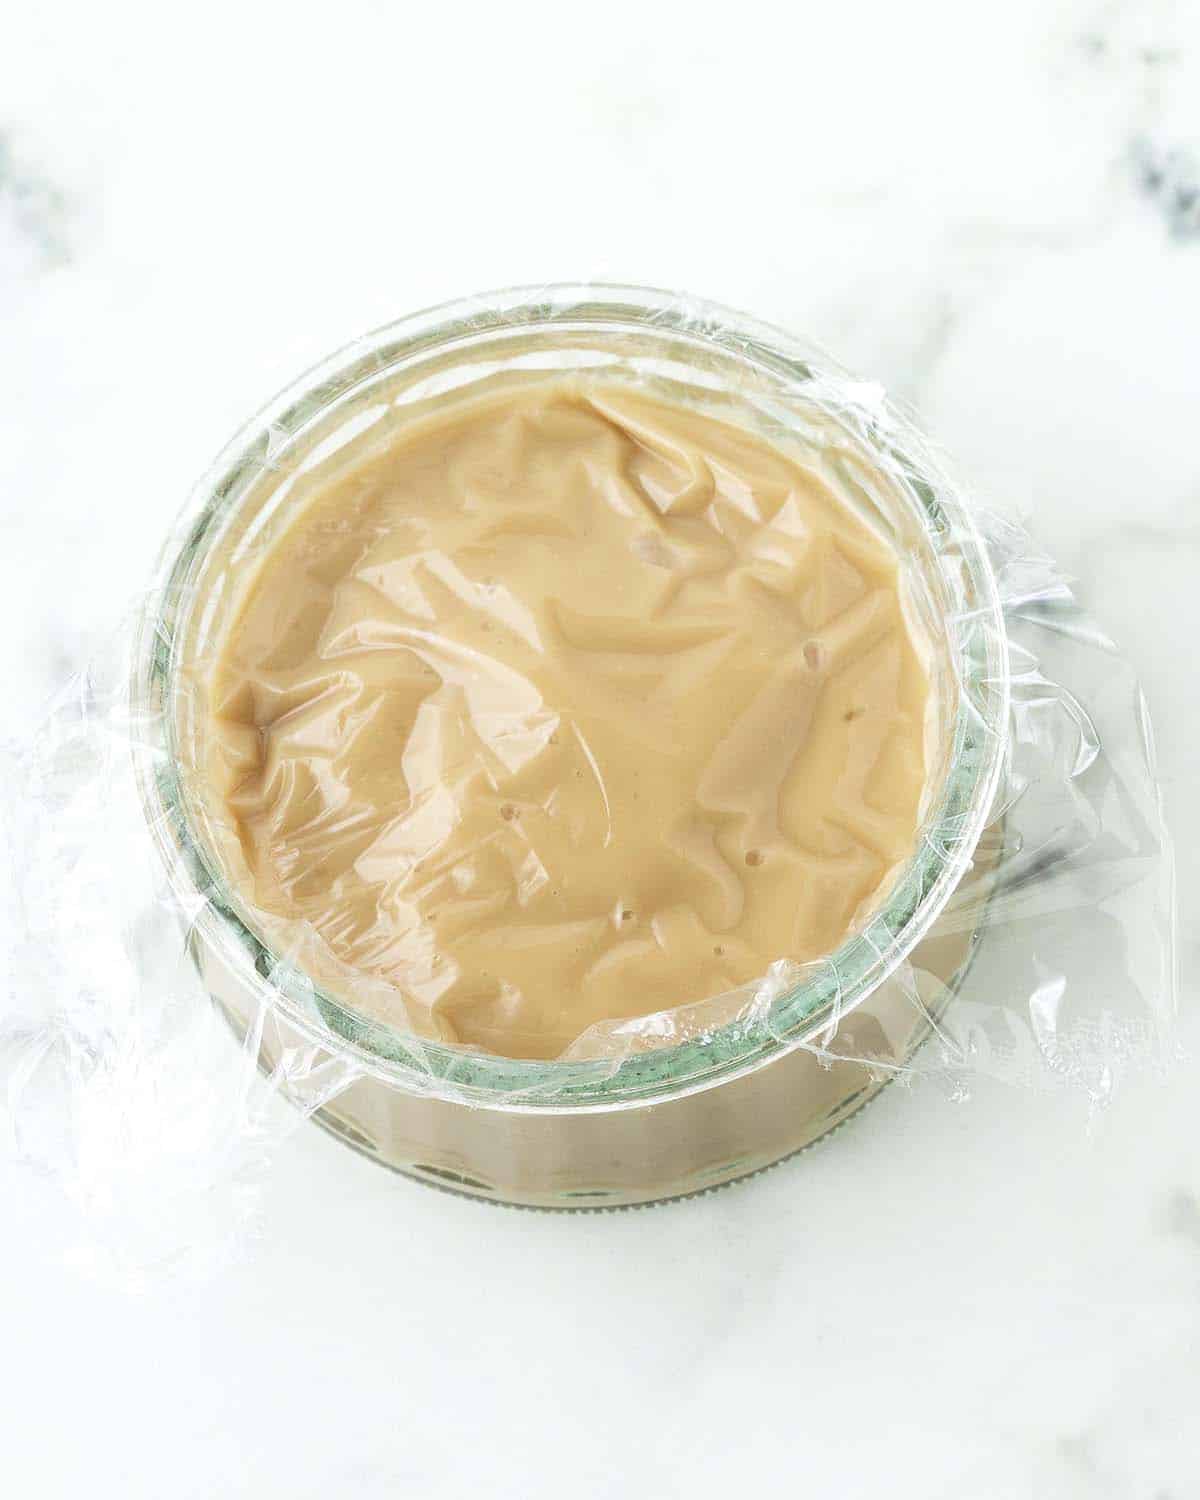
Lightly press plastic wrap directly on top of the pudding so the surface is fully covered. This will prevent a thick, rubbery layer (pudding skin) from forming on top as it chills.
NOTE: If you prefer not to use plastic wrap, see the "Tips for Success" section below.
Place the bowl(s) in the refrigerator and allow it to chill for at least two hours. It will continue to thicken when it chills. When you're ready to serve, remove from the fridge, remove the plastic, garnish and serve.
If you chilled it in one big bowl, whisk the pudding, and divide it into individual bowls.
Troubleshooting
This recipe was tested extensively, so if you make it exactly as it's written, your pudding will turn out perfectly, however, if any of the following occurs, here's how to fix them.
- If the pudding has not thickened after the cooking time stated in the recipe, do not add more cornstarch directly to the pot, it will clump up and not do anything to help.
- The first thing to try is to cook the pudding for another minute or two until it thickens properly.
- If that does not work, your cornstarch may not have been measured correctly, and not enough was added.
- To fix with more cornstarch, make a slurry by whisking 1 teaspoon of cornstarch with 1 teaspoon of water in a small bowl. Slowly whisk this cornstarch mixture into the pudding while it's still over the heat and whisk continuously until it has thickened properly. It's important to add the slurry while the pudding is still over the heat, it will not thicken if it's added when it's not being heated.
- If none of these steps work, it's possible that you cooked the pudding for too long. When cornstarch is heated for too long, it starts to break down and loses its thickening power. In this case, you will have to enjoy the pudding as it is, even though it's not as thick as it should be. Chill it as the recipe states because it may thicken a little more. It will still taste amazing; it just won't have the correct consistency.
2. If there are lumps in the pudding, whisk until they are gone. If that does not help and the pudding still has chunks or is grainy, run it through a sieve OR blend with an immersion blender.
How to Serve It
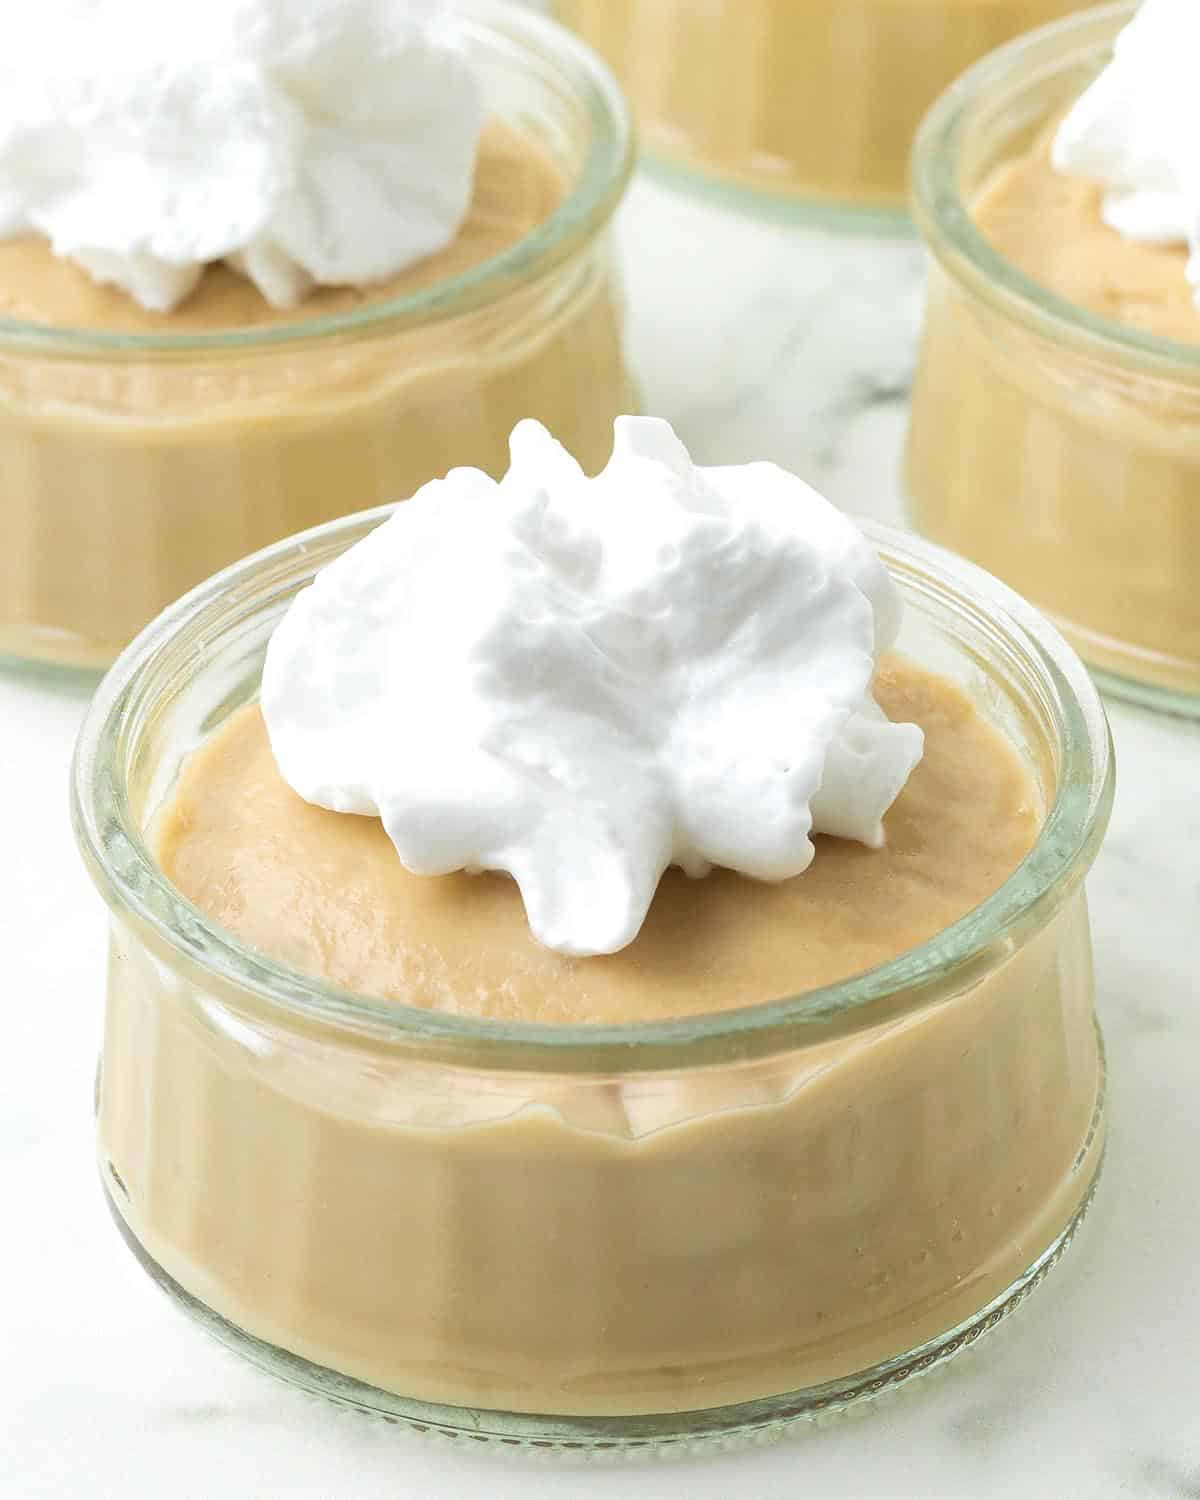
You can serve homemade pudding plain, with no toppings, or you can top this easy vegan dessert with any of the following:
- plant-based whipped cream
- caramel sauce
- crushed cookies
- chopped plain or candied nuts
- mini chocolate chips or shaved chocolate
- flaky sea salt
If you will be using store-bought whipped cream to top your pudding, read this article: "Is Cool Whip Vegan" to find some vegan brands to look for at your grocery store.
Storing Leftovers
You can store your butterscotch pudding in the refrigerator for 3-4 days.
Since this dessert contains cornstarch, it cannot be frozen because the texture will change and not be pleasant after it thaws.
Tips for Success
- Measure and have all your ingredients ready to go before starting. This will make the process run smoothly, quickly, and easily.
- Measure your ingredients correctly. I highly recommend using a scale (this is the one I have) and my weight measurements when making this recipe.
- Cornstarch can be difficult to measure properly since it clumps up, so I highly recommend using a scale especially for this ingredient, if you don't have one, use the scoop and level method outlined in my article about how to measure flour correctly. Too much or too little cornstarch will result in pudding that is way too thick or too thin.
- Make sure to use unsweetened, unflavoured milk and vegan heavy cream so you have complete control over the sweetness and flavour.
- Pay close attention to the sugar while it's caramelizing. It can burn if you let it go for too long and you will have to start over with fresh ingredients.
- Don't let the pudding boil. The pudding needs enough heat to activate and cook the cornstarch so it does its job of thickening, but it doesn't need to boil. If it does, that means the heat is too high. It may start to bubble when it's almost done, and that is okay, just as long as it isn't bubbling for the entire cooking time.
- Don't overcook. Cornstarch, when heated too long, will break down and lose its thickening power resulting in runny pudding, so as soon as the cooking time is done and it has thickened as it should (read through the post for all of those details) remove it from the heat.
Tips for Success (continued)
- Make sure to whisk constantly while the pudding is thickening. This is to ensure no lumps form and that it doesn't stick to the bottom of the pot. If lumps do form, it's very hard to get rid of them, so keep whisking!
- And make sure to whisk every few minutes while it's cooling in the pot. This prevents a skin from forming on top.
- If you prefer not to use plastic wrap, you can place the pudding in an airtight container, but keep in mind that a thick layer will form on top of the pudding. When whisked after chilling, it will make the pudding lumpy. The lumps at that point will not be able to be whisked back in, so to get rid of them, pass the pudding through a sieve and it will get back to being silky smooth.
- Don't skip the chilling time. The pudding will be thick after cooking, but it will continue to thicken while it chills.
- Read this post from top to bottom before you start. It's not difficult to make but I’ve included many tips and tricks I've gathered while testing this recipe, things you may not think of. Also, read through the full recipe before getting started.
- Follow the recipe exactly as it’s written for the very best results.
Recipe FAQ
This can happen for two reasons: 1) You used too much cornstarch. I highly recommend weighing cornstarch rather than scooping it. Too much will result in pudding that is too thick, rubbery, and tastes like cornstarch. 2) You did not cook the pudding long enough. Cook it for the proper amount of time so the cornstarch fully dissolves.
Not all sugar is vegan, some are processed using animal bone char, so to be sure that yours is, buy an organic brand (organic sugar is not processed using bone char) or one that is labelled vegan.
If You Make This Recipe...
I would love to hear how things went and how you liked it. Did this homemade butterscotch pudding remind you of what you used to have before going vegan?
Please leave me a star rating and comment below or post a picture of your remake on Instagram and tag me so I can see it. (I’m @delightfuladventures on Instagram!)
If You Like This Recipe...
You may like these other sweet vegan treats:
Vegan Butterscotch Pudding
Suggested Equipment:
Ingredients:
- 1 ¼ cups (313ml) unsweetened dairy-free milk (see note below)
- ¾ cup (188ml) vegan heavy cream or vegan whipping cream
- 3 tablespoons (24g) cornstarch (arrowroot starch can be used instead, see note below)
- ½ cup (100g) dark brown sugar
- 3 tablespoons water
- ¼ teaspoon salt
- 2 tablespoons (28g) unsalted vegan butter
- 1 teaspoon vanilla extract
Instructions:
- Add the dairy-free milk, vegan heavy cream, and cornstarch to a medium-sized bowl or a large measuring cup and whisk until the cornstarch has incorporated into the milk and there are no lumps. Set aside.
- Add the dark brown sugar, water, and salt to a medium saucepan. Whisk until combined and no lumps remain. If there are lumps, break them up with the back of a spoon.
- Place pot on medium-high heat for 6 minutes. The mixture will start to bubble around the 4-minute mark, continue boiling until you get to 6 minutes. Remove the pot from the heat.
- Whisk the milk mixture you made earlier once more and then slowly and carefully pour it into the hot sugar mixture, whisk the mixture until everything has combined and return the pot to the heat.
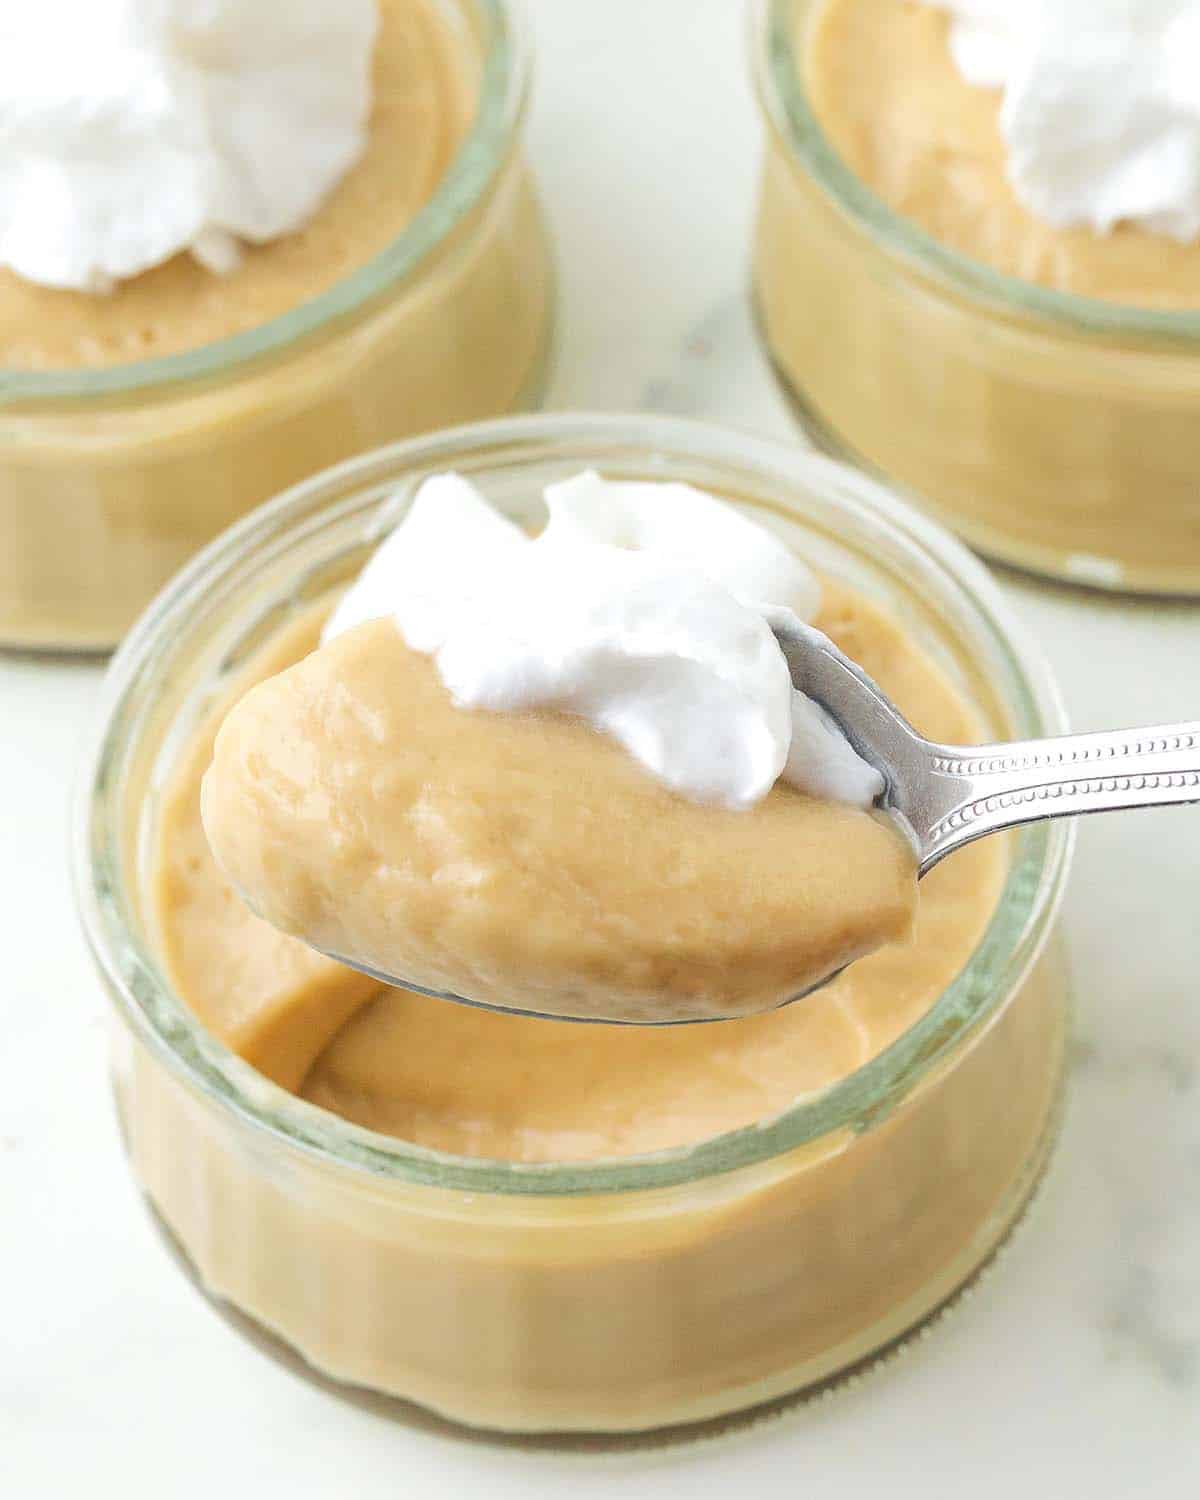
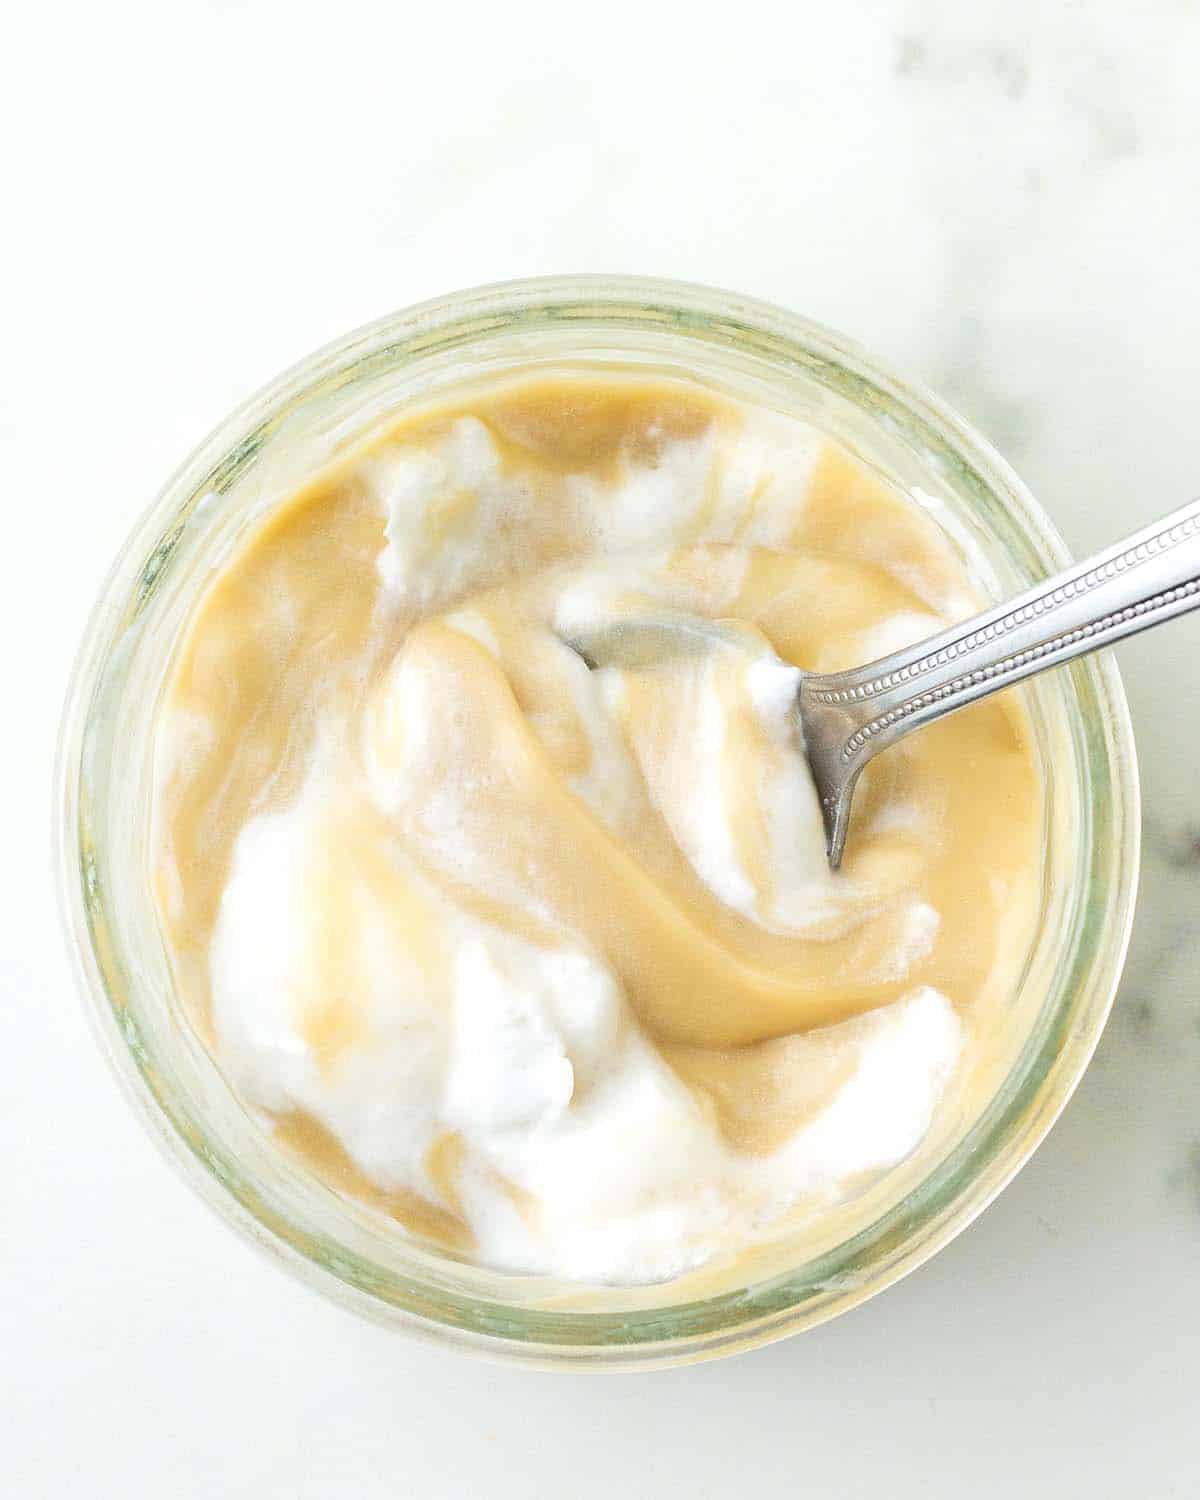
- Continuously whisk until the mixture has thickened enough to coat the back of a spoon without dripping off, this will take 5 minutes. (See images above)
- Remove the pot from the heat and add the vegan butter and vanilla, whisk until the butter has fully melted.
- Allow the pudding to sit in the pot to cool down for 15 minutes. IMPORTANT: Whisk the pudding every few minutes during the rest time so it does not start to form a skin on top.
- Pour pudding into a medium-sized glass bowl or evenly divide between individual serving bowls. Use a rubber spatula to get every last bit of the pudding out of the pot.
- Place plastic wrap directly on the surface of the pudding and place the bowl(s) in the refrigerator.
- Refrigerate pudding for at least 2 hours so it can set.
- When the chilling time has ended, if you refrigerated it in a medium bowl, remove the plastic and whisk the pudding to loosen it up and then divide it between serving bowls. Serve plain or with the toppings of your choice.
Recipe Notes:
- Please read all of the information, troubleshooting, and FAQ info above, as well as the notes below before making this recipe.
- This recipe makes 2.5 cups of pudding in total.
- Any type of unsweetened non-dairy milk can be used. Make sure to use unsweetened, unflavoured milk so you have full control over the sweetness and flavour. I don't recommend coconut milk.
- If you don't have vegan heavy cream/whipping cream, you can use more dairy-free milk in its place. If you do this, using a creamy plant-based milk will provide the best results.
- If you want to make your butterscotch pudding without cornstarch, arrowroot starch (also referred to as arrowroot flour or arrowroot powder) can be used instead.
- If you don't have dark brown sugar, light brown sugar can be used but the flavour will not be as rich. If you can only use light brown sugar and you have molasses on hand, add a half teaspoon to the pot when you add the sugar to make homemade dark brown sugar.
- If you don't have vegan butter, you can leave it out, but this will result in less rich and creamy pudding.
- If you prefer not to use plastic wrap, you can place the pudding in an airtight container, but keep in mind that a thick layer will form on top of the pudding which will make it lumpy when whisked. Lumps at that point will not be able to be whisked back in, so to get rid of them, pass the pudding through a sieve and it will get back to being silky smooth.
- Adapted from my vegan vanilla pudding and vegan crème brûlée recipes.
- The nutrition info listed below is for 1 of 5 servings (each serving is ½ cup) with the recipe made as written using unsweetened almond milk and vegan heavy cream. Nutritional data is only to be used as a rough guide. Click here for more info on how nutrition info on this website is determined.

Anne Murdock says
I made this for Easter. I do not normally eat pudding but this sounded delicious and IT WAS SPECTACULAR!
I used cashew cream and also cashew milk.
I followed instructions and it came out to perfection.
Thank you
Gwen Leron says
You're welcome, Anne! I am so happy you gave it a try and enjoyed it. It is definitely a favourite in my home, good to know it worked well for you with the cashew milk and cream. Enjoy!