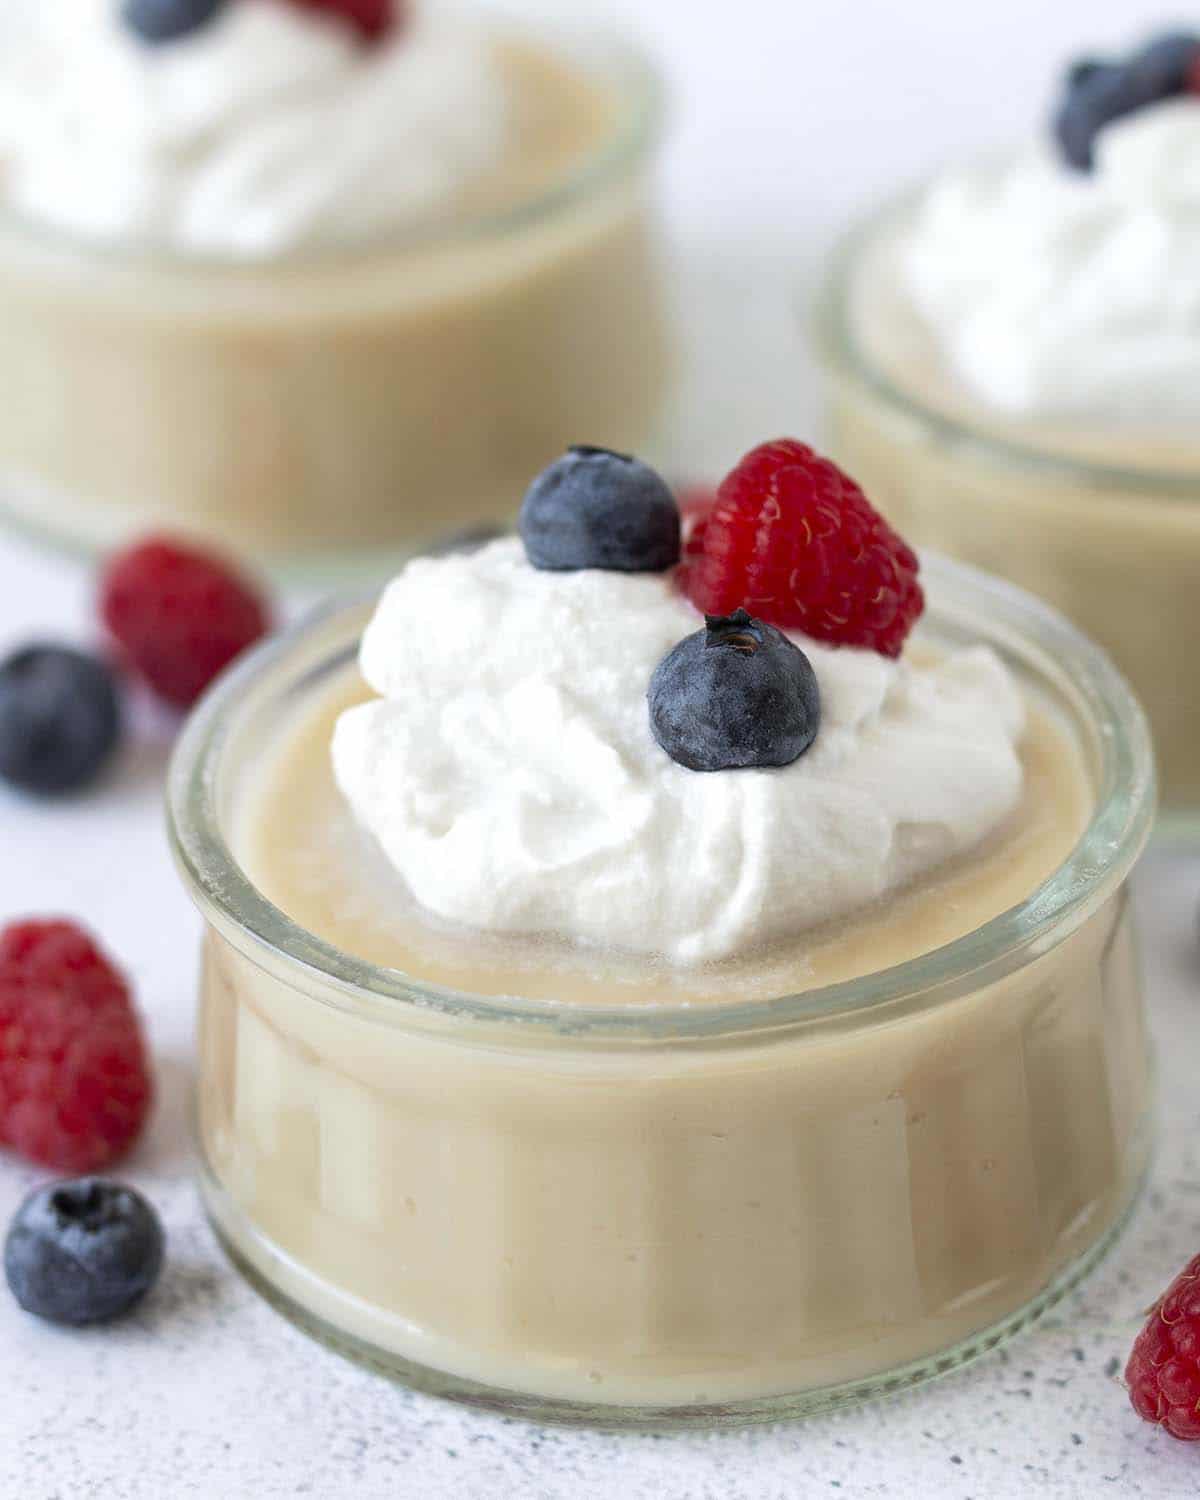
Creamy, homemade vegan vanilla pudding that’s dairy-free, and egg-free. It’s easier to make pudding from scratch than you may think! All you need to make this recipe is five simple ingredients, a few minutes, and a little refrigeration time so it sets.
Once it's ready, garnish how you like (suggestions below!) and serve.
Save This Recipe!
In a rush? Don't have time to scroll through this page right now? Enter your email below and this recipe/article will be sent straight to your inbox so you can come back to it when you're ready. Plus, you'll receive delicious recipes every week! You may unsubscribe at any time.
Many of us grew up eating store-bought pudding from a cup with a peel-back top as a school snack or instant puddings from a box for dessert, but those types were filled with many ingredients that made them far from vegan.
This quick, delicious version is non-dairy, naturally gluten-free, and made without eggs, so it's simple. You just need five basic ingredients and they're all kitchen staples you likely have in your fridge and cupboards right now. No need for any grocery store pre-made pudding or instant pudding mix!
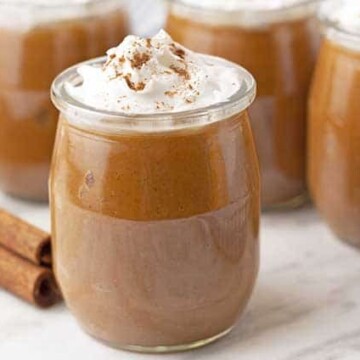
This easy recipe is adapted from my vegan pumpkin pudding, another vegan pudding recipe you'll love (I also have chocolate pudding, butterscotch pudding, avocado chocolate pudding, and sweet potato pudding that you'll love, too!).
But let's talk about THIS homemade pudding now, how to make it, how to serve it, plus all the tips and tricks you'll need to ensure you make it perfectly every single time. (It's such a perfect treat, your sweet tooth and your family will be asking for more!)
Ingredients You'll Need
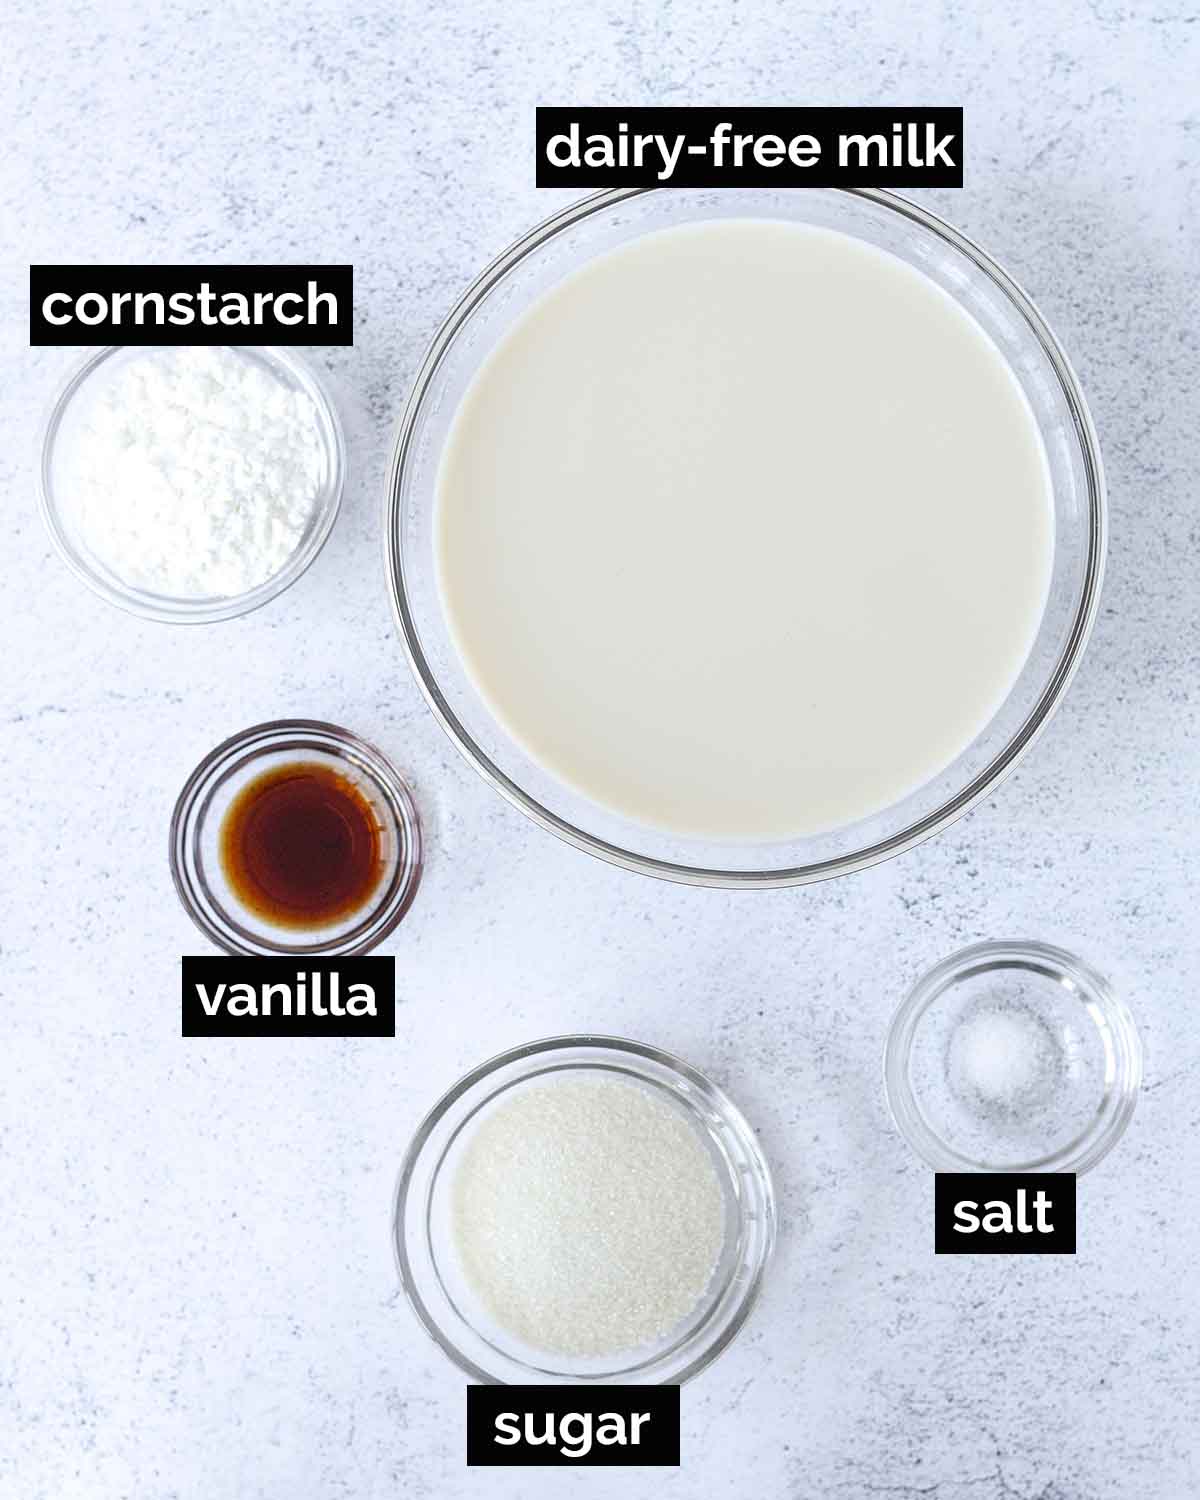
As mentioned, all you need to make this vanilla pudding recipe is five simple ingredients (six if you count the optional ingredient!).
Ingredient and Substitution Notes
As always, I recommend sticking with the recipe the way it's written for the best results, but I've included a few notes below about each ingredient and what you can and cannot substitute.
Sugar - I use organic cane sugar in this recipe. White sugar can also be used, but make sure it's vegan (see the Recipe FAQ section below for more info).
I haven't made this recipe with any other types of sugar (like coconut sugar or brown sugar), a liquid sweetener (like maple syrup or agave), or any sugar alternatives to make it sugar-free, so I'm not sure how they would work.
Cornstarch - This is the ingredient that thickens the pudding, without it, your pudding will be watery so it cannot be left out. If you want to make your vegan vanilla pudding without cornstarch, arrowroot starch (also referred to as arrowroot flour or arrowroot powder) can be used instead.
Salt - Just a little is needed to balance the flavour.
Dairy-Free Milk - Any plant milk will work but creamier milk (like soy milk or oat milk) will give you a creamier result. My preference is to use oat milk but I have tested with almond milk and the result was also great. I would not recommend any type of milk that is very thin and watery (like rice milk) or one that has a strong flavour (like coconut milk).
If coconut milk is used, the coconut flavour will come through and overpower the vanilla flavour, however, coconut milk WILL work in this recipe, just be prepared for your pudding to be a "coconut vanilla pudding," it will not taste like classic vanilla pudding.
Vanilla Extract - Since it's vanilla pudding, this ingredient is essential. Vanilla bean paste can also be used.
Unsalted Vegan Butter (Optional!) - Whisking in a little vegan butter at the end of the cooking time will result in an even creamier and richer pudding. This pudding can be made without butter, it's an optional ingredient so it can be omitted if you prefer an oil-free pudding.
If you choose to add the vegan butter, either salted or unsalted will work. If using salted, omit the salt in the recipe.
How to Make It
(Note: I’ve outlined the step-by-step on how to make this vegan pudding recipe here, but find the full recipe, ingredients, and directions at the end of this post.)
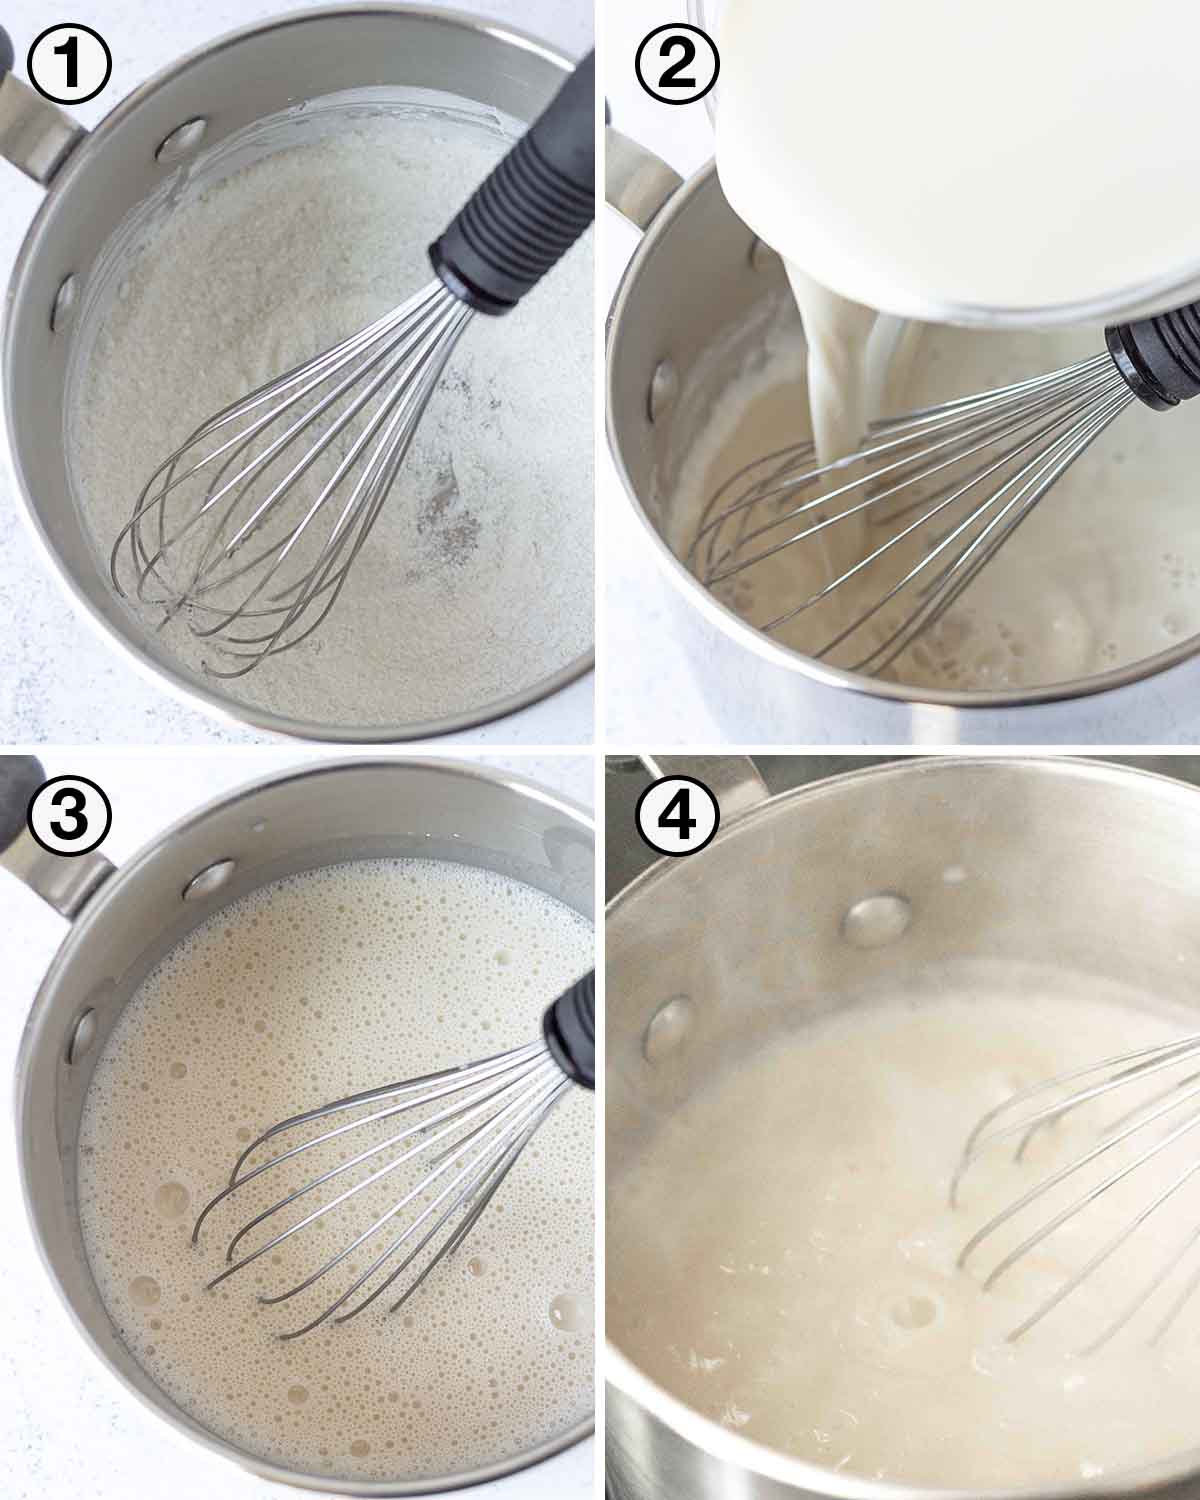
1. Add the dry ingredients to a medium saucepan and whisk them together, making sure there are no remaining lumps before moving to the next step.
2. Slowly whisk in the dairy-free milk.
3. Whisk everything together. Use a spoon to scrape around the corners of the pot to make sure no dry spots remain.
4. Place the pot on the stove over medium-high heat and whisk continuously until it has thickened.
You don't want the mixture to boil, but it will start to bubble towards the end of the cooking time and it will take roughly 8 minutes to thicken properly. No noticeable thickening will happen until the last 2 minutes or so, but keep whisking!
5. Once the pudding has thickened, remove it from the heat.
6. Whisk in the vanilla and if you are using it, the vegan butter.
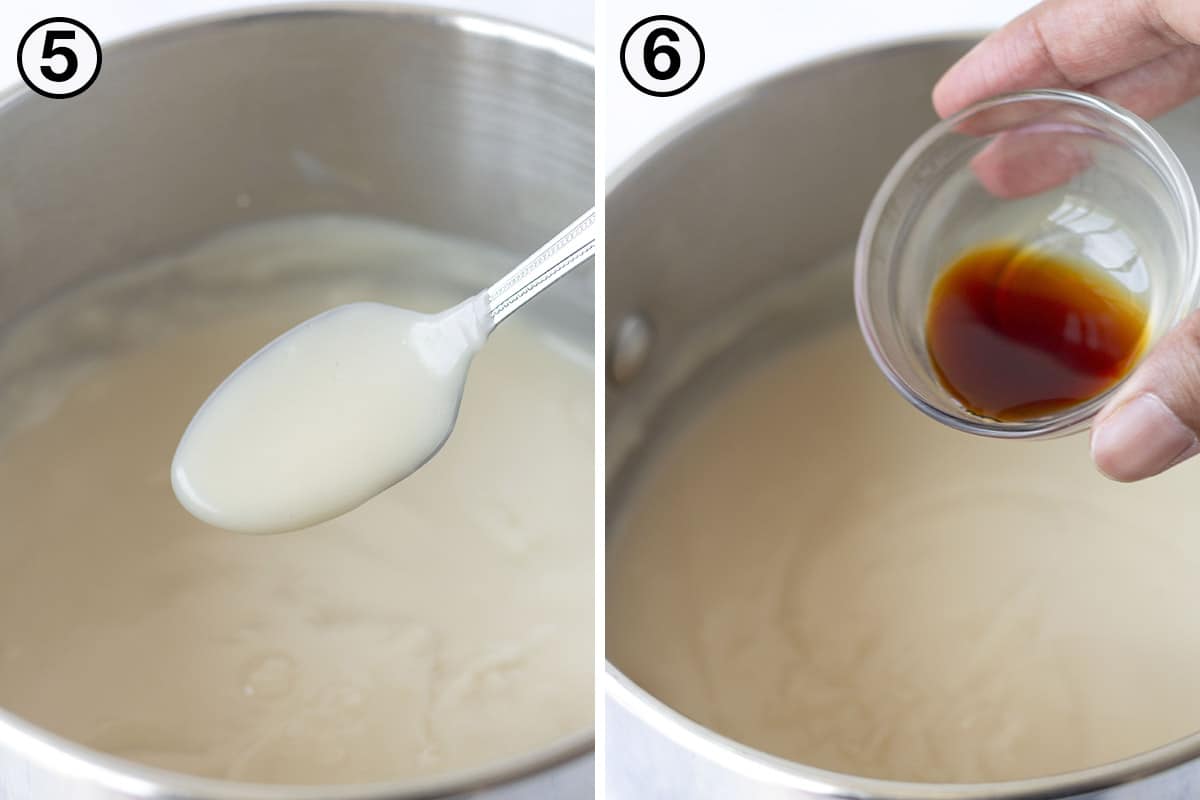
7. Let the pudding cool a little by allowing it to sit in the pot for 15 minutes, whisking it occasionally so it doesn't start to form a skin on top.
Once the 15 minutes have passed, pour the pudding into a medium glass bowl and place plastic wrap directly on top of the pudding so the surface is covered. This will prevent a thickened layer of pudding from forming on top.
If you prefer to not use plastic wrap, see the "Tips for Success" section below.
You can also pour the pudding directly into individual bowls to chill, this will result in pudding that is a little more set after chilling since you will not be able to whisk it after it has cooled to loosen it up. You'll still need to place the plastic wrap on each bowl.
8. Place the bowl(s) in the refrigerator and allow it to chill for at least two hours. When ready to serve, remove from the fridge, remove the plastic, whisk the pudding, and add to individual bowls.
How to Serve It
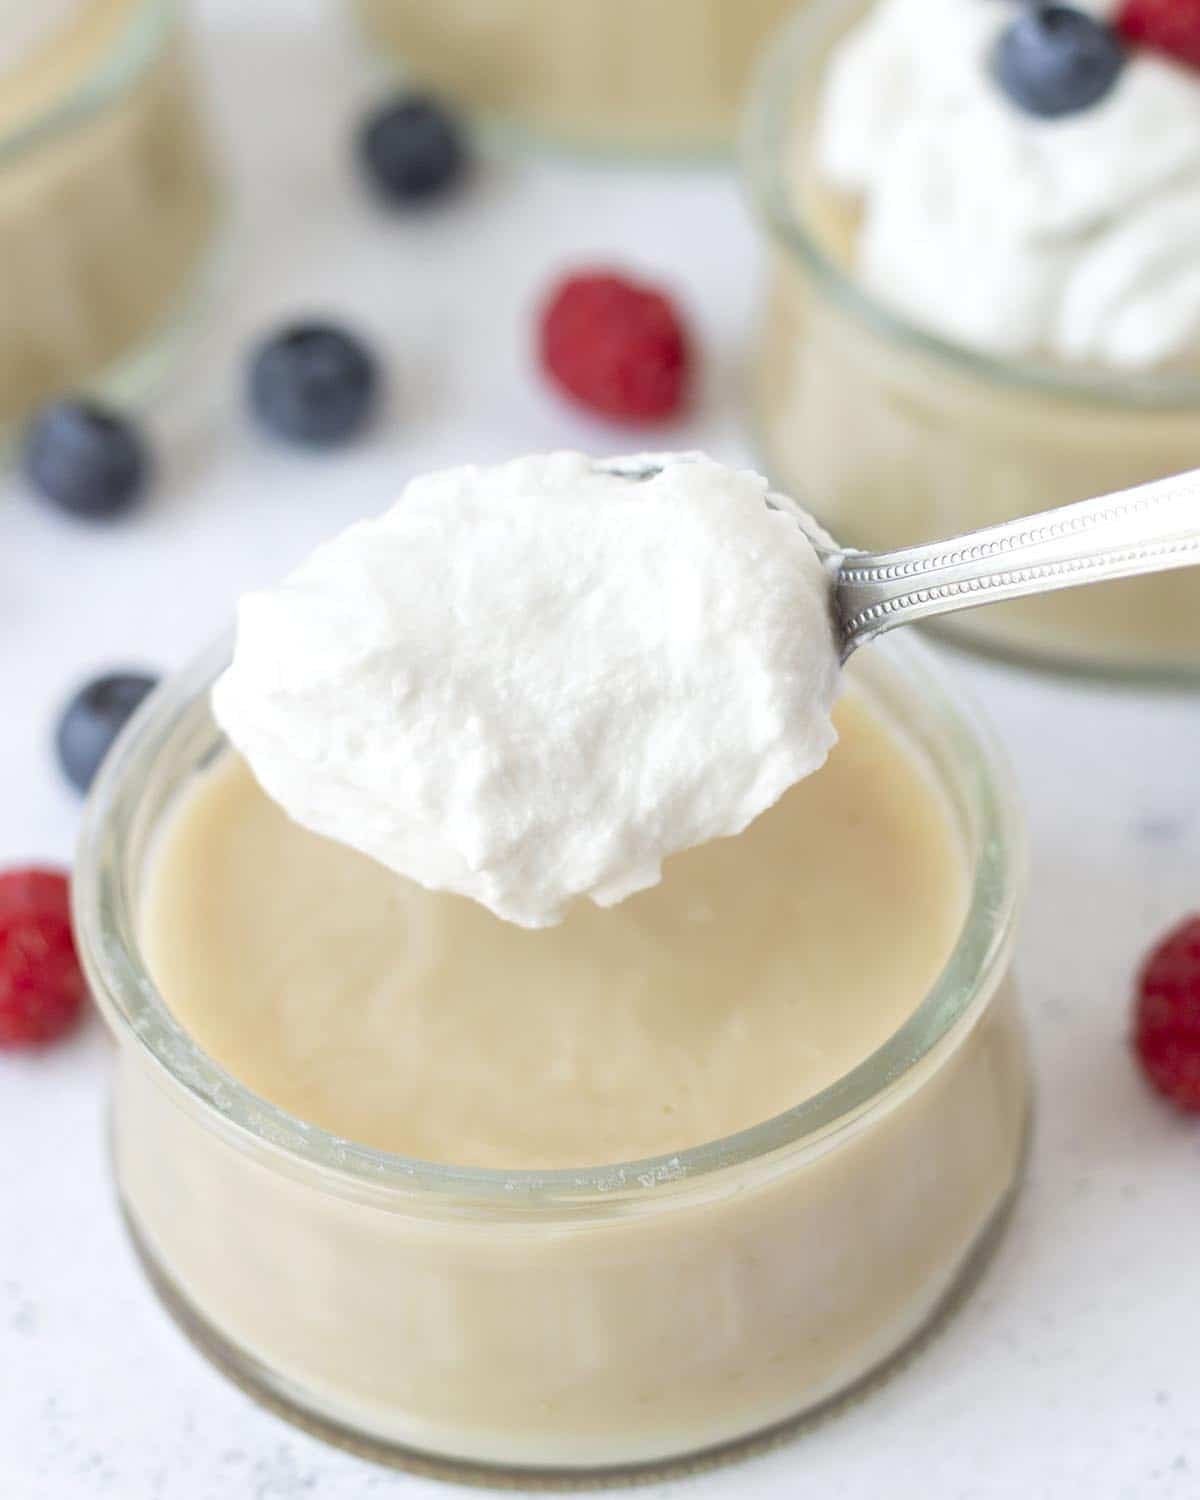
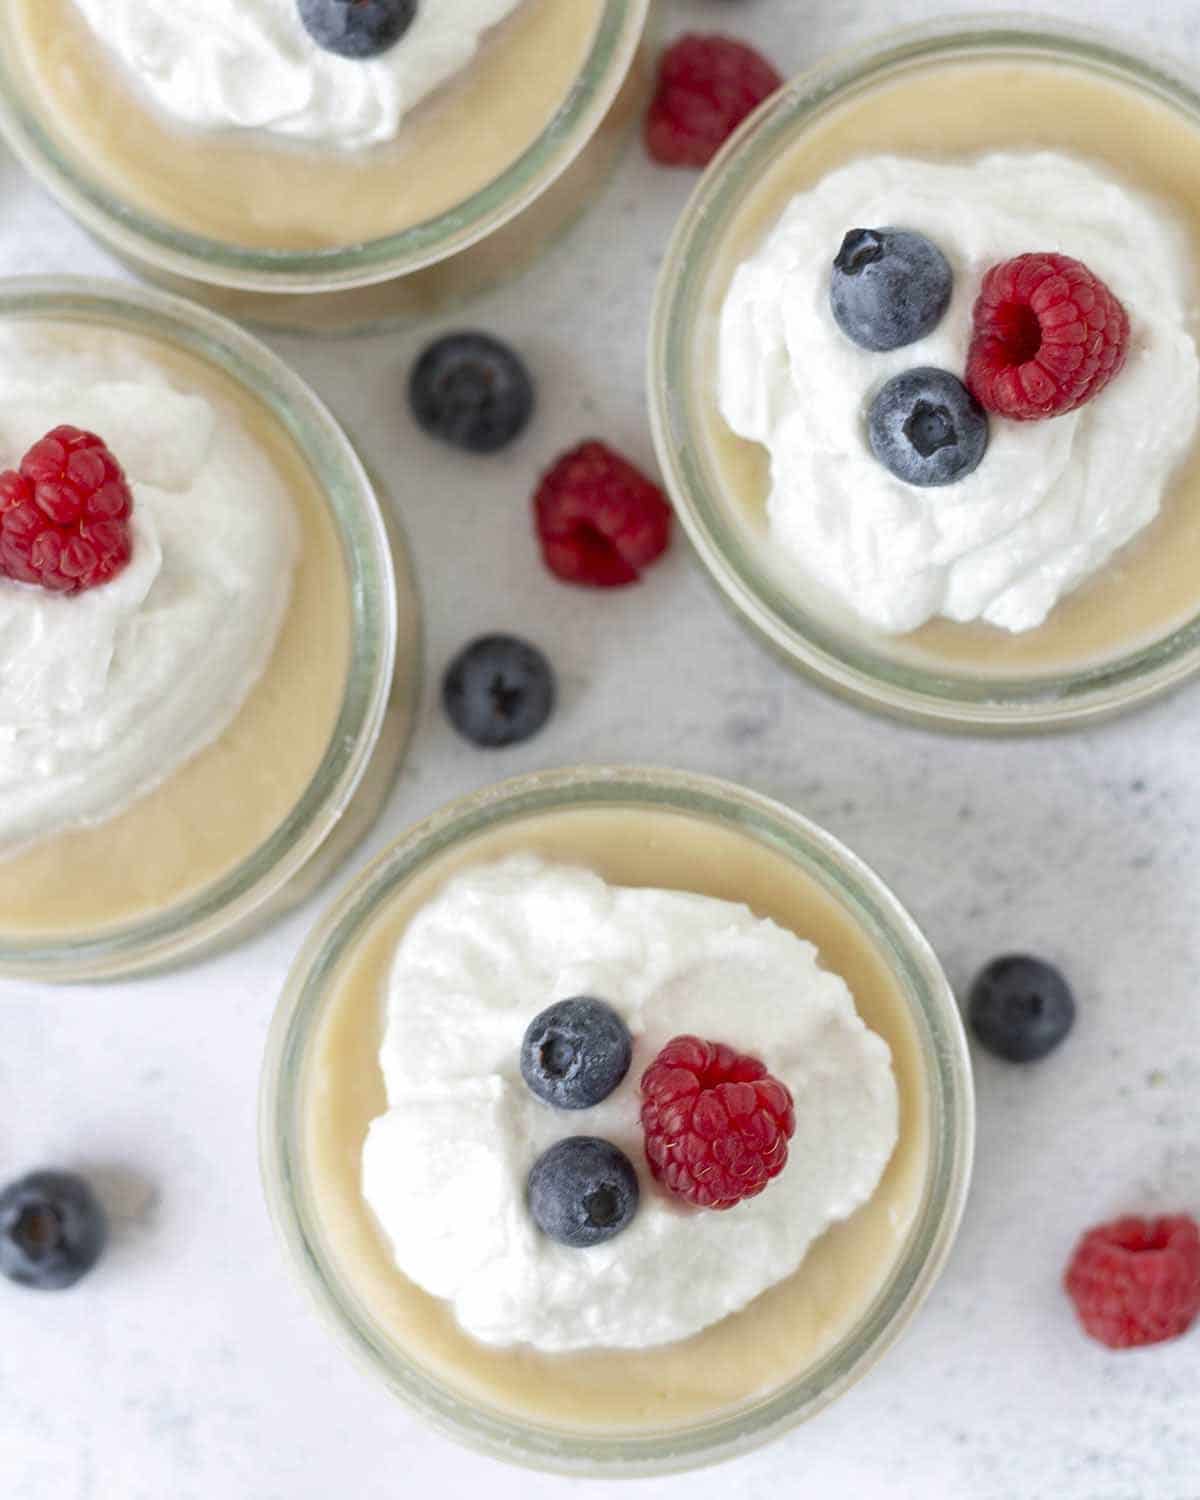
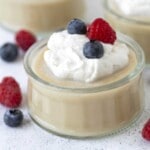
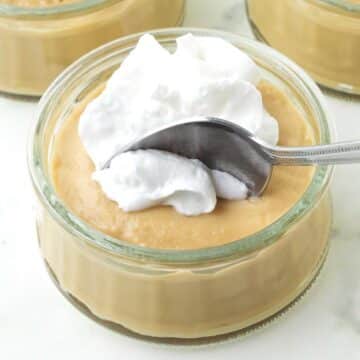
Serve your creamy vanilla pudding cold and it can either be enjoyed plain or you can dress the top of the pudding up with coconut whip and fresh berries (fresh blueberries, fresh raspberries, and fresh strawberries all work well!) or fresh fruits.
If you want a little crunch, you can serve with vanilla wafers, animal crackers, or even crushed cookies.
If whipped cream is not your thing, then you can also top it with a homemade fruit sauce like any of the following:
This pudding also makes the perfect base for any sweet treat that calls for a homemade vanilla pudding such as a trifle or certain pies.
Storing Leftovers
Store leftovers covered in the refrigerator for up to four days.
Since this pudding contains cornstarch, it cannot be frozen because the texture will change and not be very pleasant after it thaws.
Troubleshooting
This recipe was tested extensively, so if you make it exactly as it's written, the pudding will turn out perfectly, however, mistakes happen, so if any of the following takes place, here's how to fix them.
1. If the pudding has not thickened after the cooking time stated in the recipe, do not add more cornstarch, it will clump up and not do anything to help.
The first thing to try is to cook the pudding for a few more minutes until it thickens properly.
If that does not work, your cornstarch was not measured correctly, and not enough was added.
To fix with more cornstarch, make a slurry by whisking 1 teaspoon of cornstarch with 1 teaspoon of water in a small bowl. Slowly whisk the slurry into the pudding while it is still over the heat and whisk continuously until it has thickened properly.
It's important to add the slurry while the pudding is still over the heat, it will not thicken if added after the cooking time has ended.
2. If there are lumps in the pudding, whisk until they are gone. If that does not help, run the pudding through a sieve.
Tips for Success
- Measure and have all your ingredients ready to go before starting. This will make the process run smooth, quick, and easy.
- Measure your ingredients correctly. I highly recommend using a scale (this is one I have (Amazon Link) and my weight measurements when making this recipe. Too much or too little cornstarch will result in a pudding that is too thick or too thin.
- Make sure to use unsweetened, unflavoured milk so you have full control over the sweetness and flavour.
- Don't let it boil. Pudding only requires very light simmering to thicken, boiling is an indicator that the heat is too high and it could burn. It may start to bubble once it is almost done, that is okay, just as long as it isn't bubbling for the entire cook time.
- Make sure to whisk constantly during the cooking time. This is to ensure no clumps form, if they do, it's very hard to get rid of them, so keep whisking!
Tips for Success (continued)
- If you prefer not to use plastic wrap, you can place the pudding in an airtight container, but keep in mind that a thick layer will form on top of the pudding (also known as pudding skin). When whisked after chilling, it will make the pudding lumpy. The lumps at that point will not be able to be whisked back in, so to get rid of them, pass the pudding through a sieve and it will get back to being silky smooth.
- Don't skip the chilling time. The pudding will be thick after cooking, but it will continue to thicken when it chills until it reaches the perfect consistency.
- Read this post from top to bottom before you start. I’ve included a lot of tips and tricks so you get things right. Also read through the actual recipe before getting started.
- Follow the recipe exactly as it’s written for the very best results.
Recipe FAQ
Traditional pudding does have dairy in it, however, the milk can be substituted with plant-based, dairy-free milk if you are looking to make a dairy-free version.
Yes! You can make dairy-free pudding with oat milk and it will set perfectly. Just be sure to follow the recipe you are making to ensure it sets properly. Since oat milk is on the creamier side than some other plant-based milk, the result will be a creamy pudding.
Yes! For a delicious dairy-free alternative to classic pudding, almond milk is a great replacement, however, the finished pudding will not be as rich since almond milk is not very creamy.
Not all sugar is vegan, some are processed using animal bone char, so to be sure that yours is, buy an organic brand (organic sugar is not processed using bone char) or one that is labelled as vegan.
If You Make This Recipe...
Please let me know how your vanilla pudding turned out! Leave me a comment and star rating below or you can post a picture on Instagram and tag me so I can see it. (I’m @delightfuladventures on Instagram!)
And If You Like This Recipe...
You may like these other easy vegan dessert recipes:
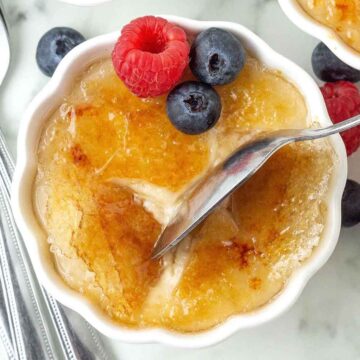
- Dairy-Free, Egg-Free Crème Brûlée
- Vegan Sweet Potato Pudding
- Vegan Pumpkin Pudding
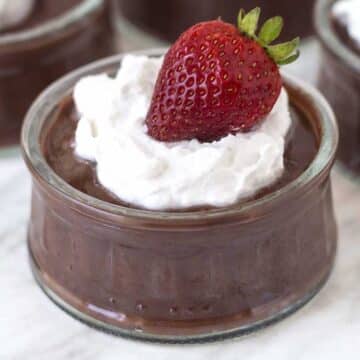
- Vegan Chocolate Mousse
- Vegan Lemon Cheesecake
- Vegan Chocolate Tart
Vegan Vanilla Pudding
Suggested Equipment:
Ingredients:
- ¼ cup (50g) sugar
- 3 tablespoons (24g) cornstarch (arrowroot starch may also be used, see note below)
- ⅛ teaspoon salt
- 2 cups (480ml) unsweetened dairy-free milk (see note below)
- 1 ½ teaspoons vanilla extract
- 2 tablespoons (28g) unsalted vegan butter (optional) (see note below)
Instructions:
- Add the sugar, cornstarch, and salt to a medium saucepan. Whisk until combined and no lumps remain. You may need to break up any lumps with the back of a spoon.
- Slowly whisk in milk until combined with the dry mixture. Scrape around the corners of the pot with a spoon to be sure no dry ingredients remain.
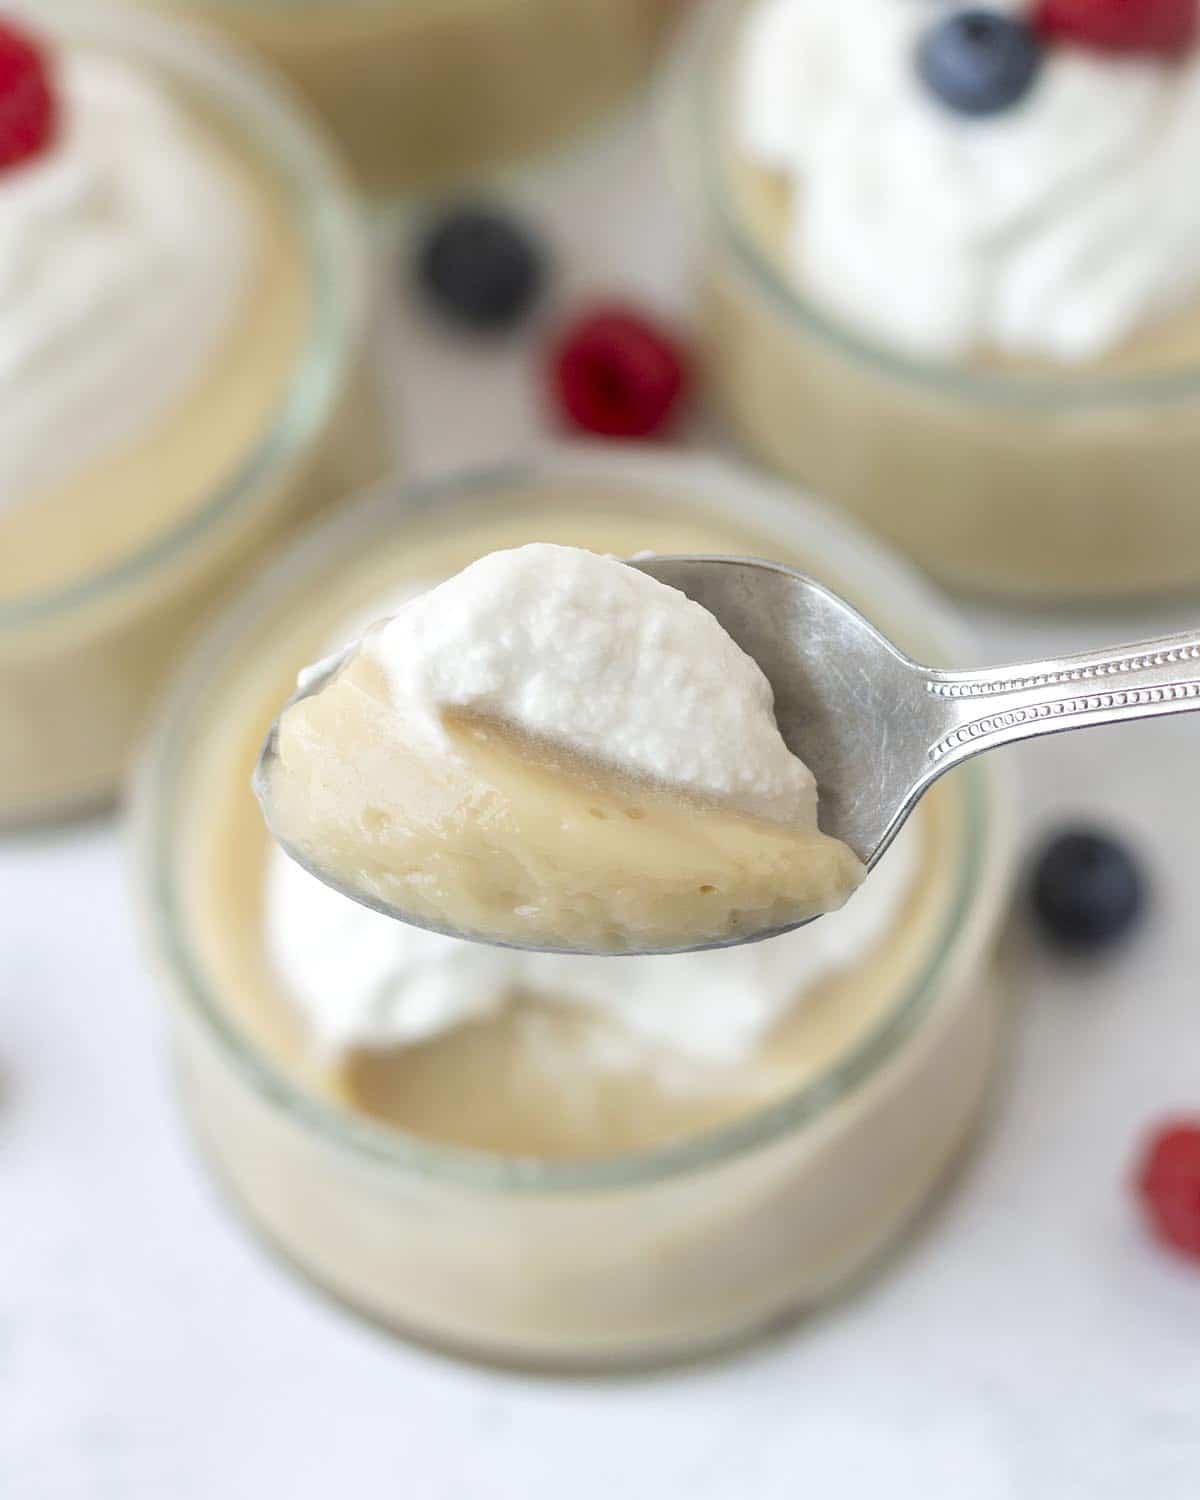
- Place pot on medium-high heat and continuously whisk until mixture has thickened enough to coat a spoon, this will take 8 minutes. (See images above)
- Remove the pot from the heat and whisk in vanilla and if using, the vegan butter.
- Allow the pudding to sit in the pot for 15 minutes. Whisk every few minutes during the rest time so it does not start to form a skin on top.
- Pour pudding into a medium-sized glass bowl or individual serving bowls.
- Place plastic wrap directly on the surface of the pudding and place the bowl(s) in the refrigerator.
- Refrigerate pudding for at least 2 hours so it can set. If you refrigerated in a medium bowl, remove the plastic and whisk the pudding to loosen it up and then divide between serving bowls. Serve cold, either plain or with coconut whipped cream and fresh berries.
Recipe Notes:
- Please read all of the information, troubleshooting, and FAQ info above, as well as the notes below before making this recipe.
- This recipe makes 2 cups of pudding in total.
- Any type of unsweetened non-dairy milk can be used, a creamy milk will provide the best results.
- Make sure to use unsweetened, unflavoured milk so you have full control over the sweetness and flavour.
- If you want to make your vegan vanilla pudding without cornstarch, arrowroot starch (also referred to as arrowroot flour) can be used instead.
- You don't want the mixture to boil, but it will start to bubble towards the end of the cooking time. It will take roughly 8 minutes to thicken properly. No noticeable thickening will happen until the last 2 minutes or so, but keep whisking!
- The vegan butter is optional if you prefer to have an oil-free pudding, however, adding the butter will result in a richer, smoother, and creamier pudding.
- If you prefer not to use plastic wrap, you can place the pudding in an airtight container, but keep in mind that a thick layer will form on top of the pudding (also known as pudding skin) that will make the pudding lumpy when whisked. Lumps at that point will not be able to be whisked back in, so to get rid of them, pass the pudding through a sieve and it will get back to being silky smooth.
- You can also pour the pudding directly into individual serving bowls to chill rather than one large bowl, this will result in pudding that's a little more set after chilling since you will not be able to whisk it after it has cooled to loosen it up. You'll still need to place the plastic wrap on each bowl.
- Adapted from my vegan pumpkin pudding recipe.
- The nutrition info listed below is for 1 of 4 servings (each serving is ½ cup) with the recipe made as written using unsweetened oat milk and no vegan butter. Nutritional data is only to be used as a rough guide. Click here for more info on how nutrition info on this website is determined.

Pris says
Can I add powdered chocolate?
Gwen Leron says
Hi Pris, if you want to make chocolate pudding, I would not change this recipe, make my vegan chocolate pudding recipe instead.
Michele says
Have you experimented with other flavors —lemon, butterscotch, chocolate?
Gwen Leron says
Hi Michele, I have and will be sharing those new recipes soon. (I already have pumpkin pudding and sweet potato pudding!)