
This page may contain affiliate links. Click to learn more. As an Amazon Associate I earn from qualifying purchases.
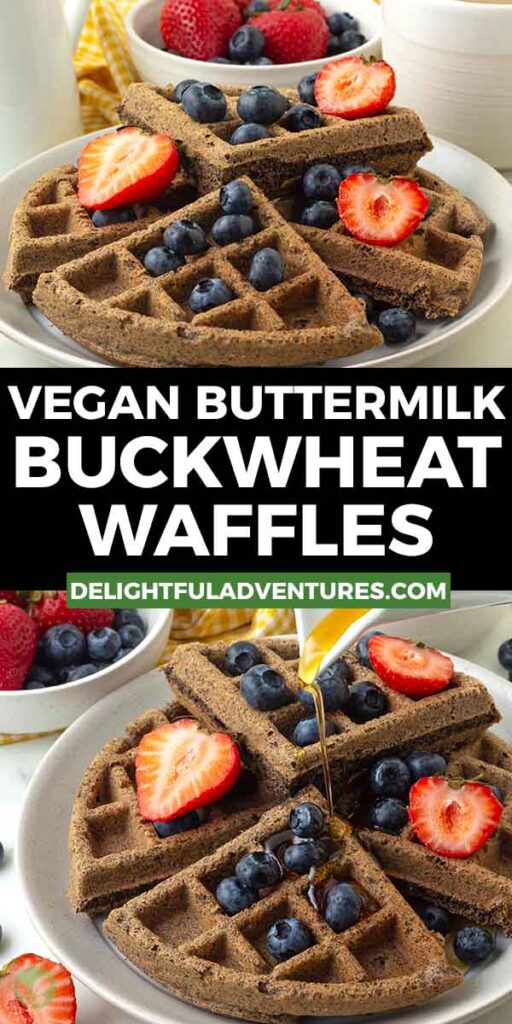
Crisp on the outside, soft and fluffy inside, these vegan buckwheat waffles are an easy homemade breakfast with a lightly nutty, earthy flavour.
Made with buckwheat flour and vegan buttermilk, they’re simple to make, dairy-free, egg-free, and naturally gluten-free. Serve them warm with your favourite toppings for breakfast or brunch.
Save This Recipe!
In a hurry? Drop your email below, and this recipe will be sent straight to your inbox for later. You'll also get fresh recipes every week! You can unsubscribe anytime.
Looking for a breakfast waffle that's a little different from what you're used to? These vegan buckwheat waffles may be just what you're looking for!
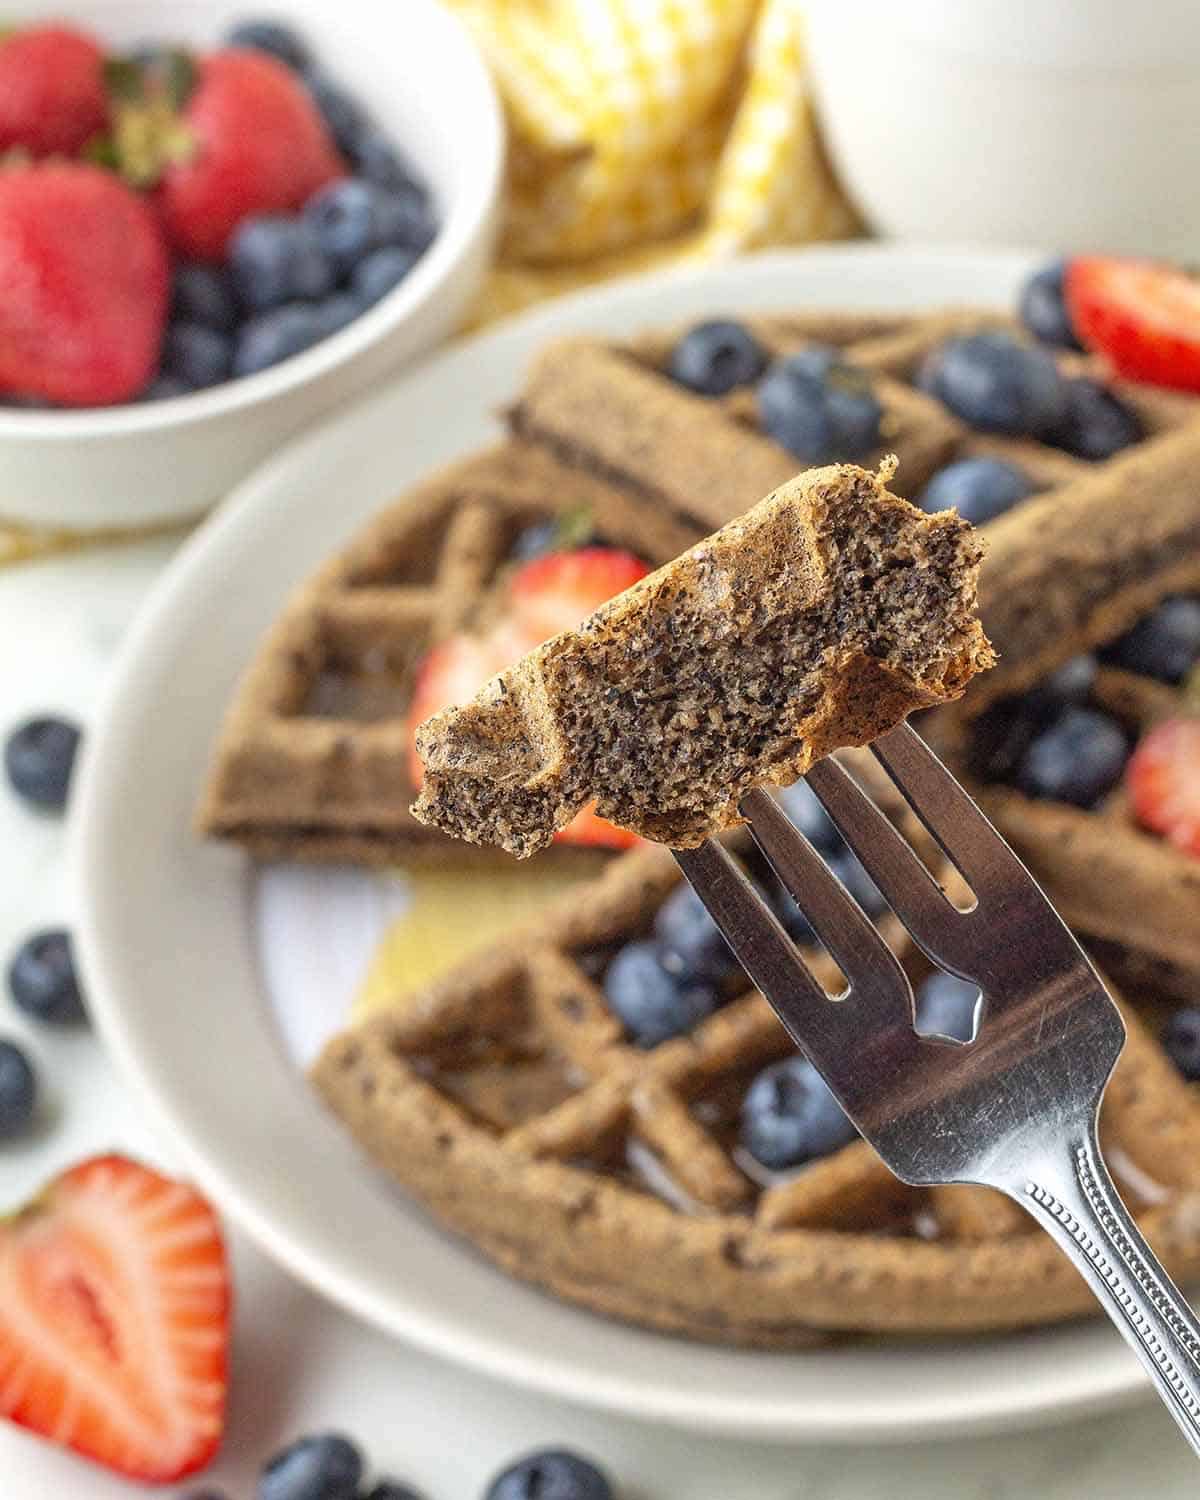
Just like my vegan buckwheat pancakes, these waffles also have a nutty, earthy flavour and a hearty texture thanks to the buckwheat flour. They’re crisp on the outside and super soft and fluffy on the inside, exactly what you'd expect from a really good waffle. The vegan buttermilk helps create that light, fluffy interior.
Plus, they're lightly sweetened, so there's plenty of room for your favourite toppings, and they're great for meal prep. I have, on many occasions, made these on the weekend to warm up during the week for a quick, warm, homemade breakfast.
A Few Simple Ingredients
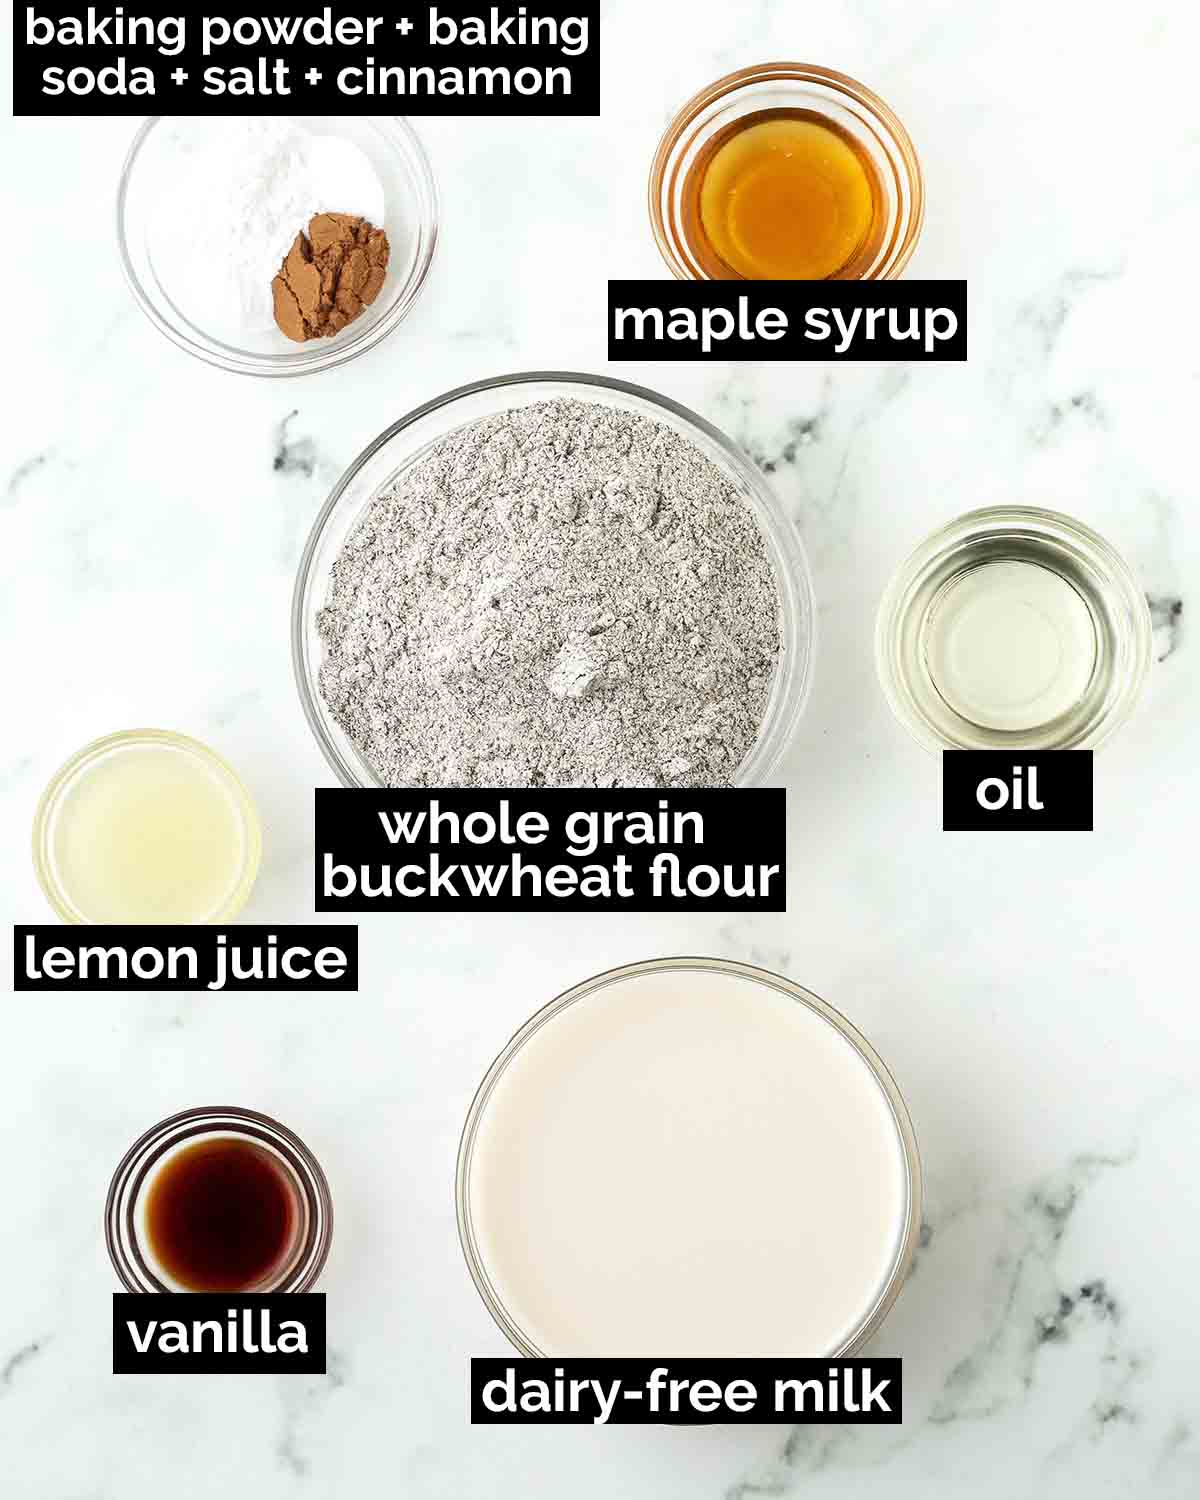
Ingredient Notes and Swap Info
(NOTE: Only ingredients with special notes are listed below. The full ingredient list can be found in the recipe card.)
Buckwheat Flour - I developed and tested this recipe with whole grain buckwheat flour. Since buckwheat is naturally gluten-free (don't let the name fool you!), this recipe is a fit if you’re looking for vegan gluten-free buckwheat waffles.
Dairy-Free Milk - This is the main ingredient for your vegan buttermilk. For the best consistency, I recommend soy milk. Almond milk is another good option, followed by oat milk if needed. Make sure that what you use is unsweetened and unflavoured.
Lemon Juice - Lemon juice is what helps turn the dairy-free milk into vegan buttermilk. You can also use apple cider vinegar or plain white vinegar if you prefer. Whichever you choose, you won’t taste it in the finished waffles.
Baking Powder and Baking Soda - Both are important for giving these waffles their light, airy texture, so be sure yours are fresh and active. They each play a different role in the recipe, so neither should be omitted or substituted.
Oil - This helps give the waffles a soft interior while also helping the outside turn crisp. In my testing, replacing the oil resulted in less crisp waffles. Use a neutral-flavoured oil.
Let's Make a Batch!
(Note: I’ve outlined the step-by-step here, but find the full recipe, ingredients, and directions in the recipe card at the end of this post.)
Start by making the buttermilk and setting it aside to curdle.
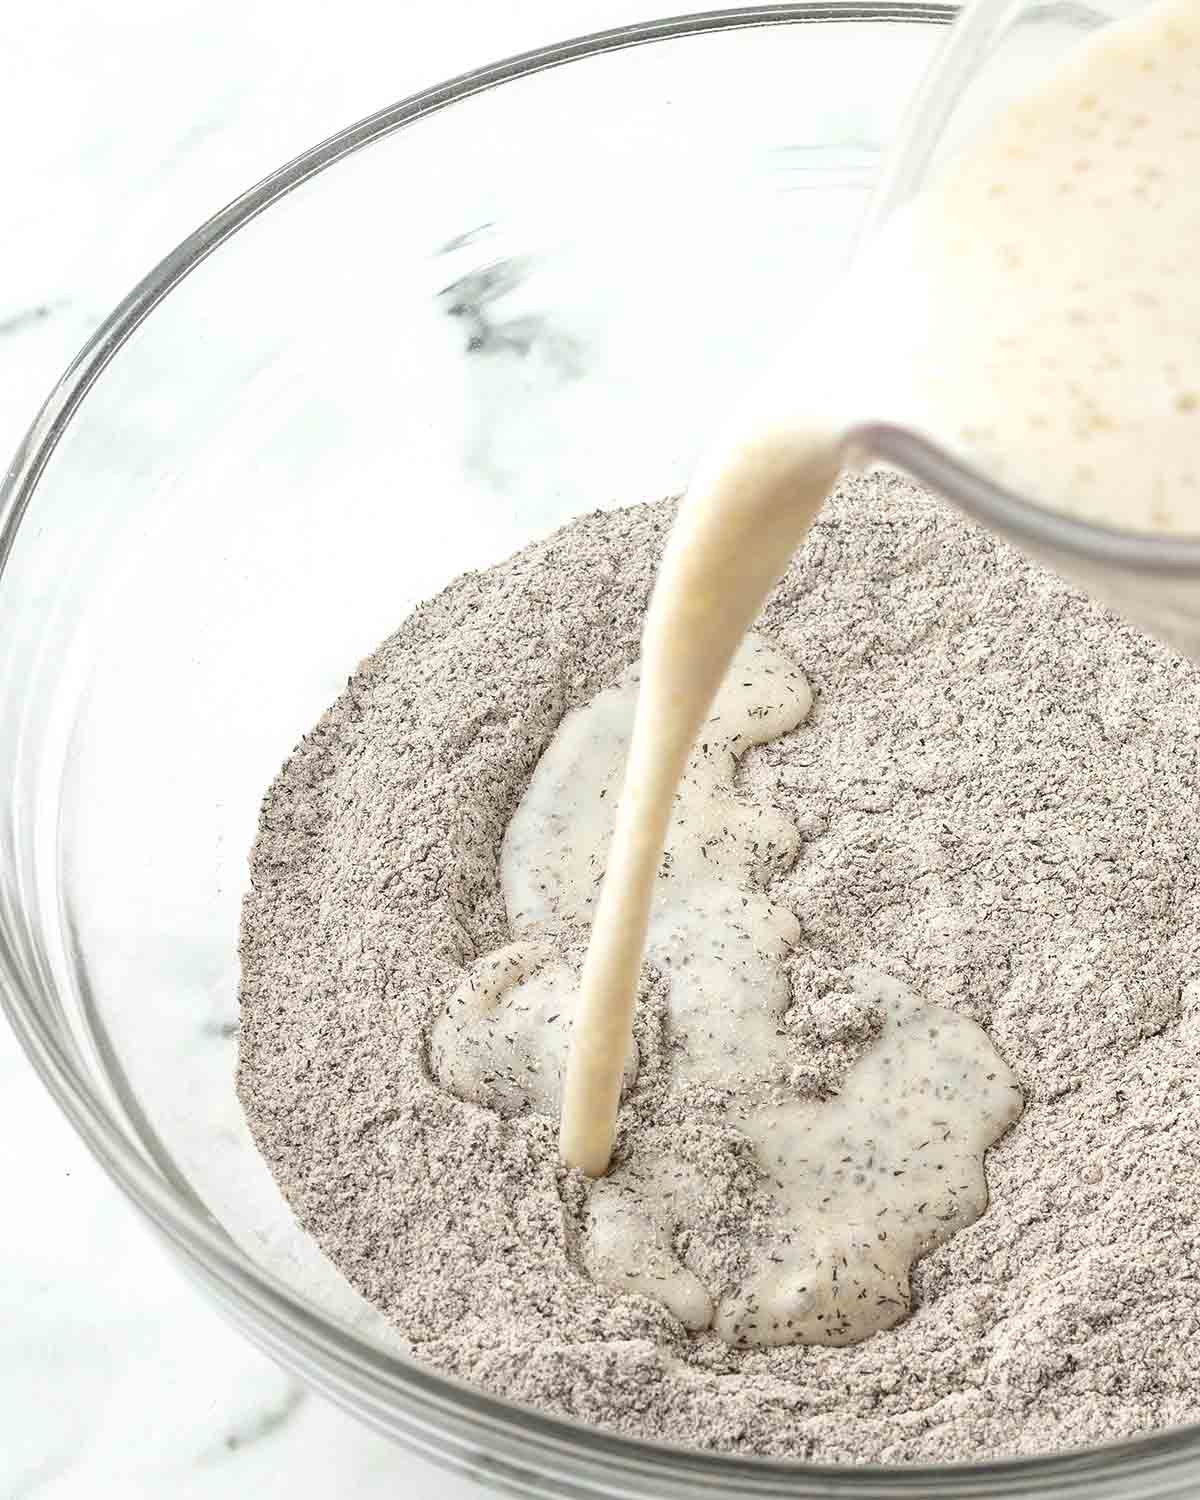
Whisk the dry ingredients together. Stir the rest of the wet ingredients into the rested buttermilk, then pour it into the dry ingredients.
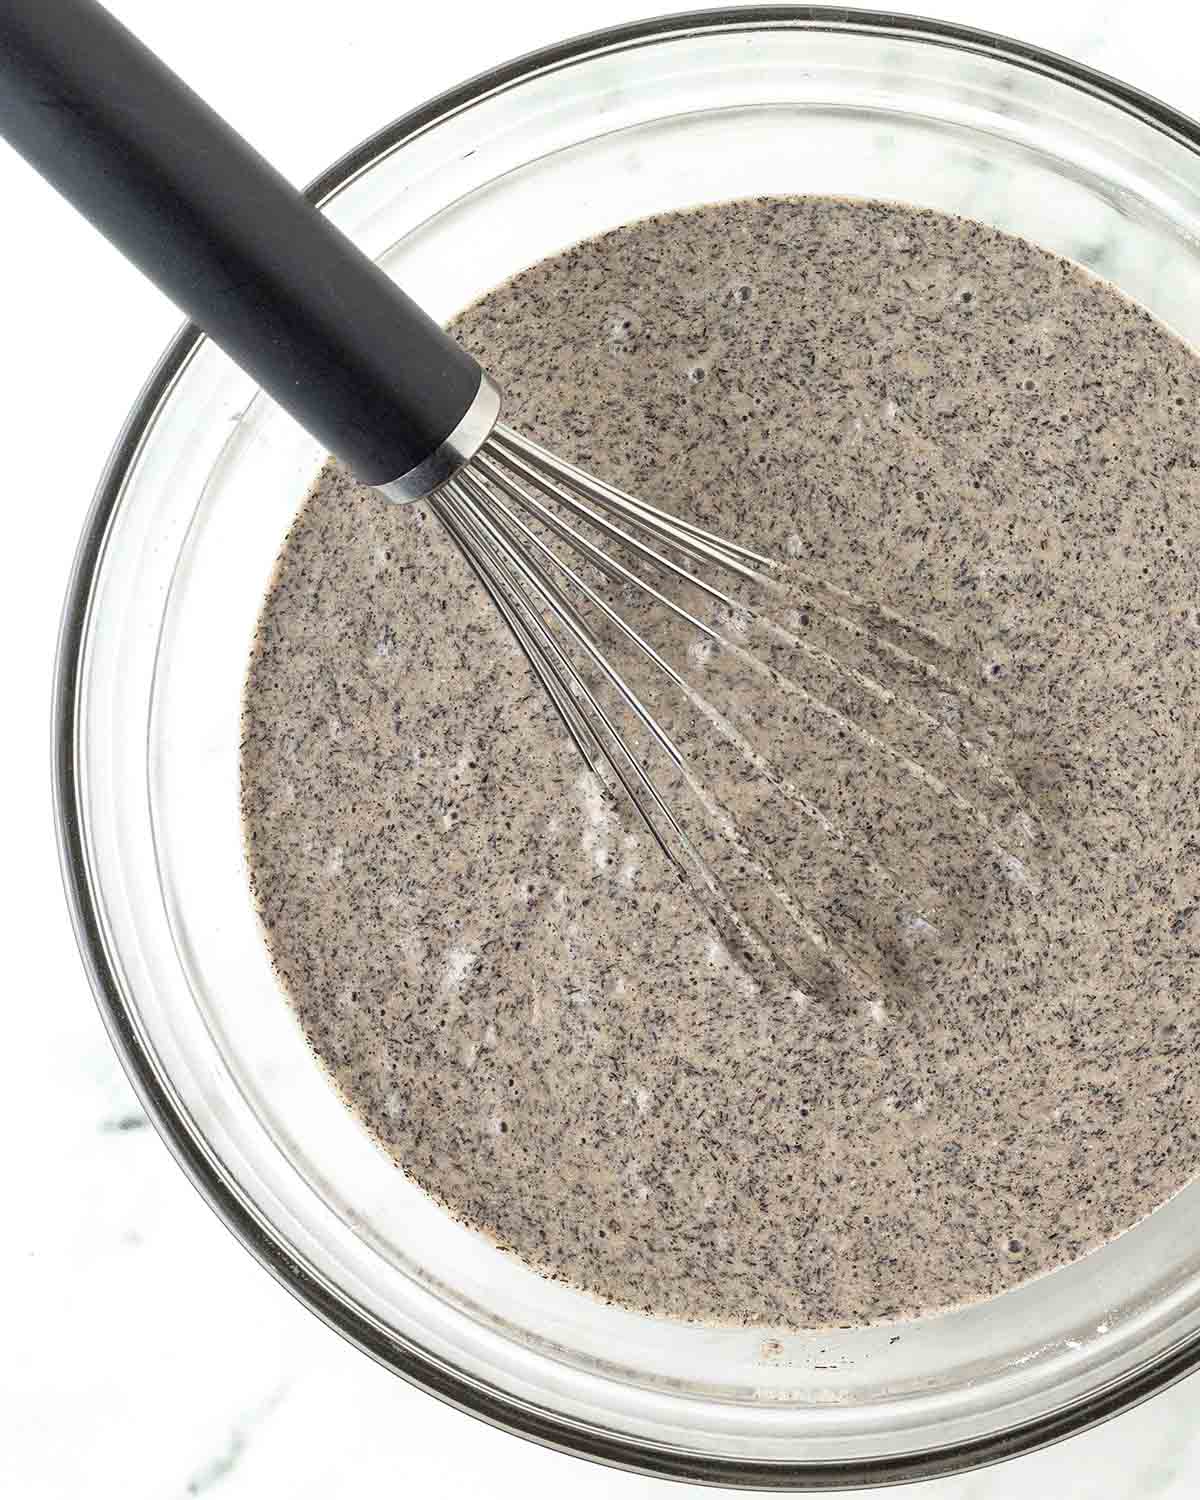
Mix until everything has combined to make the batter. Set aside while you preheat the waffle maker.
Add the waffle batter to the waffle maker using a ladle or the premeasured cup that came with it.
Close the lid and cook until the indicator beeps. If your waffle maker doesn’t have a timer, the waffle is ready when steam stops escaping from the sides and top.
Prep Now, Mix Later
Don't prepare the batter until you're ready to make the waffles. If you'd like to do some prep in advance, mix the dry ingredients and store them in an airtight container. When you're ready to make them, mix the wet ingredients, combine them with the dry mixture, and you're ready to cook.
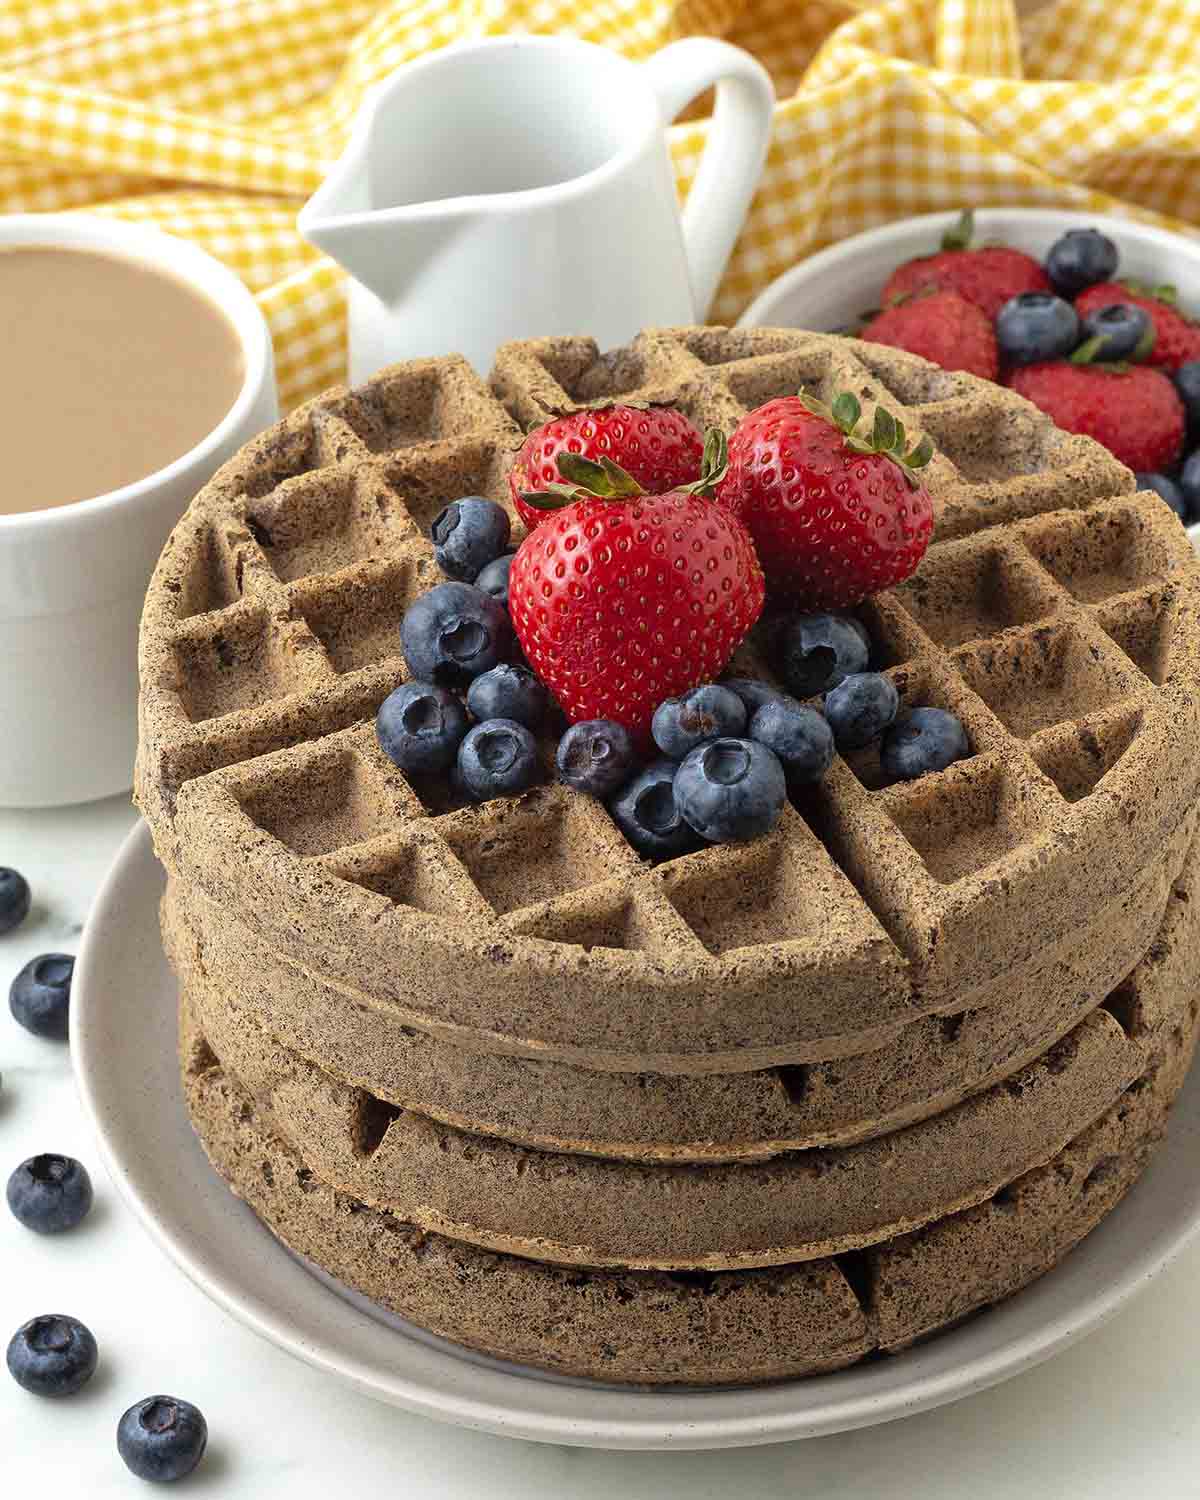
Keep Them Crisp
Use the warm setting on your oven, or heat it to 200°F (93°C). As each waffle finishes cooking, place it in a single layer on a cooling rack set over a baking sheet. This keeps them crisp while you cook the rest. However, don't leave them in too long because they will dry out and get hard. For more tips, see my post on how to keep homemade waffles crisp.
Ways to Enjoy Them
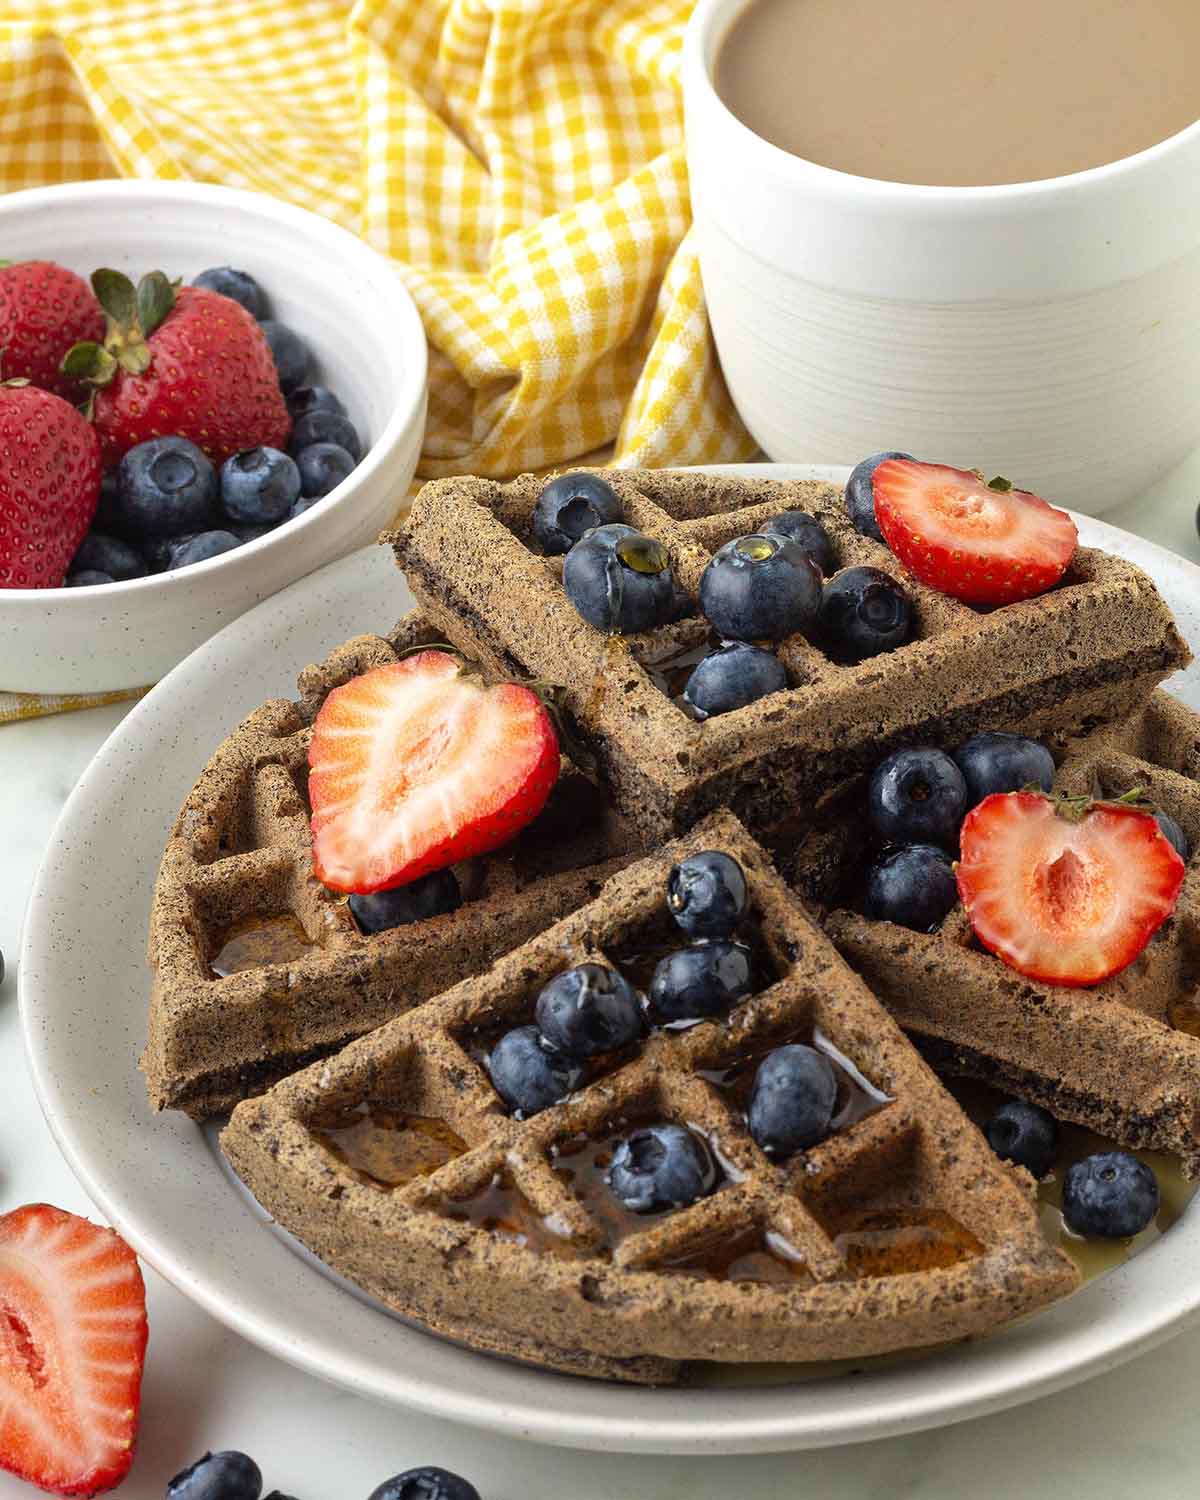
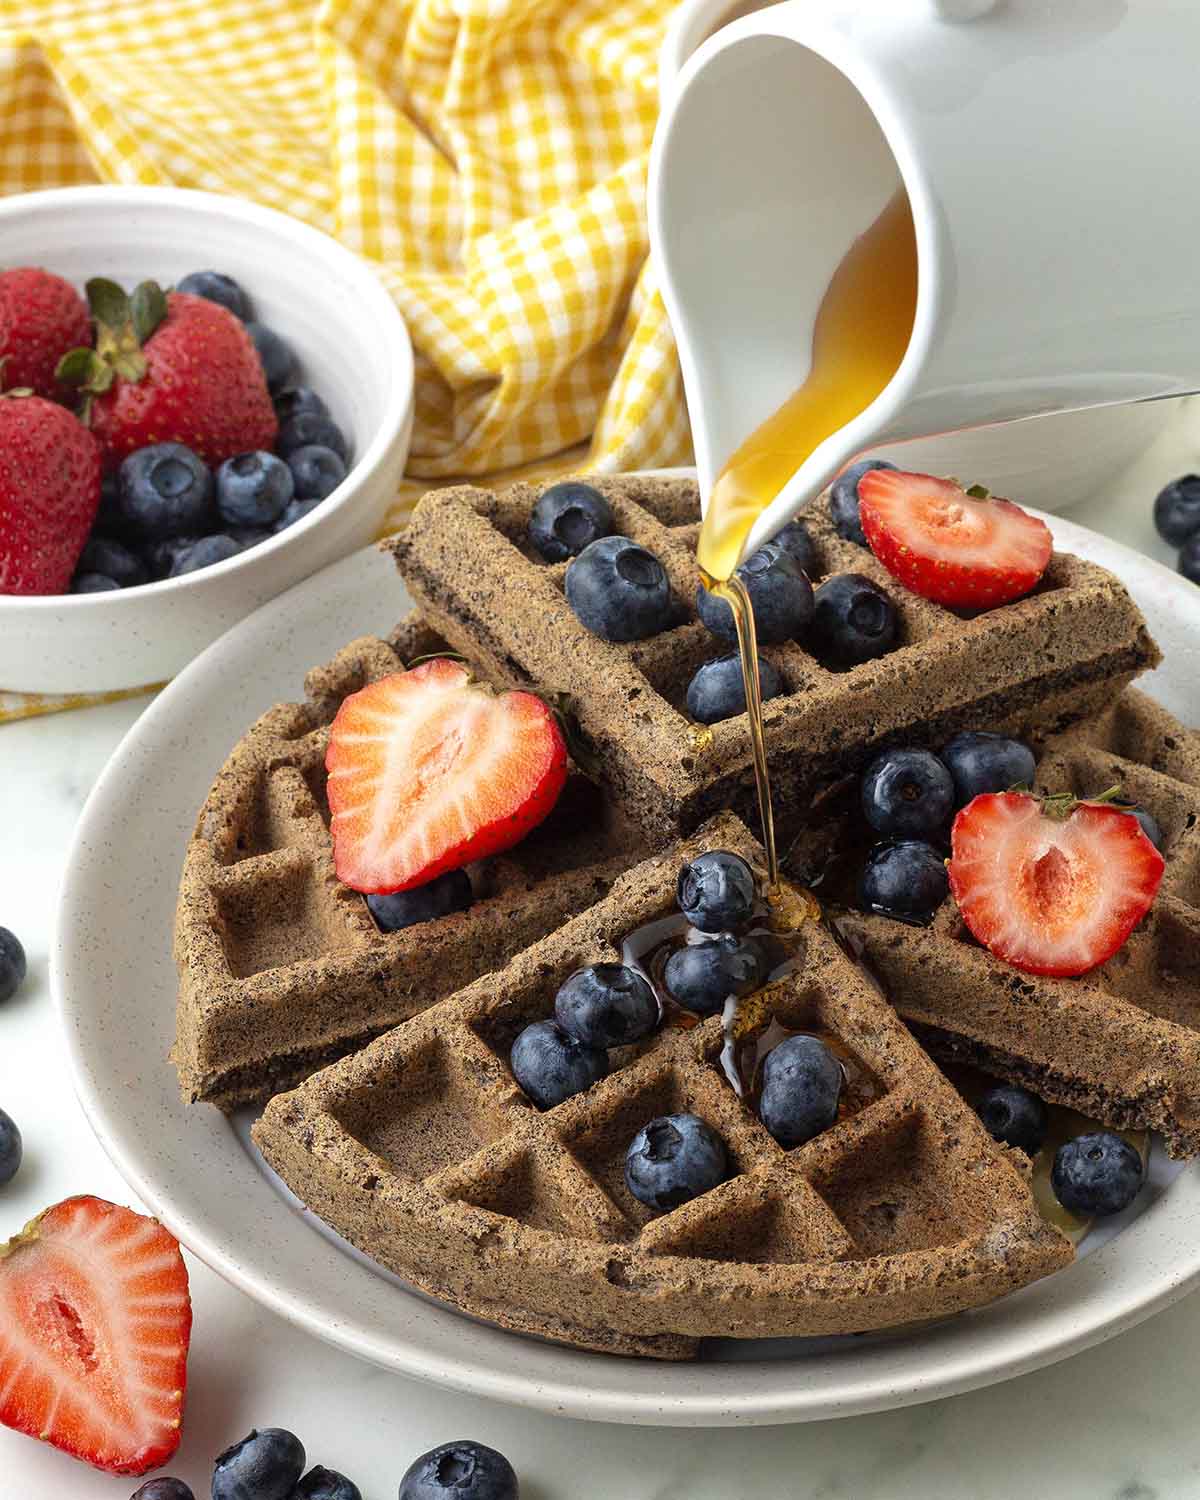
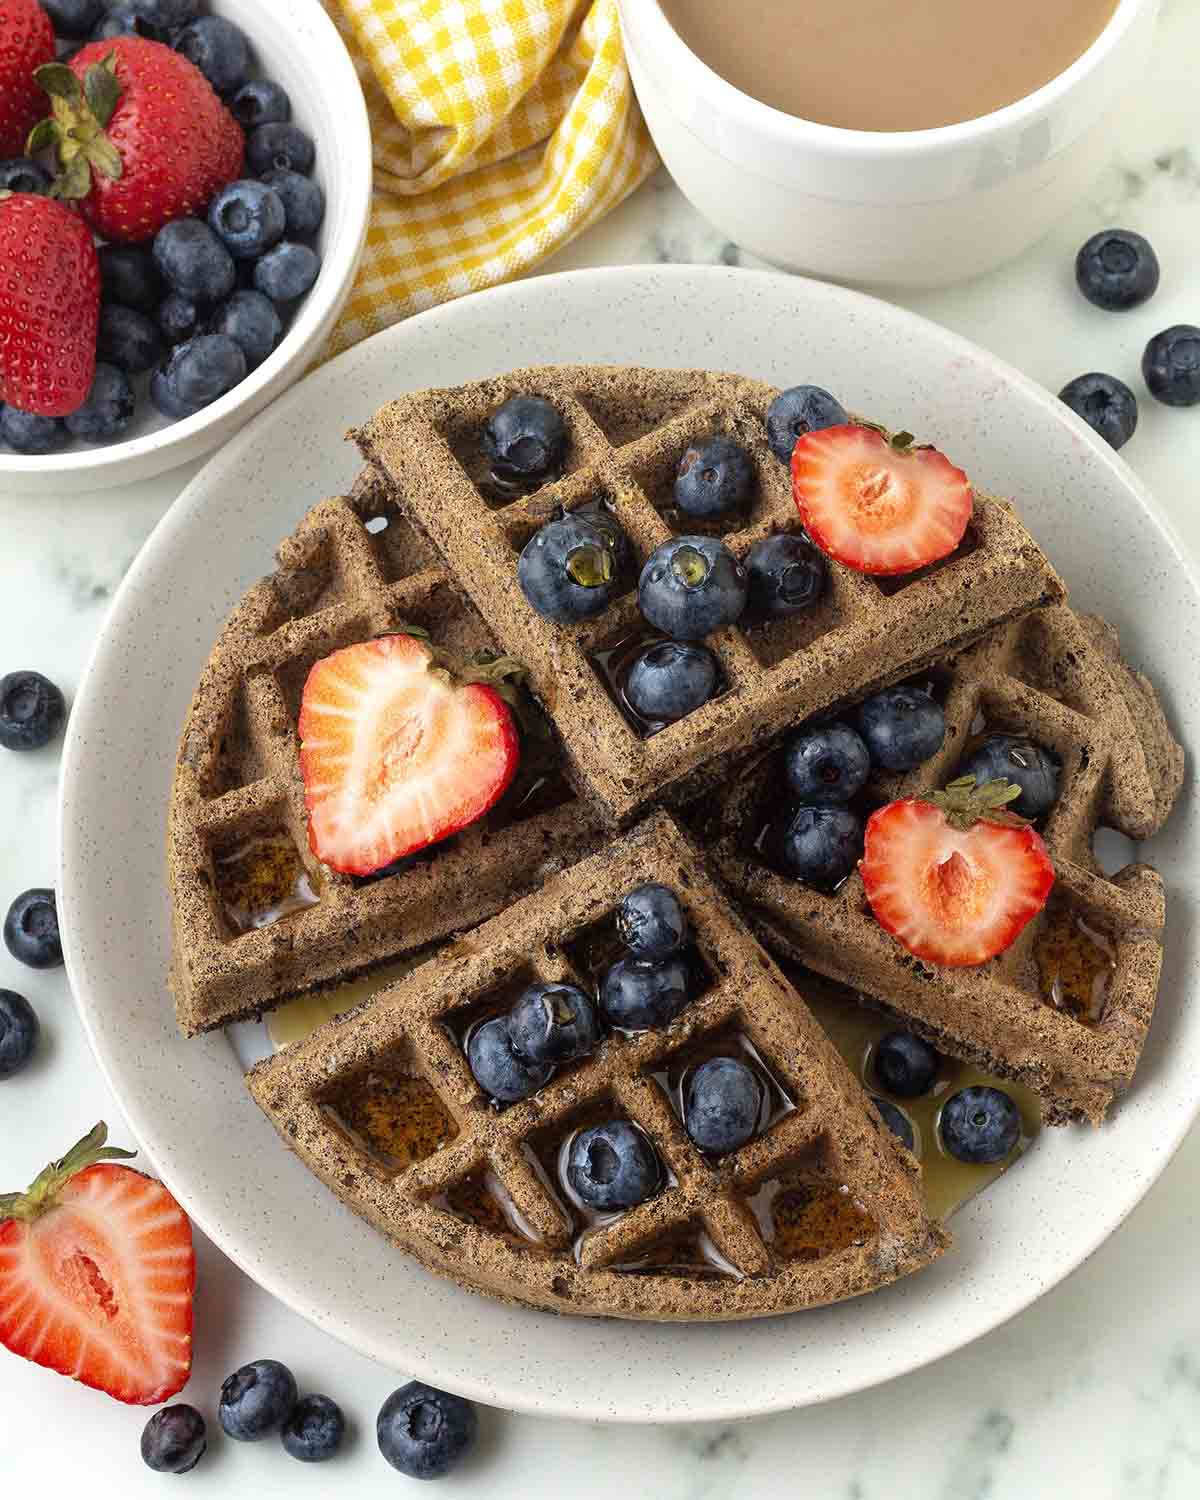
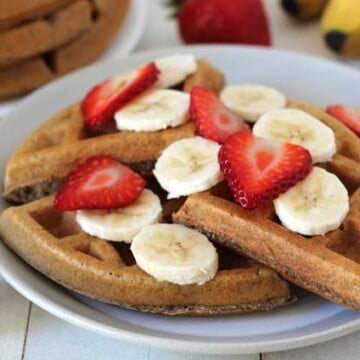
You can't go wrong when serving buckwheat flour waffles with maple syrup and fresh berries or fruits, as I did in the pictures.
There's also vegan whipped cream, maple caramel sauce, lemon curd, a dusting of powdered sugar, or a homemade fruit sauce (with a hot homemade drink on the side, of course!).
A Few More Tips for The Best Waffles
- Follow the recipe exactly as it’s written for the very best results.
- Measure and have all your ingredients ready to go before starting. This will make the process run smoothly, quickly, and easily.
- Measure your ingredients correctly. Please read my article about how to measure flour correctly. I highly recommend using a scale and my weight measurements to make this recipe. (See the "Suggested Equipment" section in the recipe card for the scale I use and recommend.)
- Don't open the waffle maker to take a peek! If opened too early, the waffle will split in two and be raw in the middle, and if you close it and continue to cook it, the texture will not be right. As long as steam is coming out of the waffle maker, it's still cooking, only open it when the steam has stopped.
- Read this post from top to bottom before you start. I’ve included many tips and tricks to get things right. Also, read through the actual recipe before getting started.
Let Me Know What You Think!
I’d love to hear how they turned out for you! What did you top them with?
Share your thoughts with a comment and rating below, and/or post a photo of your waffles on Instagram and tag me so I can see it. I'm @delightfuladventures on Instagram!
Fluffy Vegan Buckwheat Waffles with Buttermilk
Suggested Equipment:
Ingredients:
- 1 ⅔ cups (416ml) unsweetened dairy-free milk
- 4 teaspoons lemon juice
- 2 cups + 2 tablespoons (255g) whole grain buckwheat flour
- 2 teaspoons baking powder
- ¼ teaspoon baking soda
- 1 teaspoon ground cinnamon
- ¼ teaspoon salt
- 3 tablespoons oil
- 2 tablespoons pure maple syrup
- 2 teaspoons vanilla extract
Instructions:
Make Vegan Buttermilk:
- Pour the dairy-free milk into a measuring cup or bowl.
- Add the lemon juice to the milk and stir. Set aside for 10 minutes.
Make Waffle Batter:
- Whisk the buckwheat flour, baking powder, baking soda, cinnamon, and salt together in a large bowl.
- Add the oil, maple syrup, and vanilla to the rested vegan buttermilk. The buttermilk will be curdled, which is normal. Stir until everything has combined.
- Slowly add the buttermilk mixture to the dry ingredients, and mix until all ingredients have combined. Set aside to rest for 5-10 minutes while you preheat the waffle maker.
Cook the Waffles:
- Turn on the waffle maker and allow it to preheat.
- If your waffle maker is not non-stick, using a pastry brush, lightly coat both sides with a small amount of oil.
- Using a ladle or the premeasured cup that came with your waffle maker, add the batter to the centre of the preheated waffle maker. Close and cook until the machine beeps to indicate that the waffle is done. If your maker does not have this function, you'll know it's done when steam stops escaping from the waffle maker.
- Carefully open the waffle maker, remove the waffle, and set it on a cooling rack.
- Repeat until the batter is done.
- Serve with maple syrup or other toppings of your choice.
Recipe Notes:
- Please read all of the information above, as well as the notes below, before making this recipe.
- This recipe makes 4 waffles in a standard Belgian waffle maker. You may end up with slightly more or less depending on the shape and size of your waffle maker.
- Store fully cooled leftovers for up to three days in an airtight container or freezer bag in the refrigerator.
- To freeze, cool them completely and freeze them in an airtight container or freezer bag for up to two months. Reheat in the oven, air fryer, toaster oven, or microwave. For the crispiest results, use the oven, air fryer, or toaster oven.
- Nutrition information is based on 1 of 4 waffles made in a Belgian waffle maker without toppings or add-ins, prepared as written using soy milk. Nutrition info is only to be used as a rough guide. Click to learn how nutrition info is calculated on this website.
Did You Make This Recipe or Have a Question About It?