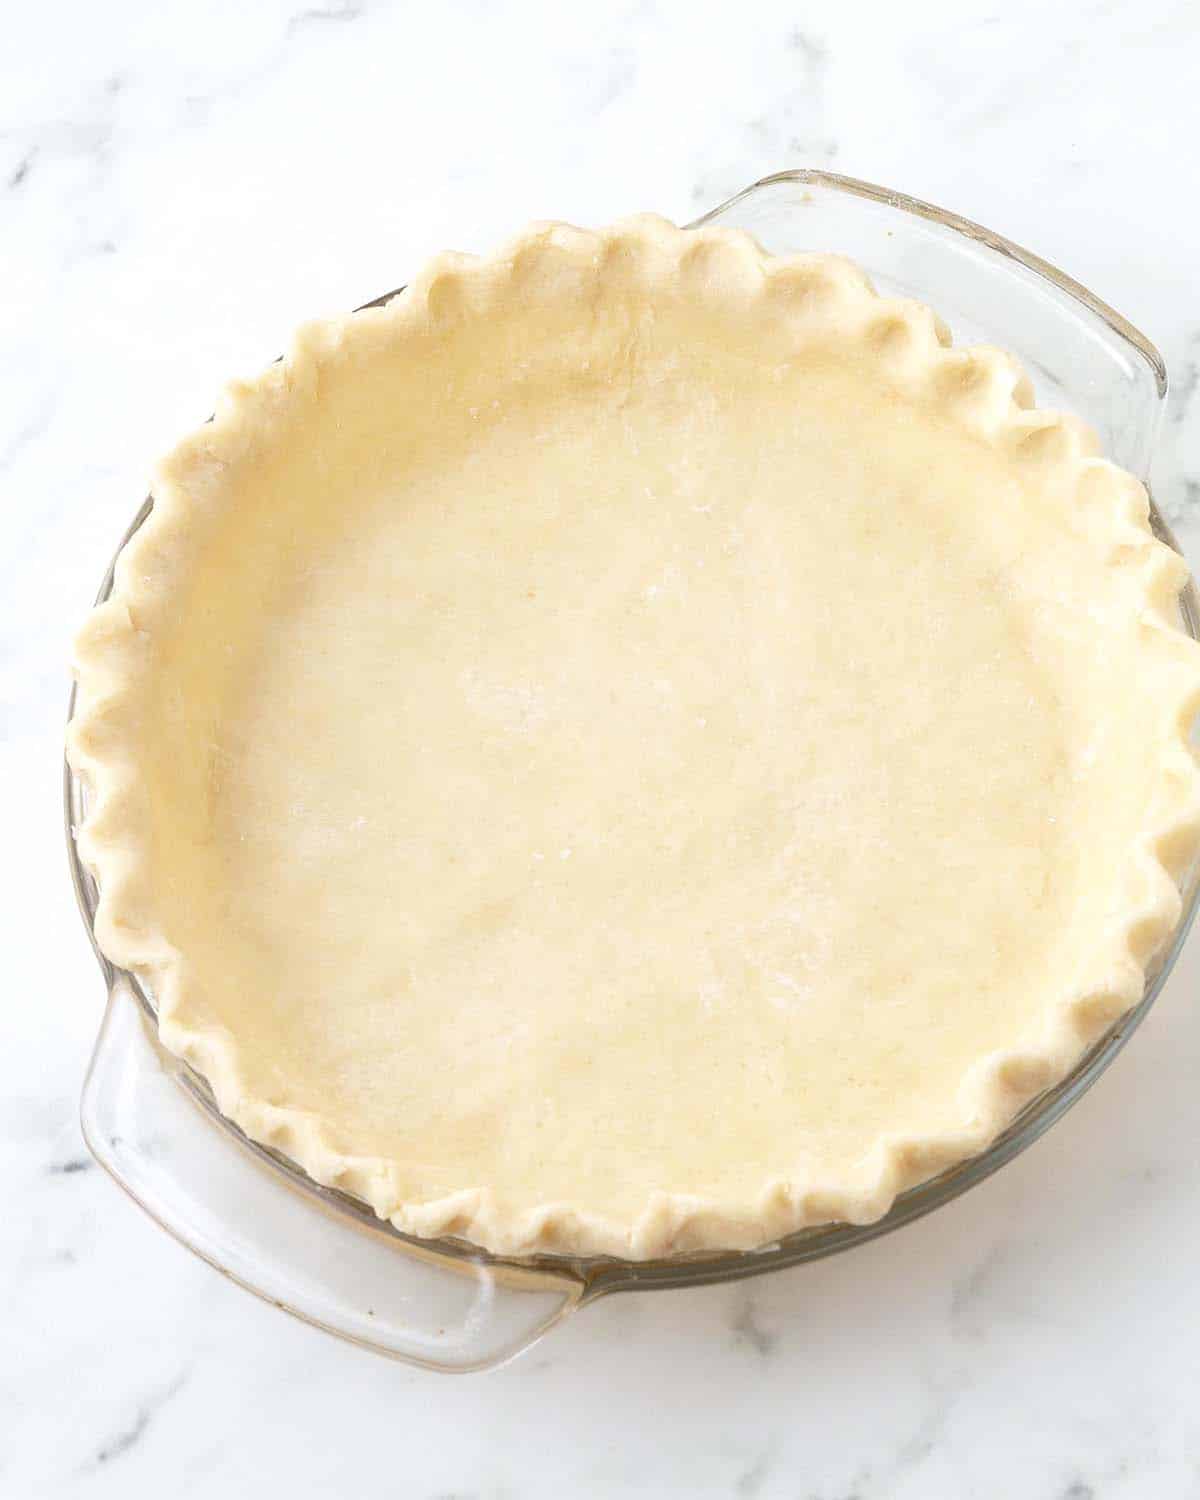
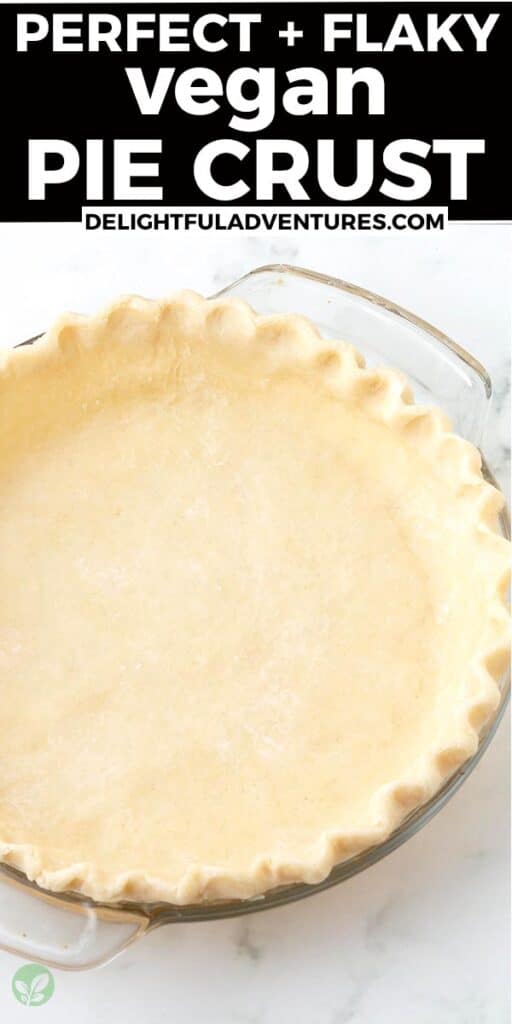
An easy vegan pie crust that’s super flaky and so simple to make! It’s perfect for any homemade sweet or savoury pie and can be fully blind-baked or par-baked.
This 5-ingredient vegan pie dough can also be used for tarts, hand pies, and more. It’s a delicious, no-shortening, dairy-free pie crust everyone will love!
Save This Recipe!
In a rush? Don't have time to scroll through this page right now? Enter your email below and this recipe/article will be sent straight to your inbox so you can come back to it when you're ready. Plus, you'll receive delicious recipes every week! You may unsubscribe at any time.
Everyone should have a good, homemade pie crust recipe in their collection, so today, I'm sharing my vegan pie crust recipe with you so you can add it to yours!
When you know how to make vegan pie crust, you open up a whole new world of recipes you can make from scratch such as sweet and savoury pies, quiches pot pies, galettes, tarts, hand pies, pop tarts, and lots more!
It tastes so much better than a premade store-bought crust, and to make it extremely easy for you, I've included all of my tips and tricks below so you can make the perfect pie crust every single time.
So read through everything before you get started and you'll have all the knowledge you need to make this essential recipe.
This pie crust recipe is not written to be gluten-free, if you want one that is, check out my vegan gluten-free pie crust recipe.
Ingredients You'll Need
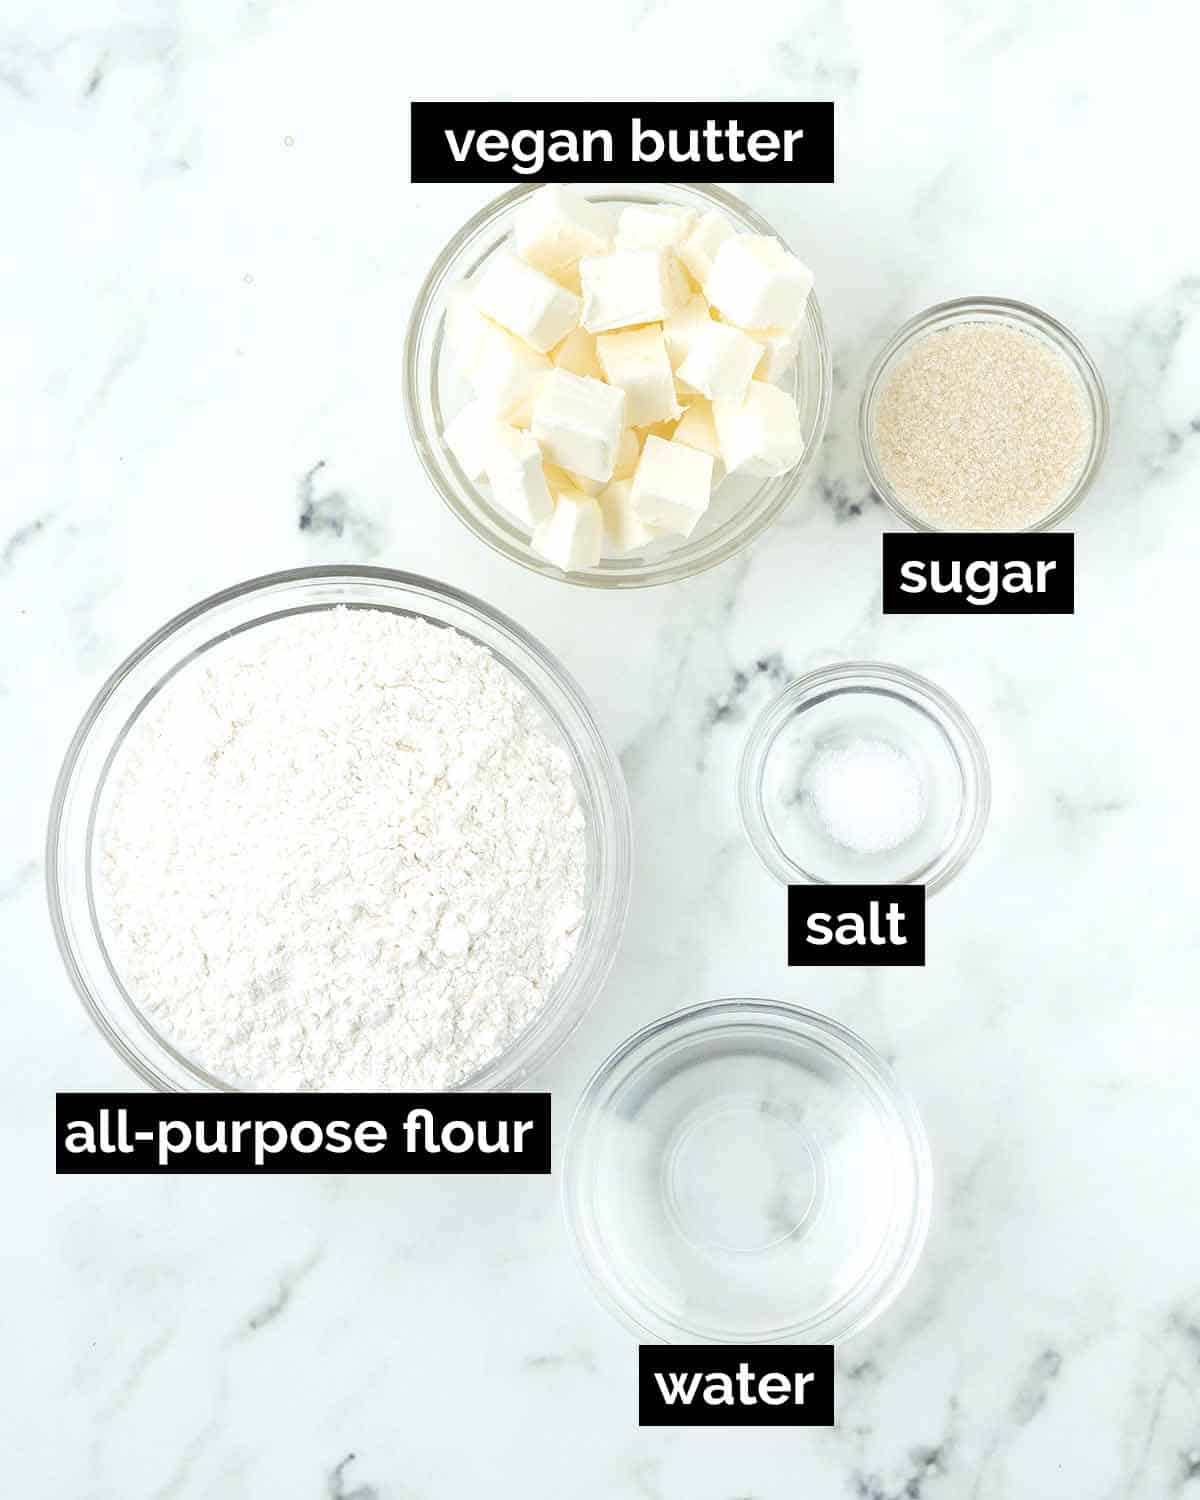
All you need is FIVE simple ingredients!
Ingredient and Substitution Notes
All-Purpose Flour - This recipe was only tested with all-purpose wheat flour; I have not tested it with any other types. See my gluten-free vegan pie crust recipe for a gluten-free version.
Unsalted Cold Vegan Butter - Some vegan pie crust recipes use just shortening, just coconut oil, or just butter, and some use a mixture. This recipe is made without shortening and without coconut oil and uses all butter since a vegan butter pie crust has the best and most buttery flavour. I have not used any other fats for this recipe, so I'm not sure if any of them would work well.
You'll need vegan butter straight from the refrigerator, it needs to be as cold and solid as possible and it needs to be the type that comes in sticks or blocks. Do not use vegan margarine that comes in containers, it's too soft and contains too much water so it's not suitable for this recipe. If you only have salted butter, only use half of the salt the recipe calls for.
Ice Water - If you want a flaky crust, it's essential to make sure your water is cold. I usually put a cup of water in the freezer a little while before I start but you can also add some ice cubes to a cup of water to cool it down quickly.
Sugar - Sugar helps to flavour the crust but it is an optional ingredient, which makes it perfect for either sweet or savoury recipes. I provide a measurement range so you'll decide how much to add based on what you are using the crust for.
Salt - Just a little is needed to enhance the flavour.
Looking for more dessert ideas? Have a look through all of my vegan dessert recipes.
How to Make It
(Note: I’ve outlined the step-by-step on how to make this recipe here, but find the full recipe, ingredients, and directions in the recipe card at the end of this post. My method is done without a food processor, but if you prefer to use one, see the recipe notes below.)
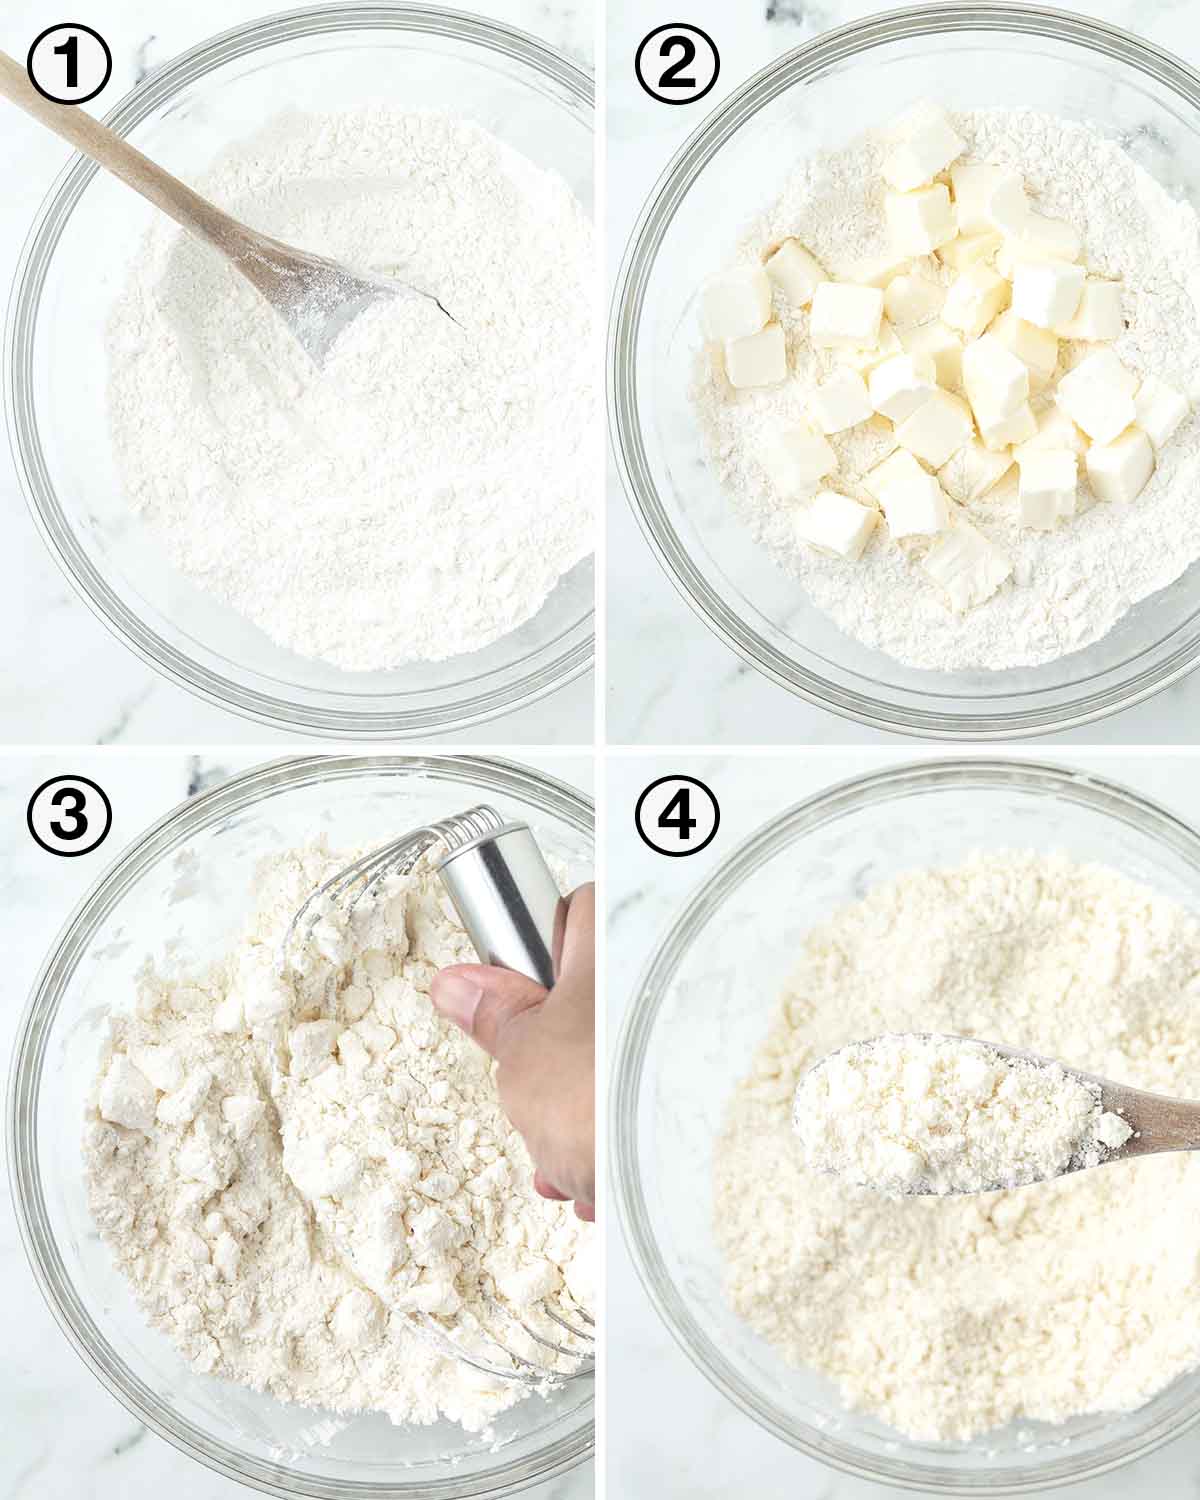
1. In a medium bowl, whisk the flour, sugar, and salt together.
2. Add the cold cubed butter to the bowl.
3. Next, using a pastry blender or a fork, cut the butter into the dry mixture. Don't cut the butter too small, you need it to be in small pieces. Too small and your crust will not be flaky. These pieces of butter will be visible in the crust when you roll it and they will melt as the pie crust bakes. The water from the butter will create steam that separates the dough into layers, creating flakiness.
4. Stop when the butter has broken down into pea-sized chunks (see image #4 below). It's okay if some pieces are larger.
5. Next, add the ice-cold water. Start by adding 3 tablespoons, you'll need that amount at a minimum and then add more water if needed, 1 teaspoon at a time. Altitude can also affect how much water you use.
It's very important to get the amount of water right because too much will make a sticky, wet dough that's hard to work with and too little water will make a dry, crumbly dough that will not hold together.
If you end up adding too much water, add a little more flour, if you add too little water, just add more water, a little at a time until the dough is the proper consistency.
6. Next, mix with a spoon until large chunks of dough are formed.
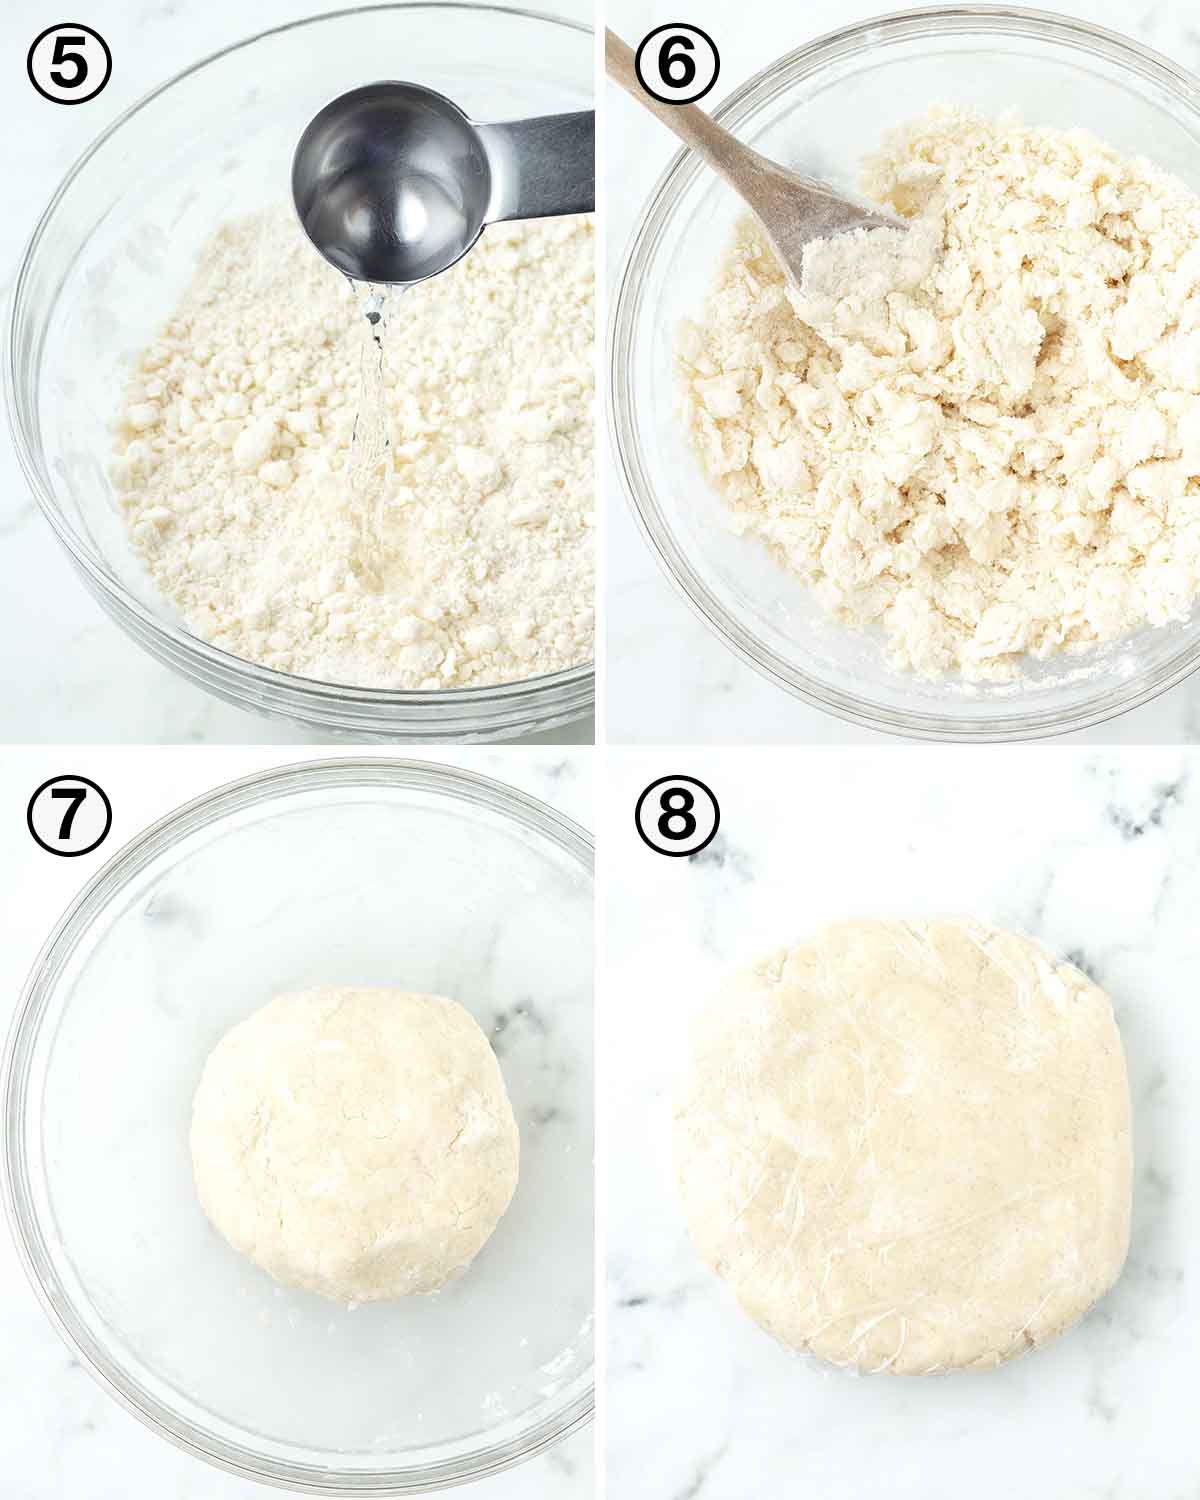
7. Next, use your hands to form the dough into a tight ball. Work quickly so the butter pieces don't melt.
8. Flatten the dough into a disk and wrap it in plastic wrap or parchment paper. Refrigerate it so it can rest and chill for at least 2 hours. (If you wrap it in parchment paper, make sure there are no gaps that leave the dough exposed and then place it in an airtight container to rest.)
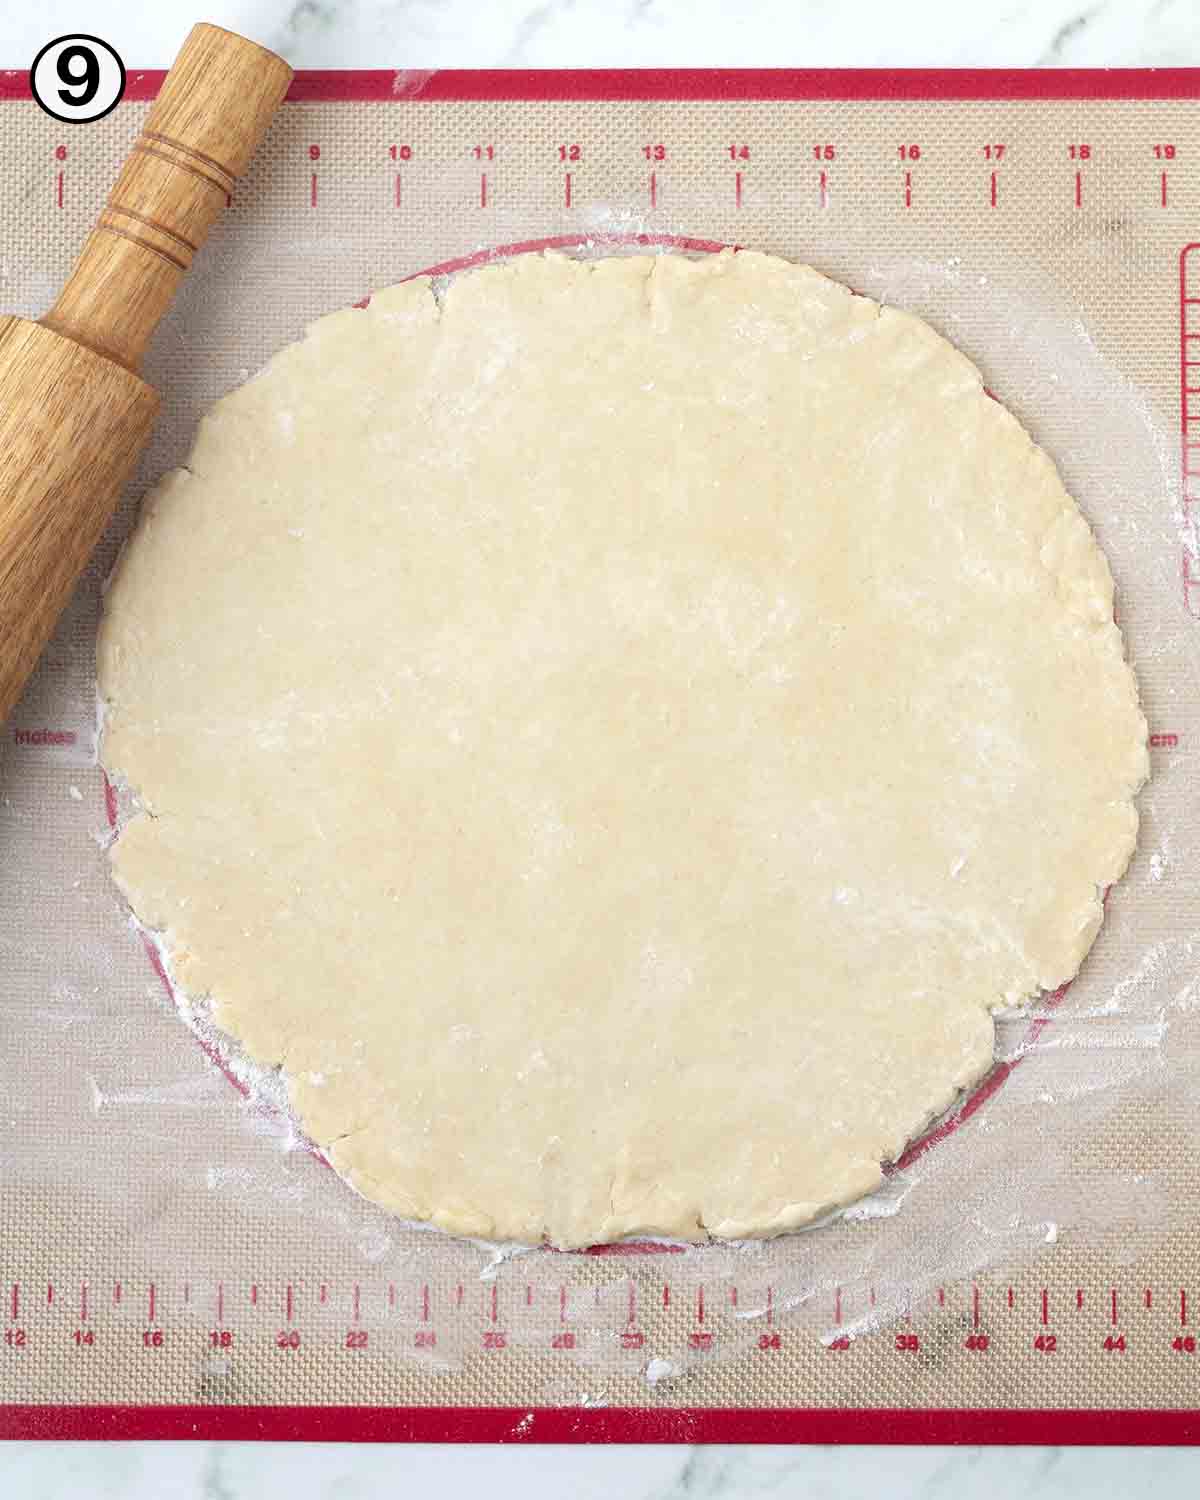
9. Dust a piece of parchment paper or a rolling mat with flour, then sprinkle some more flour on top of the dough. Using a rolling pin, roll the dough into a 12-inch circle. If you don't have a pie mat with measurements, you can use a measuring tape or a ruler.
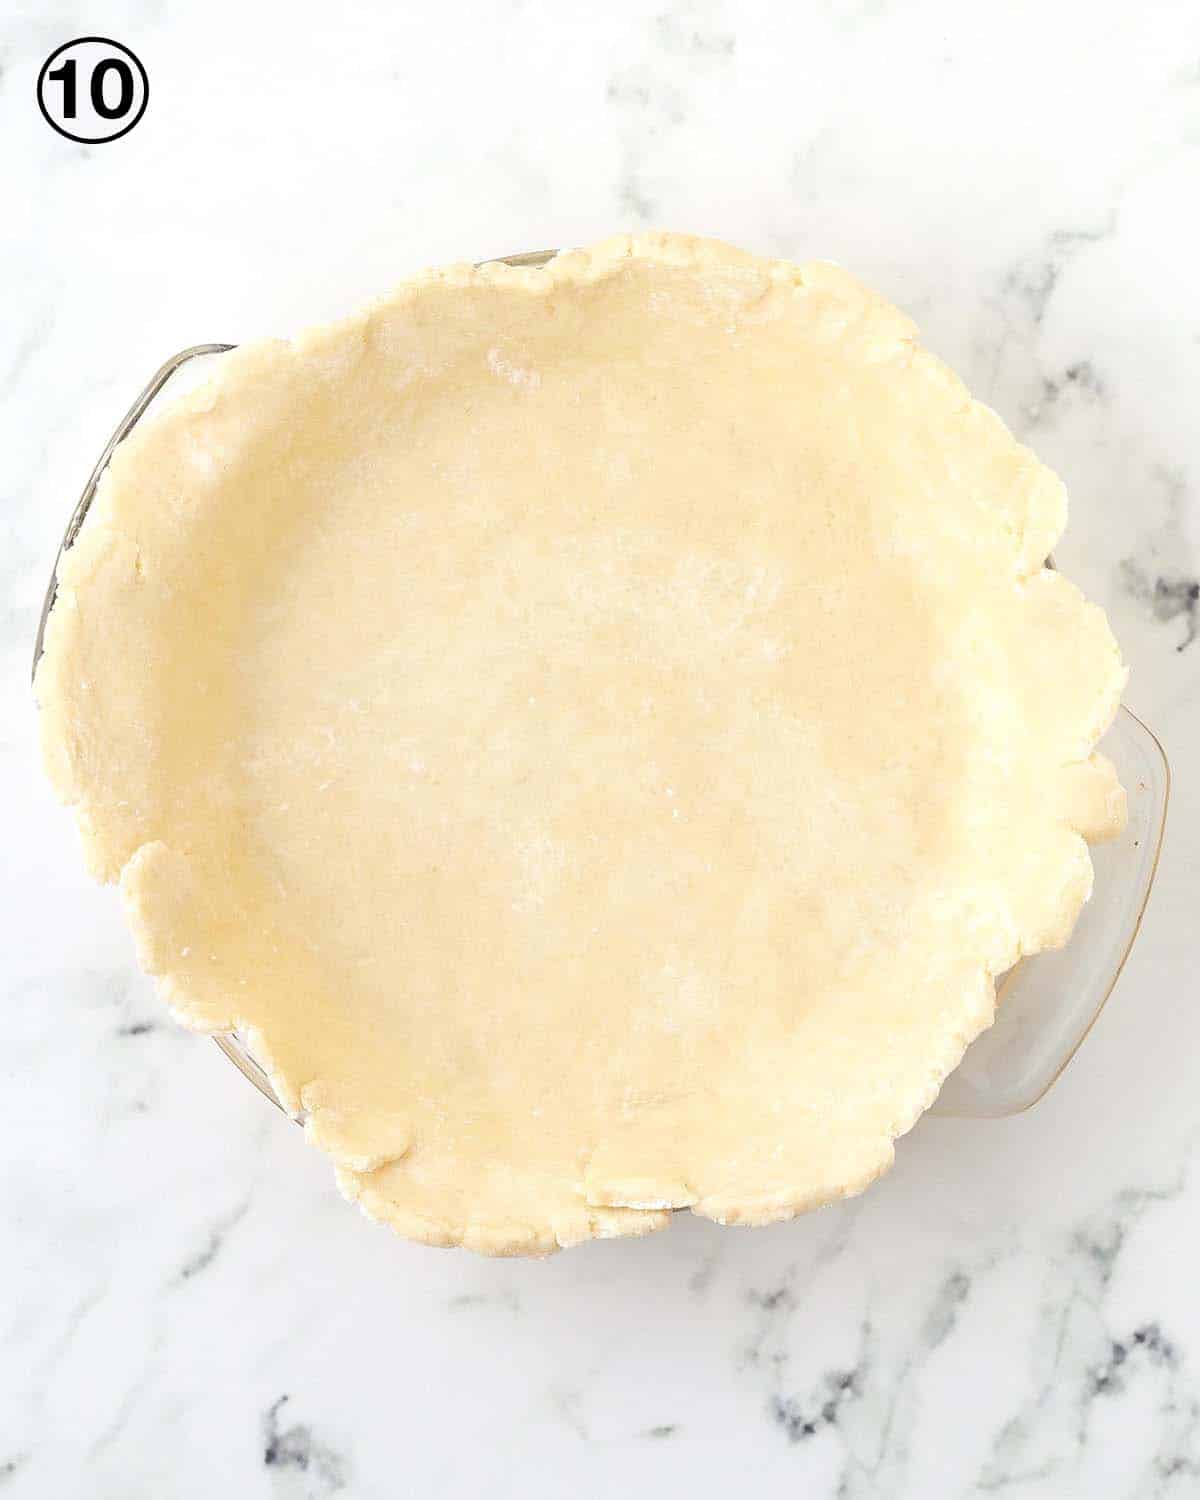
10. Transfer your vegan pie dough to a 9-inch pie dish and gently press it into the corners of the dish. Mend any cracks by pressing the dough back together. You can either trim the overhang and press the back of a fork into the edges of the dough or if you prefer fluted edges, go to the next step.
TIP: To roll the pie dough into an almost perfect circle, start to roll it out from the center and then rotate the dough slightly after each roll.
TIP: You can either carefully lift and transfer the dough to the dish or you can lightly flour your rolling pin and roll the dough around it, then unroll it over the pie dish.
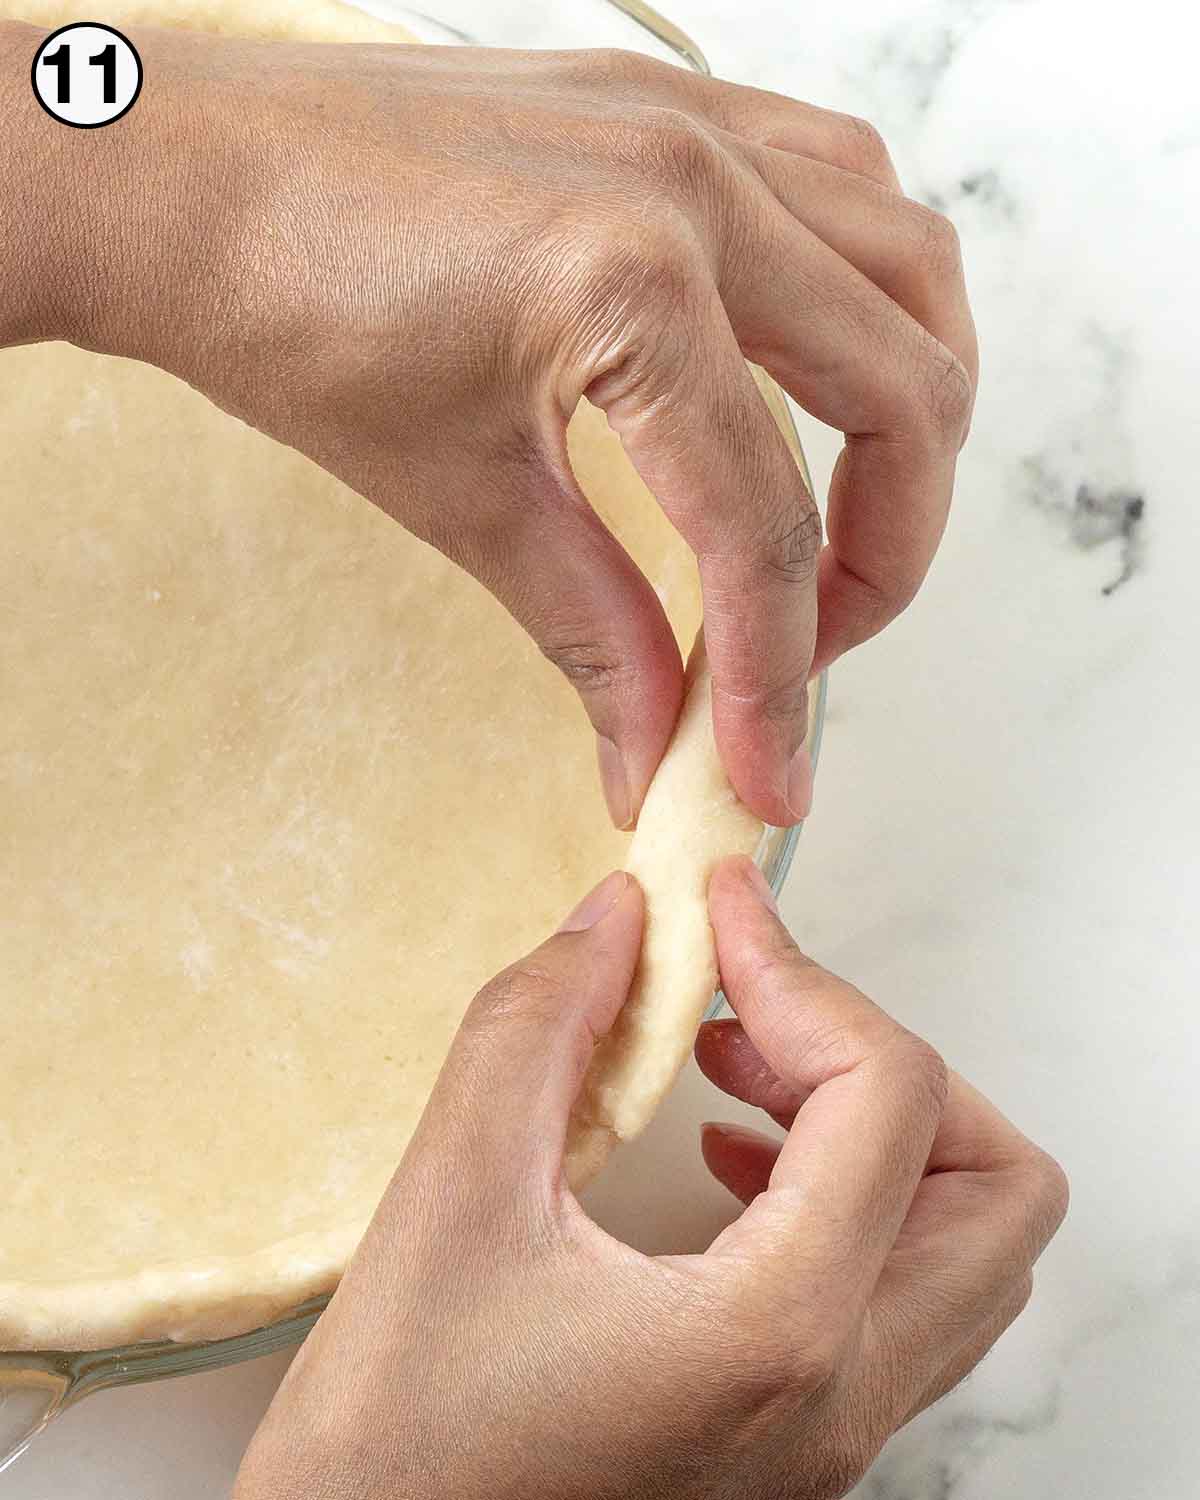
11. Fold the overhang backwards onto itself, gently pressing it so the two layers of dough stick together. This creates a thicker border perfect for fluting.
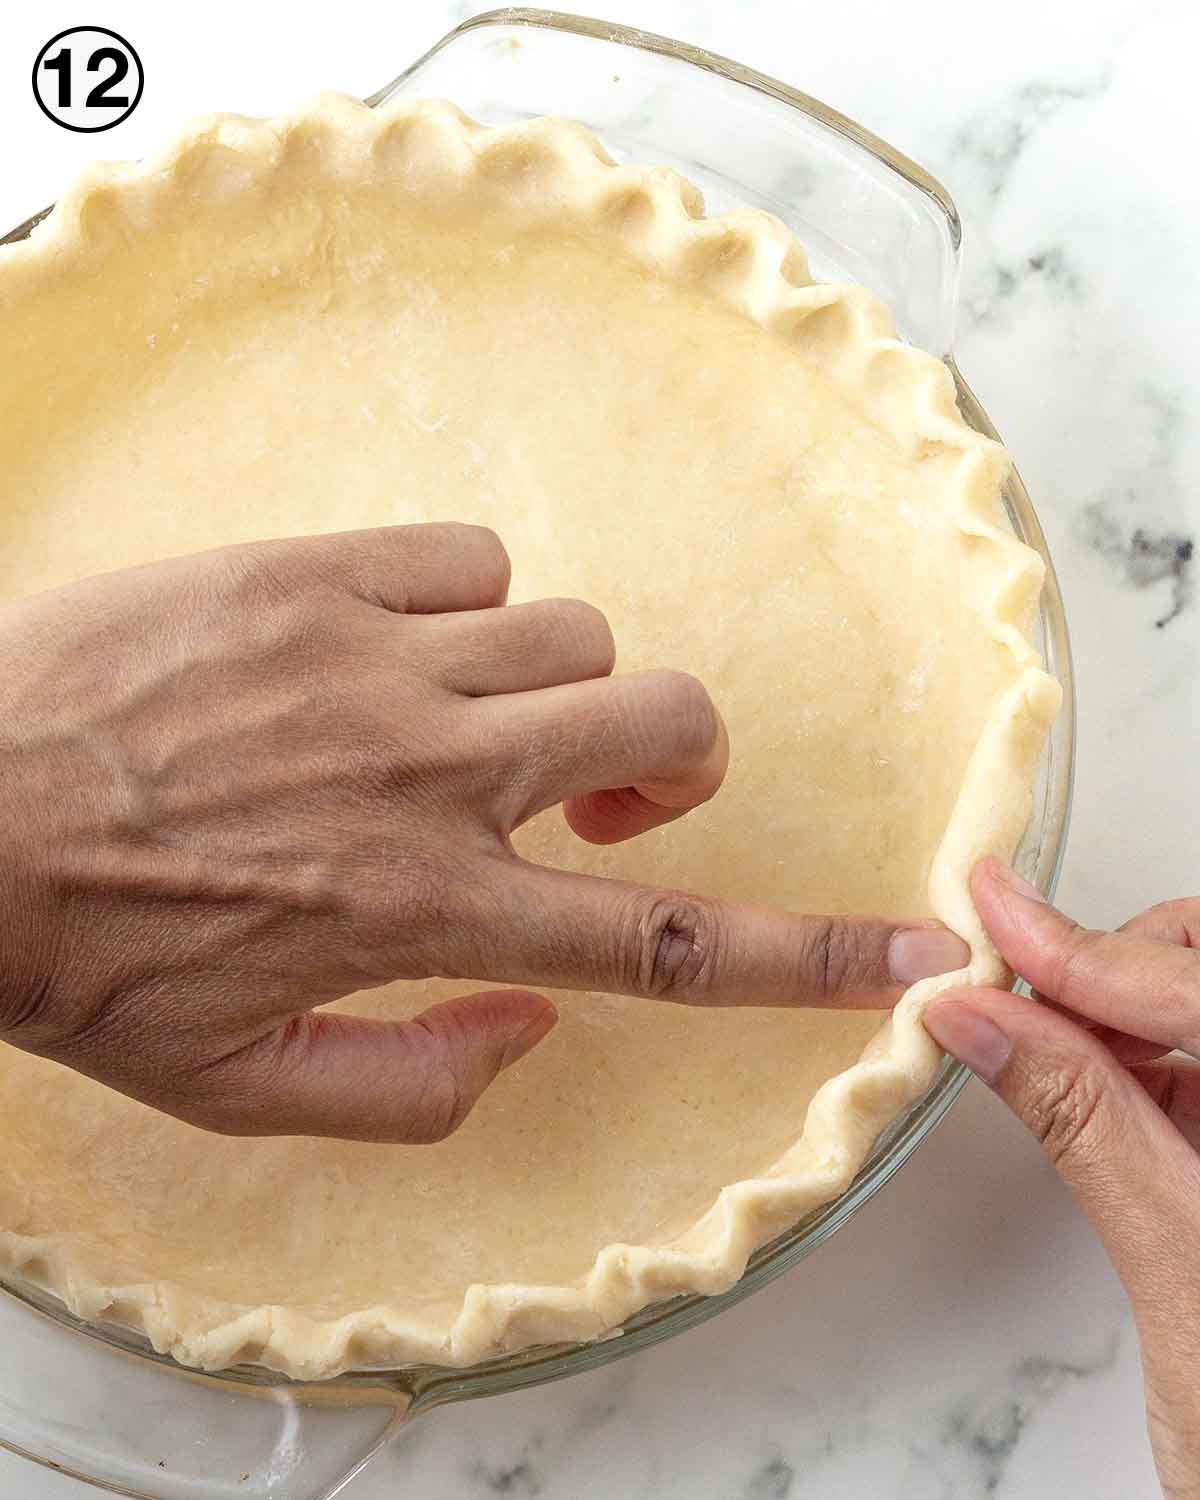
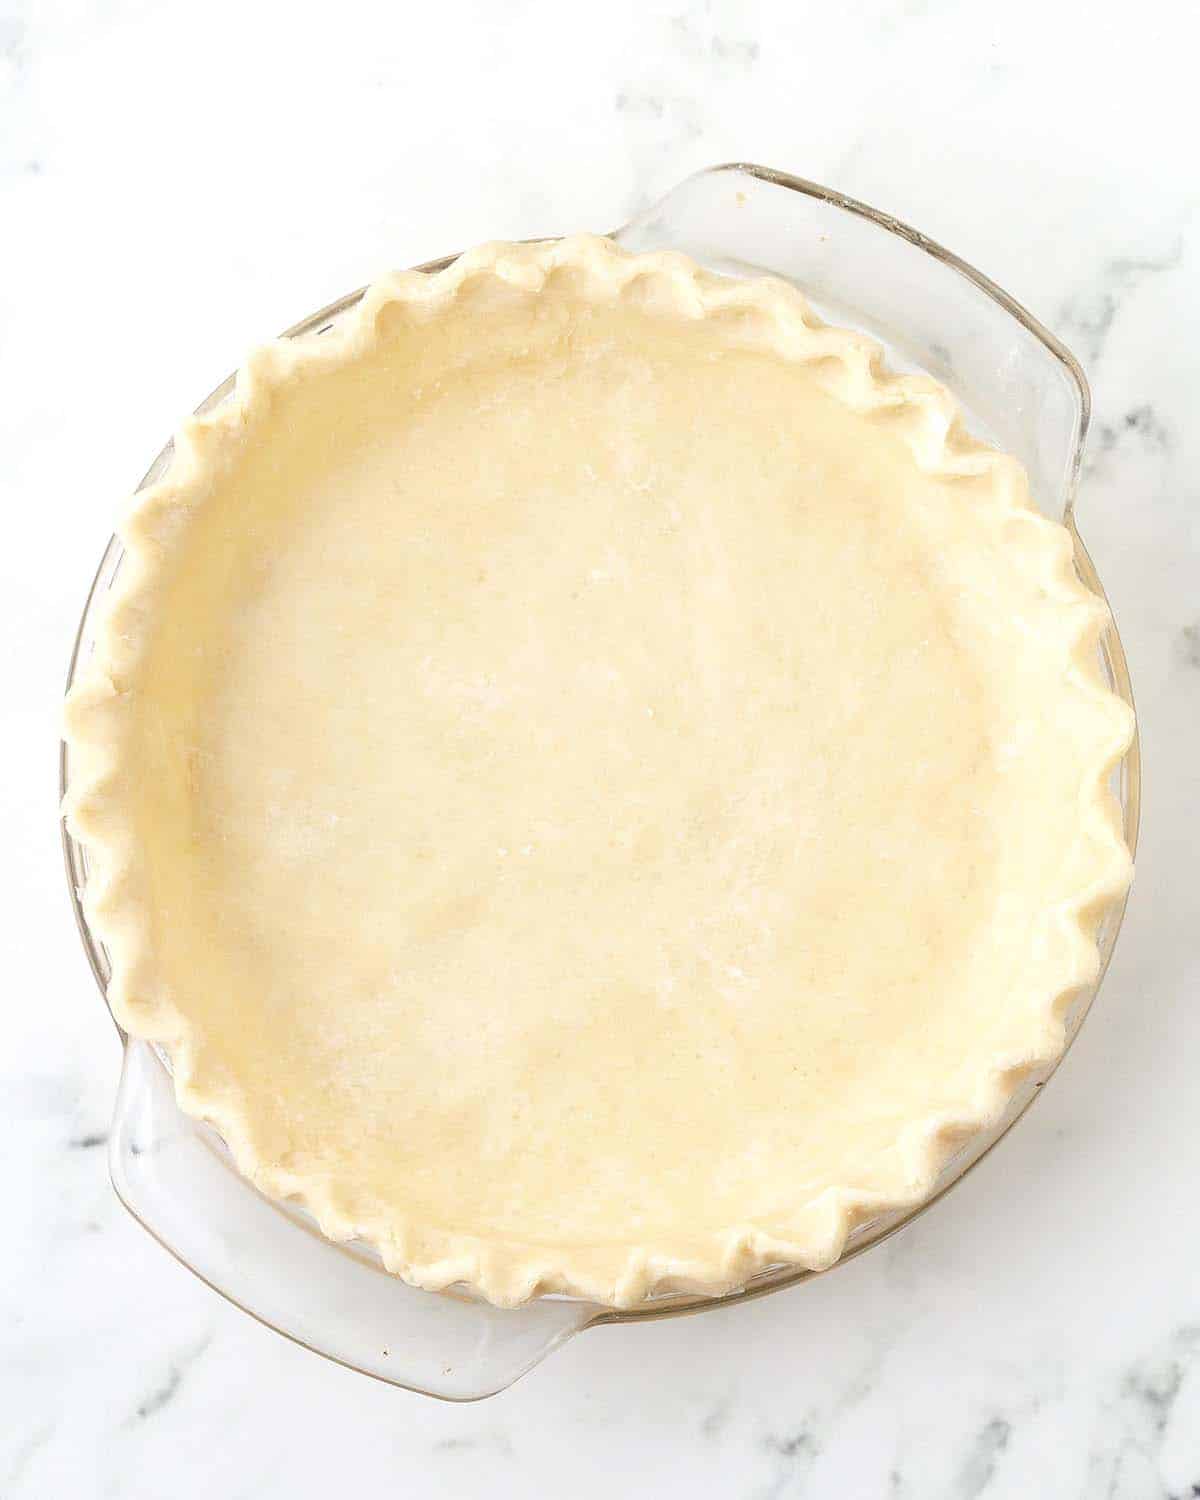
12. Making your way around the whole dish, using both hands, crimp the edges of the dough.
Place the dish in the refrigerator to chill for at least 15 minutes before filling or baking it. After chilling, you can either fully blind-bake or par-bake your pie crust, or you can fill it with the filling you choose and follow the baking time stated in the pie recipe you are making.
To par-bake or fully blind-bake the crust follow this step-by-step that will show you how to blind-bake a pie crust.
Making Ahead and Freezing
After wrapping the dough, it can rest in the refrigerator for up to three days.
You can also freeze it for up to three months by wrapping it in plastic wrap and placing it in a freezer bag or an airtight container. When you're ready to use the frozen dough, thaw it in the refrigerator overnight.
Tips for Success
Follow these tips for making the BEST vegan pie crust!
- Measure and have all your ingredients ready to go before starting. This will make the process run smoothly, quickly, and easily.
- Keep everything cold to ensure you end up with a deliciously flaky vegan pie crust. Feel free to stop and chill the dough at any time during the process if you feel it's getting warm. To take it a step further, you can even place all the tools you will be using (bowl, fork, spoons, pastry cutter, etc.) in the refrigerator for a while before starting.
- Don't overwork or knead the dough. This makes the butter melt and causes the crust to not be flaky and it will also develop the gluten making your dough hard to roll out and the finished crust will be tough.
- Work quickly when you use your hands to form the dough ball so there is minimal contact between your warm hands and the dough.
- A metal pie pan or glass pie plate will work, but I prefer to use a Pyrex glass pie dish (deep dish or regular) because it heats evenly and you can get a peek at the bottom of the crust and the sides of the crust as the pie bakes. If you use glass, make sure it can handle going from cold to hot temperatures without issue.
- Don't skip refrigerating the crust in the dish before baking it so it doesn't have a chance to get warm as you wait for the oven to preheat.
- Double this recipe for a pie that calls for a top and bottom crust and this is optional, but you can use my vegan substitute for egg wash on pie crust to make the top crust golden brown.
- To par-bake or fully blind-bake the crust follow this step-by-step that will show you how to blind-bake a pie crust.
- Read this post from top to bottom before you start. It's not difficult to make but I’ve included a lot of tips and tricks. Also, read through the full recipe before getting started.
- Follow the recipe exactly as it’s written for the very best results.
Need some recipes to try this shortcrust with? Check out all of my vegan pie and tart recipes!
Recipe FAQ
Use your favourite vegan butter for this recipe and make sure it's the type that comes in sticks and blocks, not soft margarine from a container. It needs to be the type that is hard and not spreadable straight from the fridge. Some brands that make vegan butter in sticks and blocks suitable for making pie crusts are Melt, Becel, Earth Balance, Flora, Country Crock, and Miyoko's.
You can use ¼ cup of vegan butter and ¼ cup of plant-based vegan shortening / vegetable shortening for the recipe if you don't want to use all butter.
Yes, I give instructions on how to make it by hand, but you can use a food processor. See the recipe notes for details.
So many things, not just sweet and savoury pies! You can make a vegan tart crust, mini vegan tart shells, vegan hand pies, vegan pop tarts, galettes, decorative cut-outs for the top of your pies, vegan empanadas, pot pie, and even cookies!
If You Make This Recipe...
Did you make apple pie with your pie crust? A vegan quiche? A veggie pot pie? Or something else? Let me know what you made by leaving a comment and star rating below or by posting a picture of your version on Instagram (I'd love to see it! I'm @delightfuladventures on Instagram).
If You Like This Recipe...
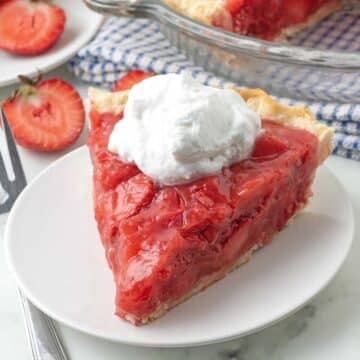
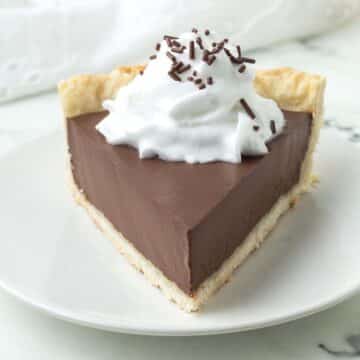
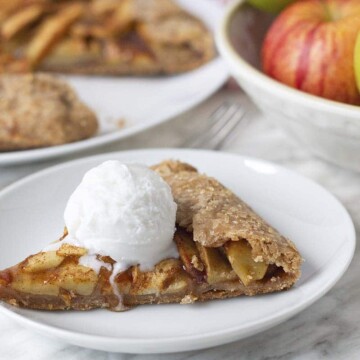
You may also like these easy vegan pie recipes and galettes that can be made with this crust:
Easy Vegan Pie Crust (No Shortening, Flaky!)
Suggested Equipment:
Ingredients:
- 1 ½ cups (188g) all-purpose flour **see important note about flour below**
- 1-2 tablespoons (13g-25g) sugar (optional, omit if needed, see note below)
- ¼ teaspoon salt
- ½ cup (113g) unsalted vegan butter cold and cubed
- 3-4 tablespoons ice water
Instructions:
- Add flour, sugar, and salt to a medium bowl and whisk together.
- Add cold cubed butter and with a pastry blender or a fork, cut the butter into the dry mixture until the butter has broken down and only pea-sized chunks remain.
- Add three tablespoons of ice-cold water to the dry mixture and then mix with a spoon. If the dough is too dry, add more water, one teaspoon at a time (up to a maximum of 3 teaspoons). Mix until everything combines to form a loose, chunky dough.
- Using your hands, form the dough into a tight ball making sure that any dry patches of flour get incorporated into the ball.
- Place the dough on a piece of plastic wrap or parchment paper and pat it down into a disk. Wrap the dough disk and place it in the refrigerator to chill for at least 2 hours.
- After the dough has chilled, remove it from the refrigerator and let it sit at room temperature for 10-15 minutes. (see note below)
- Dust a rolling mat or piece of parchment paper with flour and place the chilled dough on top of the flour. Add a little more flour on top of the dough and using a rolling pin, roll out into a 12-inch circle.
- Carefully transfer the dough to a 9-inch pie dish and gently press it into the corners of the dish. Mend any cracks by pressing the dough back together. You can either trim the overhang and press the back of a fork into the edges of the dough or if you prefer fluted edges, you can do that after it has chilled.
- Place the pie dish in the refrigerator for 15 minutes so it can chill.
To Make Fluted Edges (optional)
- After the dough has chilled again, working with one hand on the inside of the pie dish, and your other hand on the outside (see image above), use the index finger of your inside hand to push the dough between the thumb and index finger of your outside hand to form the fluted shape. Continue around the rest of the pie.
- Place the pie dish in the refrigerator for 15 minutes so it can chill again. After chilling, the crust can be par-baked, fully blind-baked (see recipe notes) or it can be filled with the pie filling of your choice.
Recipe Notes:
- Please read all of the information tips, and FAQ info above, as well as the notes below before making this recipe.
- This recipe makes 1 pie crust suitable for a 9" pie dish. If you are making a double-crust pie, double the recipe.
- This recipe has only been tested with white all-purpose flour, I have not tested with spelt, whole wheat, or any other types of flour. If you are looking for a crust that is vegan and gluten-free, please follow my recipe for a vegan gluten-free pie crust.
- Don't skip letting the dough sit at room temperature for a while after the chilling time. If handled right away, it will not roll properly and will be crumbly and hard to handle.
- After cubing the butter, if you find that it has started to soften, refrigerate it until it has solidified again and if at any point you feel the dough has gotten warm, return it to the refrigerator so it can cool down.
- Feel free to omit the sugar if you are using the crust for a savoury pie recipe.
- To par-bake or fully blind-bake the crust follow this step-by-step that will show you how to blind-bake a pie crust.
- To make this recipe in a food processor: Add the flour, sugar, and salt to the food processor bowl and pulse to combine. Add the cold cubed butter and pulse a few times until the butter has broken down into pea-sized pieces. Add the water, one tablespoon at a time, until the dough forms. Remove the dough and continue at step 5.
- Nutrition info is based on ⅛ of the pie crust recipe made as written and with no filling. Nutrition info is only to be used as a rough guide. Click to learn how nutrition info is calculated on this website.

Leave a Reply