This page may contain affiliate links. Click to learn more. As an Amazon Associate I earn from qualifying purchases.

Easy vegan gluten-free thumbprint cookies made with a simple shortbread cookie dough and then indented and filled with any jam you like, such as raspberry, strawberry, apricot, and more...use your favourite!
This recipe is made without eggs and is dairy-free, but it’s just like the classic version you know and once loved. Make them for sharing at Christmas or any time during the year!

Save This Recipe!
In a hurry? Drop your email below, and this recipe will be sent straight to your inbox for later. You'll also get fresh recipes every week! You can unsubscribe anytime.
Even though these vegan gluten-free thumbprint cookies (also known as thimble cookies!) are considered to be Christmas cookies, I think they can be made any time of year.
They do contain jam or preserves, which are a bit summery because jam and preserves are made with fresh fruits and berries, right?
My point is, these vegan jam-filled cookies are perfect to make during the holidays, BUT if you happen to get a craving in say, July, don't hesitate, make them!
So whether it's July or December (or any other month!), let's make these soft, melt-in-your-mouth, scrumptious thumbprint cookies!
Before you head down, if you're looking for more vegan gluten-free Christmas cookie recipes, check them out by clicking that link (and if a craving hits in the summer for any of these, too, you already know my thoughts on that!)
A Glance at What You'll Need

Ingredient Notes and Swap Info
(NOTE: Only ingredients with special notes are listed below. The full ingredient list can be found in the recipe card.)
Gluten-Free Flour Blend – This recipe is made using gluten-free flour, Bob’s Red Mill Gluten-Free 1 to 1 Baking Flour in the BLUE bag with xanthan gum, to be specific.
Make sure to measure your flour correctly or your cookies will not have the correct texture.
Powdered Sugar – Powdered sugar can’t be replaced with liquid or granulated sweeteners, and I haven’t tested alternatives. Since some sugars are processed with bone char, choose an organic or clearly labelled vegan option to be sure. And just a note, powdered sugar, confectioners sugar, and icing sugar are all the same.
Unsalted Vegan Butter – Use the type that comes in stick or block form, the type that comes in containers/tubs is too soft and will not work well in this recipe. If you only have salted butter, omit the salt from the recipe.
Vanilla Extract - I like to use vanilla, but I tested with other extracts and had great results. You can replace a half teaspoon (or more) of the vanilla with a half teaspoon of almond extract or lemon extract.
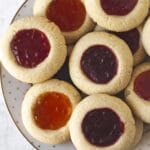
Jam/Preserves/Jelly - You can use any type you like, just make sure that it's a good quality one. I usually use strawberry, raspberry, and apricot, exactly what you see in the pictures, but use your favourite! Peach, blueberry, passion fruit, fig, guava (and more!) will all work. You can even use leftover cranberry sauce.
Store-bought or homemade jam can be used, just make sure that it isn't too runny, the extra liquid will cause the cookies to be soggy. I also prefer to use seedless jam, but if you like the type with seeds, feel free to use it.
Let's Make Them!
(Note: I’ve outlined the step-by-step on how to make this recipe here, but find the full recipe, ingredients, and directions at the end of this post.)
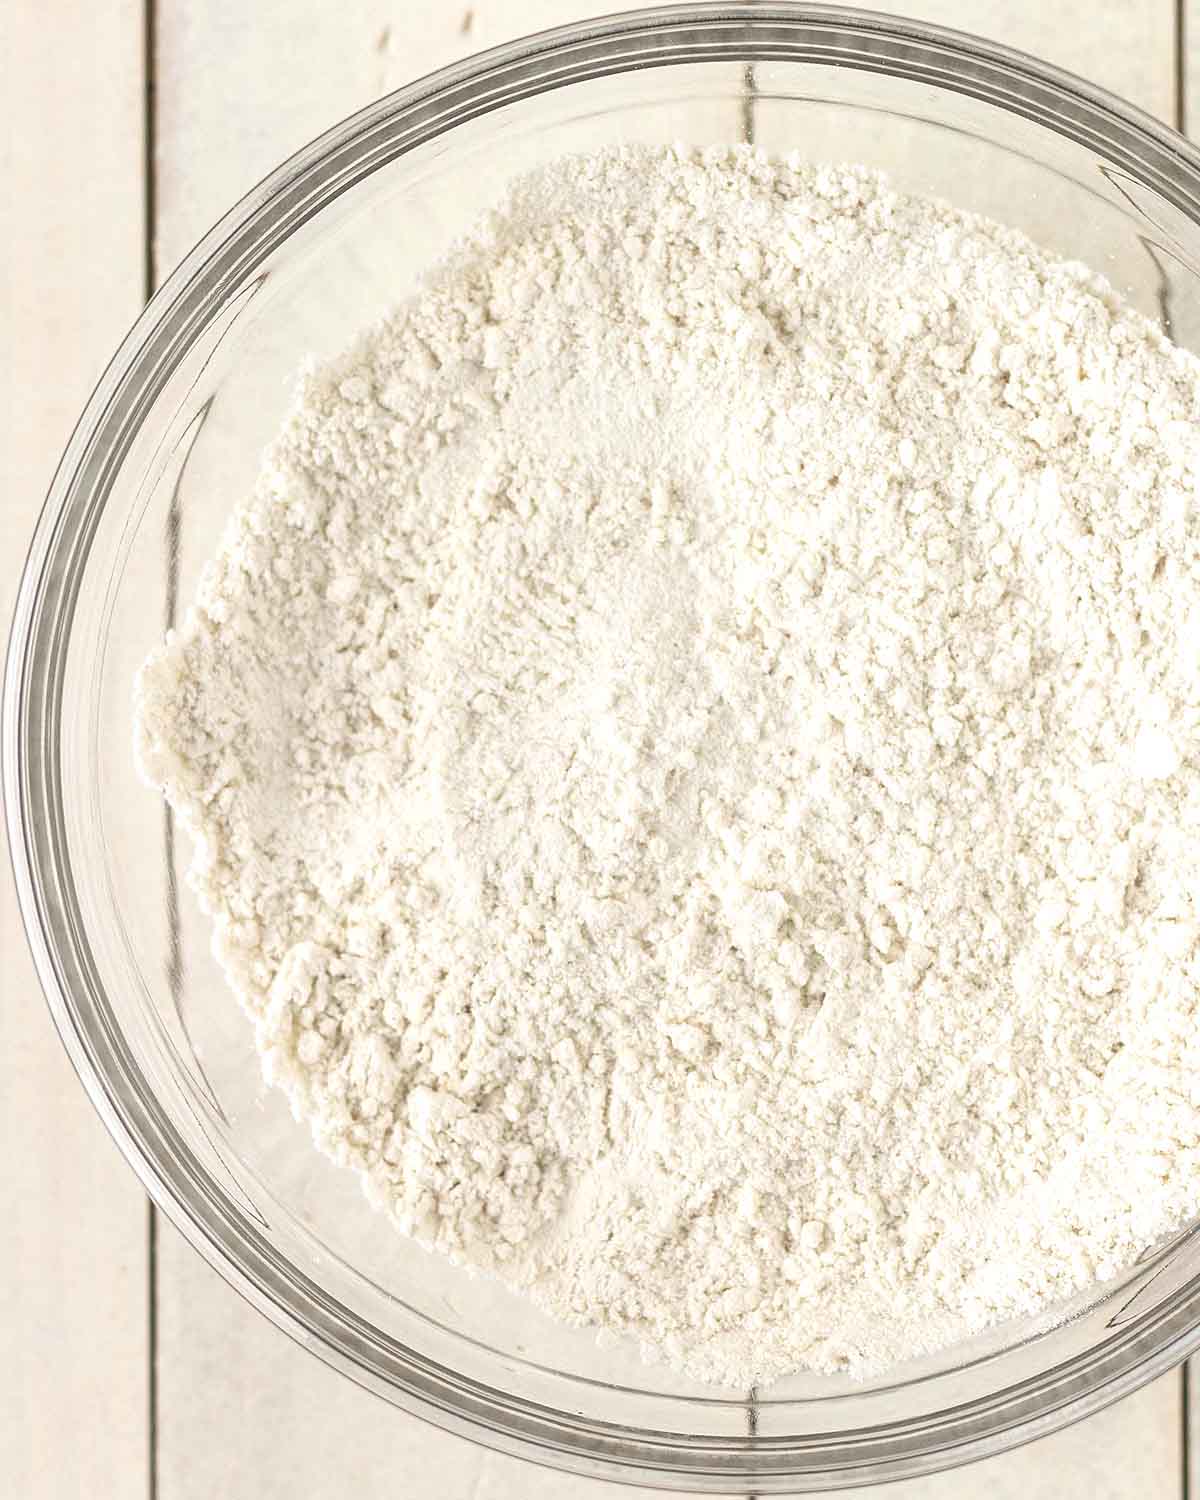
Whisk the flour and salt together and set them aside.
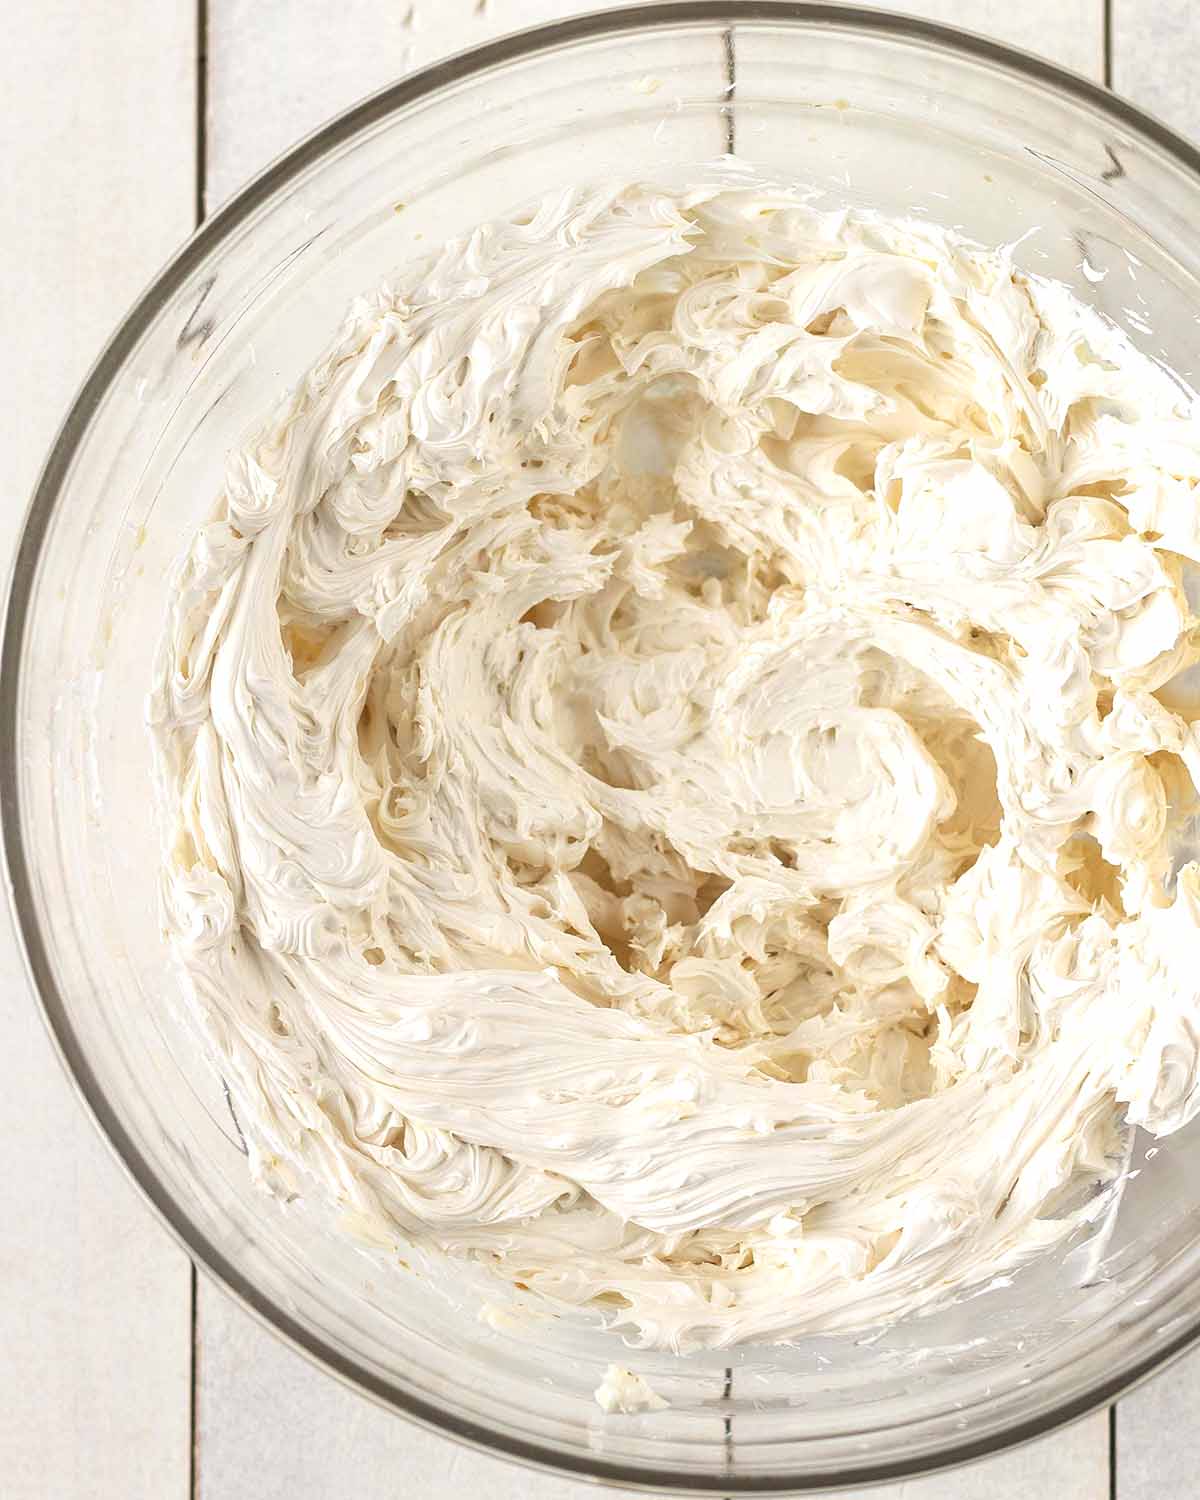
Using a hand or stand mixer, cream the butter and powdered sugar until light and fluffy, about 2 to 3 minutes. Add the vanilla and mix until combined.
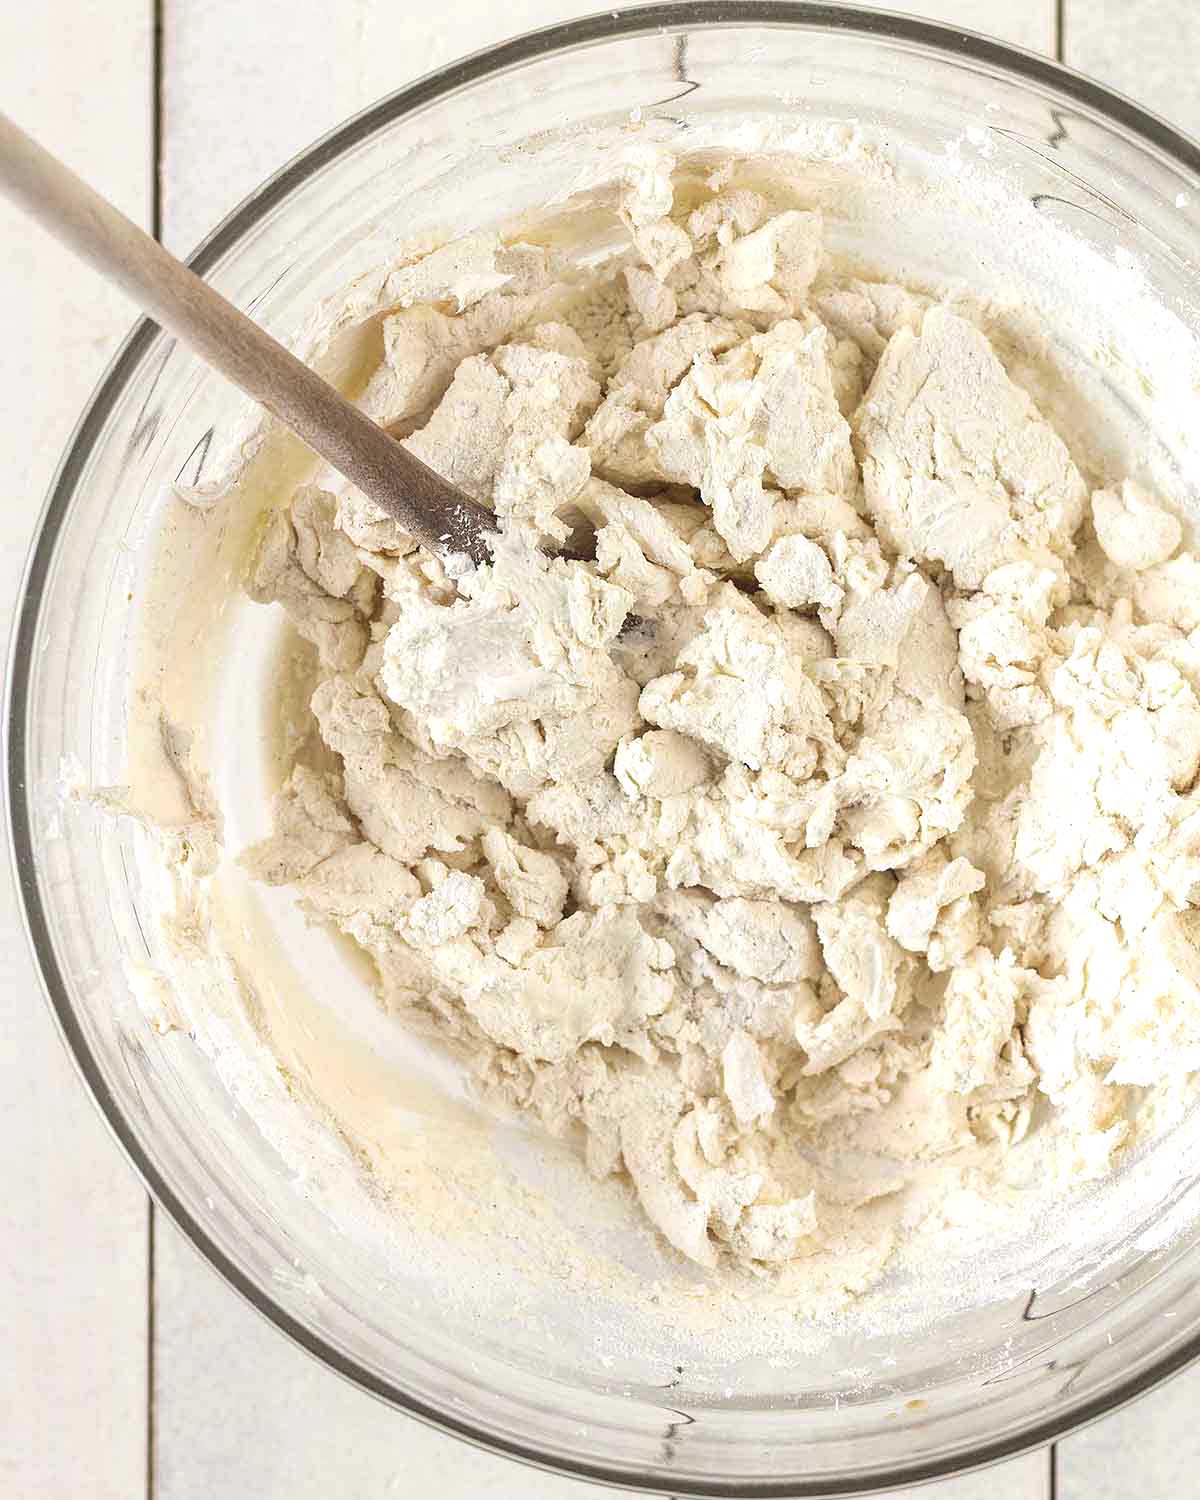
Gradually add the flour mixture to the butter mixture, mixing until combined. Switch to a wooden spoon if you prefer.
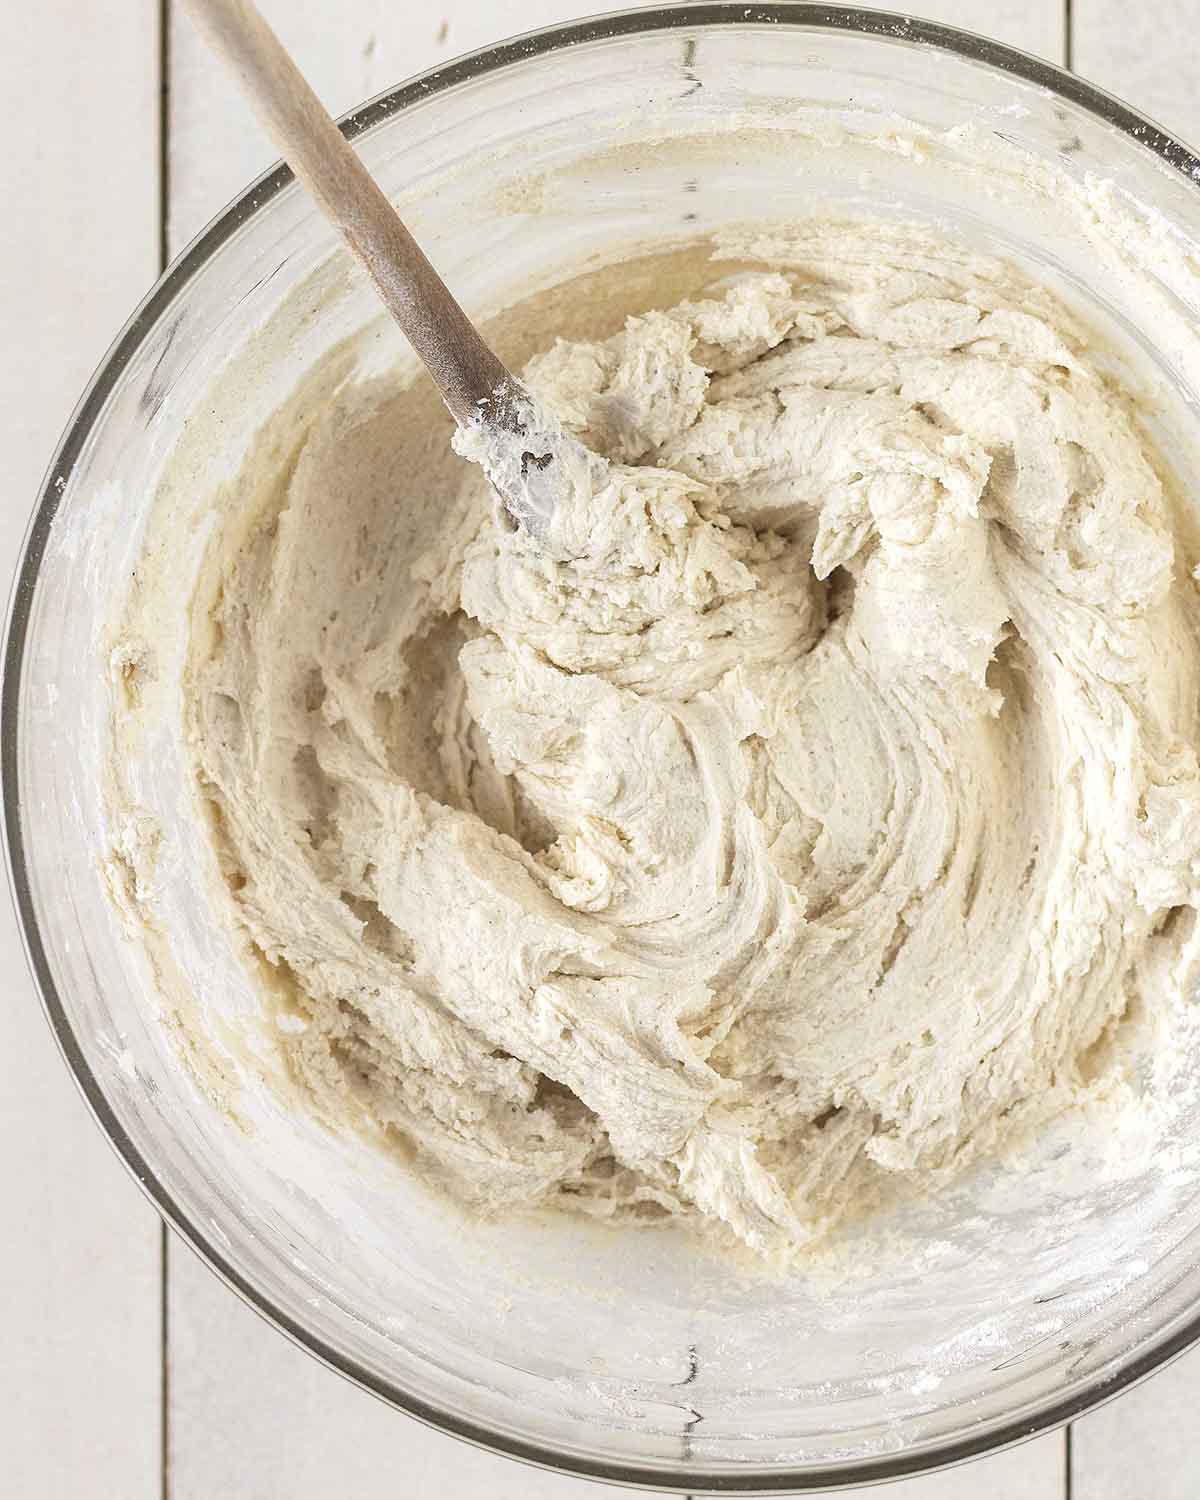
Continue mixing until everything has combined and a soft, sticky dough has formed. Place a piece of plastic wrap directly on top of the dough and place it in the refrigerator for at least three hours and up to three days.
Recipe Note
Don't skip chilling the dough. This step is VERY important for the cookies to hold their shape while baking. If the dough is not chilled, the cookie dough will be hard to roll into balls, and the cookies will spread too much.
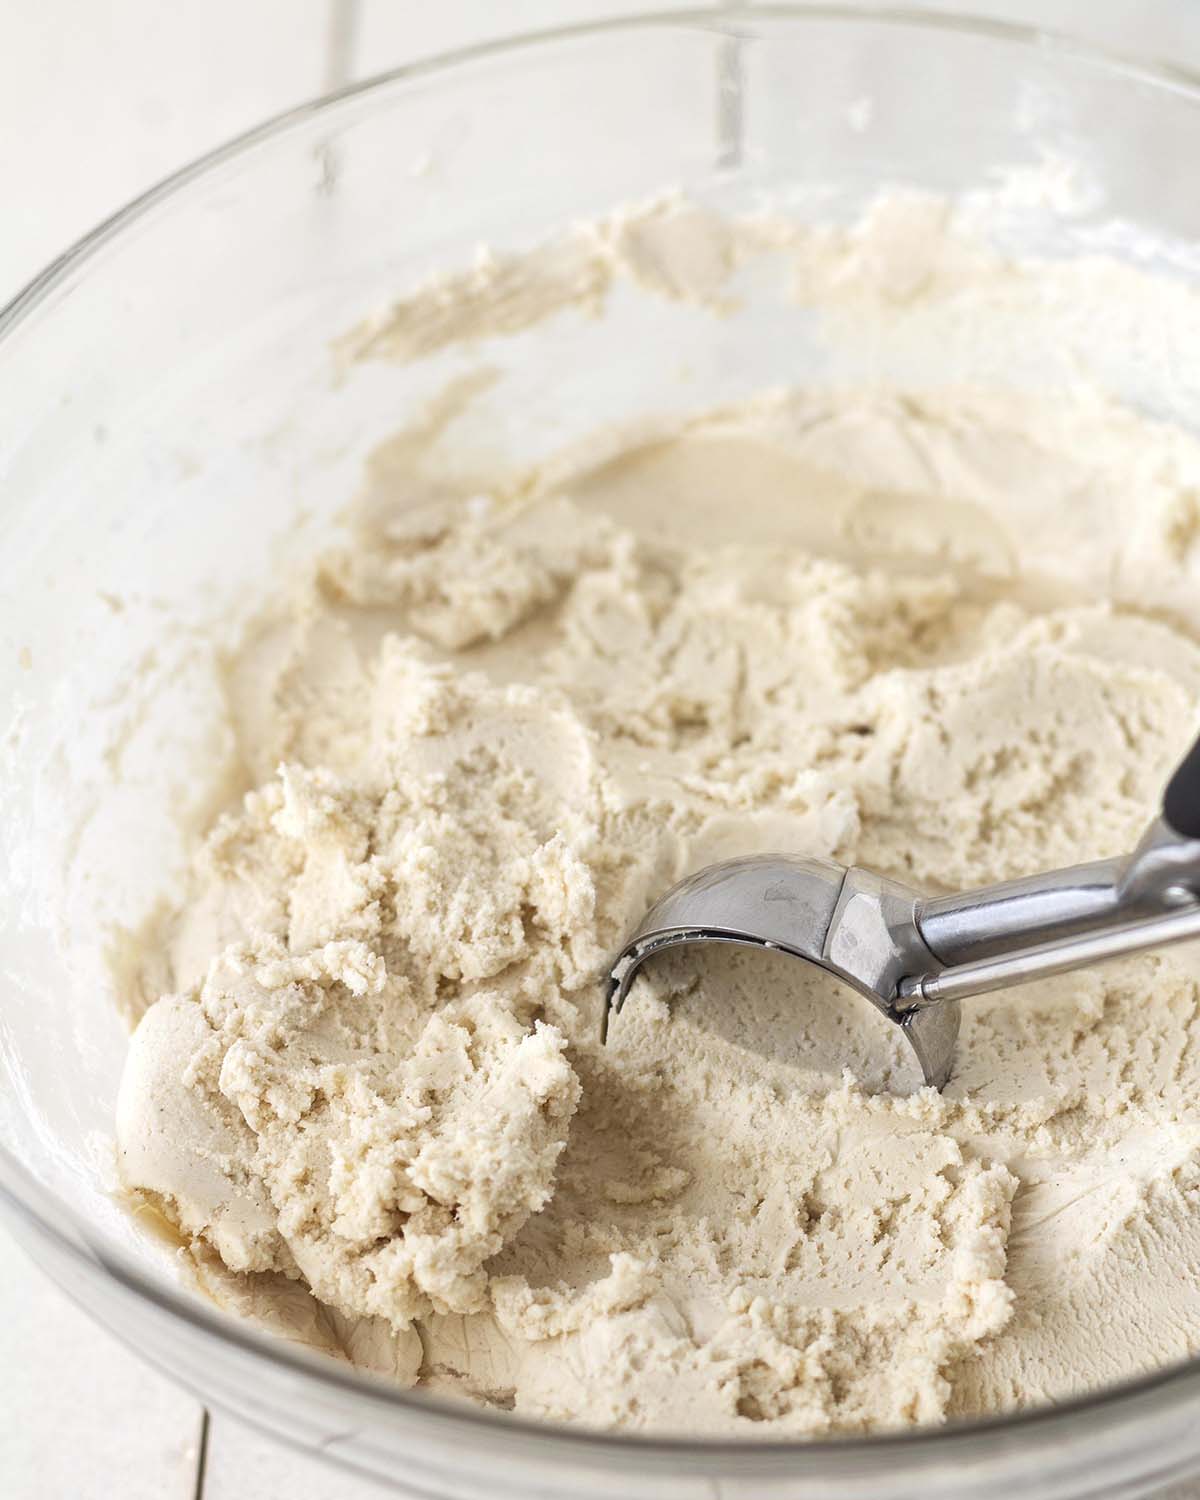
After chilling, use a tablespoon (or a medium-sized cookie scoop) to scoop the dough and roll it into a smooth ball.
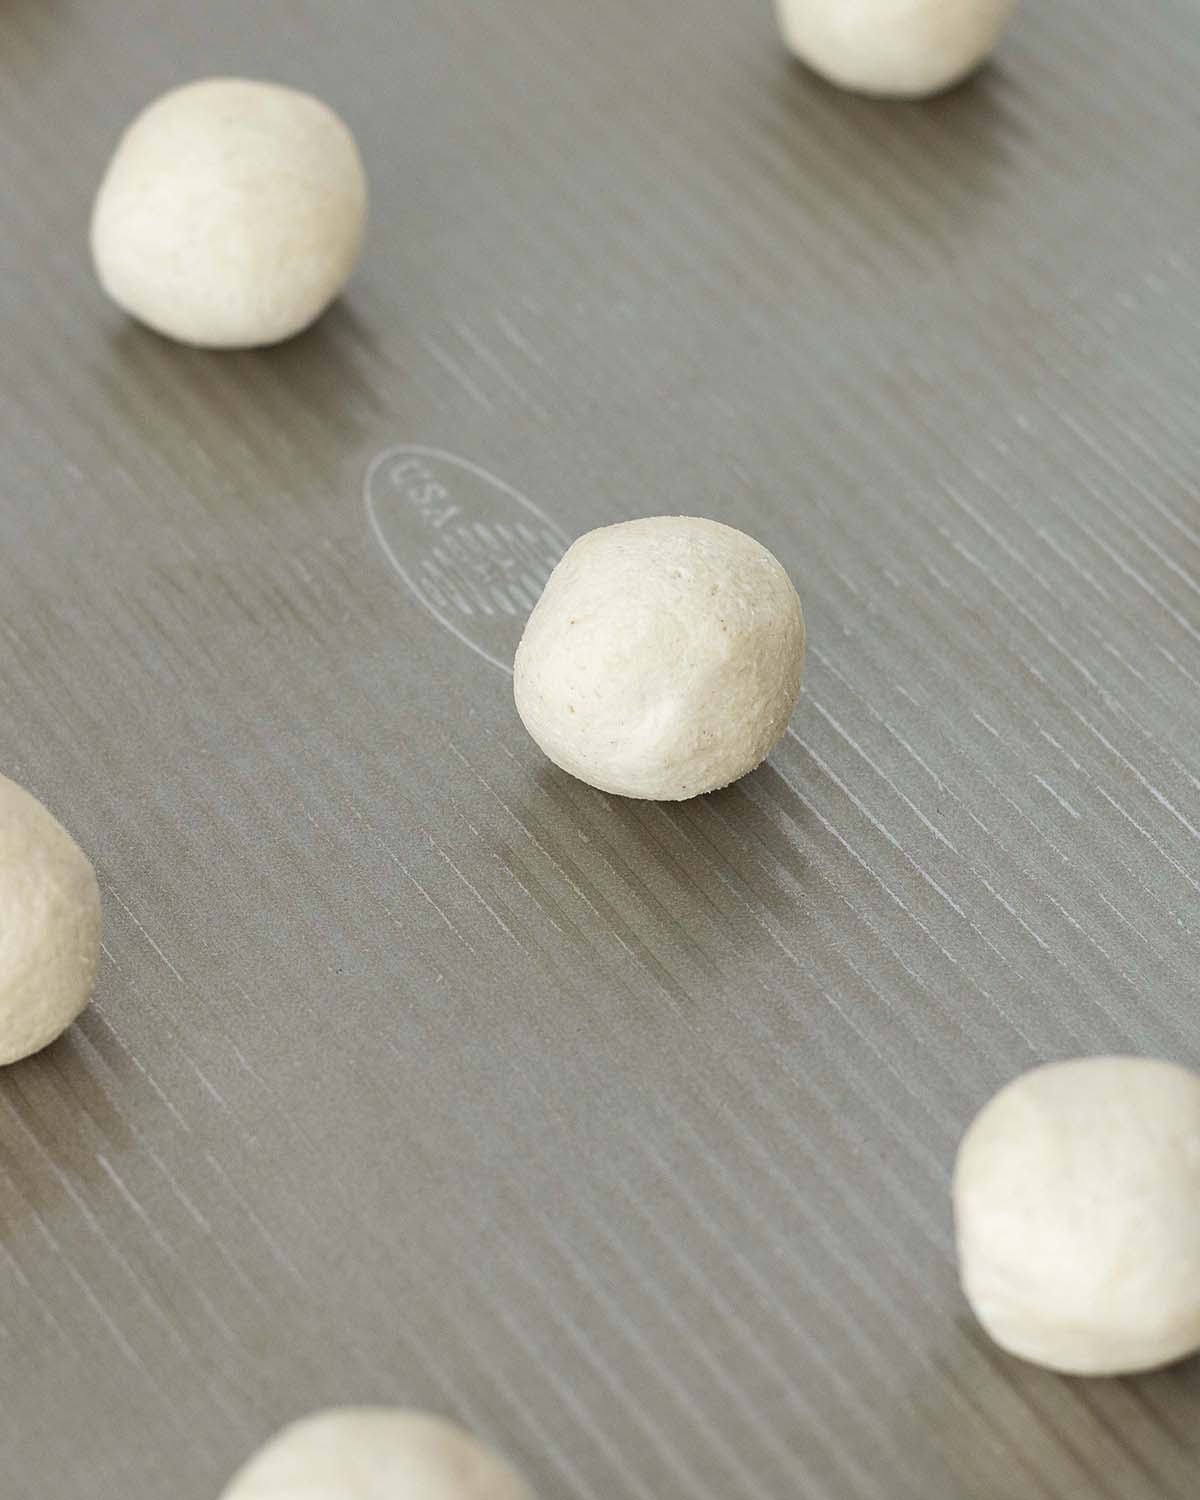
Place the dough balls on a cookie sheet.
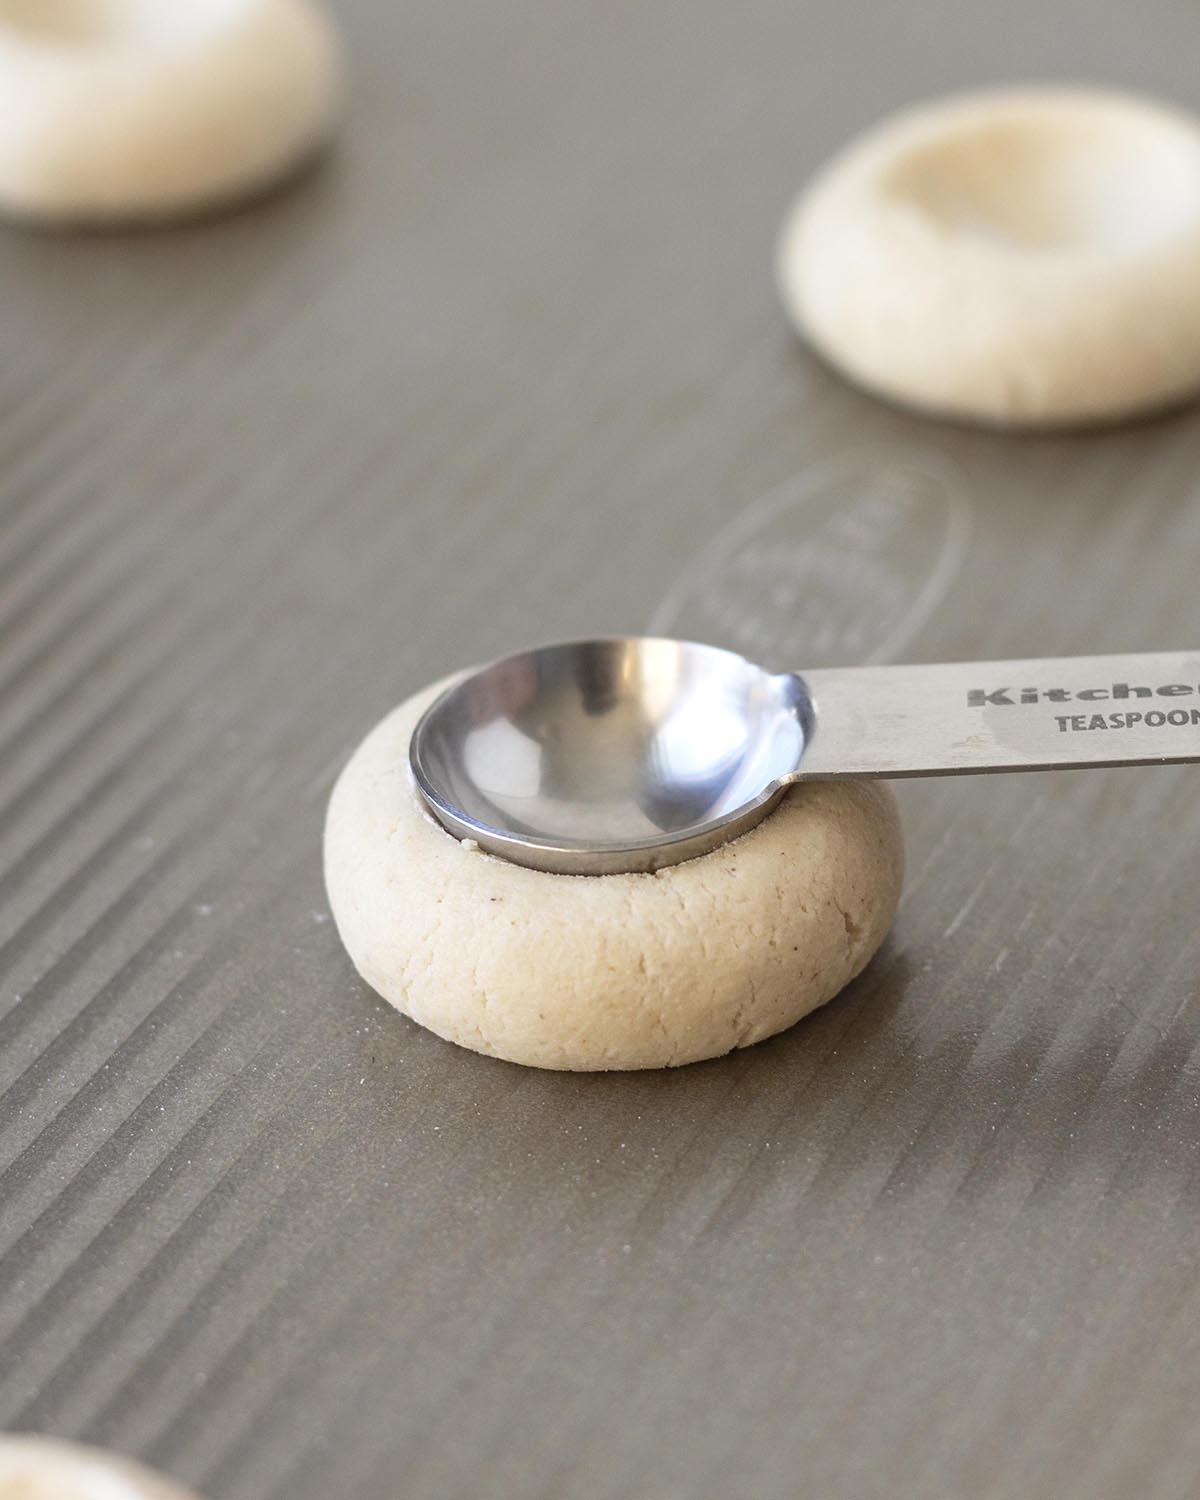
Using a ½ teaspoon, slowly and gently press an indent into each dough ball. Avoid pressing too deep to prevent breaking through. If the dough cracks, either leave it or gently press the cracks together.
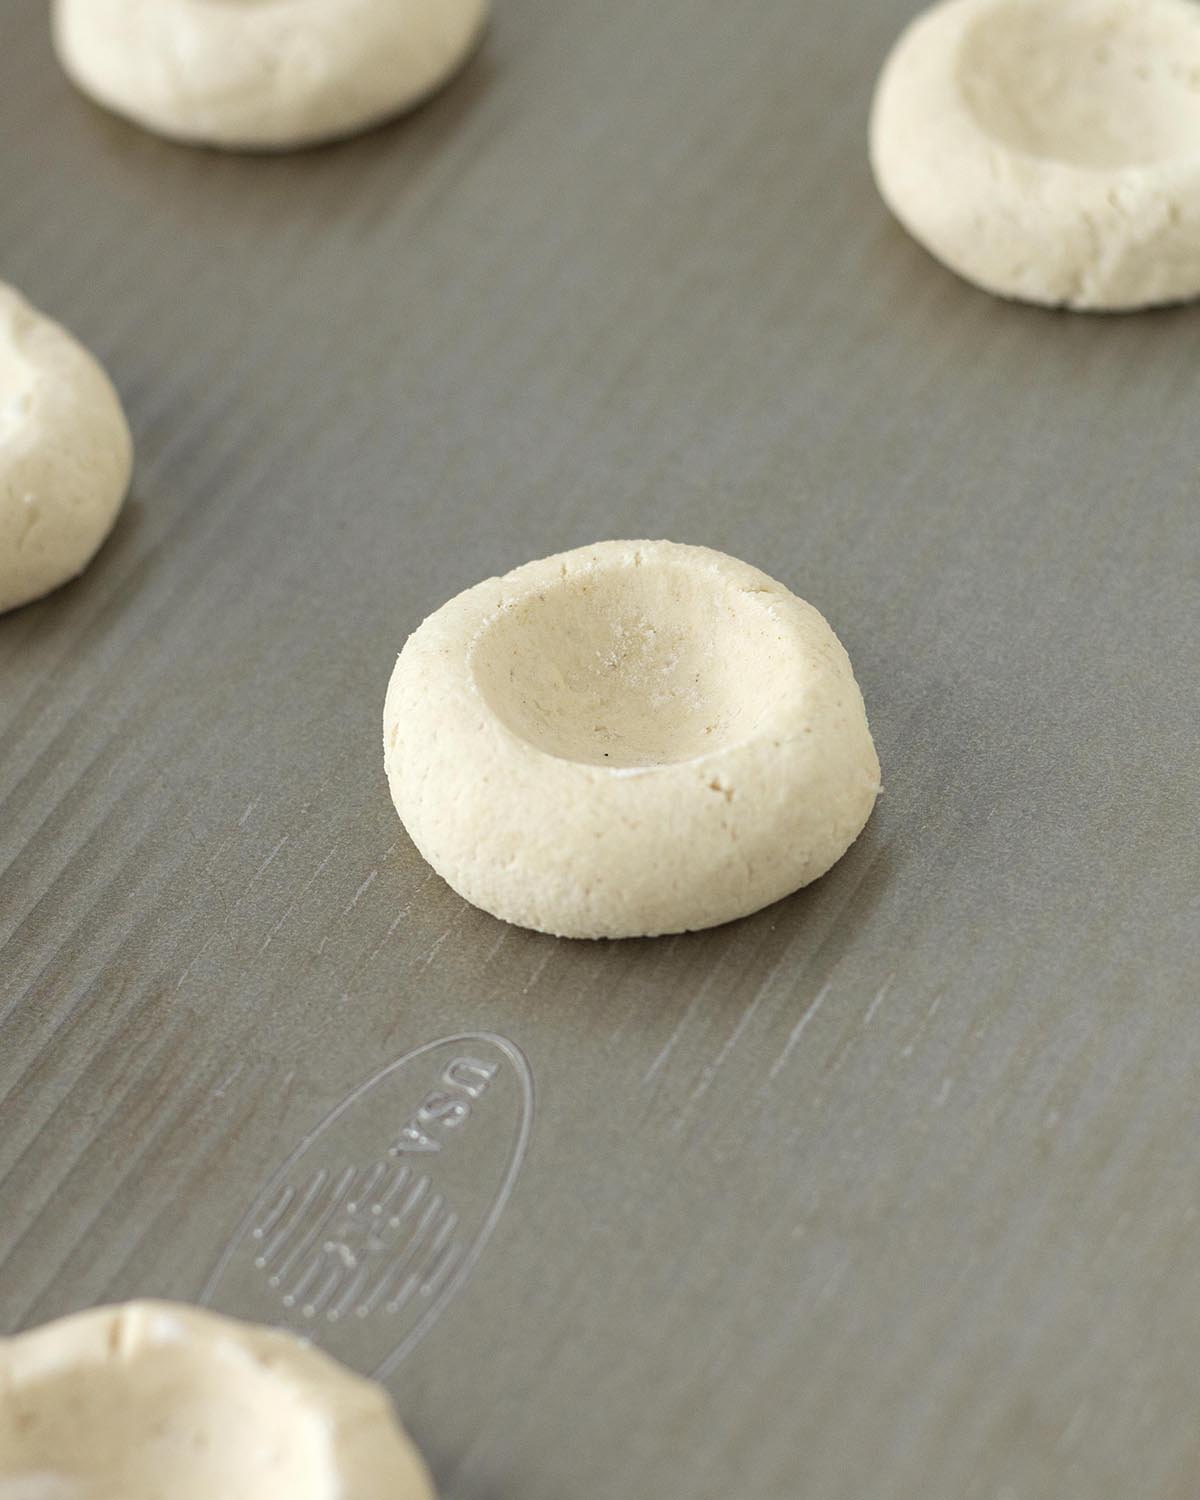
Repeat until all of the dough balls have been indented.
Recipe Tips
- I find it easiest to use the back of a measuring spoon to make the perfect indents. Yes, they're called thumbprint cookies, but using your thumbs won't make perfectly round and uniform indents.
- If the measuring spoon starts sticking to the dough, you can dip the bottom of the spoon in a little gluten-free flour to help with that.
Next, add the jam/preserves of your choice to each cookie. Don't overfill or underfill them, fill just until the jam reaches the rim of the indent.
I use about ¾ of a teaspoon for each cookie, but you may need a little more or a little less, depending on how big your indents are.

Jam Tip
If your jam is stiff, give it a good stir, or you can microwave it for a few seconds (you don't want it to be hot!) to loosen it up. This will make adding it to the cookies easier.
The final step is to bake them. When they've finished baking, remove them from the oven and let them sit on the cookie sheet for a few minutes before removing and placing the cookies on a cooling rack.
Allow the cookies to fully cool before serving (the jam is going to be VERY hot!).
Just before serving, you can sift a little powdered sugar over the tops of the fully-cooled cookies to give them a festive look!
Fillings That Aren't Jam
Yes, these are jam thumbprint cookies, but you can use something other than jam, such as melted chocolate, chocolate ganache, apple butter, pumpkin butter, lemon curd, hazelnut spread, or even caramel.
However, anything outside of jam cannot be baked with the cookies, you will have to use the double indent method if using one of these fillings.
To double indent, make the indents and then bake the cookies without a filling. As they bake, the indents will puff up. When they've finished baking, remove them from the oven and then gently indent them again while they're still hot.
Fully cool the cookies and then fill them with your non-jelly filling.

Make Now, Bake Later
To Refrigerate the Cookie Dough for Baking Later
The dough can be made and kept in the refrigerator for up to 3 days. If you do this, make sure that it's covered with a piece of plastic wrap placed directly on the dough so it doesn't dry out.
To Freeze the Cookie Dough for Baking Later
Roll it into balls, add the indents, and freeze them unfilled on a parchment-lined sheet. Once solid, transfer to a freezer-safe container with parchment between layers and freeze for up to 2 months.
When ready to bake, place the cookies on a sheet and let them sit at room temperature for about 30 minutes. Preheat the oven, add the jam, and bake as directed.
But What's the Texture Like?
The texture is very similar to a shortbread cookie, it's soft, pillowy, tender, and melt-in-your-mouth.
The actual cookie part is not overly sweet since there isn't a lot of sugar in the cookie dough, most of the sweetness (and flavour) comes from the jam. So make sure to use a jam flavour you love.

Tips to Keep in Mind
- Measure and have all your ingredients ready to go before starting. This will make the process run smoothly, quickly, and easily.
- Measure your ingredients correctly. I highly recommend using a scale and my weight measurements (see the "Suggested Equipment" section in the recipe card). Please read my article about how to measure flour correctly.
- Give yourself enough time. The cookie dough needs to chill for at least 3 hours, so take that into account when planning to make this recipe.
- Don't overbake. If overbaked, they will not be the tender, melt-in-your-mouth cookies they are intended to be, and the bottoms will become too brown and hard.
- Read this post from top to bottom before you start. I’ve included a lot of tips and tricks so you get things right. Also, read through the actual recipe before getting started.
- Follow the recipe exactly as it’s written for the very best results.
Are you new to vegan gluten-free baking? If so, be sure to read all of my vegan gluten-free baking tips!

When You Make Them...
Please let me know how you liked this homemade vegan and gluten-free cookie recipe and how they turned out! Leave me a comment and star rating below or you can post a picture on Instagram and tag me so I can see it. (I'm @delightfuladventures on Instagram!)
Soft Vegan Gluten-Free Thumbprint Cookies
Suggested Equipment:
Ingredients:
- 2 cups (296g) gluten free flour **see important note about flour below**
- ¼ teaspoon salt
- 1 cup (2 sticks / 226g) unsalted vegan butter (room temperature)
- ⅔ cup (80g) powdered sugar
- 2 teaspoons vanilla extract
- 6 tablespoons jam (you may need a little more or a little less, depending on the indent size)
Instructions:
- In a small bowl, add the gluten-free flour and salt. Whisk to combine and set aside.
- In a medium bowl, using an electric mixer, beat the butter and powdered sugar until blended and creamy, about 2 minutes. Stop to scrape down the sides of your bowl when needed. Add vanilla extract, blend again.
- Gradually add the flour mixture to the butter mixture and mix on low speed with your electric mixer or with a wooden spoon until a soft, sticky dough has formed.
- Place a piece of plastic wrap directly on top of the dough and place the bowl in the refrigerator to chill for at least 3 hours.
- When the dough has finished chilling, preheat the oven to 350°F (177°C).
- Line cookie sheet(s) with parchment paper.
- Using a tablespoon (or a medium-sized cookie scoop), scoop up a small amount of the dough and using your hands, roll it into a smooth ball until there are no lines or cracks.
- Place each ball on the cookie sheet, and using a measuring spoon, gently press the back of the spoon into the top of each ball to create an indent.
- Fill the indents with jam, don't overfill. You want to jam to be level with the rim of the indent.
- Bake for 14 minutes or until the bottom edges are golden brown.
- Remove from oven and let cookies cool on the cookie sheet for two minutes before transferring them to a cooling rack. Fully cool before serving.
Recipe Notes:
- Please read all of the information above, as well as the notes below before making this recipe.
- This recipe makes 24 cookies, which is the amount you’ll get if you scoop them with a medium-sized cookie scoop (medium scoops are usually 1.5 tablespoons). You'll get a few more if you use a tablespoon. The recipe can be cut in half if needed.
- It’s important to know that different gluten-free flour blends use different ingredients and ratios, so results may vary if you substitute. I have never used any other brand of gf flour to make this recipe other than Bob’s Red Mill Gluten Free 1 to 1 Baking Flour (Amazon link) in the blue package, NOT the red package, so please know that your results may not be the same as mine if you substitute with another gluten-free flour blend. The weight listed above is for this specific brand of flour.
- This recipe will NOT work with coconut flour or any other single gluten-free flour, it must be a blend, the one mentioned above for the very best results.
- Storing: Place fully cooled leftovers in an airtight container at room temperature for up to 3 days. Cookies will soften slightly after the first day. After 3 days, place the container in the refrigerator for up to another 3 days.
- Freezing: Place fully cooled cookies in single layers in a freezer bag or airtight container, with parchment paper separating each layer, for up to 2 months. Thaw in the refrigerator or on the counter and when you’re ready to serve, just place them on a plate, bring them to room temperature, and enjoy.
- Nutrition info is based on 1 of 24 cookies with the recipe made as written and is only to be used as a rough guide. Click to learn how nutrition info is calculated on this website.


Mary Ellen says
Hi Gwen! My friend made these and brought them to work. I loved them so much I asked for the recipe. When I saw it was yours I was like "I know her"!
These cookies are so good! I'll be making these every year from now on. 🙂
Gwen Leron says
Hi Mary Ellen! What a cool coincidence! I'm so glad you like them so much, please tell your friend thank you for making them and for sharing them with friends. That truly means a lot to me <3 And thank you for letting me know!
Lauren and Brett says
Absolutely incredible and tastes like the real thing ! We used earth balance soy free butter (which is actually salted) and bobs red milk GF flour and they turned out perfect.
Gwen Leron says
Hi Lauren and Brett! I'm so glad you gave the recipe a try and are happy with the results. Thank you so much for coming back to leave your review, I really appreciate it. Enjoy!
Jennie says
This recipe was perfect! Mailing gf vegan cookies for my two grandchildrens’ birthday party. I used peach preserves. Thank you so much for the keeper recipe!
Gwen Leron says
You're welcome, Jennie! I'm so glad to know you like the recipe, I hope your grand kids love them 🙂
Inah says
This recipe was easy to follow and delicious to boot! I followed the exact recipe with the suggested gluten free flour. Baking time was also on point for my oven. Thank you!
Gwen Leron says
Wonderful news, Inah! I'm happy to know it worked well for you, enjoy!