This page may contain affiliate links. Click to learn more. As an Amazon Associate I earn from qualifying purchases.
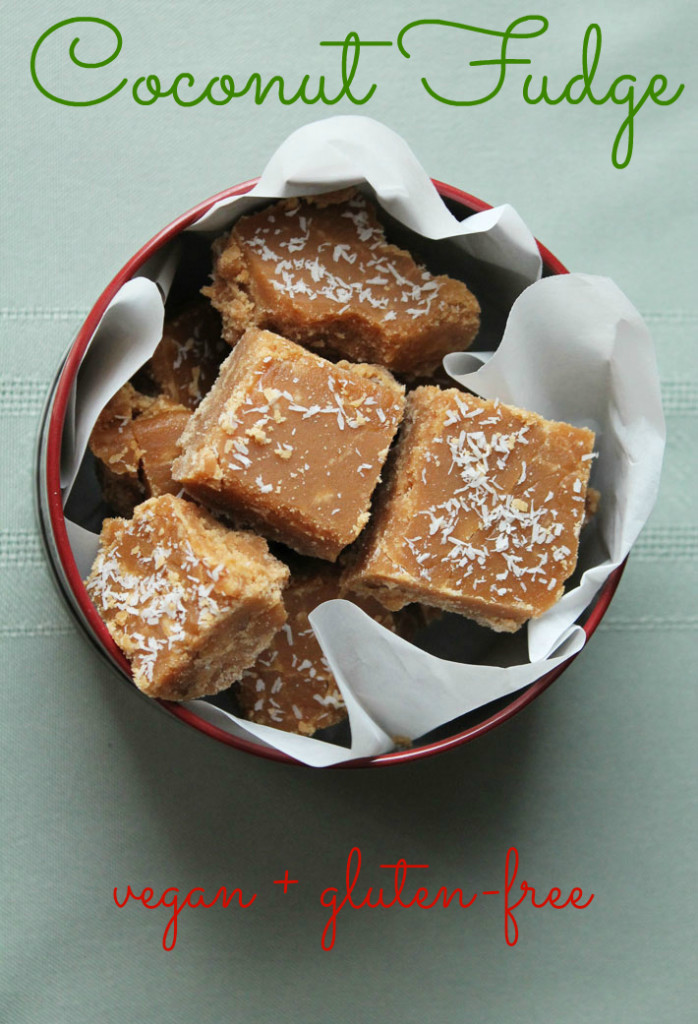
Melt-in-your-mouth crumbly vegan coconut fudge that's so delicious and makes a perfect edible holiday gift to give family and friends.

This fudge and I have a long history. I found the original non-vegan and non-gluten-free recipe in a magazine a verrrrry long time ago:

I made it and it was amazing. My family loved it, my friends loved it, my friends' parents loved it. It was a hit and became a keeper recipe that I made every holiday season. Since everyone loved it so much, it became one of my favourite things to give at Christmas.
I love making and giving food gifts during the holidays, and this fudge quickly became a regular on the "food-gifts-to-give" list each holiday.

The original recipe calls for milk, heavy cream, butter, and flour. But, not this re-vamped vegan coconut fudge recipe. I took the time a couple of years ago to experiment and make it vegan and gluten-free.

The original recipe also makes the kind of fudge you are probably used to.
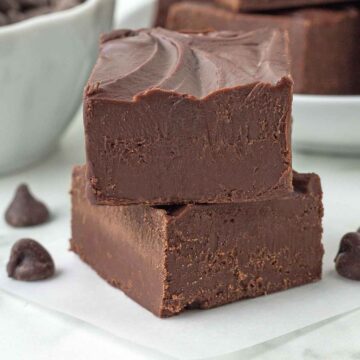
Smooth, sticky, not grainy at all (like my vegan chocolate fudge). I added a step to this vegan coconut fudge that makes it crumbly, and melt in your mouth...fudge the way I like it.
If this is the type of fudge you like too, then you have got to give this recipe a try!

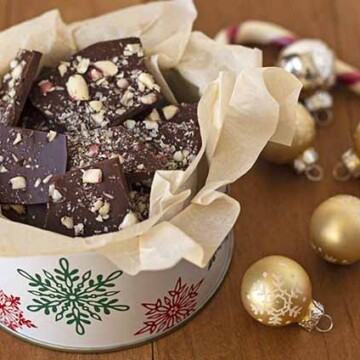
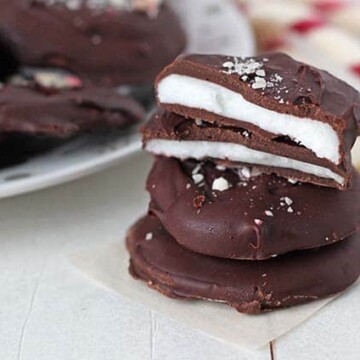
As I mentioned above, I love making this fudge to give as gifts during holiday time. Here are some other good ideas for holiday food gifts:
- Vegan Gluten Free Gingerbread Loaf
- Chewy Vegan Gluten Free Gingerbread Cookies
- Maple Spiced Almonds
- Dark Chocolate Mint Truffles
- Gingerbread Chocolate Chip Muffins
How to Make Crumbly Vegan Coconut Fudge

Crumbly Vegan Coconut Fudge
Ingredients:
- 3 cups light brown sugar
- 1 cup granulated white sugar
- 1 cup light coconut milk
- 1 cup full-fat coconut milk
- 1 tablespoon coconut oil
- 1 teaspoon vanilla extract
- Pinch of salt
- 1 tablespoon shredded coconut (optional)
Instructions:
- Line an 8x8 inch baking pan or dish with parchment paper.
- In a large pot, add the brown sugar, white sugar, lite coconut milk, and the full fat coconut milk. Stir until blended.
- Clip a candy thermometer to your pot and over medium-high heat, stir just until the sugar dissolves. Bring to the point of boiling. Mixture will look foamy as it boils. It's not necessary to stir constantly, but stir every now and then.
- Boil uncovered until the mixture reaches 240F (115C) on the candy thermometer. This takes about 15 minutes but timing may vary slightly. If you do not have a candy thermometer, boil until it reaches the "soft ball" stage (see info below).
- Once the proper temperature has been reached, remove from the heat and start stirring with a wooden spoon. After about 30 seconds of mixing, add in the coconut oil, the vanilla and the salt and continue stirring. The mixture will start to lose its shininess and start to appear more gritty.
- When the mixture starts to thicken, quickly pour it into your parchment-lined dish and smoothen with the wooden spoon. (**you will need to move really quickly or the mixture will set and you will not be able to pour it into the dish**).
- Sprinkle shredded coconut on top and let sit until it stiffens up a little more.
- Cut the fudge into squares. This must be done while the fudge is still warm. If you wait until it has fully cooled, you will not be able to cut properly because it will be totally solid.
- Once cooled down, store in an airtight container.
Recipe Notes:
- It's so important to move quickly after the mixture has started to stiffen up. There is a very small window between when it is pourable to when it totally seizes up in the pot. Keep this in mind as you are stirring.
- If you do not have a candy thermometer, watch this short video on how to know when you have reached the soft ball stage.
- I usually cut the fudge into 36 pieces, but you can make your squares larger or smaller, depending on your preference.
- Calorie count is for 1 of 36 pieces.
Nelle says
Great recipe wonderful crumply fudge.
Gwen Leron says
I'm glad you like it, Nelle. Enjoy!
Angela Boland says
Hi there ,,most fudge like this u are sapose to let it sit after the boil and let it get to about 110 -120 °f and then stir untill it loses its gloss ,,is not the case with this one??
Gwen Leron says
Hi Angela, in step 5, you need to mix until it loses its glass and starts to become grainy (it's not a smooth, creamy fudge). I think this is the step you are looking for. Any further questions, please feel free to ask!
M says
Looking forward to trying this as it looks like it makes the same consistency as Scottish Taiblet/Tablet, the beating stage is certainly familiar from when I have made it myself at home. It was always my family's favourite of my homemade sweets. Have had 18 months if no dairy due to my baby daughter's allergies so last Christmas was the first with no taiblet in about 6 years! Here's hoping I can use this as the basis for my dairy-free offering this Christmas
Gwen Leron says
Let me know how things go when you make it! It's a holiday favourite over here! I hope things haven't been too hard going dairy-free, lucky for you, there are so many recipes out there that don't require dairy 🙂
Gina says
I'm excited to try making this at the weekend! To make a smoother fudge, would it work if I followed the recipe but didn't stir at the end or is this a crucial part in setting the fudge?
Thanks 🙂
Gwen @ Delightful Adventures says
Hi Gina! To make a smoother fudge, the mixture would have to reach a different temperature on the candy thermometer and be boiled for less time, I believe. And then you would skip the mixing step at the end. I haven't this recipe smooth, so I don't want to take a guess on what the temp and cooking time should be and misguide you. If you look up a recipe for smooth fudge, see what the temp and boil time is and then adjust accordingly. If you try, let me know how it goes!
Rosie says
My fudge did not set up. I used a candy thermometer and all, cooked exactly to softball stage! I am so disappointed. It has been sitting for over an hour, and just seems like a syruppy mess 🙁 anything i could have done wrong?
Gwen says
Oh no, Rosie! I am so sorry to hear this. After you removed it from the heat, you have to stir until it starts to thicken and starts getting gritty. Once you see this change, there is no turning back because after that happens, it will definitely harden. After it thickens, that is when you pour it into your dish to set up (steps 5 & 6).