Wondering how to use an aquafaba egg replacement in your vegan recipes? This guide will show you how to whip it and use it in your recipes, plus, you'll also learn tips, tricks, recipes to make with it, and everything else you need to know about this amazing vegan egg replacer.
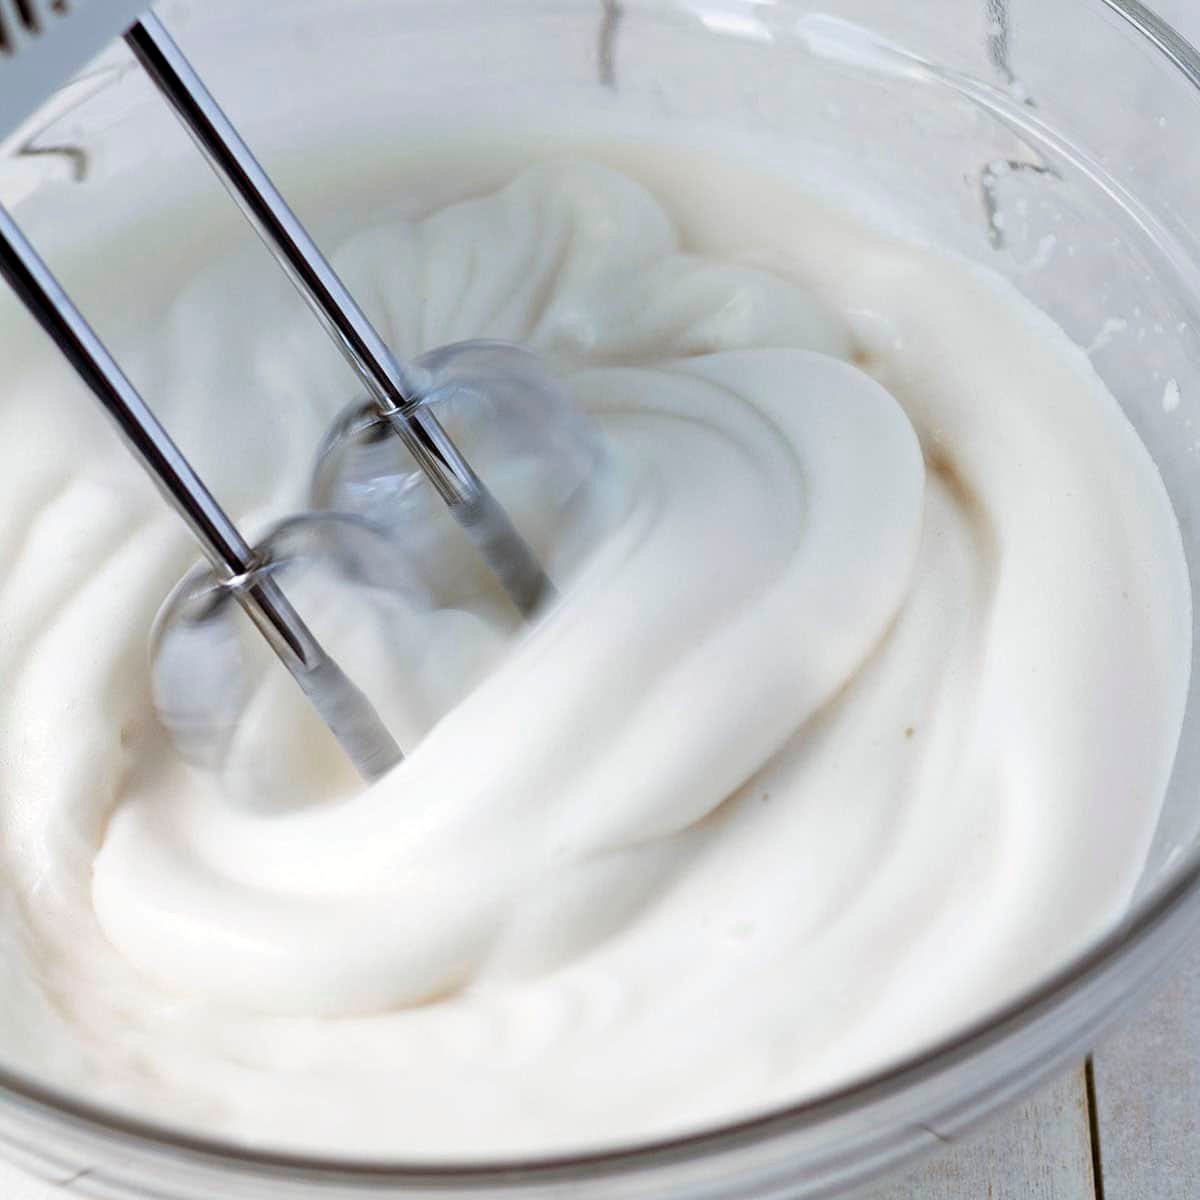
Save This Recipe!
In a rush? Don't have time to scroll through this page right now? Enter your email below and this recipe/article will be sent straight to your inbox so you can come back to it when you're ready. Plus, you'll receive delicious recipes every week! You may unsubscribe at any time.
Eggs play a big role in traditional baking recipes. They help them to bind together, create structure, add moisture, and become fluffy. But since we don't use eggs in vegan baking, an egg replacement that can do all of those things is important for our recipes to be successful.
My go-to has always been flax eggs, but I've warmed up to using an aquafaba egg replacement in my recipes every now and then. I was slow to embrace aquafaba, and now I wish that I had started using it sooner because it works so well!
What is Aquafaba?
Before we start, you may be wondering what it is if you aren't already familiar with it.
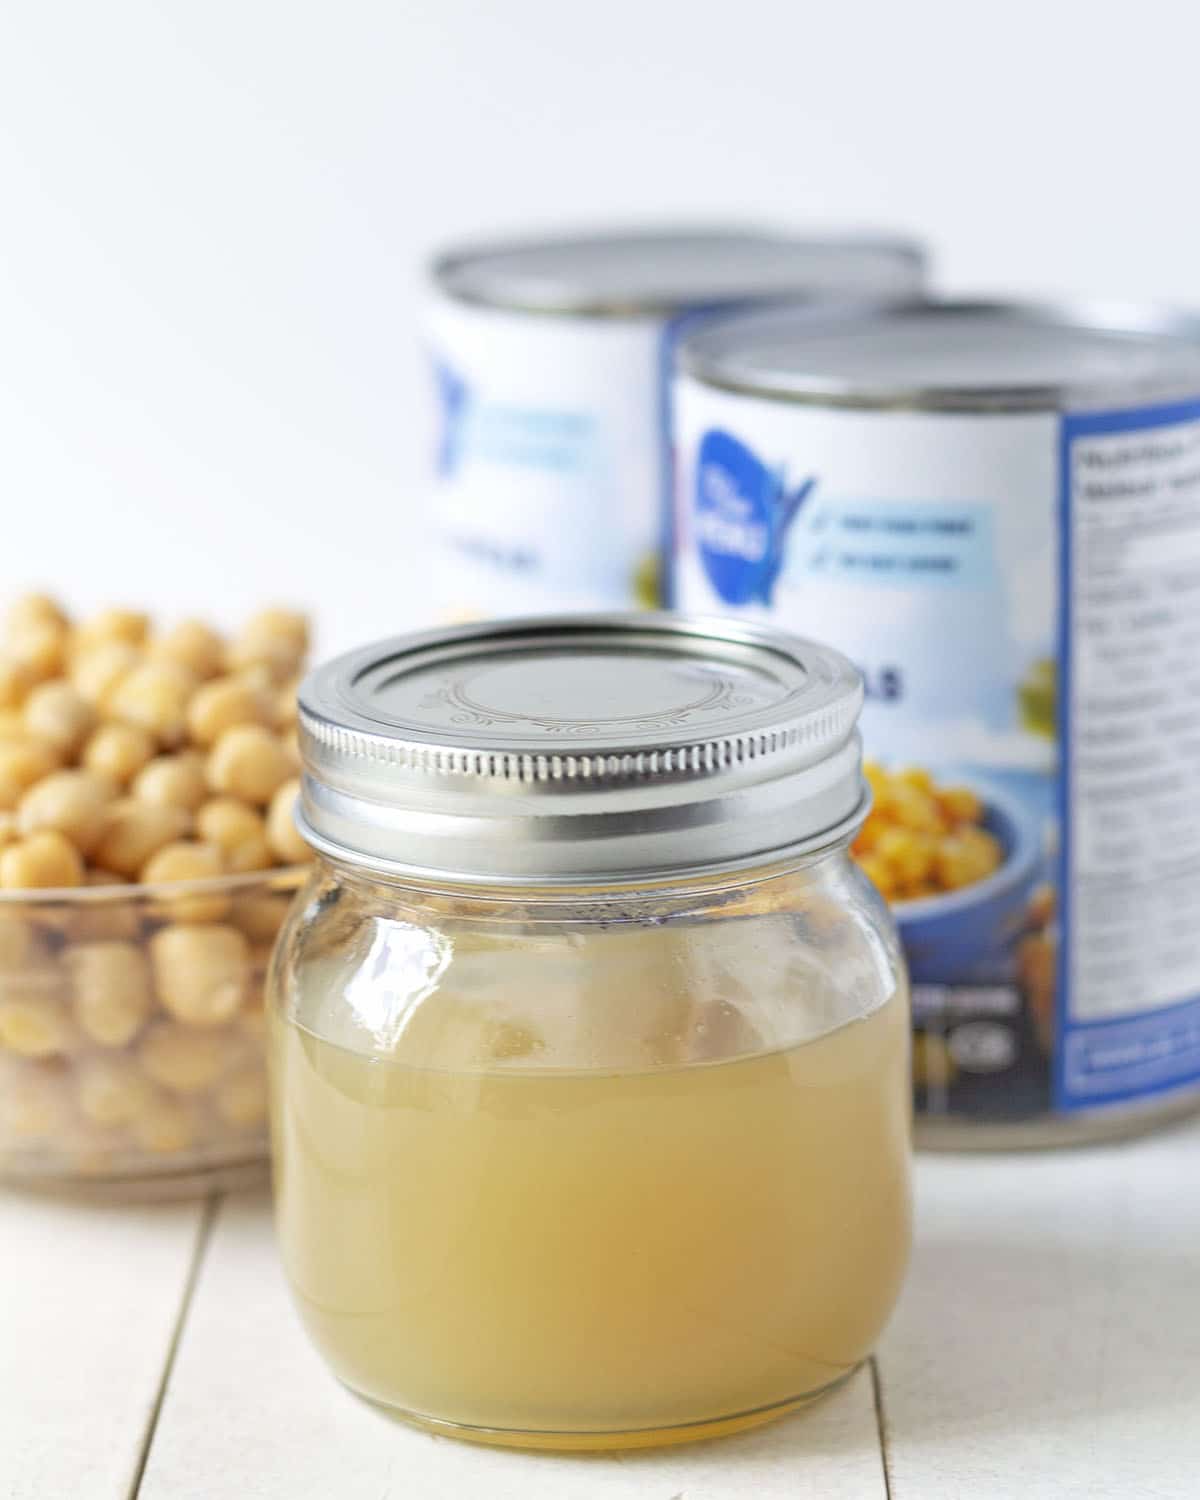
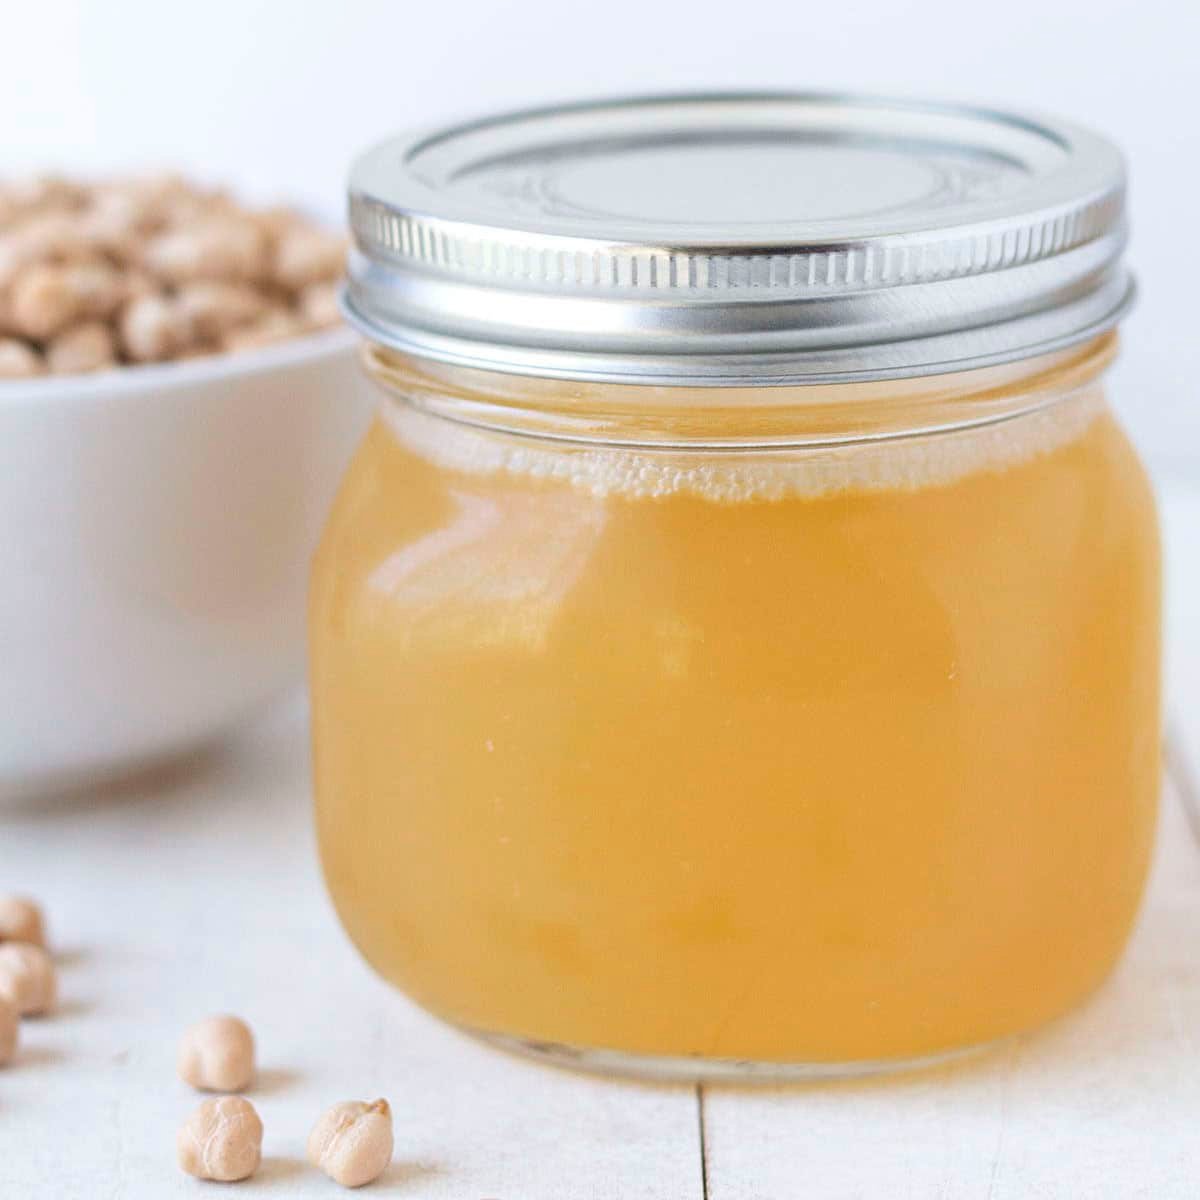
Aquafaba is the liquid from a can of chickpeas (or beans) or the liquid dried chickpeas (or beans) were boiled in. It can be used as a replacement for whole eggs or egg whites in a variety of recipes. An aquafaba egg replacement can be used in savoury and sweet vegan and allergy-friendly recipes.
And why is it called aquafaba? Well, aqua = water faba = bean.
What to Do With Aquafaba
You can use it to make things such as chocolate mousse, cakes, royal icing, mayonnaise, whipped cream, coconut macaroons, meringues, marshmallows, cocktails, as an egg wash for baked goods, as a coating for crispy recipes, and SO MANY other things.
Homemade or From a Can? What's the Difference?
When I first started out, I just used canned aquafaba, but more recently, I've been making my own from dried chickpeas.
If you want to make your own, too, check out my post all about how to make aquafaba. It's easy, cheap, and if you avoid canned products, it's perfect for you.
However, if you want your aquafaba fast, and cans don't bother you, then canned is the way to go.
If you make homemade aquafaba, and you do it properly, I have found no difference between the two versions, they whip up the same and have the same affect in recipes.
The Best Kind of Canned Chickpeas for Aquafaba
If you're using aquafaba from canned chickpeas, it's best to use no salt or low salt chickpeas, especially if you're using it in a sweet recipe.
Because there's no way to gauge the amount of salt in the aquafaba, you won't be able to accurately adjust the salt in your recipe to avoid an outcome that's not ideal.
Here in Canada, no salt chickpeas are easy to find. Some brands to check out that I've used successfully: PC Blue Menu and Compliments brand.
Before You Start
One important rule you must always follow in order for success is to make sure that all tools, bowls, spoons, pots, whisks etc. that will come into contact with the aquafaba be free from any oil and oil residue. Oil will prevent aquafaba from whipping.
I recommend using a metal or glass bowl to whip it and not plastic since plastic can be porous, not wash properly, and can hide oil residue.
You will also need to use a stabilizer with your aquafaba. Using a stabilizer will help your aquafaba whip quicker and will help it to be more stable / stronger and not deflate.
I use either apple cider vinegar or lemon juice because I always have them on hand, but many also use cream of tartar. Use the advice from the recipe you're making on the best stabilizer to use.
What Tool to Whip It With
You will need an electric hand mixer or a stand mixer with the wire whip / balloon whisk attachment.
A high speed blender will NOT work, and if you're wondering if you can whip aquafaba by hand, I do not recommend doing it by hand with a whisk since it will take you a LONG time and may not even whip up properly.
Note that if you're just whipping a small amount, a stand mixer will not work since the whisk will not be able to reach all the way to the bottom of the bowl to whip it effectively. In cases like this, stick with an electric hand mixer and a small bowl.
How to Whip Aquafaba
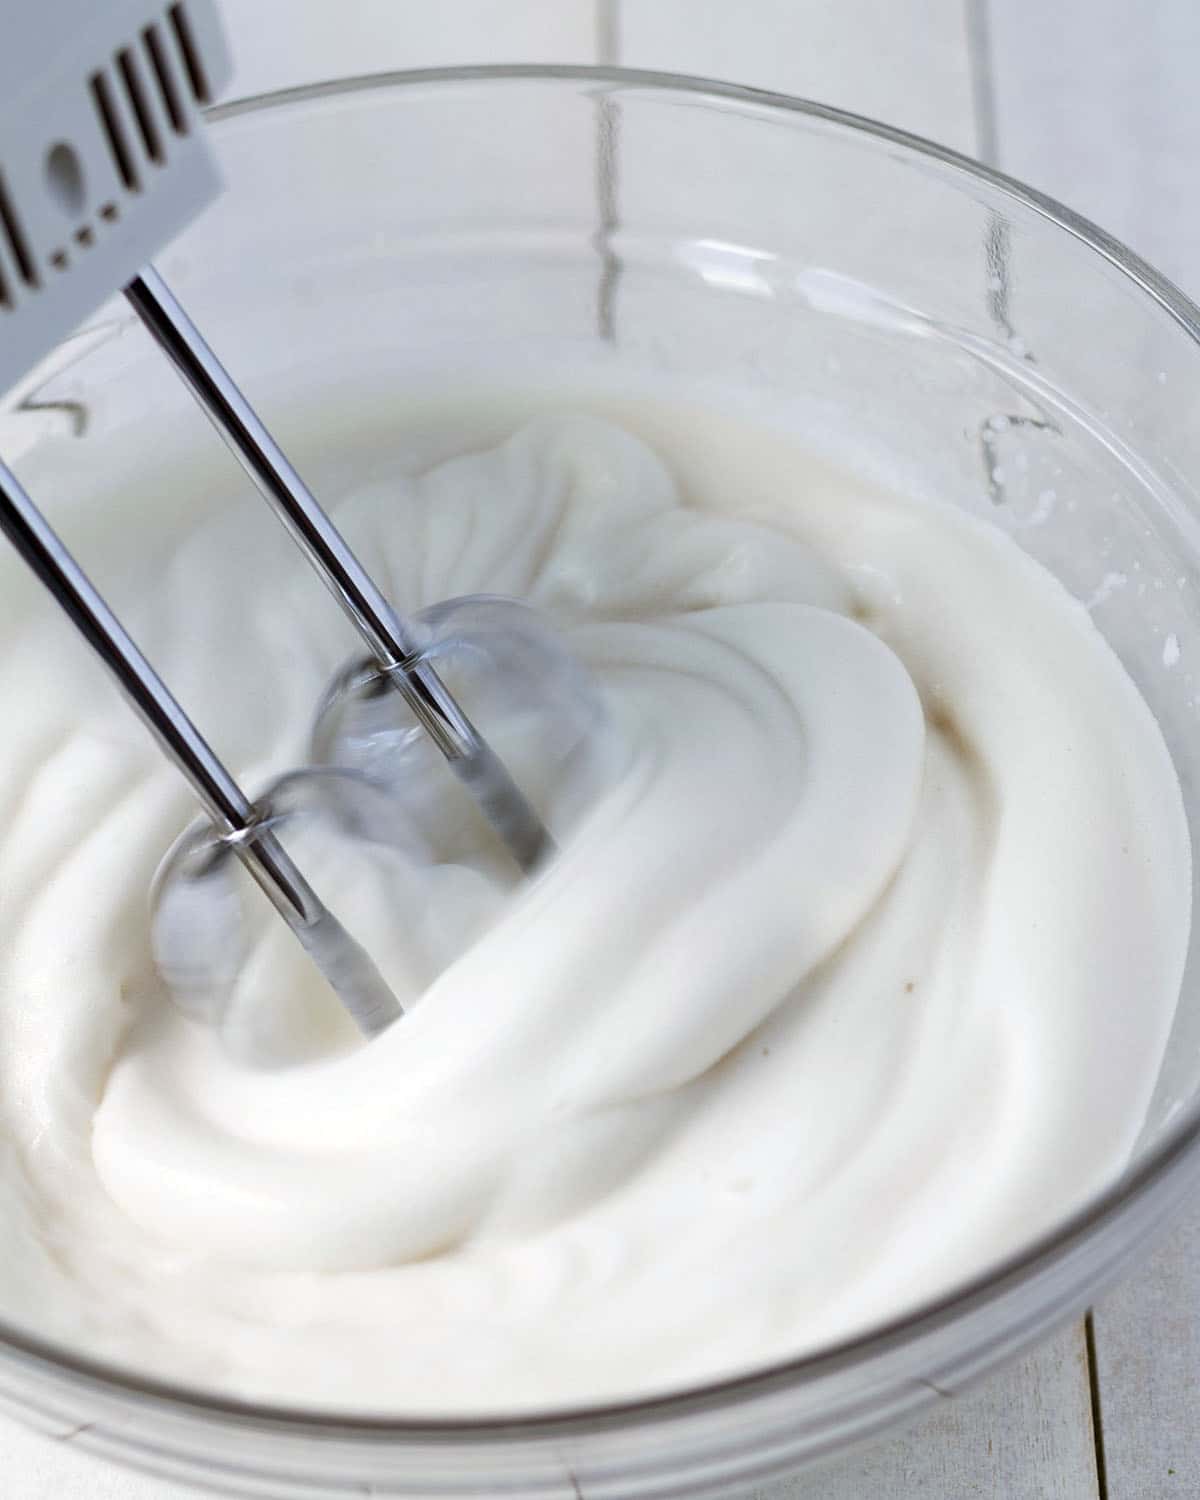
When whipping, I almost always use my hand mixer and I set to the highest speed. The timings mentioned below will vary based on if you are using a hand mixer or a stand mixer and what speed you have it on. It will also be based on your aquafaba and how thick it is.
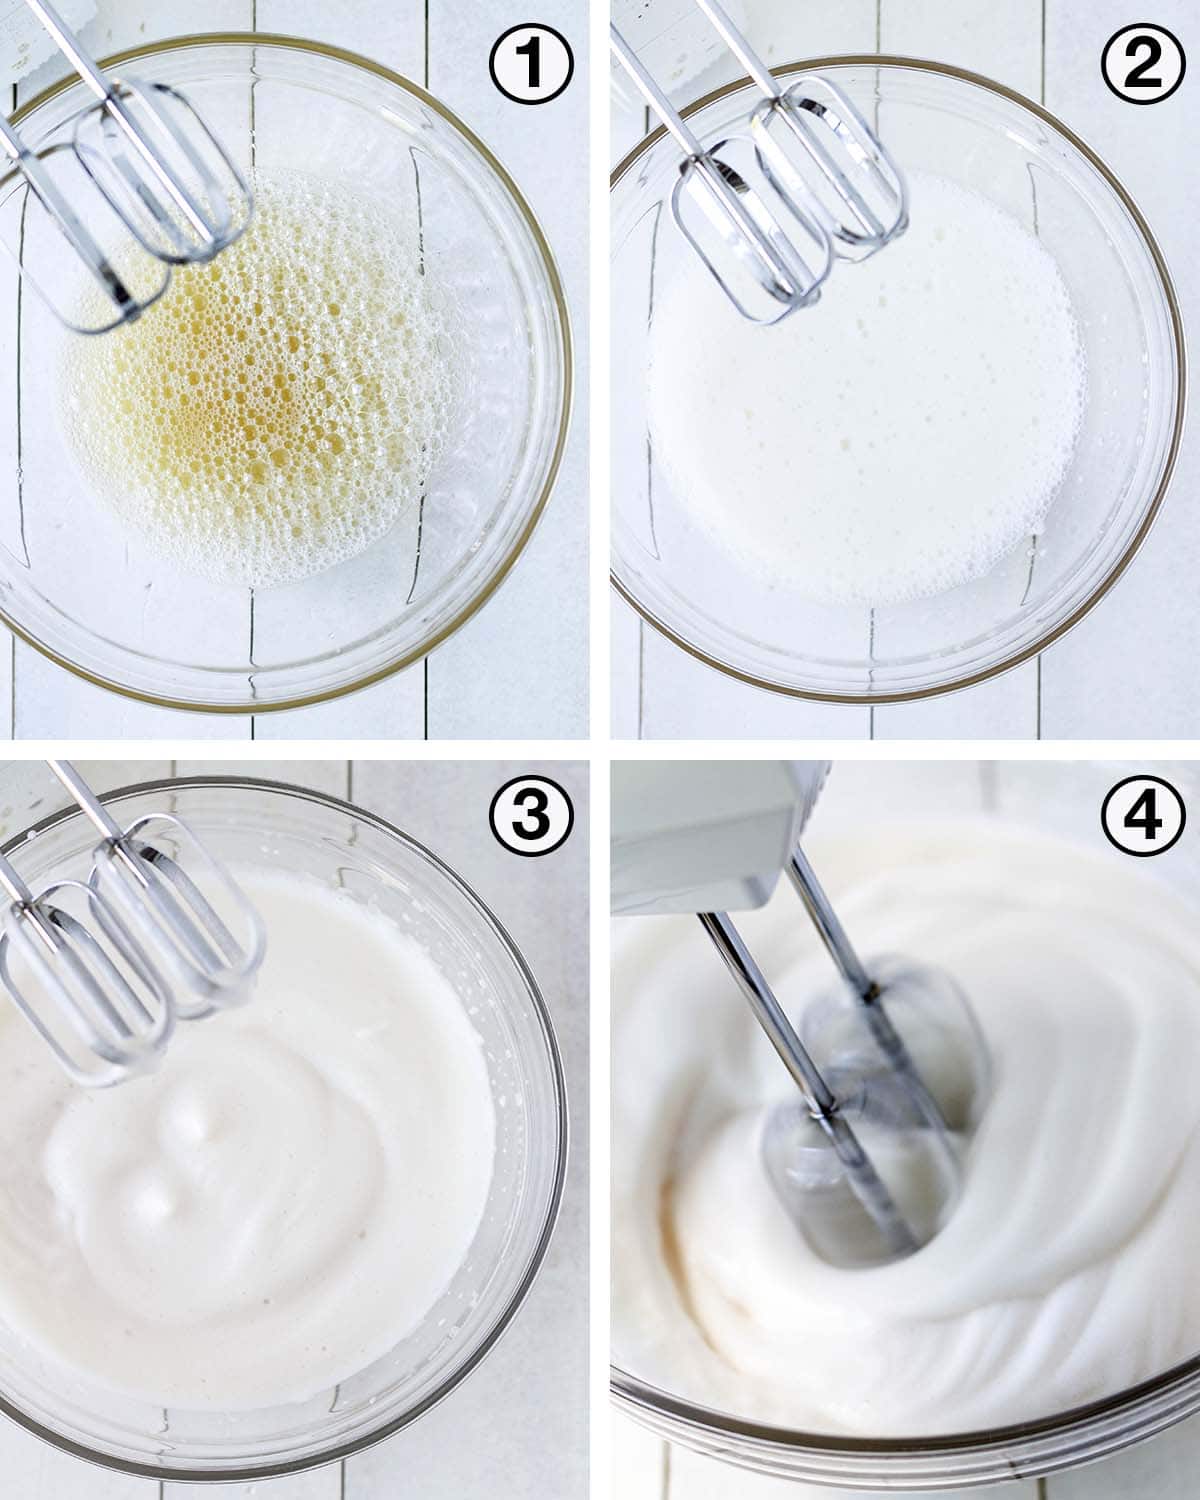
There are a few stages to whipping aquafaba, follow along with the images below:
1. Within the first few seconds of whipping, the aquafaba will start to form bubbles.
2. After about a 30-seconds, it will start to get foamy.
3. After about a minute, all of it will be foam.
4. After about a minute and a half, you will be at the soft peaks stage.
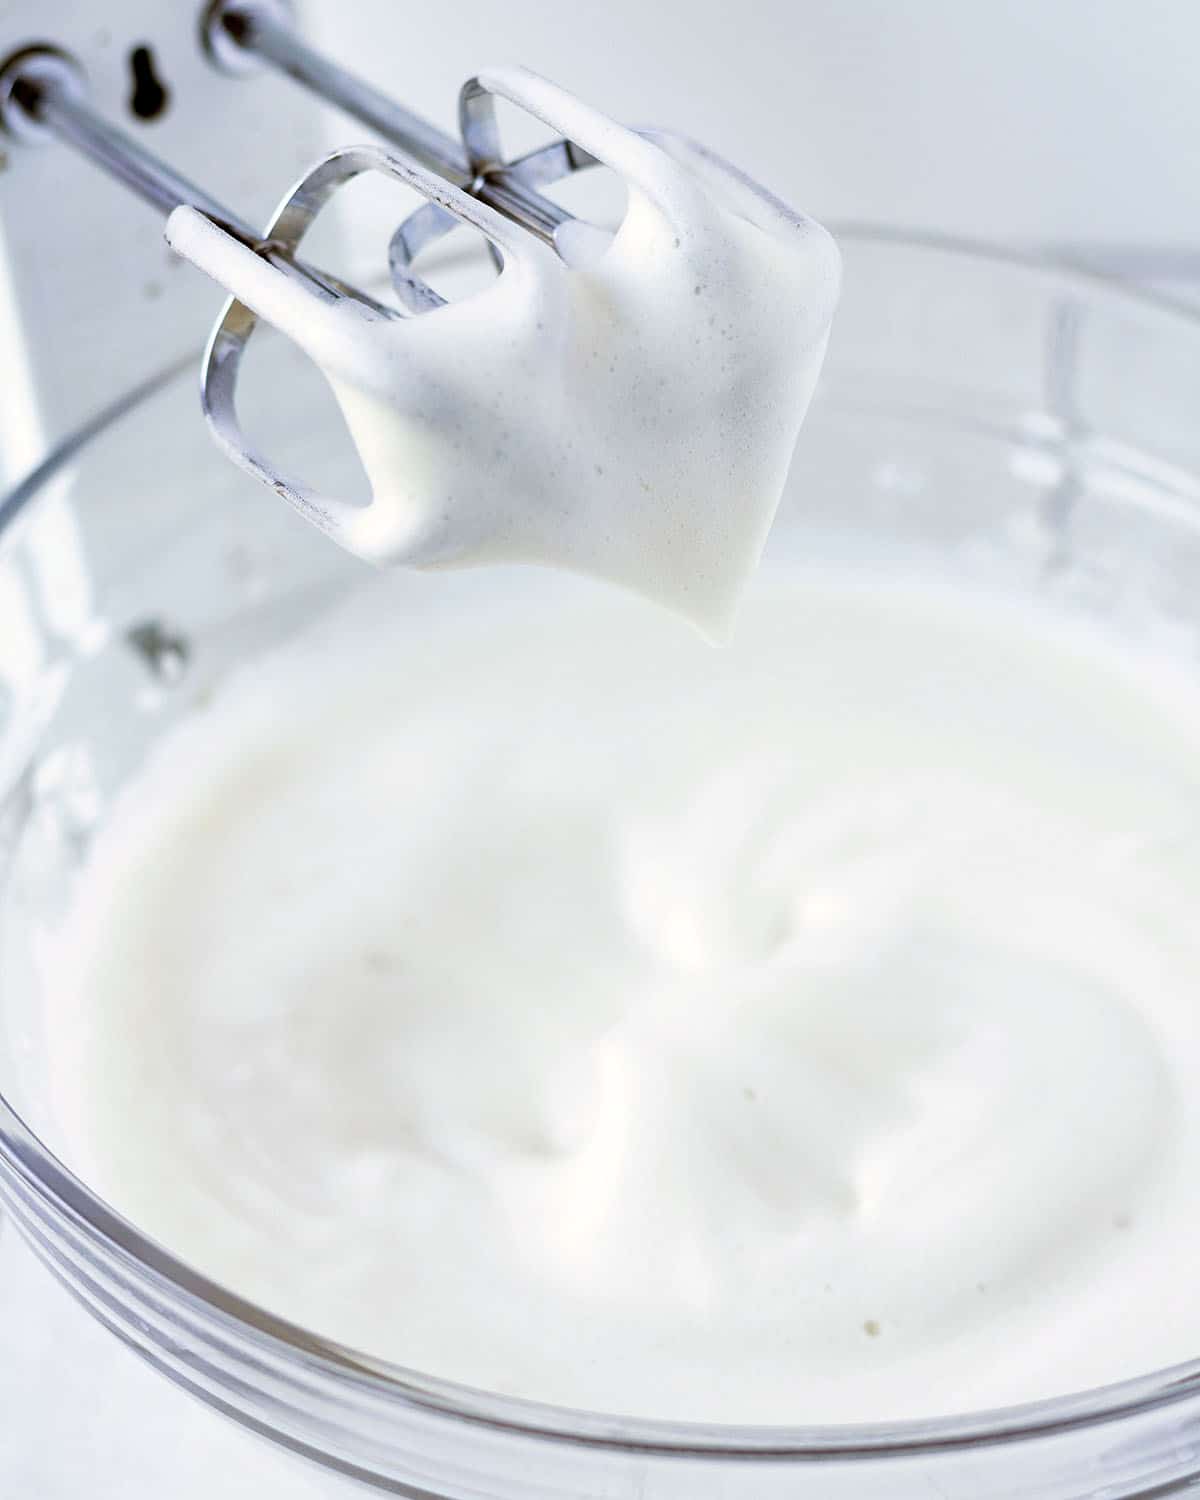
Soft Peaks Stage
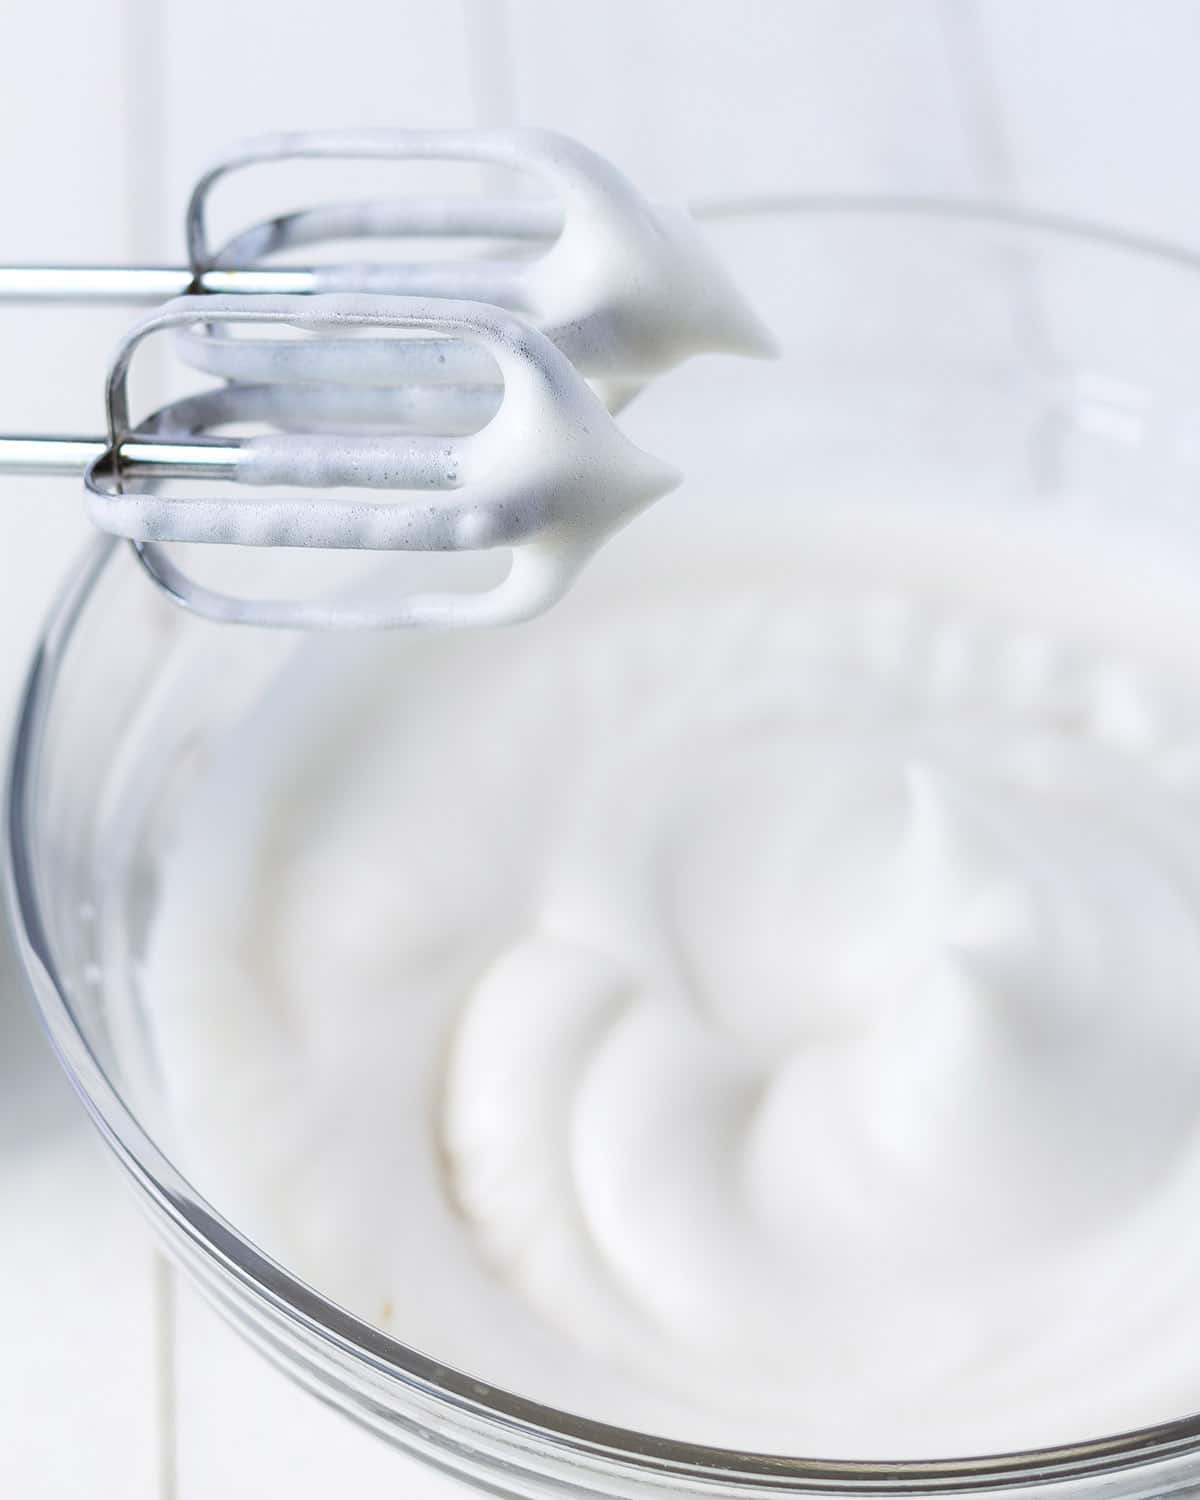
You'll know you've reached the soft peaks stage when you stop the mixer, hold it up and see the foamy aquafaba fall over into a peak that's so soft it doesn't stand up. See the image below.
Stiff Peaks Stage
After about two and a half minutes of whipping, you'll get to the stiff peaks stage. You'll know that you're there when you stop the mixer, hold it up and the aquafaba is more stiff, so stiff that it sticks out, like in the picture below.
Another trick to knowing you've reached the stiff peaks stage is if you can hold the bowl upside down and the whipped aquafaba stays in place. I don't recommend this if you're a beginner, however, once you become comfortable, it's a fun trick to show your kids!
Which Stage Does Aquafaba Need to Be In to Use In Recipes?
It depends on the recipe. It can be any of the five stages shown above.
Whatever recipe you're making, be sure to read it thoroughly and then whip your aquafaba into the state it needs to be in order for your recipe to be a success.
Troubleshooting
If your aquafaba didn't whip up properly:
Did you make sure the tools you used were all free from oil and oil residue? Any oil, even the smallest amount on any of the tools you're using, will cancel out the chances of your aquafaba whipping up properly. I recommend using a metal or glass bowl to whip it in.
Was the speed you set your hand mixer or stand mixer high enough? Aquafaba needs to be whipped on high speed, so be sure that you have your mixer set high enough to get good results.
Did you make sure to add a stabilizer? Don't forget to add a stabilizer. It will whip without one but will quickly deflate and not be able to withstand any additions (like sugar). I always add the stabilizer to the aquafaba before I start whipping, but follow the recipe you are making and add it when it says to.
Was your aquafaba too watery? Aquafaba can sometimes be too watery to whip up properly. Luckily, I have never had this happen when using canned chickpeas, but it can happen.
I did have it happen with a batch of my homemade aquafaba when I was still experimenting. If that happens, you can reduce the remaining aquafaba so it becomes thicker. See this post for more details.
Did you add any other ingredients? When adding other ingredients to aquafaba, it needs to be done at the right stage and it needs to be done VERY gradually. Adding at the wrong stage and adding it all at once will deflate your aquafaba. Again, follow the directions in your recipe on how to add other ingredients.
You aren't being patient. The timings I mentioned above are rough, so it may take longer for you. It all depends on a few factors like what speed you have your mixer set to and how thick your aquafaba is.
If it takes longer, just keep whipping! And if it's still not working, see the other troubleshooting points above to determine what went wrong.
FAQ
Homemade aquafaba on its own does have a mild chickpea smell (canned chickpea aquafaba has a stronger smell) but the smell will disappear as you add it to your recipes. Your finished recipe will have no trace of chickpea smell or taste, it will become odourless and flavourless.
Aquafaba, as magical as it is, does have its limitations, so it's recommended to not use it as an egg replacement if you're trying to replace three or more eggs or egg whites. It works best in recipes that need to just have one or two eggs replaced.
Aquafaba will also NOT work on its own to make things like scrambled eggs, omelette's, or quiches. If you want to make one of those things, you will need a base for the recipe such as chickpea flour, tofu, etc.
Store your canned aquafaba in a jar in the refrigerator for 3-5 days. Homemade aquafaba will last up to a week. If you aren't going to use it up within those time frames, you can freeze them in an ice cube tray. See this post for details on how to freeze it.
Use the following guidelines when using an aquafaba egg replacement:
3 tablespoons liquid aquafaba = 1 whole egg
2 liquid tablespoons = 1 egg white
You can also use it as an egg wash replacement for baked goods and as a coating for crispy recipes.
Aquafaba from a can of black beans, white beans, and even kidney beans will also work. If you use black beans or kidney beans, the aquafaba will not whip up white. Chickpea aquafaba is a golden colour, but when it whips up, it becomes white.
Have a look at this page on aquafaba.com for the nutrition info.
Recipes with Aquafaba
If you're wondering what to make with aquafaba, lucky for you, there are TONS of vegan recipes online to choose from! These are just a few of the savoury and sweet things you can make with it:
- Aquafaba Chocolate Mousse
- Aquafaba Macaroons
- Vegan Royal Icing
- Vegan Mayo
- Vegan Butter
- Hummus
- Macarons
- Meringues
- Brownies
Did You Try It?
If so, let me know how things went! What recipe did you use it in? Were you surprised how it whipped up? Tell me all about it below in the comments. And if I've missed answering any questions you have, let me know below.
For Even More Info and Recipes...
Join the Aquafaba (Vegan Meringue - Hits and Misses!) group on Facebook where you'll find plenty of great tips, recipe ideas, and help if you run into any issues with aquafaba.
You can help others to find this article by pinning it to Pinterest. Click here to pin it now!



Leave a Reply