
This page may contain affiliate links. Click to learn more. As an Amazon Associate I earn from qualifying purchases.
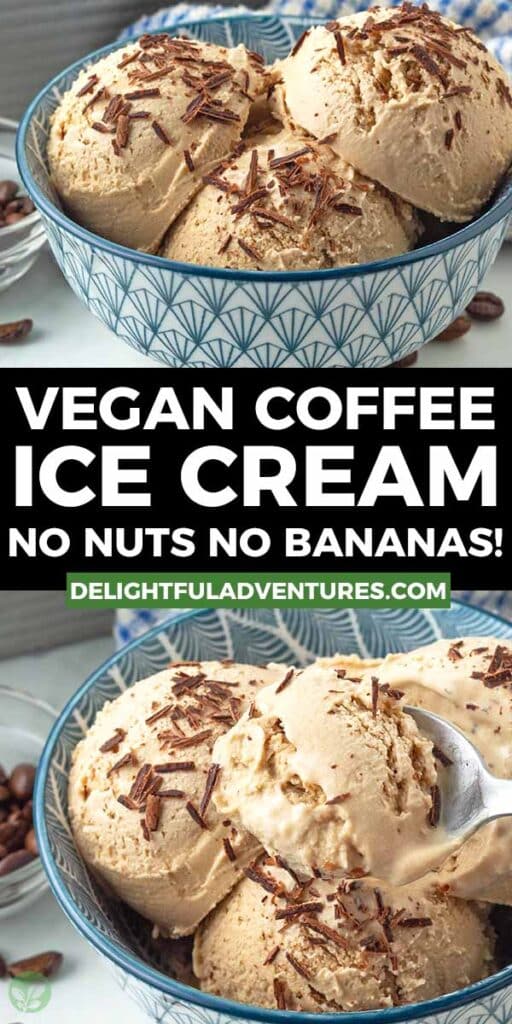
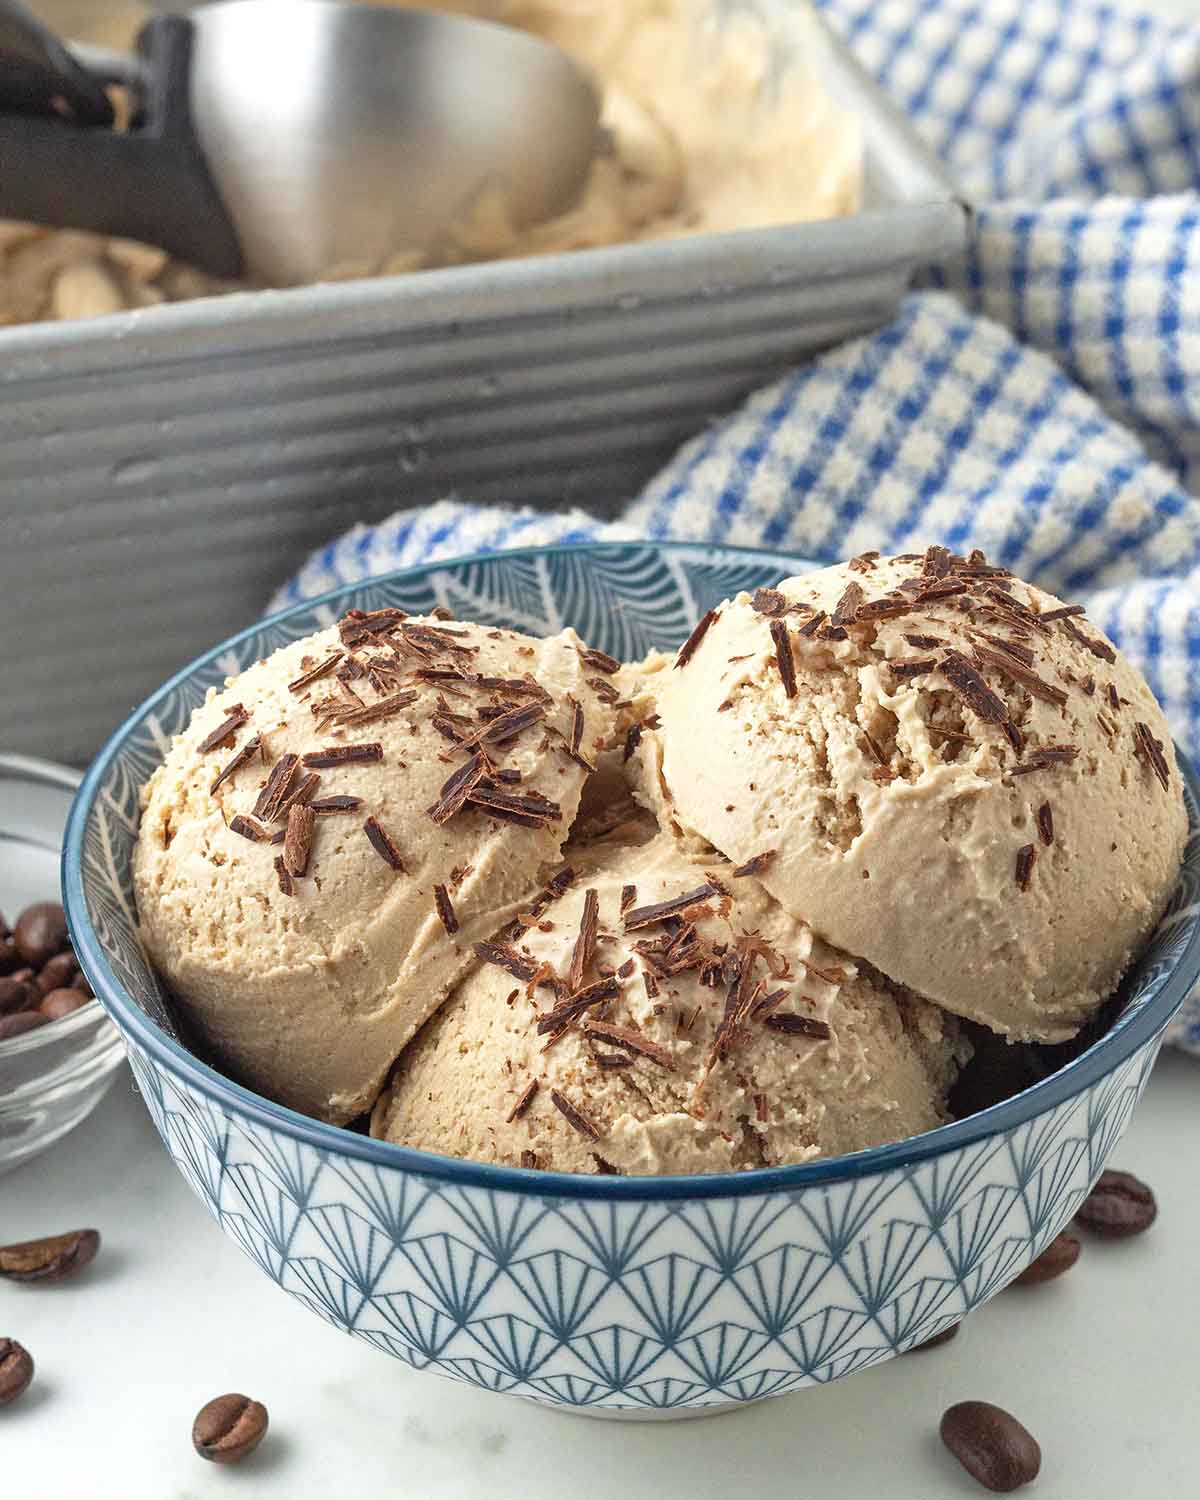
This vegan coffee ice cream is creamy and silky-smooth, with an irresistible coffee flavour. Made with just 6 ingredients, including instant coffee and vegan heavy cream (no nuts or bananas needed!), it has just the right amount of sweetness without being overly sweet, so the coffee flavour really shines.
It’s completely dairy-free and egg-free, and heads up: you’ll need an ice cream maker to churn it into that smooth, creamy texture I know you’re going to love.
Save This Recipe!
In a hurry? Drop your email below, and this recipe will be sent straight to your inbox for later. You'll also get fresh recipes every week! You can unsubscribe anytime.
Currently, there is no plain vegan coffee ice cream available for purchase where I live, so of course, I decided to make my own!
When you see how easy it is to make and how few ingredients you need, I think you'll start making it yourself, too, even if there are options to buy it in your part of the world.
This vegan ice cream is made without dairy and without eggs, but it's hard to tell. In fact, it's so smooth and creamy, you'd never guess it's completely plant-based.
And if the texture alone doesn't win you over, the taste will. If you're a coffee lover, this will be an instant favourite, but even if you only enjoy coffee once in a while, as I do, you'll probably be reaching for a second scoop!
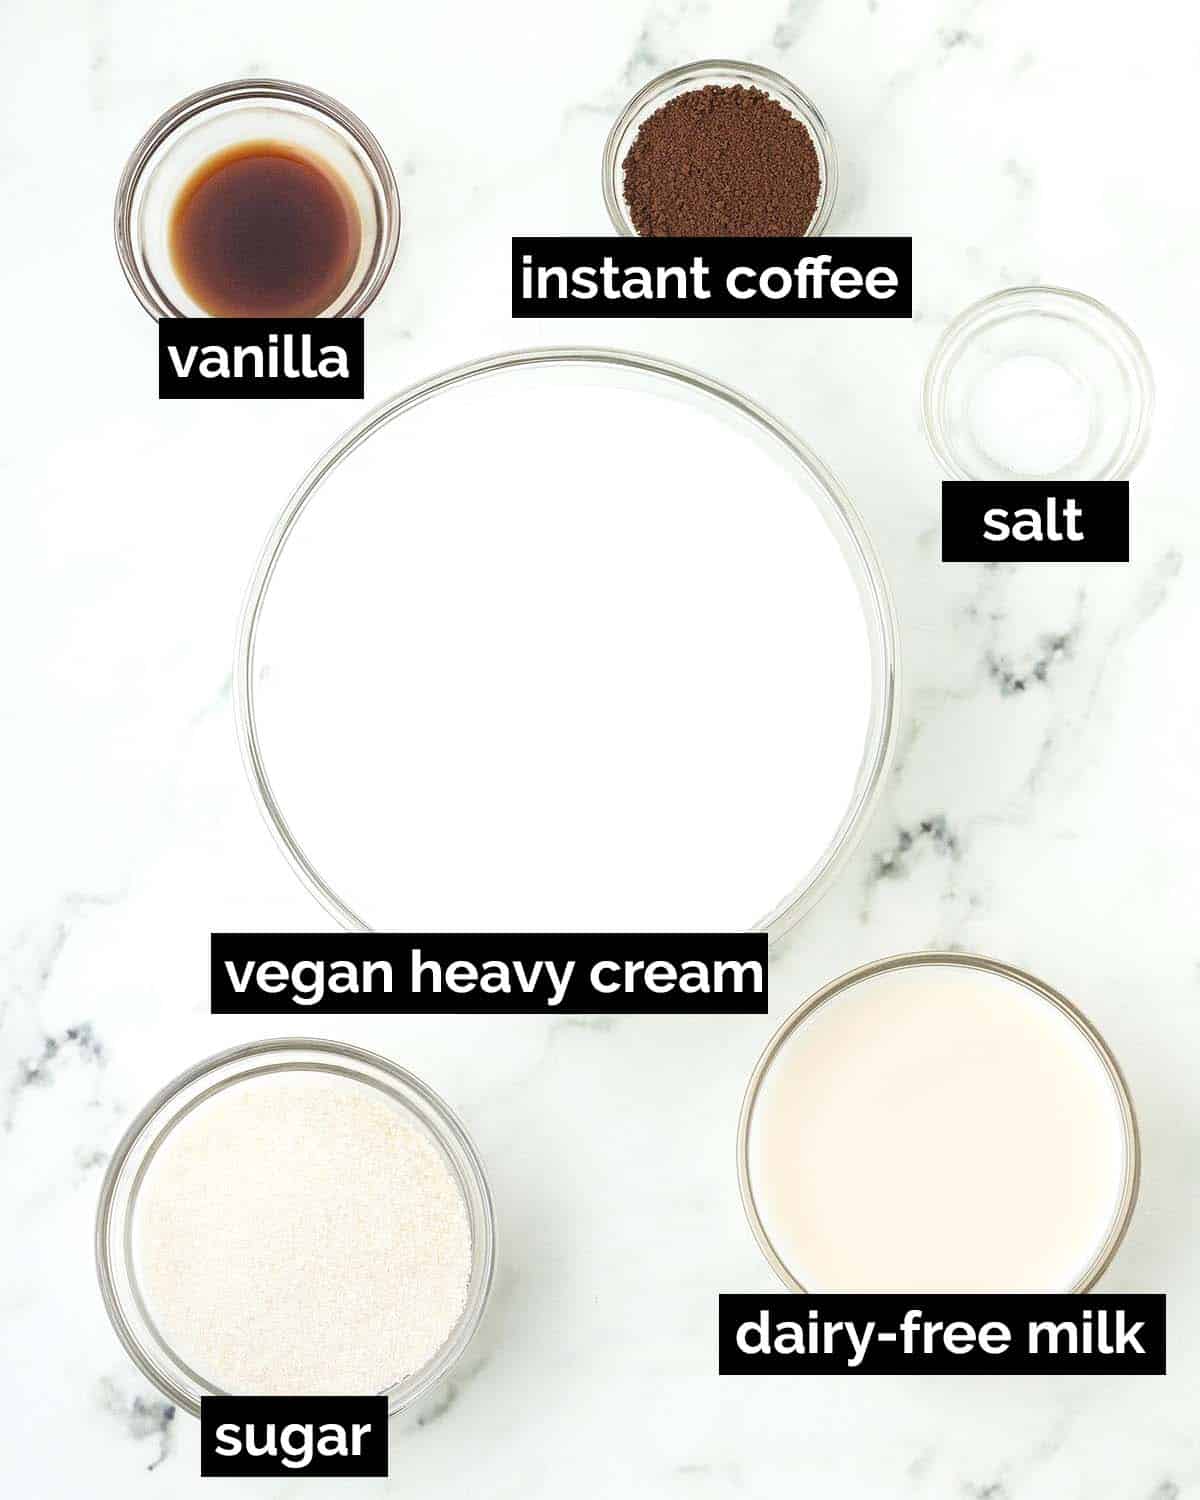
Here's What You'll Need
A Little More About the Ingredients
Unsweetened Vegan Heavy Cream or Vegan Whipping Cream (NOT vegan whipped cream) - Use a dairy-free heavy or whipping cream (the name varies by brand). Its high fat content is essential for creating a rich, creamy texture and minimizing ice crystals, so it cannot be substituted. I use Silk Dairy-Free Whipping Cream, but Country Crock, Califia Farms, Violife, Flora, and Elmlea Double are a few other brands that make similar products.
Instant Coffee - Either regular or decaffeinated.
Dairy-Free Milk - Use one that's naturally creamy and not thin and watery. Milk that's thinner and watery will make an ice cream with plenty of ice crystals, which you want to avoid. I use soy milk, but oat milk will work as a second choice, and almond milk as a last choice. Make sure the type you use is unsweetened and unflavoured.
Vanilla Extract and Salt - Both balance and enhance the flavours of the ice cream, so don't exclude either of them.
Sugar - I use organic cane sugar, but vegan granulated white sugar works just as well. Sugar not only sweetens the ice cream but also helps to create a smooth, creamy texture, so it should not be substituted or reduced.
Don’t change the amount of sugar the recipe calls for! Using less will leave your ice cream icy, crumbly, hard to scoop, and lacking creaminess. Too much will result in ice cream that does not freeze. Through testing, I found that the amount called for in this recipe is necessary for making the perfect dairy-free coffee ice cream.
The Simple Steps
(Note: I’ve outlined the step-by-step here, but find the full recipe, ingredients, and directions in the recipe card at the end of this post.)
For this recipe, you'll need an ice cream maker. Mine is the 2-Quart Cuisinart Ice Cream Maker. I've had it for many years, and I'm very happy with it, so I highly recommend it!
Make sure your ice cream maker's bowl has been in the freezer for at least 24 hours before starting this recipe.
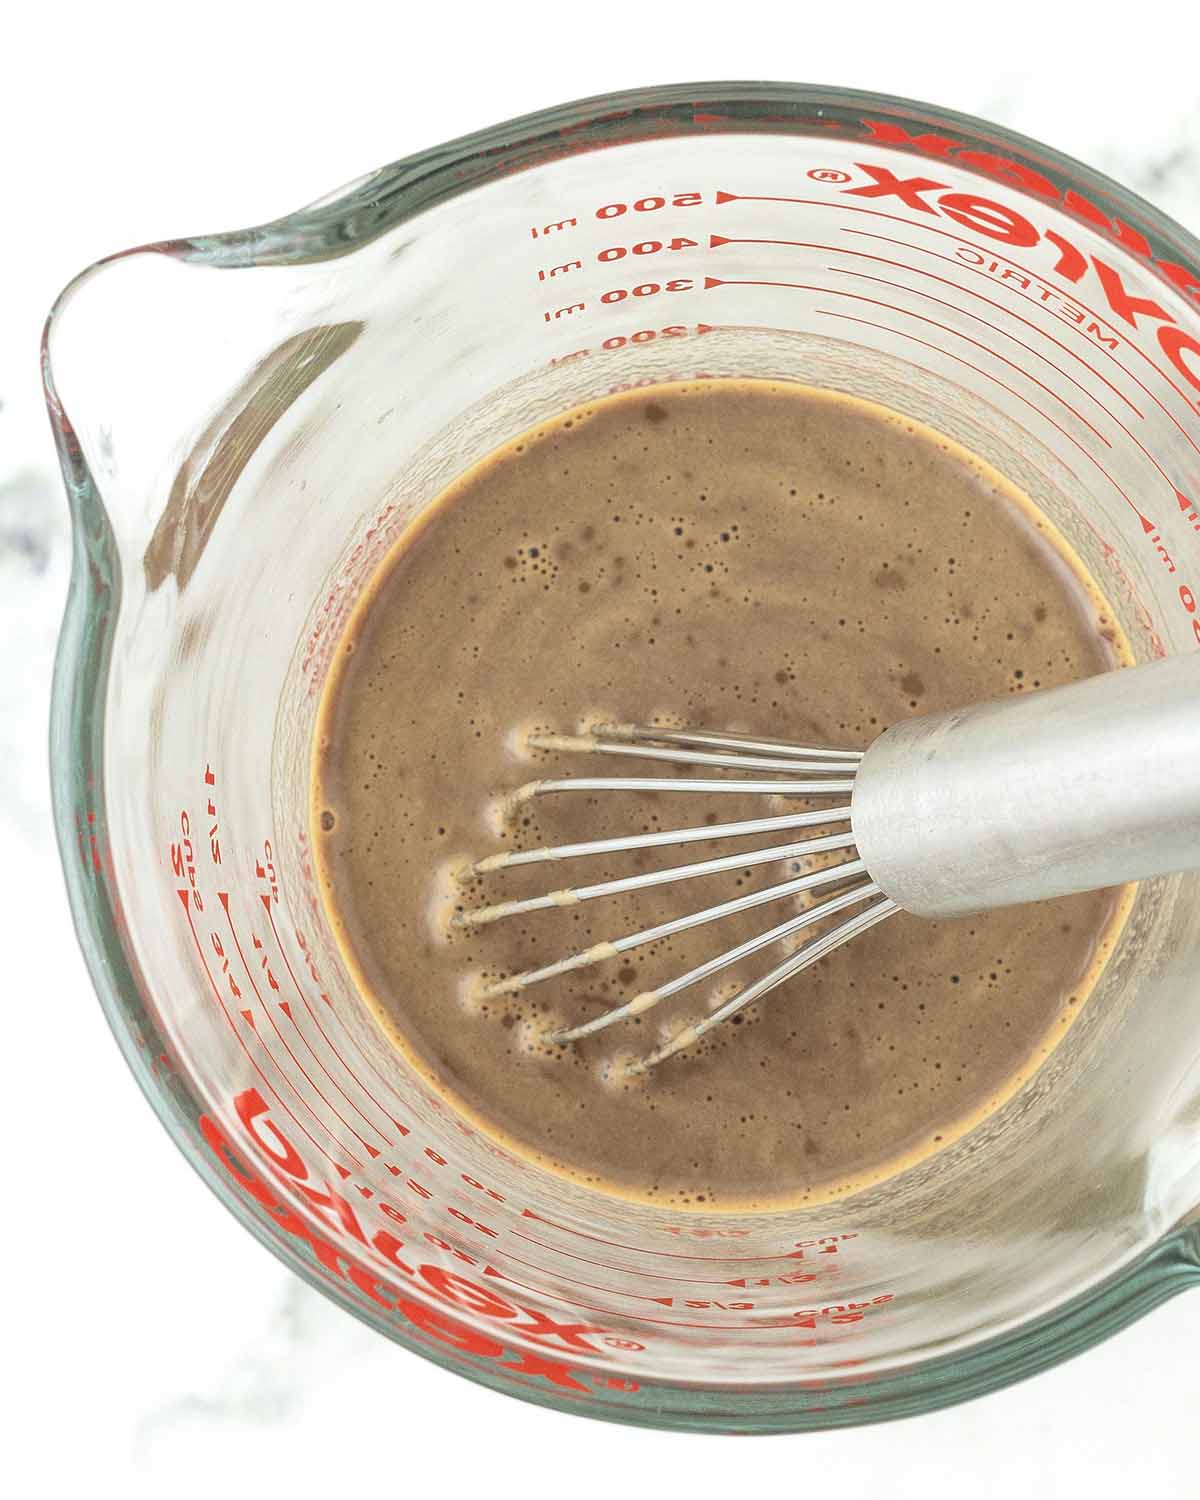
Whisk the milk and the instant coffee together until all the granules have dissolved.
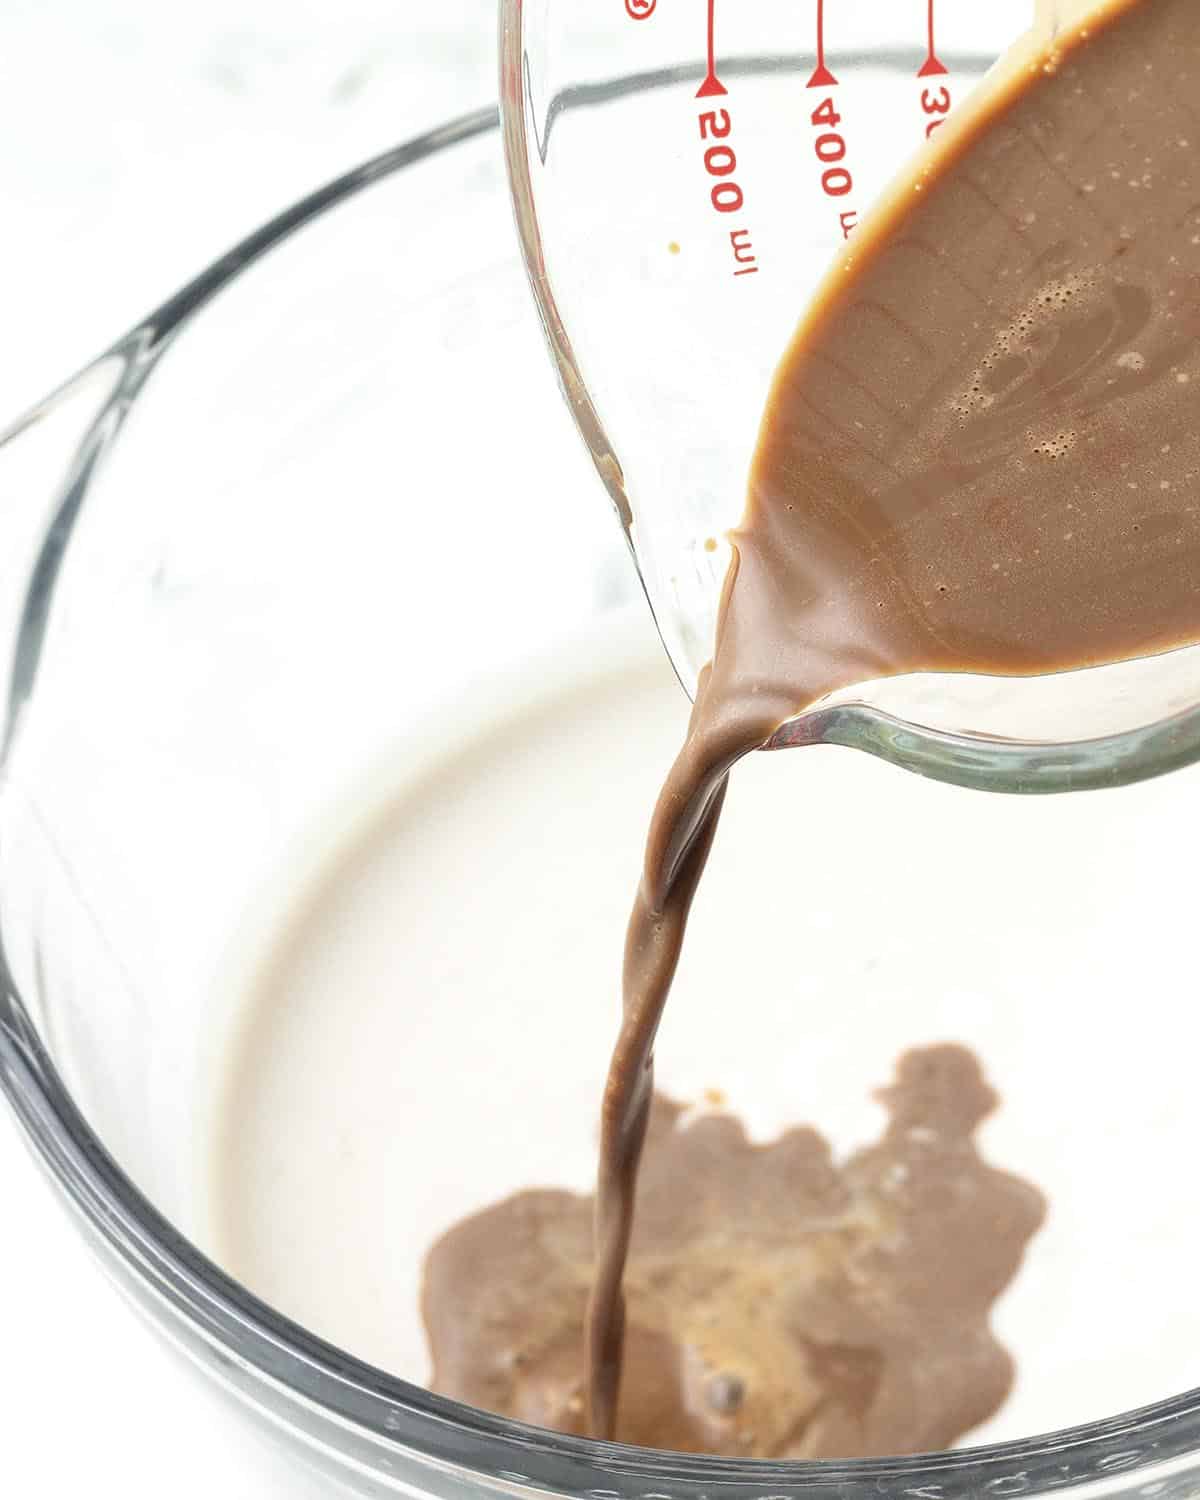
Mix all of the remaining ingredients, then whisk in the coffee mixture. I like to use a mixing bowl with a spout so the mixture is easy to pour into the machine.
Use Very Cold Ingredients
Use the vegan heavy cream and dairy-free milk straight from the fridge and don’t let them come to room temperature. If the ice cream base isn’t cold, refrigerate it for at least 30 minutes, then give it a quick whisk before churning. A cold base will freeze more quickly in the ice cream maker.
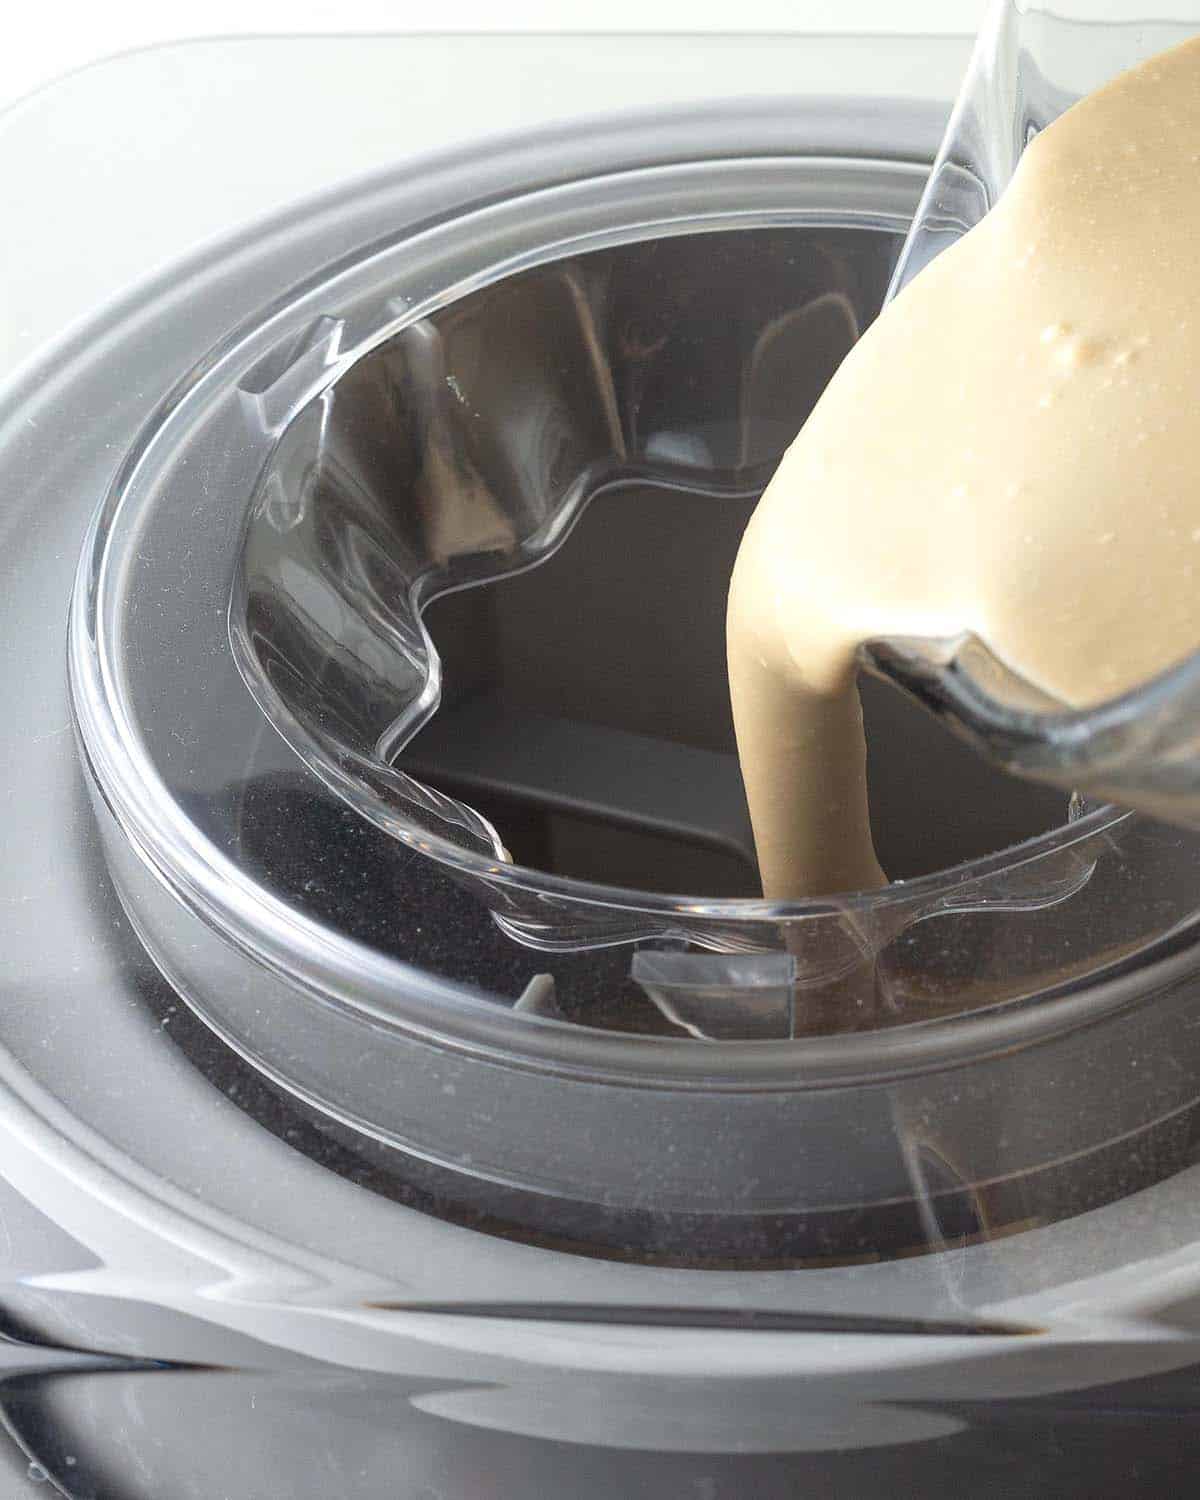
Pour the mixture into the bowl of the ice cream maker.
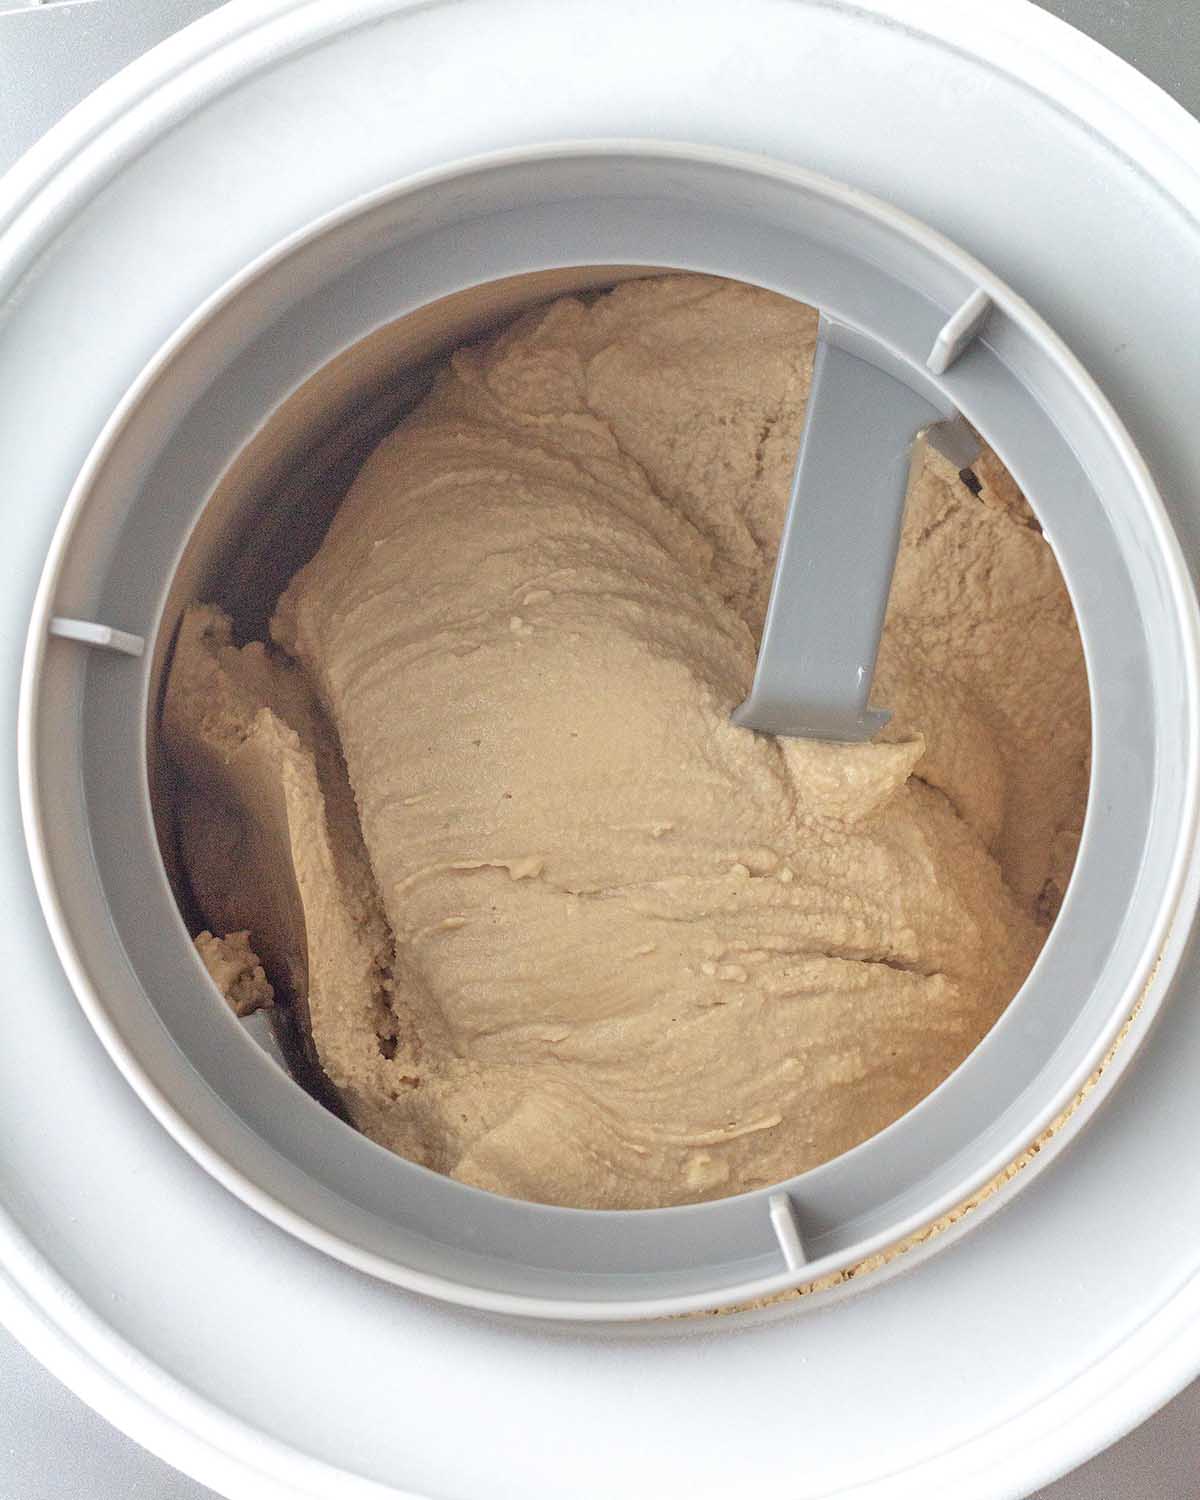
Churn until the ice cream reaches soft-serve consistency. If you prefer this softer texture, you can serve it right away, but if you like it firmer, go to the next step.
Don't Rely On the Clock
How quickly your ice cream finishes churning will depend on your ice cream maker and how long you’ve frozen the bowl beforehand. Most ice cream makers recommend churning for 20 to 25 minutes, but I’ve found that with my ice cream maker, it's usually ready in 15-20 minutes. So, keep an eye on it rather than relying on the clock, and look for the visual cues I mention in the recipe to know when it’s ready.
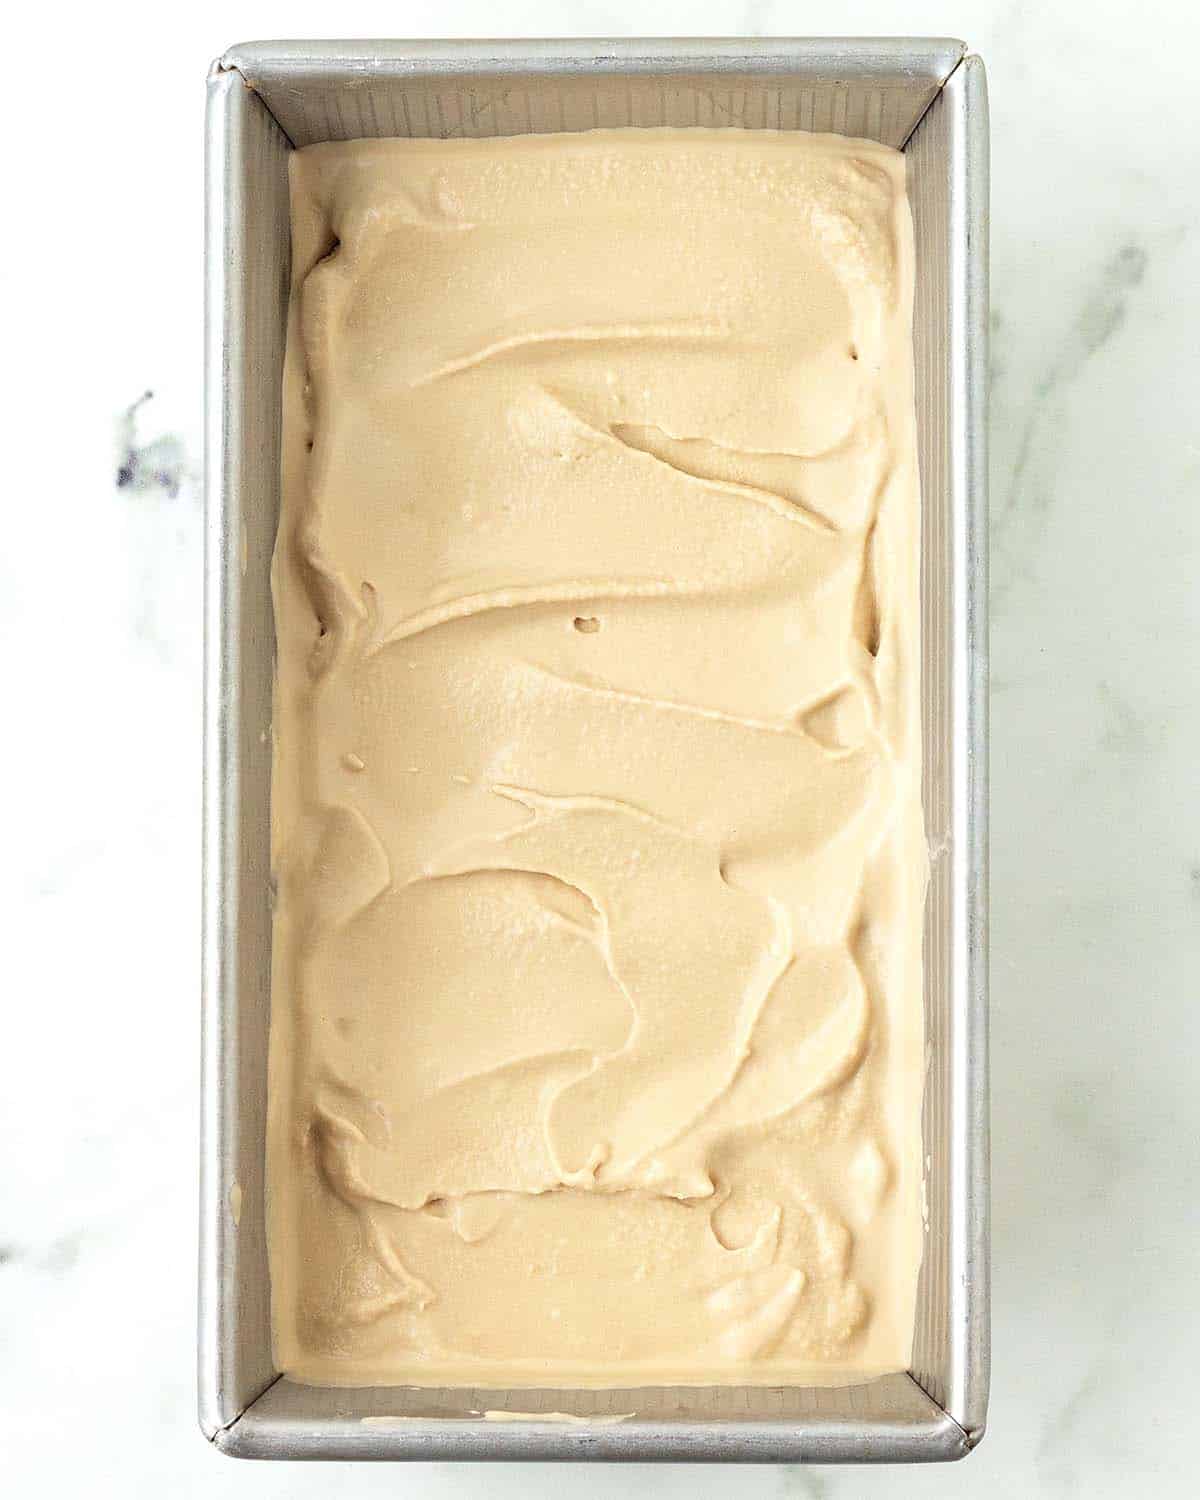
Transfer the ice cream to a container or a long rectangular pan. Place plastic wrap directly onto the surface of the ice cream, cover it, and place it in the freezer for 4-6 hours to firm up completely.
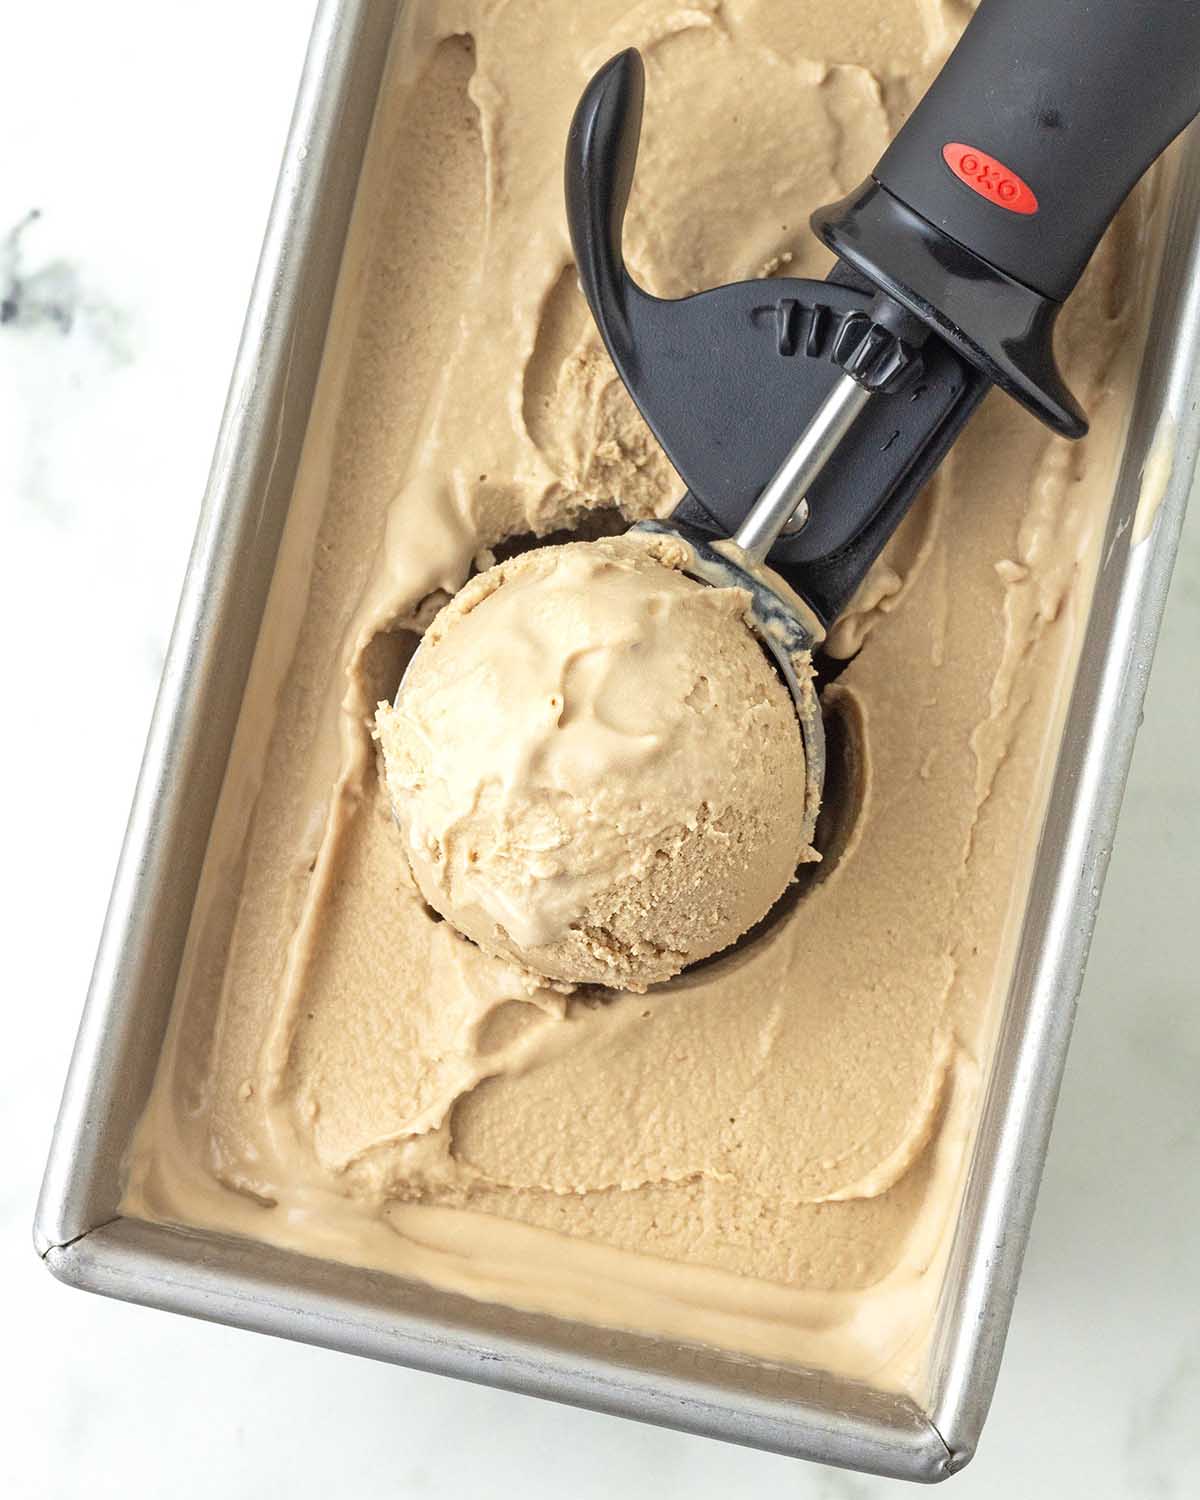
After it has firmed up in the freezer, it's ready to serve.
Scooping Tip
Homemade ice cream freezes harder than store-bought, so remove it from the freezer and let it sit at room temperature for about 15 minutes before scooping so it can soften slightly and make scooping easier.
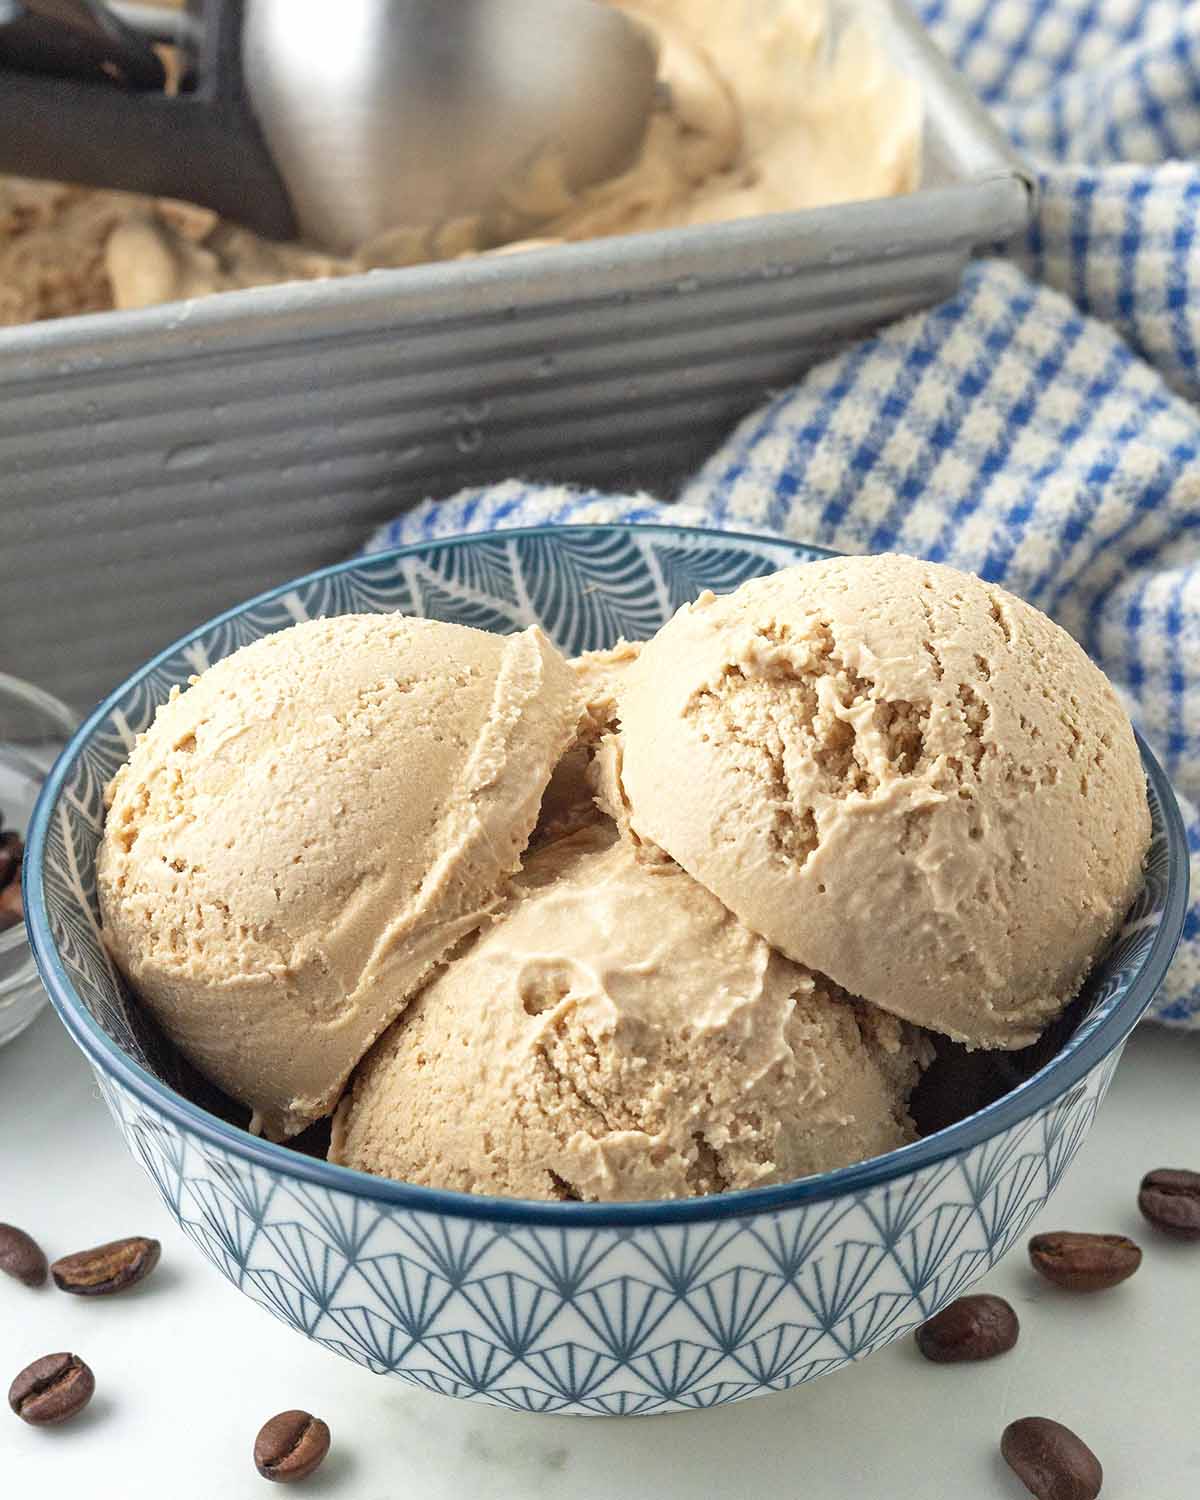
Serve It Your Way!
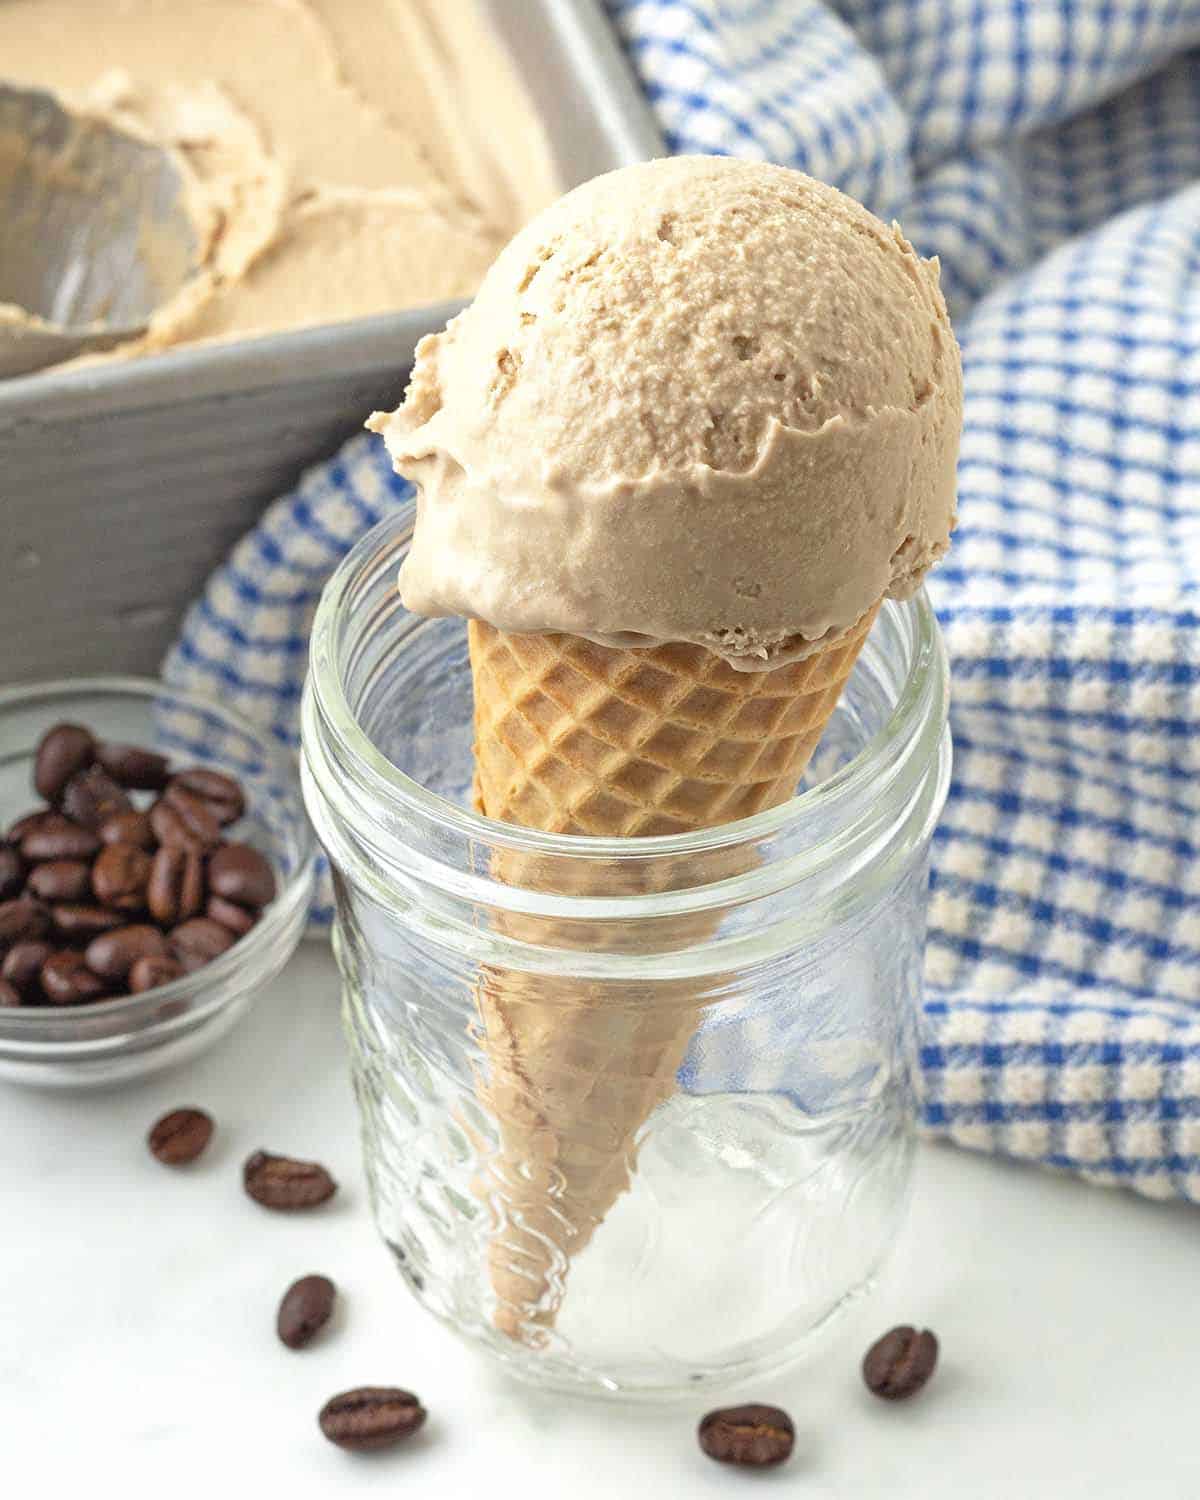
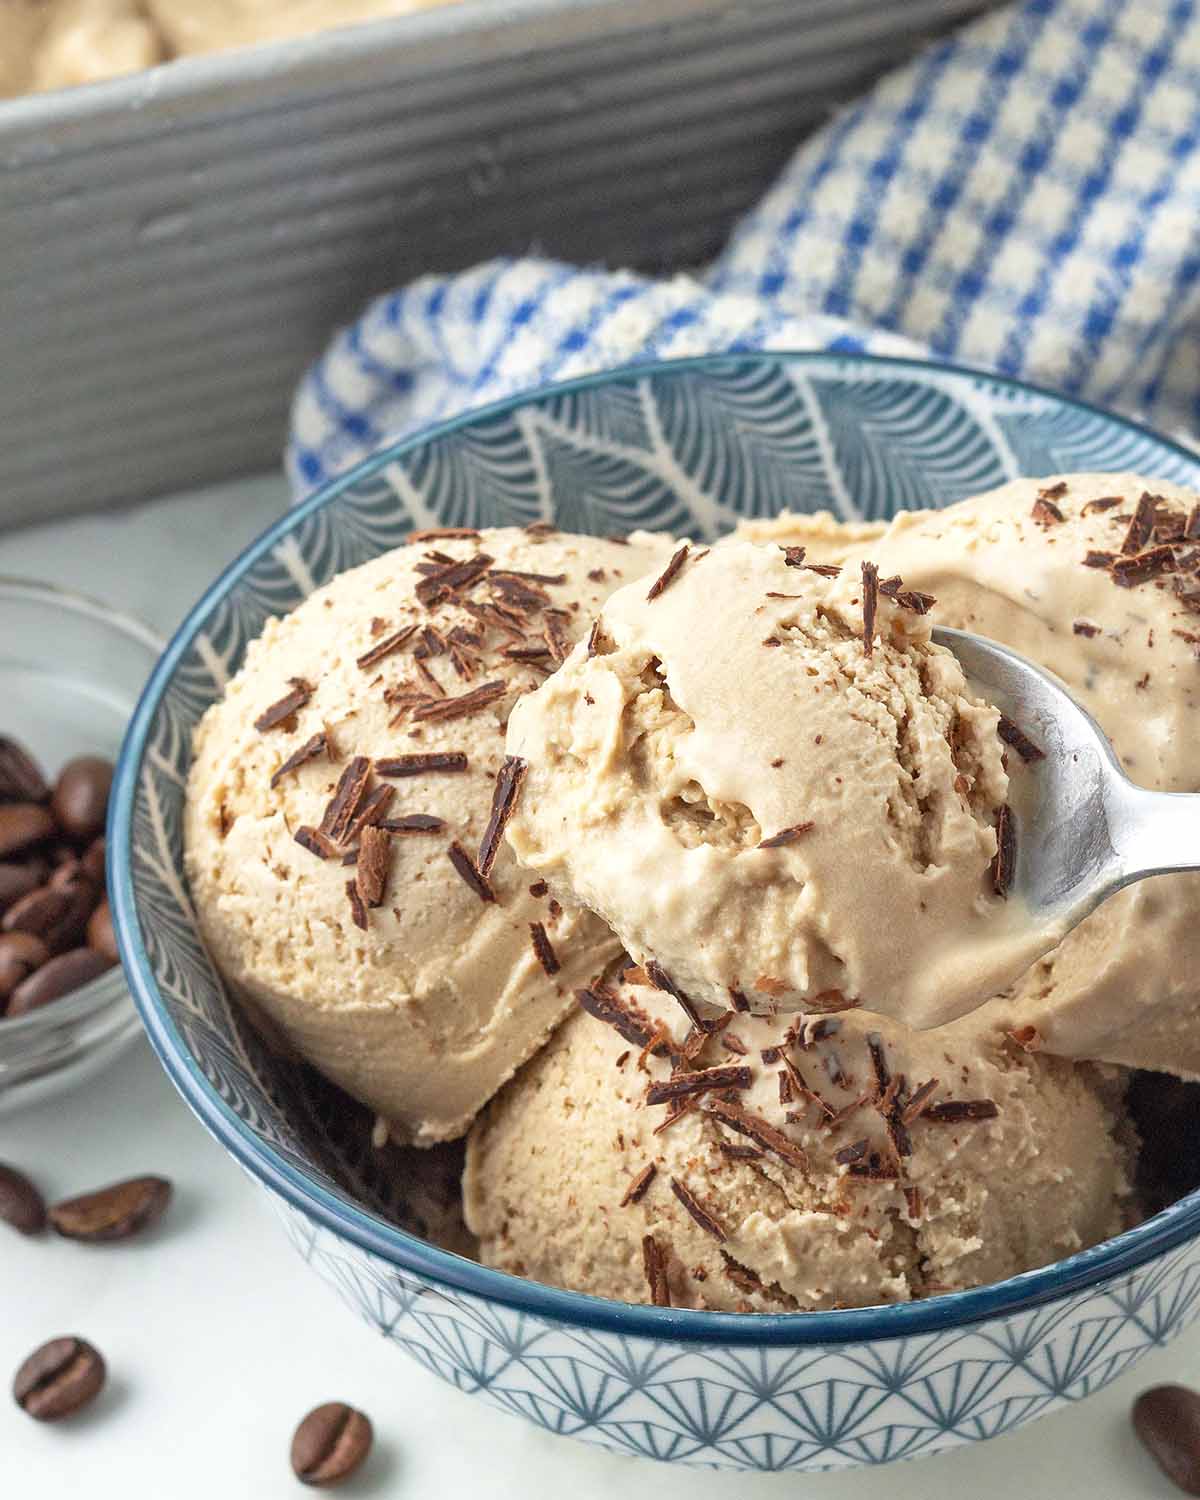
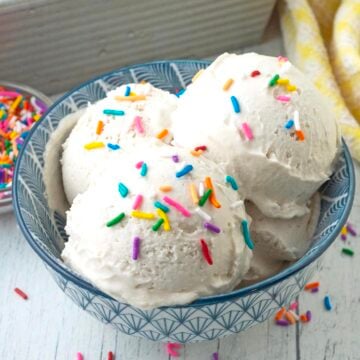
Whether or not you want it in a bowl or a cone is up to you, and you can have it plain or dress it up with any of the following:
- chocolate syrup
- chocolate chips, shavings, or sprinkles
- cocoa nibs
- maple caramel sauce
- toasted coconut
- crushed cookies
- cubed brownies
- toasted chopped nuts
More Tips for the Best Results
- Measure and have all your ingredients ready to go before starting. This will make the process run smoothly, quickly, and easily.
- Measure your ingredients correctly. Accurate measurements are crucial to your ice cream (and all recipes!) turning out properly.
- Pre-plan when you will be making this recipe so you have time to freeze your ice cream maker's bowl for at least 24 hours before starting.
- Store your ice cream in an airtight container. Exposure to air can cause ice crystals to form, leading to an icy texture and freezer burn. If your container has no cover, place the container in a freezer bag before freezing.
- Read this post from top to bottom before you start. I’ve included many tips and tricks gathered while testing this recipe. Please also read through the full recipe before getting started.
- Follow the recipe exactly as it’s written for the very best results.
After You Make It...
Please come back and let me know how your ice cream turned out! Leave a comment and rating below, and/or snap a photo and share it on Instagram. Don’t forget to tag me so I can see it, I'm @delightfuladventures on Instagram.
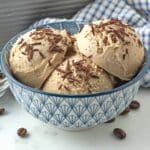
Creamy Vegan Coffee Ice Cream (No Nuts, No Bananas)
Suggested Equipment:
Ingredients:
- ½ cup (125ml) unsweetened dairy-free milk (cold, see note below)
- 5 teaspoons instant coffee
- 2½ cups (625ml) unsweetened vegan heavy cream or vegan whipping cream (cold)
- ½ cup (100g) granulated sugar
- 2 teaspoons vanilla extract
- ¼ teaspoon salt
Instructions:
At least 24 hours before starting, place the ice cream maker's bowl into the freezer.
- Add the dairy-free milk and the instant coffee to a bowl or measuring cup and whisk until all the granules have dissolved. Set aside.
- Add vegan heavy cream, sugar, vanilla extract, and salt to a mixing bowl and whisk to combine.
- Add the coffee mixture to the heavy cream mixture and whisk well until the sugar has completely dissolved before proceeding.
- Transfer the ice cream bowl from the freezer to the ice cream maker. Add the paddle and cover into place, and turn the machine on. Carefully pour the coffee ice cream base into the machine.
- Once the ice cream reaches a thick, soft-serve consistency, after about 15-20 minutes, turn the machine off.
- You can enjoy it at this point as soft-serve, but if you prefer firmer, scoopable ice cream, transfer it immediately to a freezer-safe container, cover, and freeze for 4 to 6 hours.
- Remove the ice cream from the freezer and let it sit at room temperature for 15 minutes before serving so it's easy to scoop.
Recipe Notes:
- Please read the helpful info above and below before making this recipe to ensure success.
- Use unsweetened, unflavoured dairy-free milk so you can control the flavour and sweetness. Use a naturally creamy milk, such as soy or oat, for the best results.
- Churning time will vary, depending on your ice cream maker and how long you freeze your ice cream bowl.
- If any solid ice cream sticks to the sides of the churning bowl, use a hard plastic, rubber, or silicone spatula to scrape it off gently. Avoid metal to prevent scratches. Let the scraped ice cream soften in a separate bowl, then stir until smooth before adding it to the container with the rest of the ice cream.
- Store your ice cream in an airtight container for up to 2 weeks. For the best texture, press plastic wrap directly onto the surface of the ice cream before covering the container.
- Nutrition info is based on 1 serving (½ cup), and the recipe is made exactly as written using unsweetened, unflavoured soy milk for the dairy-free milk. Nutrition info is only to be used as a rough guide. Click to learn how nutrition info is calculated on this website.

Did You Make This Recipe or Have a Question About It?