This page may contain affiliate links. Click to learn more. As an Amazon Associate I earn from qualifying purchases.
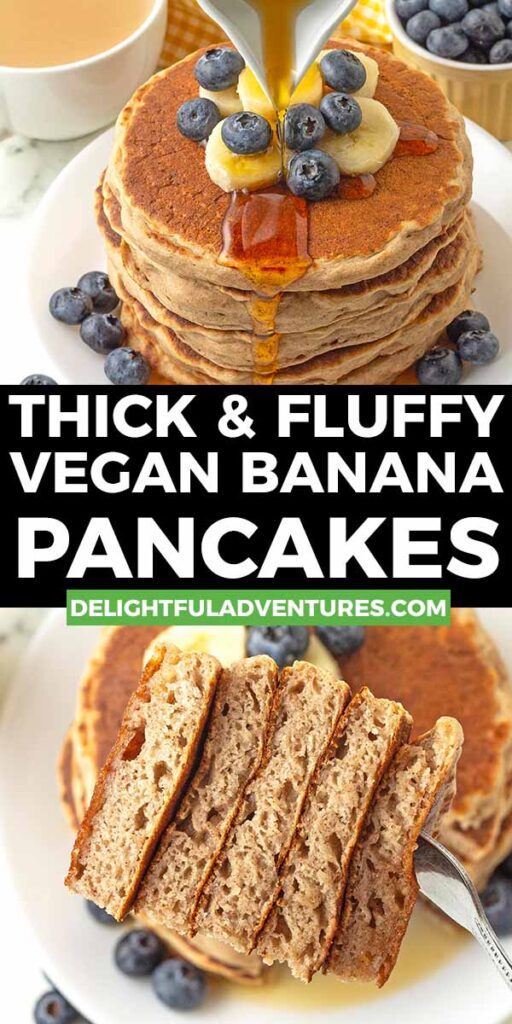
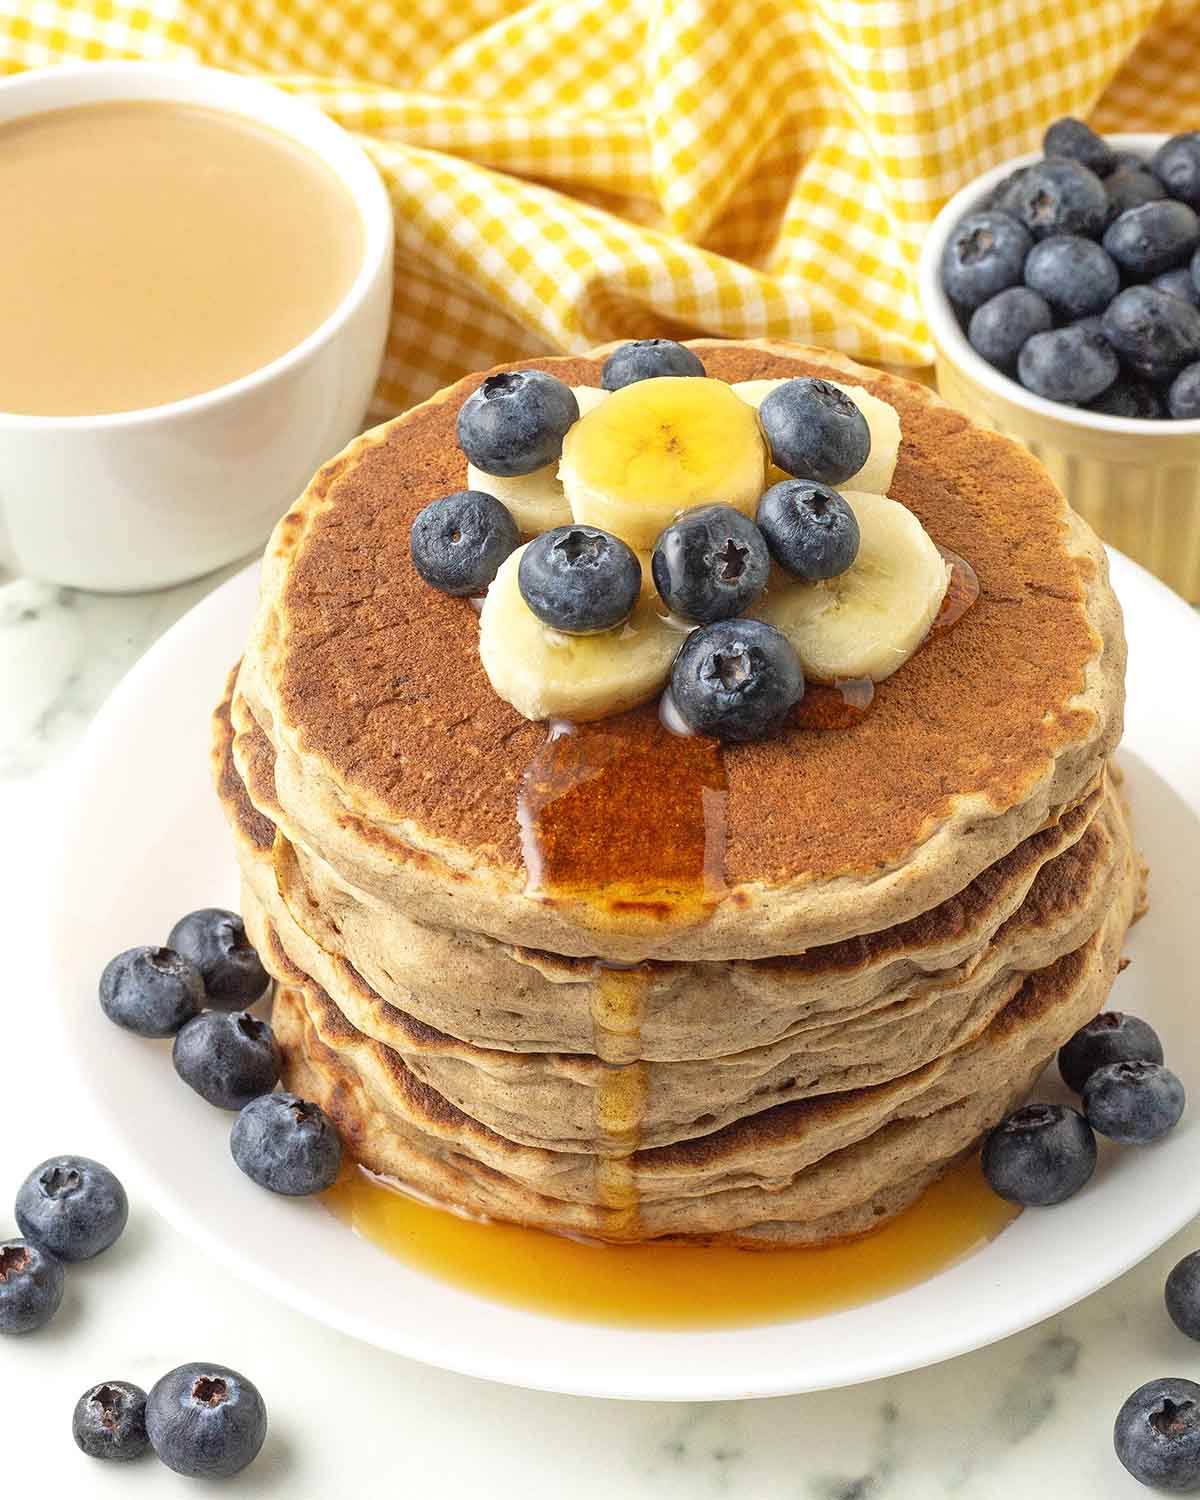
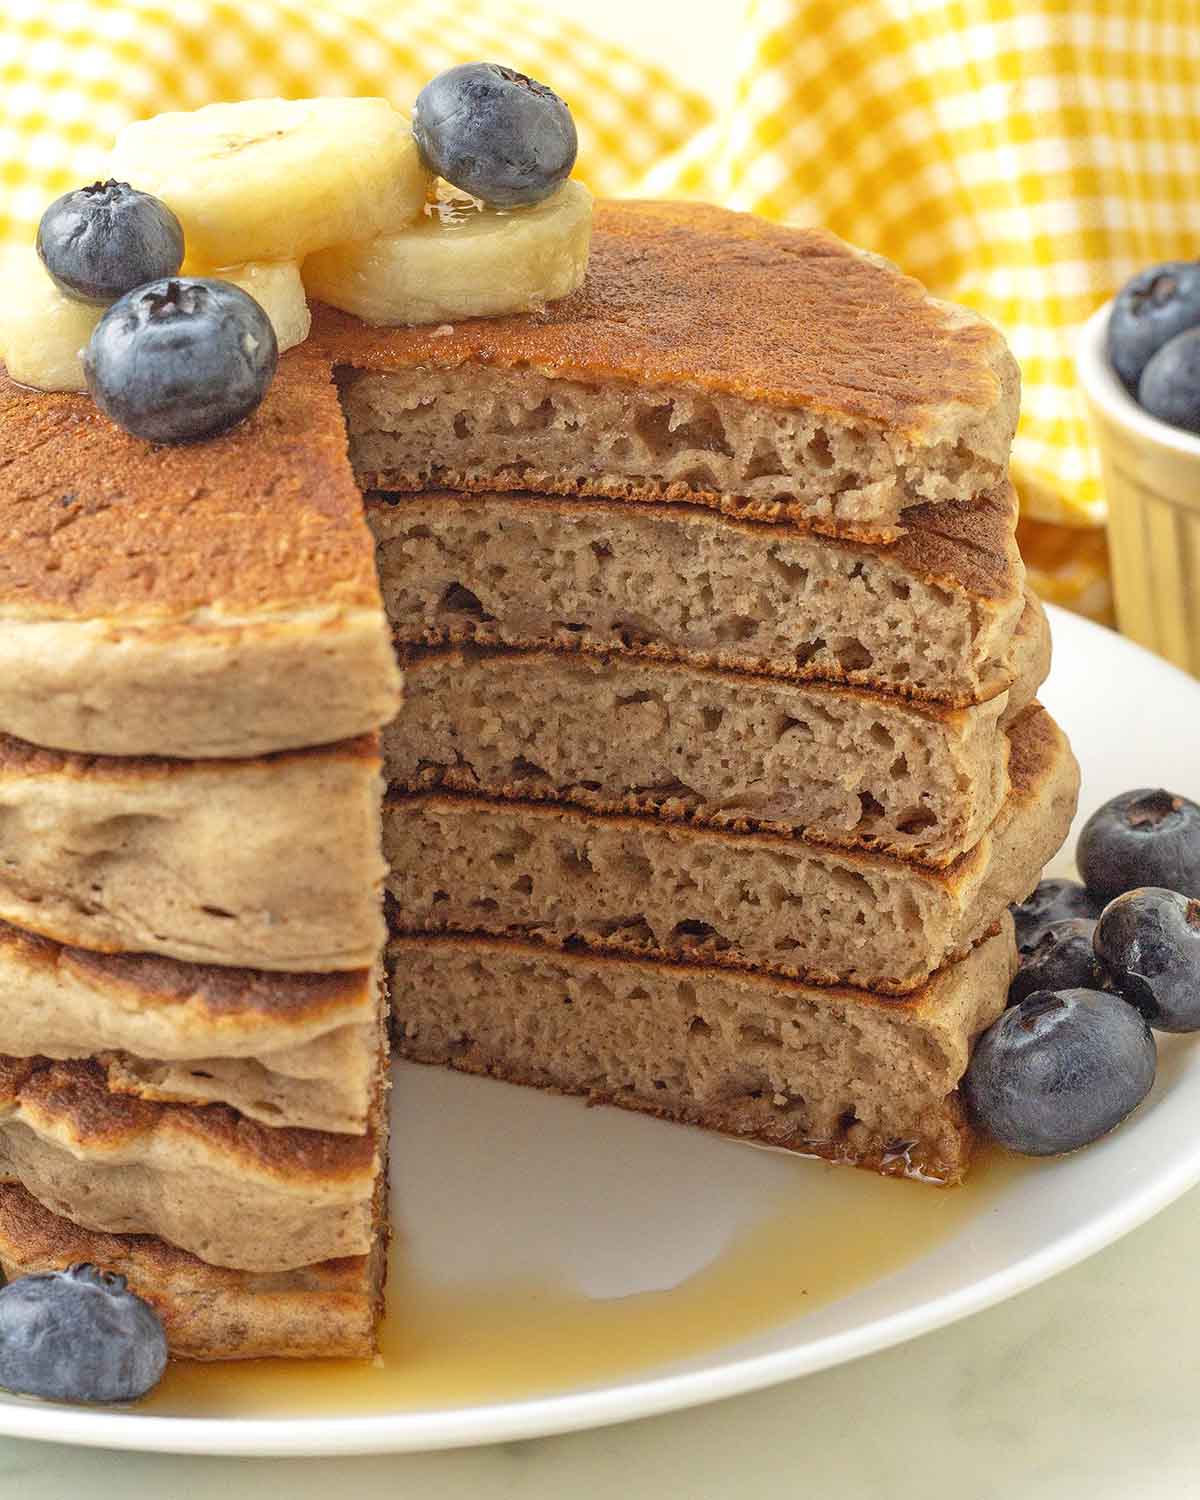
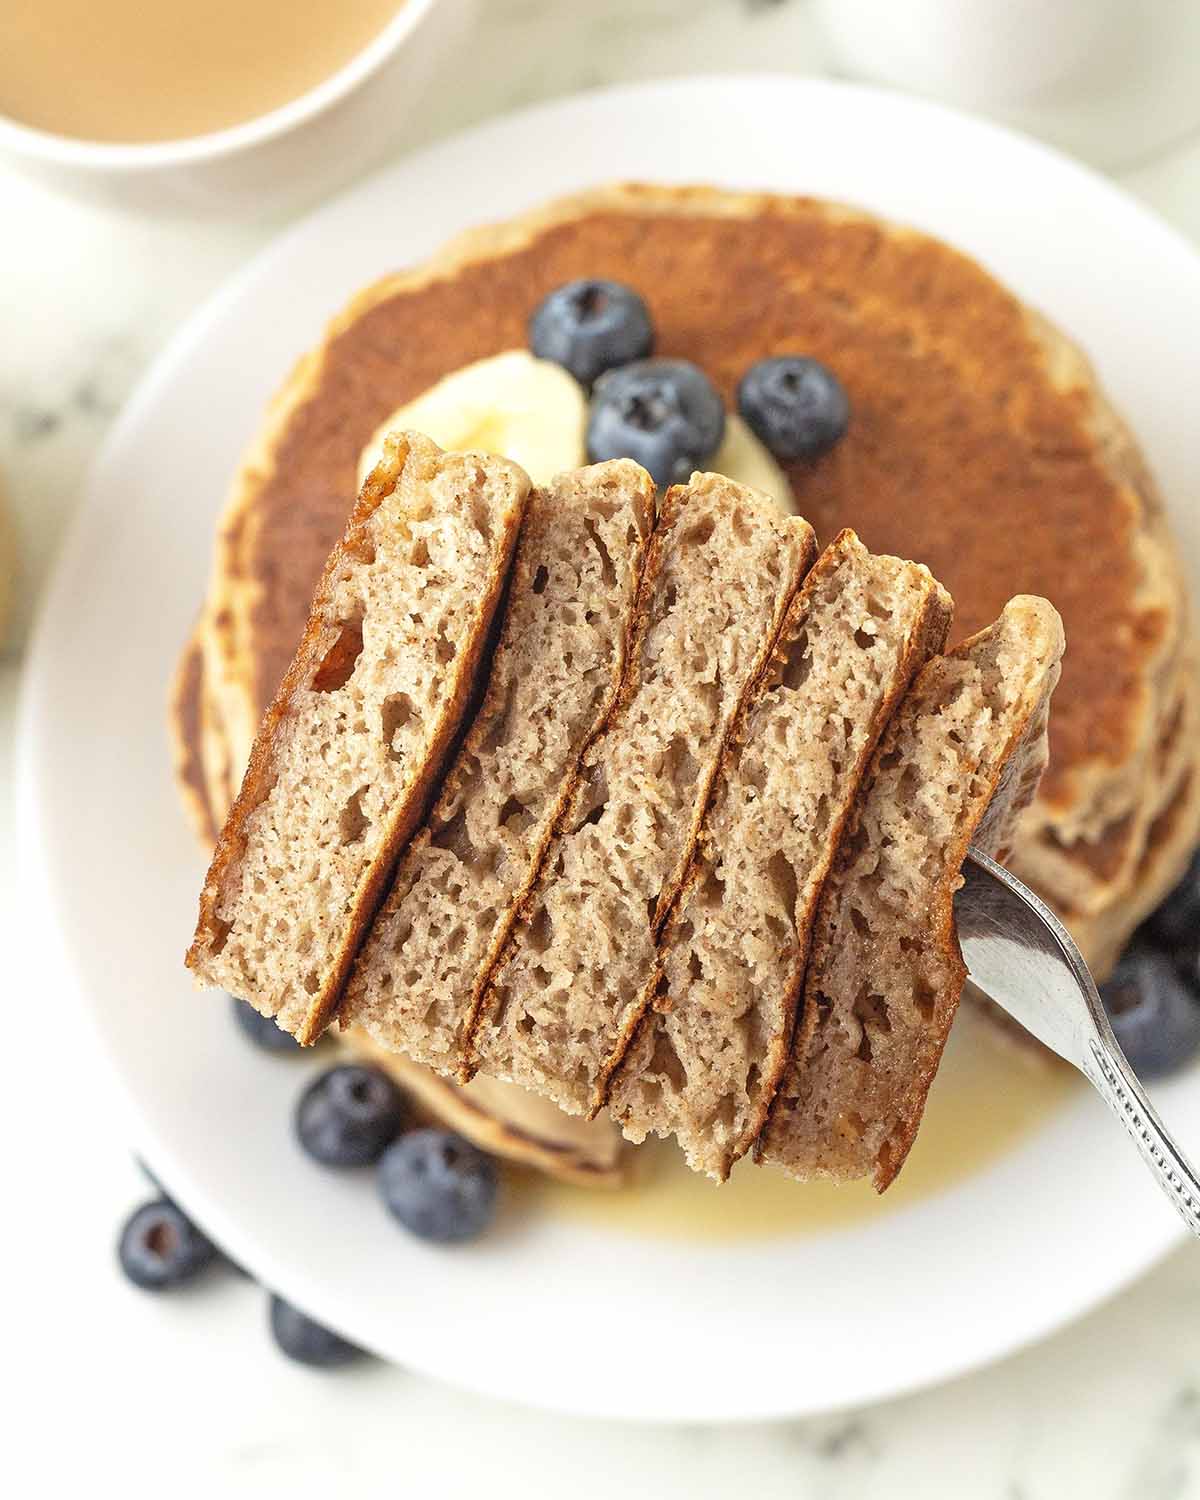
Start your morning in the most delicious way with a stack of thick and fluffy vegan banana pancakes. Light, soft, and filled with rich banana flavour with a hint of cinnamon, this easy vegan breakfast recipe comes together quickly with simple pantry ingredients. Perfect for weekend mornings, meal prep, or whenever you're craving something a little special.
Dairy-free, egg-free, and with a gluten-free option included, these pancakes are a satisfying way to use up overripe bananas sitting in your kitchen.
Save This Recipe!
In a hurry? Drop your email below, and this recipe will be sent straight to your inbox for later. You'll also get fresh recipes every week! You can unsubscribe anytime.
There are plenty of scrumptious ways to use up overripe bananas, and one of my favourites is turning them into pillowy vegan banana pancakes.
These pancakes are easy to make with simple pantry ingredients, so there’s no need for any special shopping trips since you likely already have everything on hand.
The only real planning needed is having overripe bananas, and if you’re like me, there are usually always a few waiting to be used (this is sometimes intentional, sometimes not!).
These naturally sweetened pancakes turn out thick, super fluffy, and full of flavour. They’re sure to become a new breakfast favourite for you and anyone who tries them.
The Ingredients You'll Need
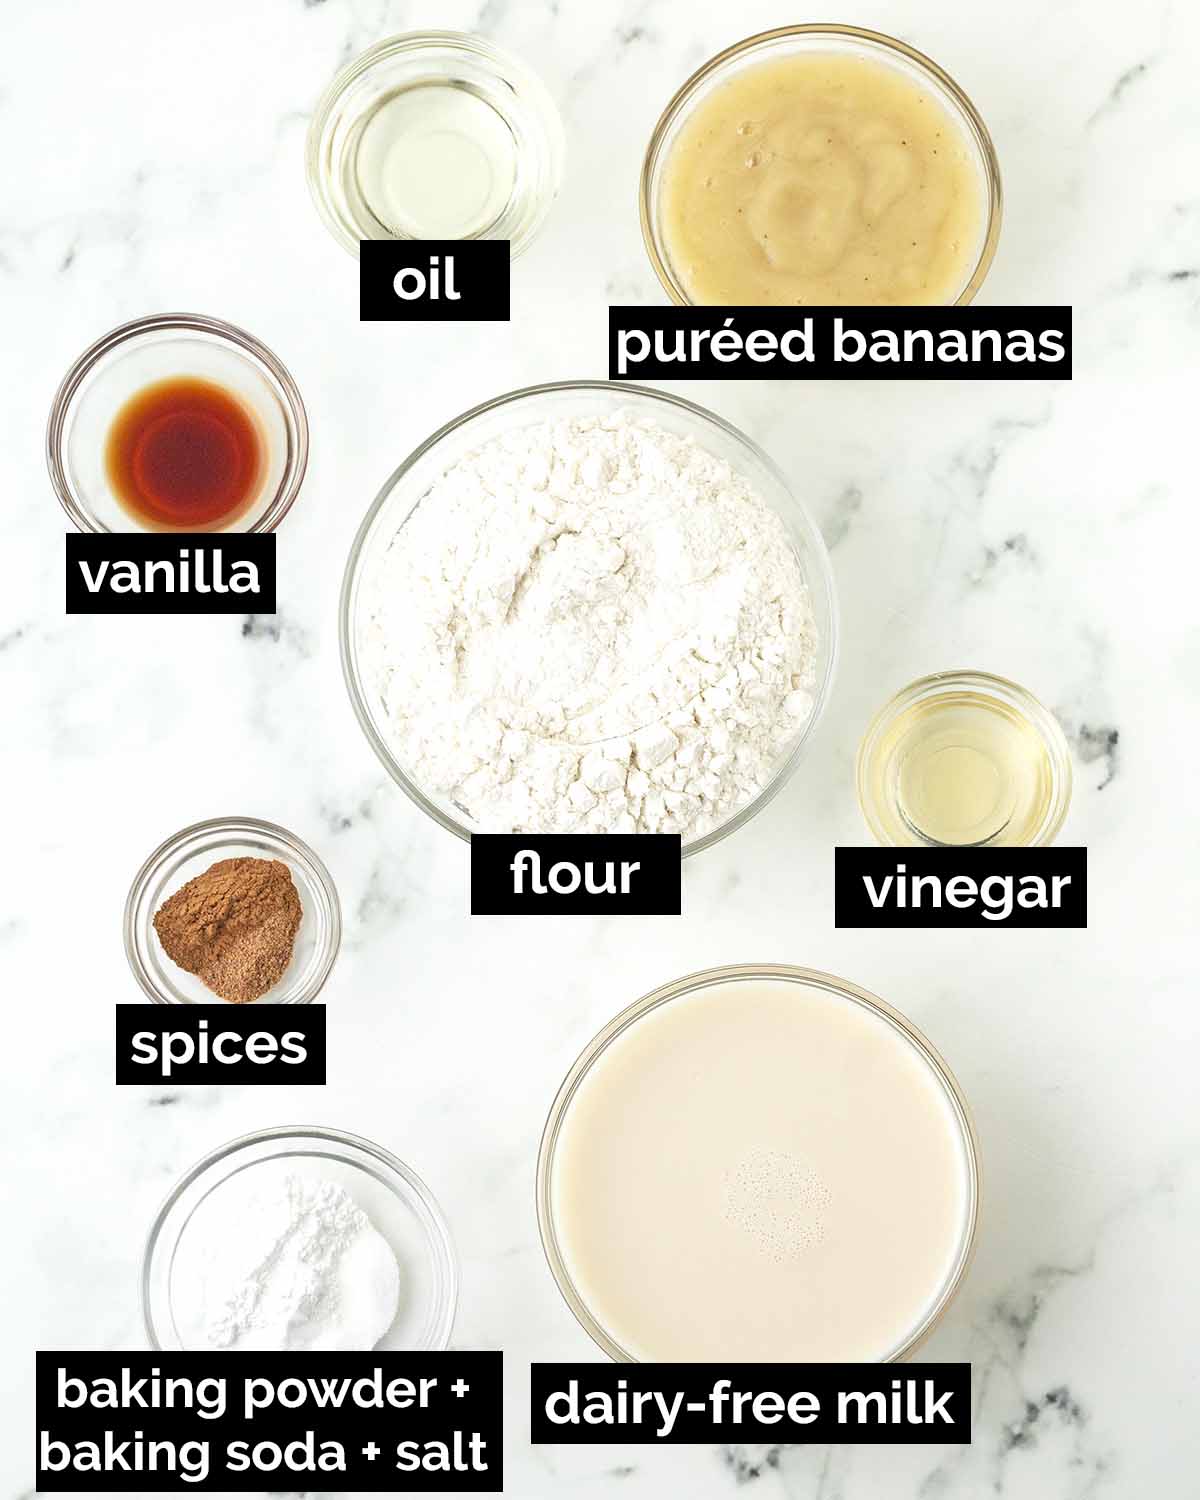
Important Ingredient and Swap Info
(NOTE: Only ingredients with special notes are listed below. The full ingredient list can be found in the recipe card.)
Flour - You'll need all-purpose white flour.
For vegan gluten-free banana pancakes: I share all the details in the recipe card below. There are a few minor changes to be made to the recipe, but they turn out just as fluffy and satisfying as the wheat flour version.
Dairy-Free Milk - This is needed to make a quick 2-ingredient vegan buttermilk, which helps make extra fluffy pancakes. Soy milk works best, but use what you have on hand, just make sure it's unsweetened and unflavoured.
Apple Cider or White Vinegar - This is the other ingredient you'll need to make the vegan buttermilk. If you don't have vinegar, you can replace it with fresh lemon juice. Whichever one you use, the flavour will not be detectable in the pancakes.
Baking Powder and Baking Soda - Make sure these ingredients are fresh and active because they’re essential for fluffy, light, and airy pancakes. Neither of them can be substituted or left out since they contribute separate things to the recipe.
Spices - Cinnamon adds another layer of flavour to the pancakes, nutmeg is optional, but recommended, for even more warm flavour.
Puréed Bananas - Blend the bananas until they're completely smooth using a blender. I prefer to use a stick blender. If you don’t have a blender, you can mash them well with a fork or a potato masher. Just make sure there aren’t any large chunks remaining.
Best Bananas for Banana Pancakes
For the best flavour possible, use bananas that are very ripe and heavily spotted or fully brown. These are perfect for banana pancakes. In this particular vegan banana pancake recipe, the overripe bananas do all the sweetening; there's no added sugar.
Avoid bananas that are leaking, overly soft, or showing any signs of mould, and skip any that are still green or hard to peel since they’re not ripe enough yet.
How to Make Vegan Banana Pancakes
(Note: I’ve outlined the step-by-step here, but find the full recipe, ingredients, and directions in the recipe card at the end of this post.)
Keep Them Warm
Before cooking, set your oven to the warm setting. If your oven doesn't have a warm setting, preheat it to the lowest temperature. Line a baking sheet with parchment, and as each pancake finishes, place it in a single layer on the sheet to keep warm while you cook the rest.
The first step is to make the vegan buttermilk by combining the dairy-free milk and the vinegar or lemon juice. Set it aside.
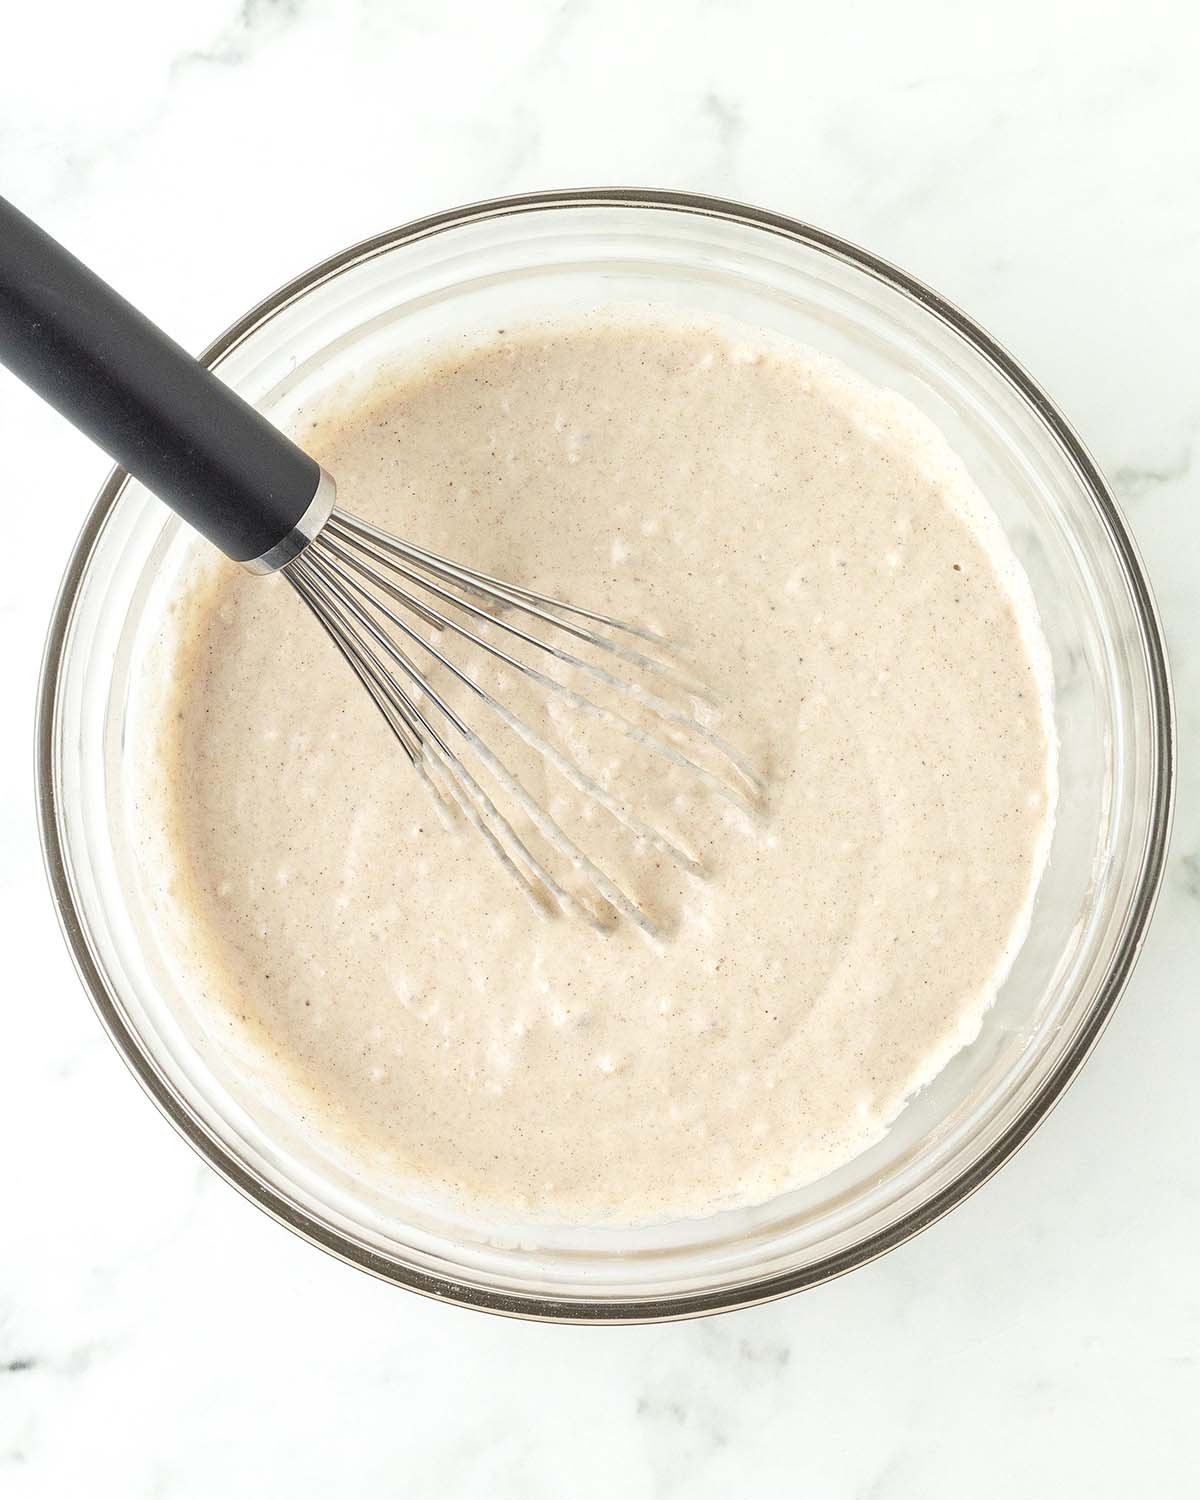
Next, mix the dry and wet ingredients separately, then combine them. Mix to create a thick batter, but don't overmix; it's okay if there are still a few small lumps left. Overmixing will result in tough, dense pancakes.
Rest the batter for 5 minutes so it can thicken, and some of the lumps can absorb naturally. While it rests, heat the pan or griddle.
Pancake Cooking Tips:
- Use a non-stick griddle, a good non-stick pan, or a well-seasoned cast-iron pan. Avoid stainless steel, as the pancakes will stick.
- Preheat the pan before starting. To know when it's ready, add a few drops of water to the pan. If the water sizzles, it’s ready.
- Once preheated, lightly swipe the pan with oil before cooking and reapply as needed between batches, depending on your pan. Avoid vegan butter for greasing; it can burn.
- To start, keep the heat at a steady medium and adjust as needed while cooking to prevent the pan from getting too hot and the pancakes from browning too quickly before they’re cooked through.
- When I make my pancakes, I use a thick, cast-iron pan. I usually turn mine after about a minute. Some experimentation may be necessary until you get a feel for it. Everyone's griddle/pan and stove will cook differently.
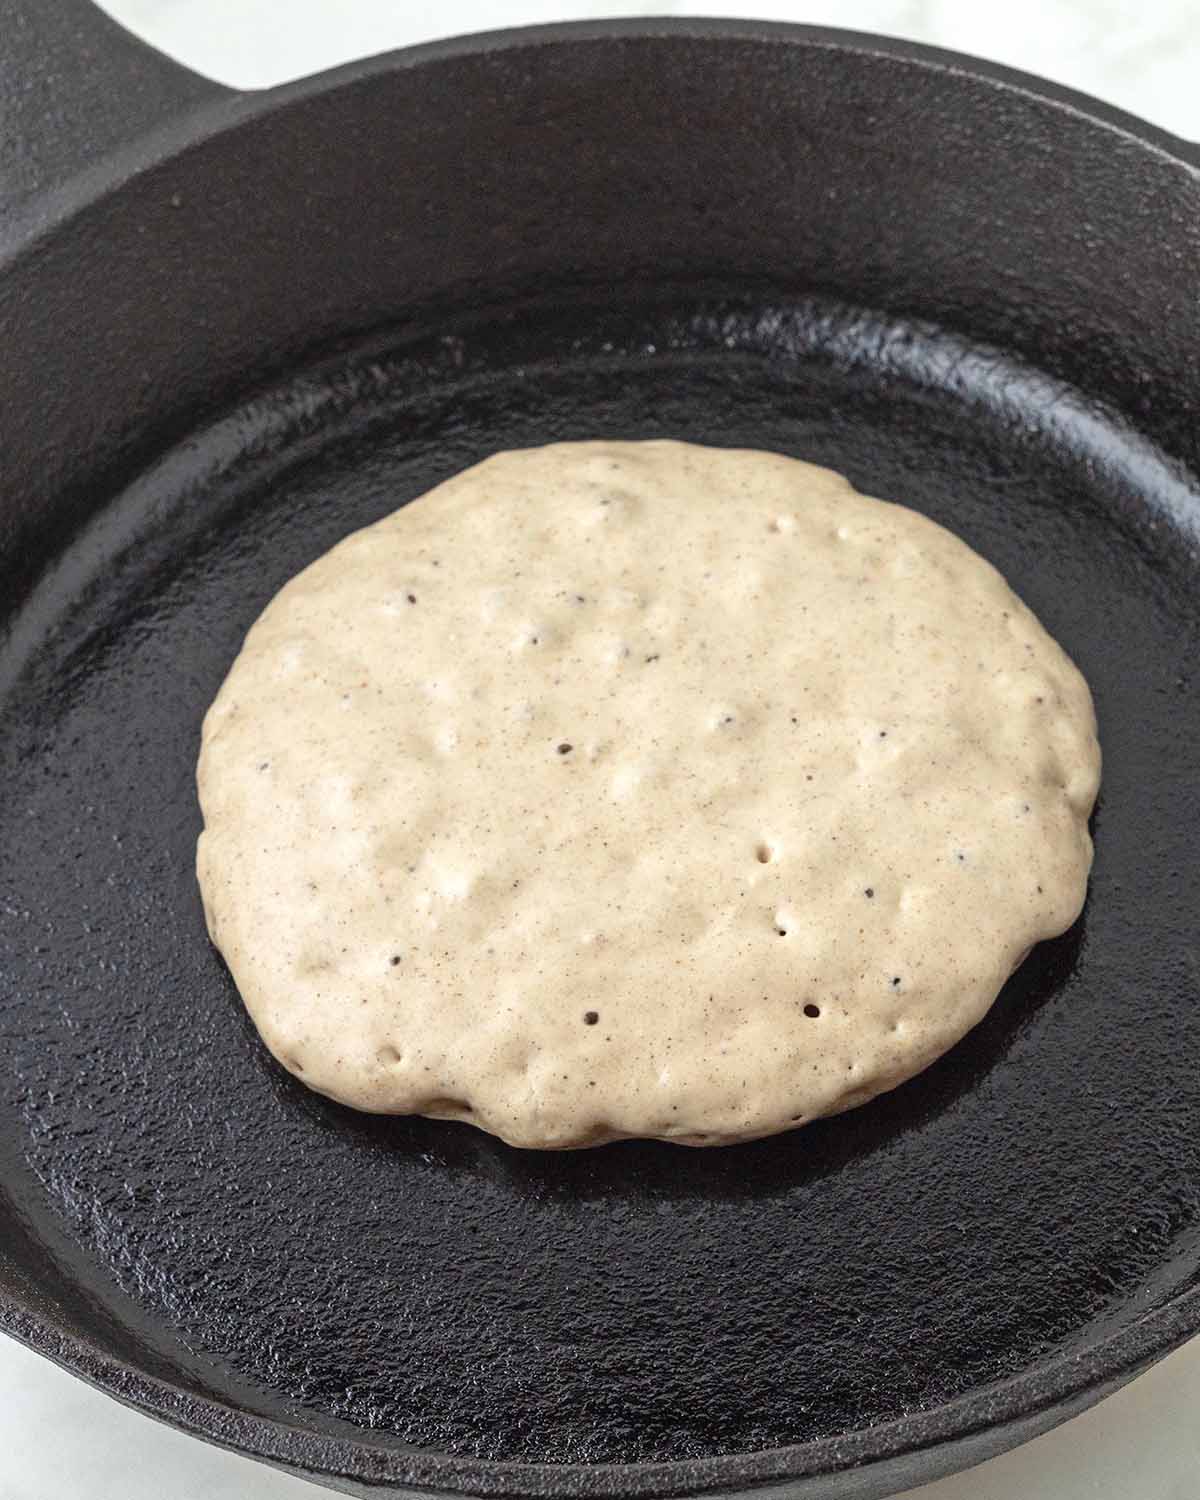
Add the batter to the preheated pan. It will be ready to flip when you see bubbles coming to the surface and popping, and the sides of the pancake look slightly dry.
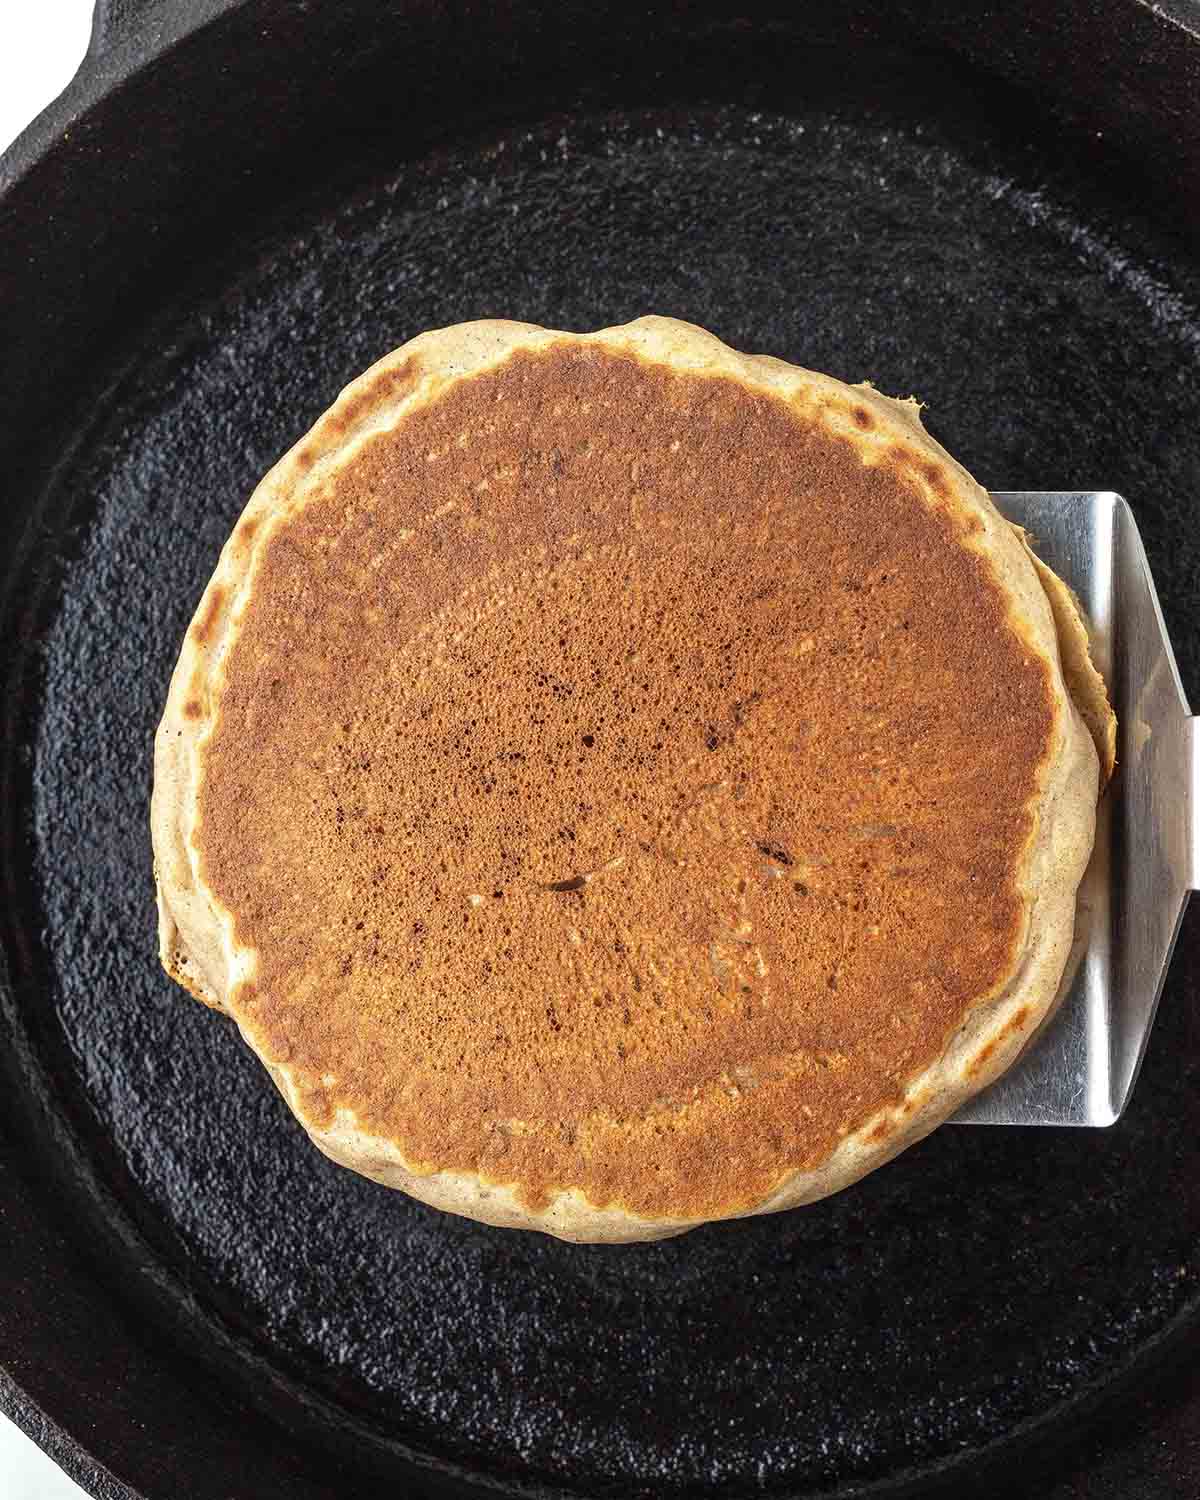
After flipping, cook, then remove from the pan or griddle and set aside while you cook the rest of the batch.
Tips for the Perfect Flip
If the visual cues outlined above aren't enough and you’re still unsure when to flip, gently lift a corner with your spatula and check underneath. If it lifts easily and it’s golden brown, it’s ready. Flipping too early can cause it to stick and break.
The natural sugars in ripe bananas can cause these pancakes to brown quickly, so keep an eye on the heat and adjust as needed to prevent them from cooking too fast on the outside.
Time to Serve!
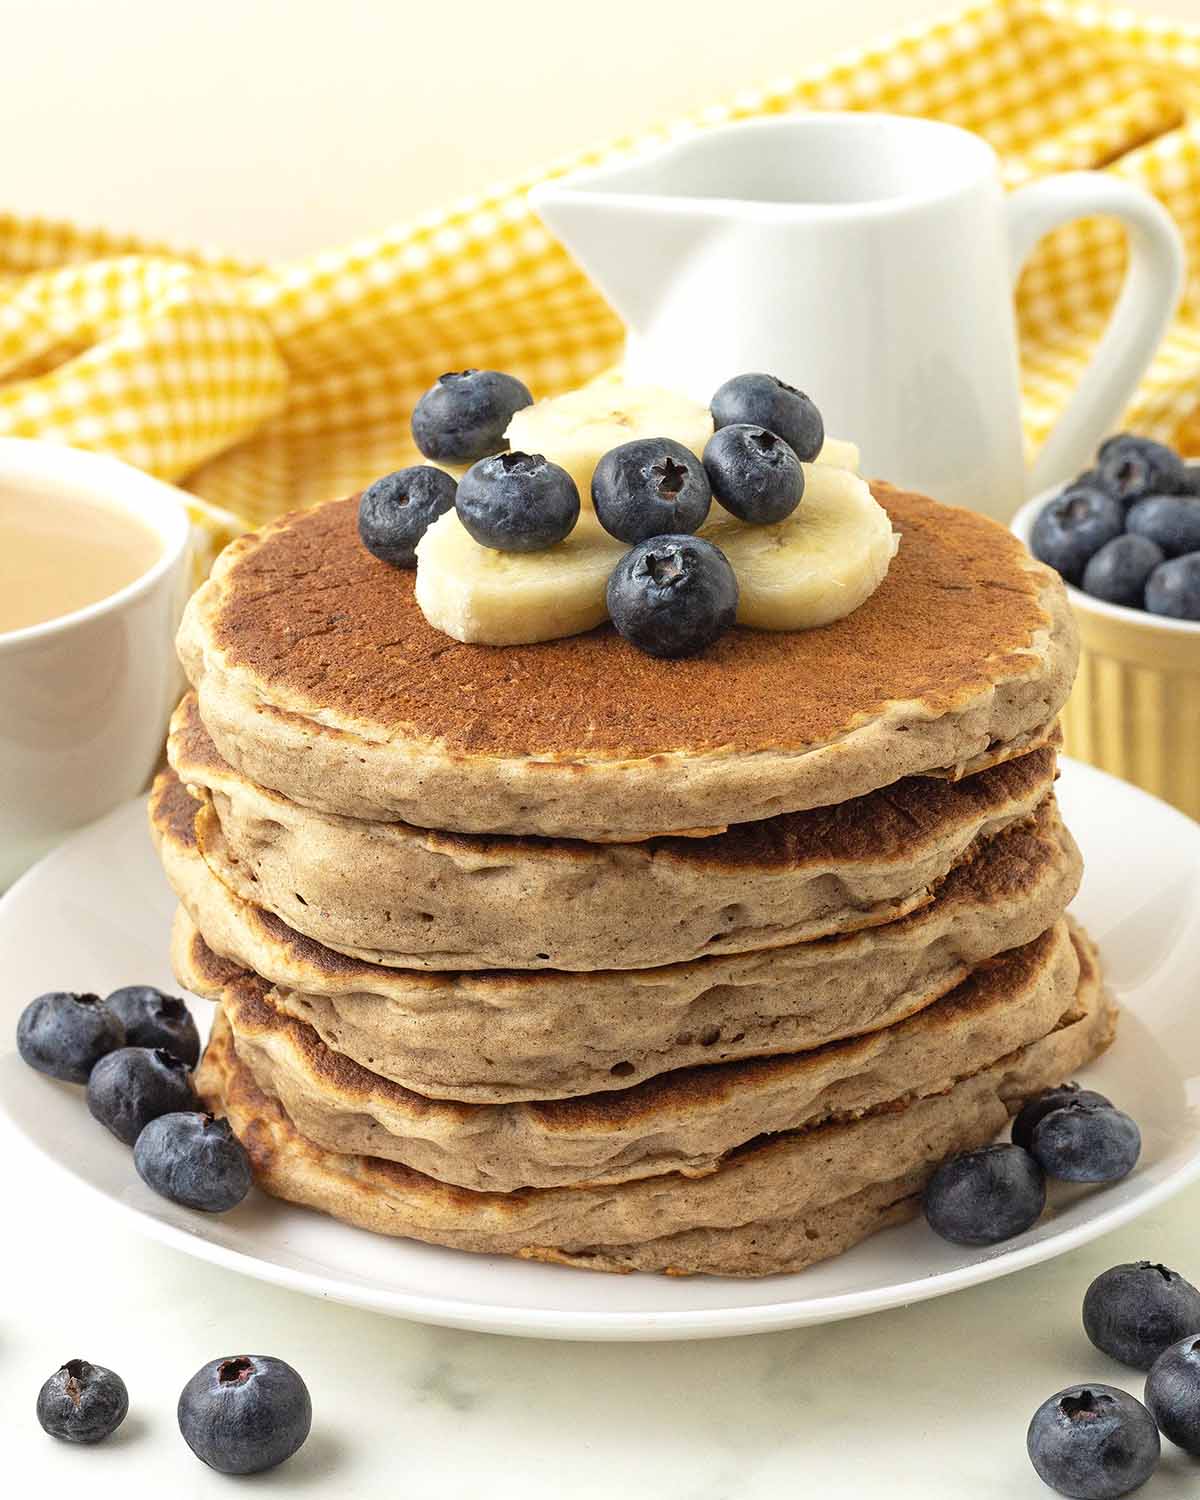
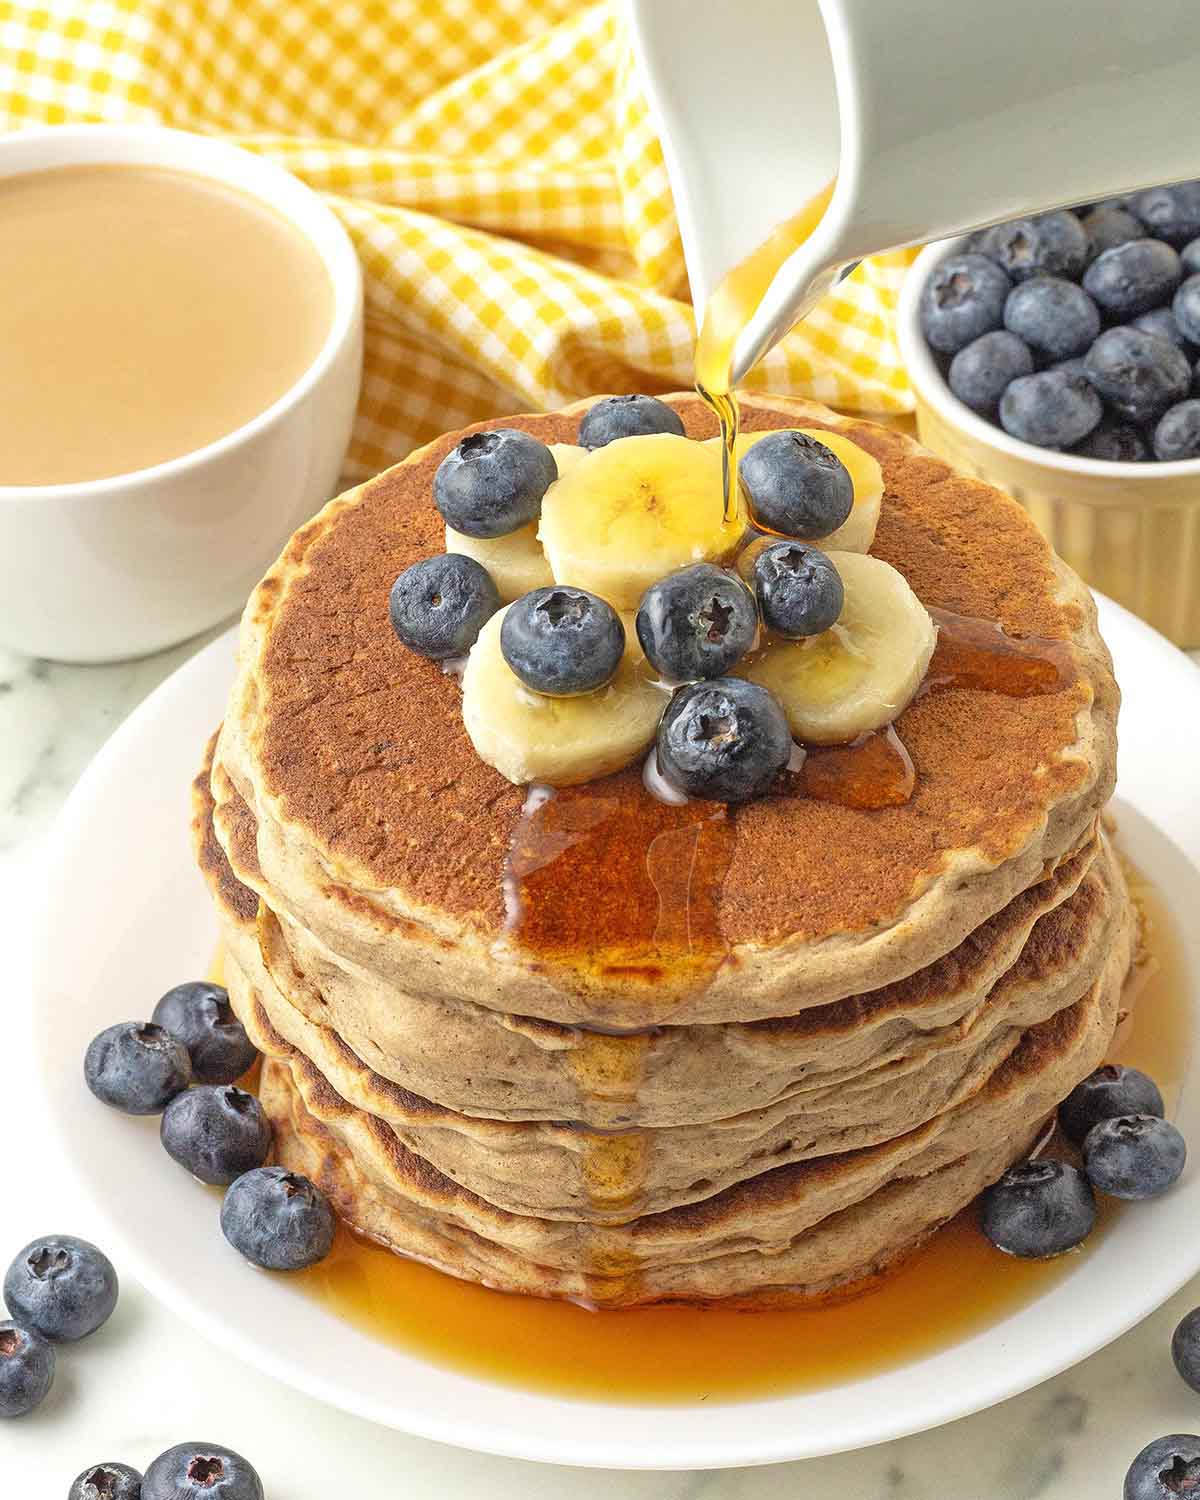
Enjoying your pancakes with just maple syrup is perfectly fine, but if you want to add a little more, top with vegan butter, sliced bananas, fresh berries, a fruit sauce or compote, or even dairy-free whipped cream.
Can The Batter Be Made Ahead?
I often get asked whether the batter for my vegan pancake recipes can be made in advance, refrigerated, and then used later.
The answer is NO because the baking powder and baking soda will lose their effectiveness, and your pancakes will not be fluffy.
What you can do is prepare all of the dry ingredients ahead of time, store them in an airtight container, and then, when ready, prepare the wet ingredients and combine them with the dry ingredients.
A Few Extra Tips...
- Measure and have all your ingredients ready to go before starting. This will make the process run smoothly, quickly, and easily.
- Measure your ingredients correctly. I highly recommend using a scale and my weight measurements (see the "suggested equipment" section in the recipe card). Please read my article about how to measure flour correctly.
- If you'd like to add blueberries, chocolate chips or another add-in, after adding the batter to the pan, sprinkle the add-in on top of each pancake.
- Read this post from top to bottom before you start. I’ve included many tips and tricks to get things right. Also, read through the actual recipe before getting started.
- Follow the recipe exactly as it’s written for the very best results.
After You Make Them...
Please let me know if you make this recipe for vegan banana pancakes, and how things went. I’d love to hear.
If you're on Instagram, you can also post a picture of your pancakes and tag me so I can see them! I’m @delightfuladventures over there.
Thick & Fluffy Vegan Banana Pancakes
Suggested Equipment:
Ingredients:
- 1 ¼ cups + 2 tablespoons (345ml) unsweetened dairy-free milk (see notes below for gluten-free version)
- 1 tablespoon apple cider vinegar (or white vinegar, or lemon juice, see notes below for gluten-free version)
- 2 cups (250g) all-purpose flour (see notes below for gluten-free version)
- 1 tablespoon baking powder
- ½ teaspoon baking soda
- 1 teaspoon ground cinnamon
- ¼ teaspoon ground nutmeg (optional)
- ¼ teaspoon salt
- ½ cup (123g) puréed ripe bananas (roughly 2 small bananas)
- 2 tablespoons oil
- 2 teaspoons vanilla extract
Instructions:
- Pour the dairy-free milk into a measuring cup or bowl.
- Add the vinegar to the milk and stir to combine. Set aside for 10 minutes.
- Whisk flour, baking powder, baking soda, cinnamon, nutmeg (if using), and salt together in a large bowl. Set aside.
- Mix the banana purée, oil, and vanilla extract together in a small bowl until combined. Add to the rested buttermilk and mix well.
- Add the wet ingredients to the dry ingredients, and mix well until there are no dry spots remaining. Don't overmix.
- Heat the pan over medium-high heat for at least 2 minutes before adding the batter. (The heat will need to be adjusted a few times while cooking the batch.)
- Lightly coat the surface of the pan with a small amount of oil.
- Ladle ⅓ cup of the pancake batter into the center of your pan, cooking 1 at a time (more than 1 if you are using a griddle).
- Flip after roughly 1½ minutes, once bubbles have formed across the surface and the edges begin to look dry. Once flipped, cook for another minute and a half, or so.
- Repeat until the batter is done. If the pancakes are browning too quickly, reduce the heat to medium-low.
- Serve with maple syrup or other toppings of your choice. (Suggestions above!)
Recipe Notes:
- Use 2 cups (280g) of this gluten-free flour blend (Amazon link)
- Use ¾ cup + 1 tablespoon of unsweetened dairy-free milk
- Use 1 ½ teaspoons of apple cider vinegar
- If making the gluten-free version, keep in mind that all gluten-free flour blends use different ingredients and ratios, so results will vary by brand. This recipe has only been tested with Bob's Red Mill Gluten-Free All Purpose Baking Flour (red bag, not the blue bag!), so I can't guarantee the same results with other blends. Do not substitute coconut flour or any other single gluten-free flour, as they won't work in this recipe.
- Please read all of the info above and the notes below to ensure your pancakes turn out perfectly.
- I use a ⅓ cup/ladle measure for each pancake, but I make mine on the larger side, so you may get slightly more or fewer pancakes depending on size.
- Store leftovers for up to four days in an airtight container in the refrigerator. To freeze, cool them completely, separate with parchment squares so they don't stick together, and freeze them for up to two months. Reheat in your oven, microwave, air fryer, or toaster oven.
- Nutrition info listed below is for 1 of 8 vegan banana pancakes with the recipe made as written, no toppings. Calorie count for 1 vegan gluten-free pancake is roughly 156 calories. Nutrition info should be used as a rough guide only. Click here for more info on how nutrition info on this website is determined.

khushi says
Just wondering if substituting the all purpose flour for whole wheat pastry flour would also work well for this recipe? Looks great!
Gwen Leron says
Hi Khushi, I have not tried making them with whole wheat pastry flour, so I don't have an answer to your question based on personal experience, however, I do think it would work. The texture may just be a little more dense since whole wheat flour is heavier than white and gluten-free. If you do give it a try, I'd love to hear how things turn out for you!
Nadee says
Thank you so much for this recipe, it’s awesome and so easy to make ☺️
Our son loves them without adding anything to it and he’s asking to make this one again.
I’ve made it with agave Sirup and as milk I used unsweetened cashew milk.
Can I keep the batter for few hours in the fridge? So I can make them fresh later on.
Gwen Leron says
Hi Nadee, I'm very happy to know that you and your son are enjoying the pancakes! My kids love this one, too. I would not recommend making the batter and keeping it in the fridge, that will give you gummy pancakes that aren't fluffy since the baking powder and soda will no longer be active. What you can do to save time is mix the dry ingredients and store it in an airtight container (like a homemade pancake mix) and when you're ready, just mix all the wet ingredients together, add them to the dry ingredients and you'll be ready to go. I hope this helps! Thanks so much for taking the time to leave your comment and rating, I appreciate it!
Ashley says
Do you know if the recipe would still be good without the baking soda?
Gwen @ Delightful Adventures says
Hi Ashley! I haven't made this recipe without the baking soda, so I can't say for sure what the outcome will be like. My guess is that they would be fine, just maybe not as fluffy since the baking soda contributes to the lift they get while cooking. Check out this article that talks about subs for baking soda: https://www.thoughtco.com/substitute-baking-powder-and-baking-soda-607372 I hope this helps and I hope you like the pancakes! 🙂
Emily says
These are delicious!! My kids loved them. I added blueberries for an extra “something” and they turned out amazing. Thank you!
Gwen @ Delightful Adventures says
You're very welcome, Emily! Glad that you like them and that they are kid-approved! (That's always such an important part 🙂 )