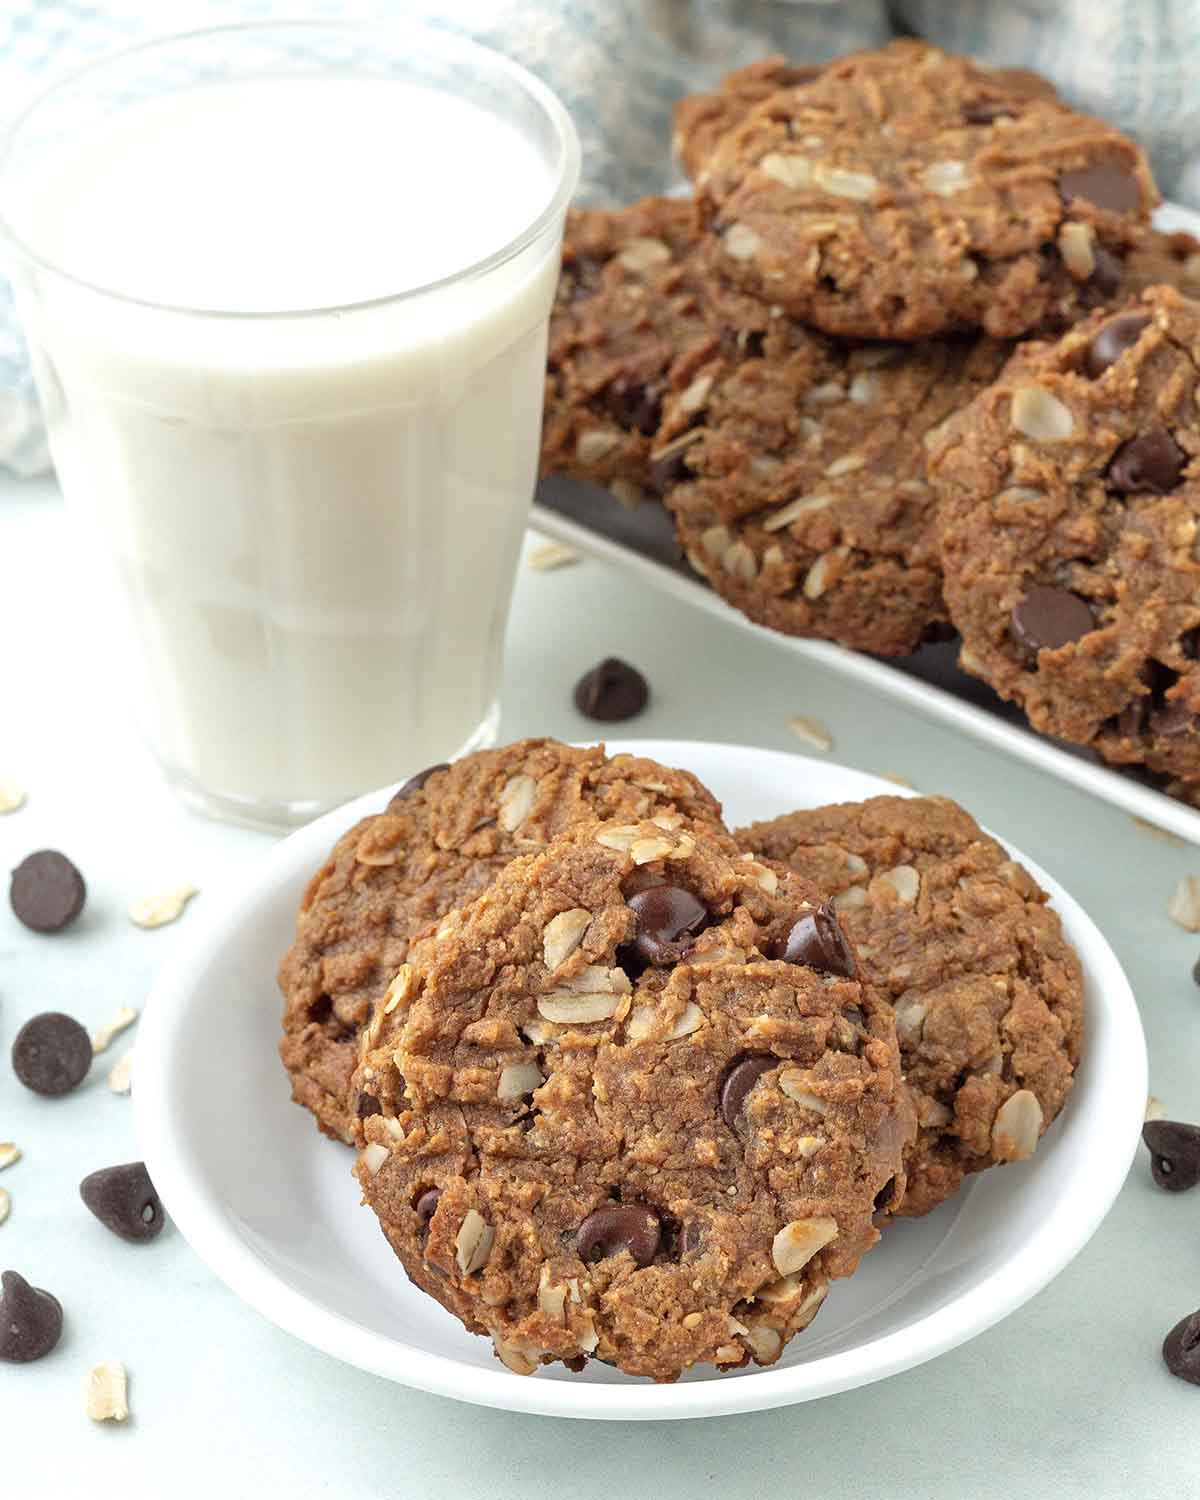
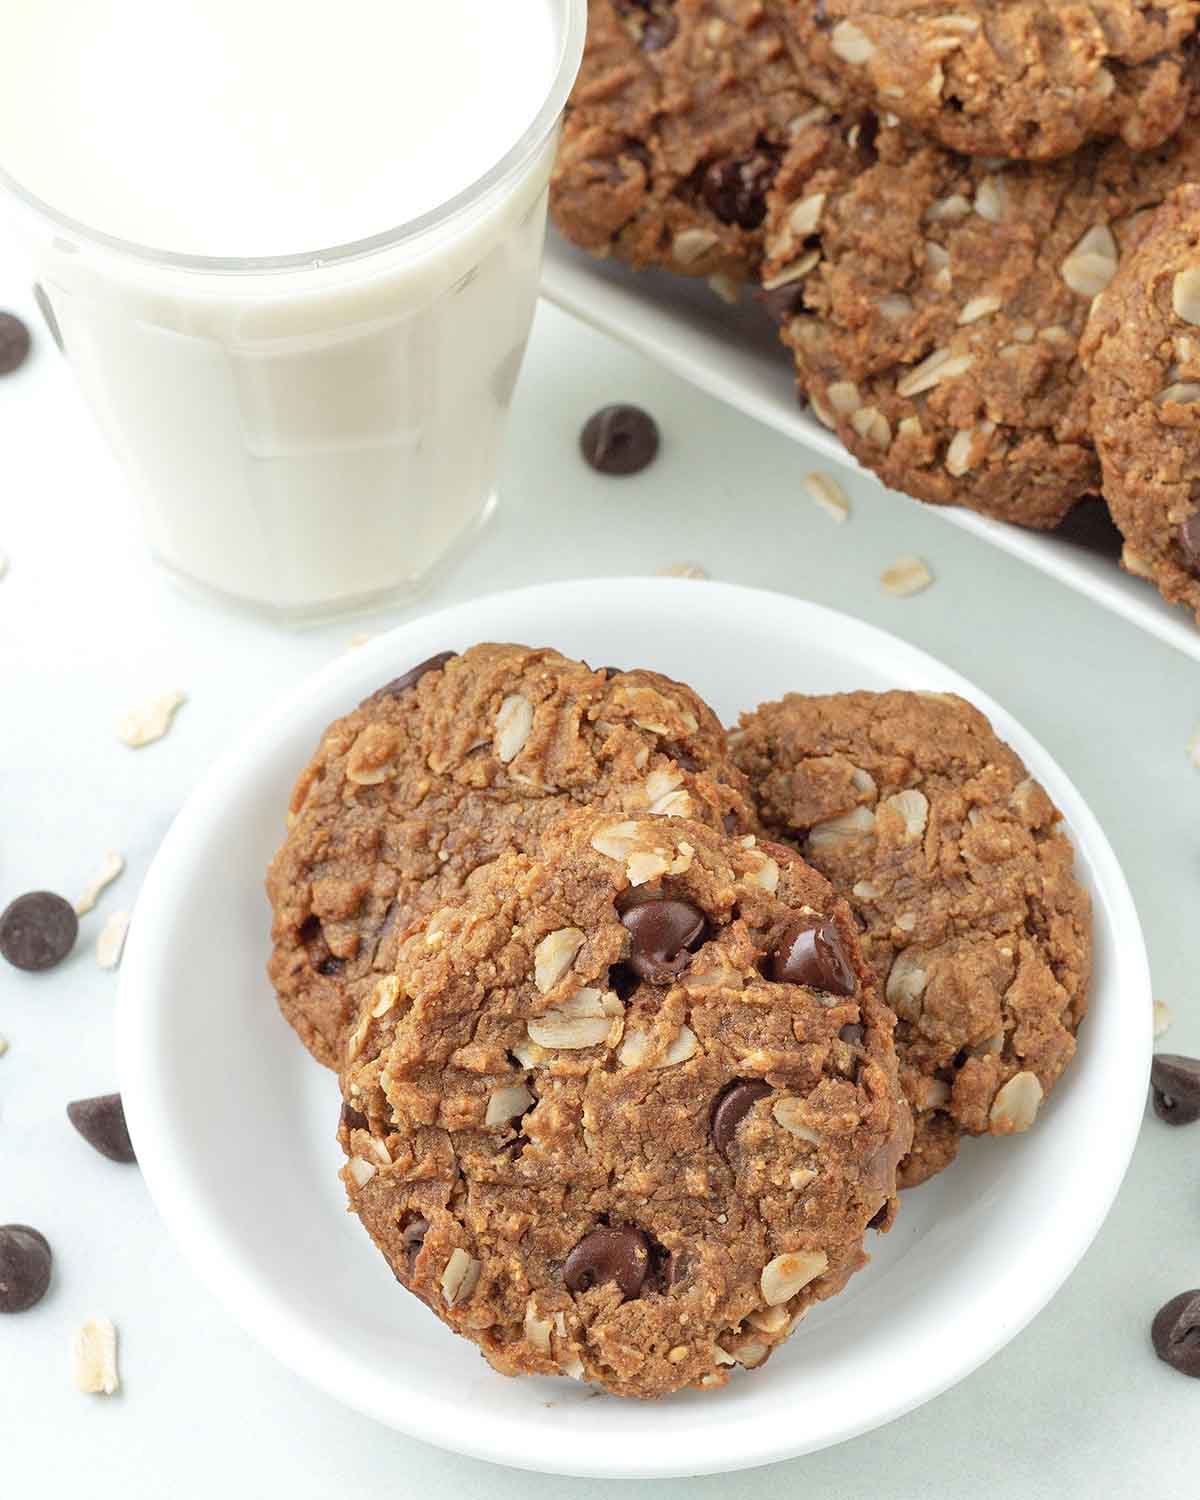
Soft, chewy, irresistible vegan peanut butter oatmeal cookies that call for just a few simple ingredients and 10 minutes of baking time.
They're eggless, dairy-free, and gluten-free (if you use certified gluten-free oats!) and they're VERY easy to make. Pair them with a cold glass of your favourite plant-based milk and you'll have yourself the perfect snack.
Save This Recipe!
In a rush? Don't have time to scroll through this page right now? Enter your email below and this recipe/article will be sent straight to your inbox so you can come back to it when you're ready. Plus, you'll receive delicious recipes every week! You may unsubscribe at any time.
Cookies are no stranger to this website, they're one of my favourite things to make and eat. Photographing them is quite fun, too!
This particular recipe combines a peanut butter cookie, an oatmeal cookie, and a chocolate chip cookie in one. The result is crave-worthy vegan oatmeal peanut butter oatmeal cookies that will have you coming back for more!
If vegan cookies are also a treat you love, then you should try these others as well:
Ingredients You'll Need
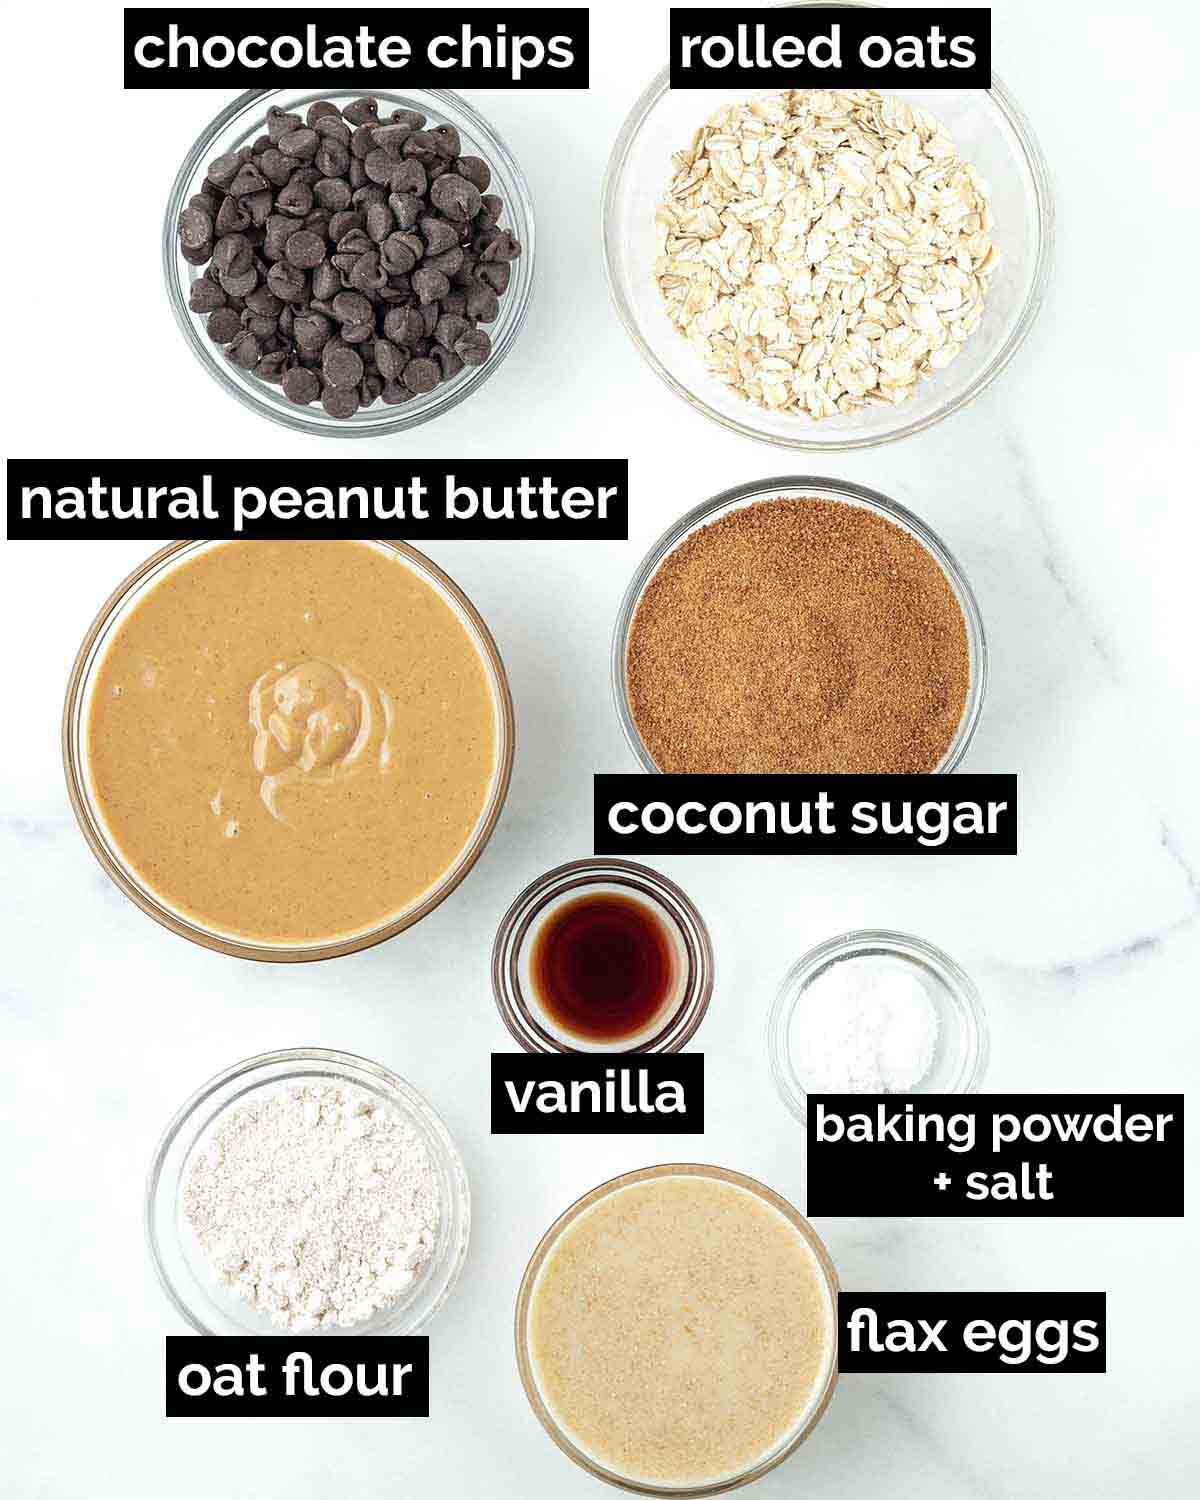
No odd ingredients are needed, you may have all of them sitting in your kitchen right now! I've included info below about the simple ingredients you'll need and substitution info about them.
Ingredient and Substitution Notes
Rolled Oats - Use only old-fashioned rolled oats for this recipe so your result has the correct texture and structure. Quick-cooking / instant oats / quick oats, will not work (they are too soft) and steel-cut oats cannot be used since they are too hard. Use certified gluten-free rolled oats if you need the recipe to be gluten-free.
Oat Flour - You'll need a little oat flour to also help with the texture and structure of the cookies. You can use either store-bought oat flour or homemade oat flour.
If you make the oat flour yourself, make sure to sift it before measuring or weighing it. If it's not sifted, the texture of your cookies will be grainy. Also, make sure to buy certified gluten-free oat flour (or certified gluten-free oats for homemade oat flour) if you need the recipe to be 100% gluten-free. I have not tested this recipe with any other type of flour.
Smooth Natural Peanut Butter - You'll need unsalted natural peanut butter that only has one ingredient: roasted peanuts (no added oil, salt, sugar, or preservatives). It's the type that needs to be stirred to incorporate the naturally separated oil after opening it for the first time, that's runny and pourable at room temperature, and needs to be kept in the fridge (I use Kraft Only Peanuts Unsalted All Natural Smooth Peanut Butter).
Before using it, make sure it has been stirred well and that it’s fresh. I haven't tested this recipe with crunchy natural peanut butter, but it should work.
NOTE: When baking, measuring your flour accurately is so important to get the best results, even when using almond flour. Check out my article about how to measure flour correctly before you start.
Coconut Sugar - The recipe made as written is free from refined sugar since coconut sugar is unrefined. If you don't have any, you can use light brown sugar instead. I have not tried making this recipe with liquid sugar (such as maple syrup or agave), white sugar, or any alternative sweeteners.
Flax Eggs – Since this is a no-egg recipe, the flax egg act as a binder. If you can’t have flax, use ground chia seeds as a replacement.
Vanilla Extract - Vanilla is used to enhance flavour and is an essential ingredient in most cookies.
Baking Powder - This ingredient is needed to help them rise a little and for the texture. It cannot be substituted with baking soda.
Salt - Just a little is needed to balance the flavours!
Chocolate Chips - You'll need vegan semi-sweet chocolate chips or vegan dark chocolate chips (use the type you prefer as long as they're vegan) but if you don't want to use chocolate, you can use a different add-in that you like. See the "Variations" section below for a few suggestions.
Not sure which brands make vegan chocolate chips? Read this article to find an extensive list of choices: "Are Chocolate Chips Vegan."
How to Make Them
(Note: I’ve outlined the step-by-step on how to make this recipe here, but find the full recipe, ingredients, and directions in the recipe card at the end of this post.)
1. Add all of the dry ingredients (except the chocolate chips) to a large bowl, mix, and set aside.
2. Add all of the wet ingredients, including the sugar, to a medium bowl and mix well until everything has fully blended.
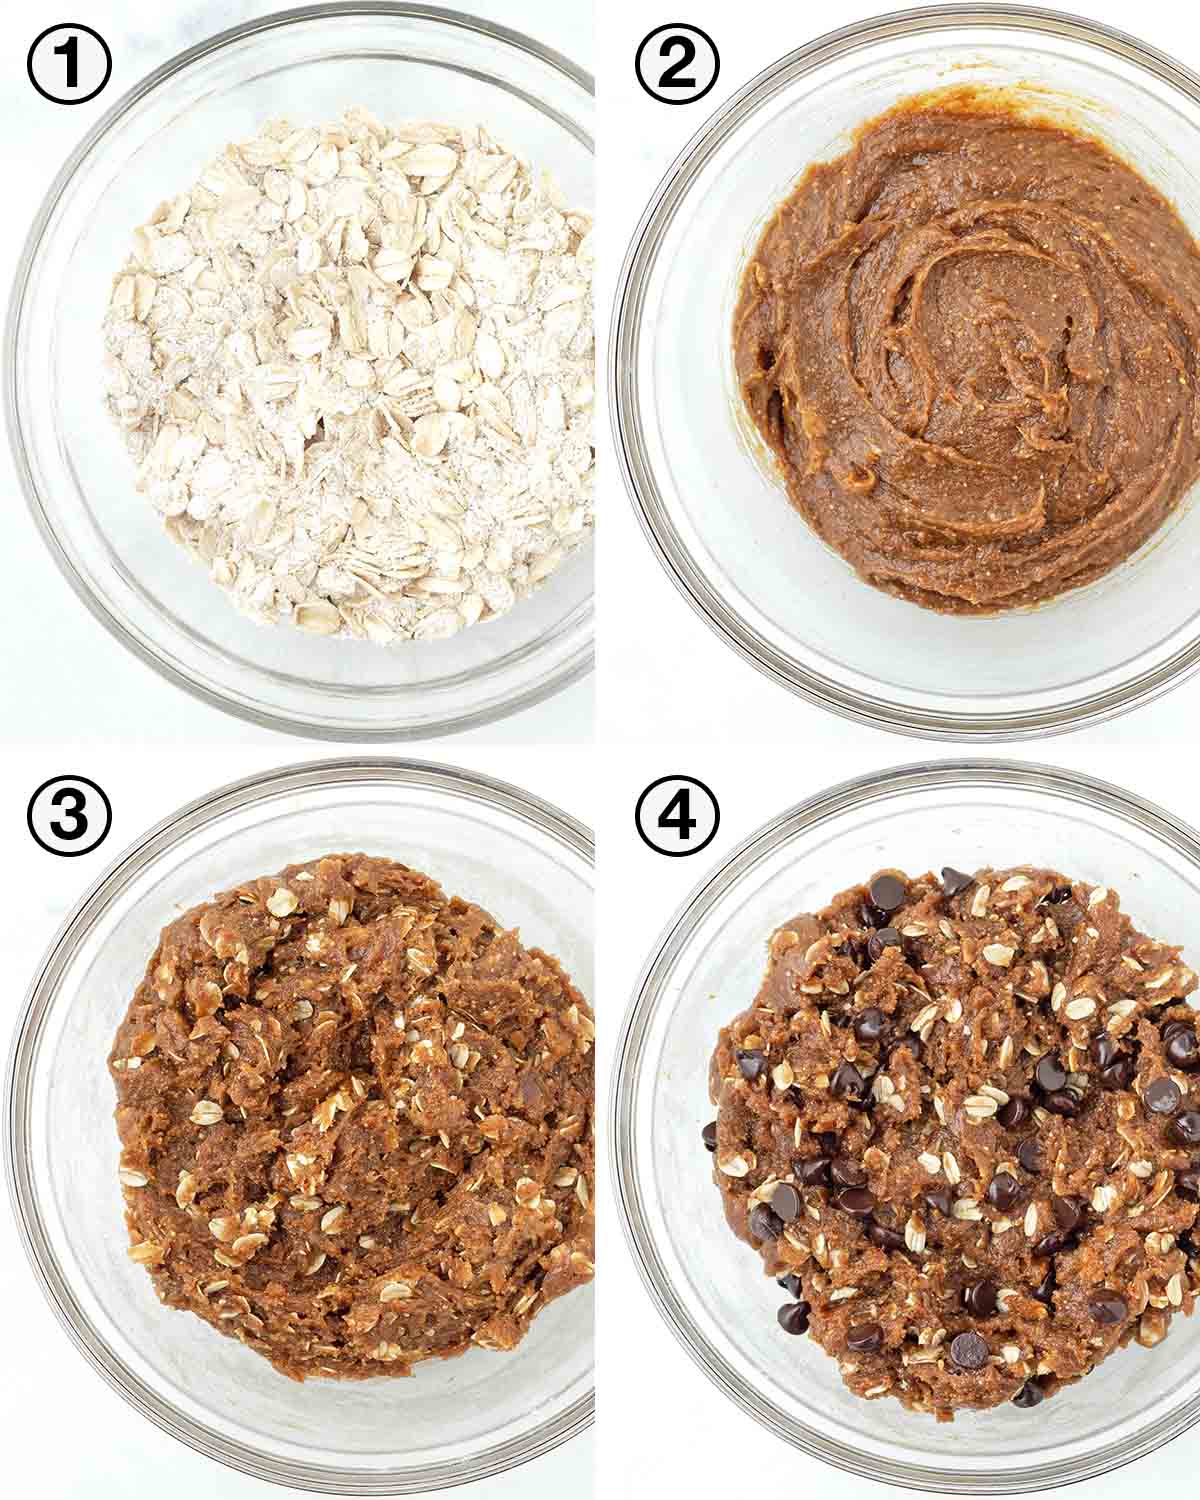
3. Add the dry ingredients to the wet ingredients and mix well.
4. Add the chocolate chips and mix again until they have been incorporated into the cookie dough evenly. The cookie dough will be thick and stiff, that's exactly how it's supposed to be.
5. Using a medium-sized cookie scoop (like I am using in the picture below) or a tablespoon, scoop the cookie dough onto the cookie sheet(s). If you are using a tablespoon, roll the cookie dough into balls before placing them on the cookie sheet.
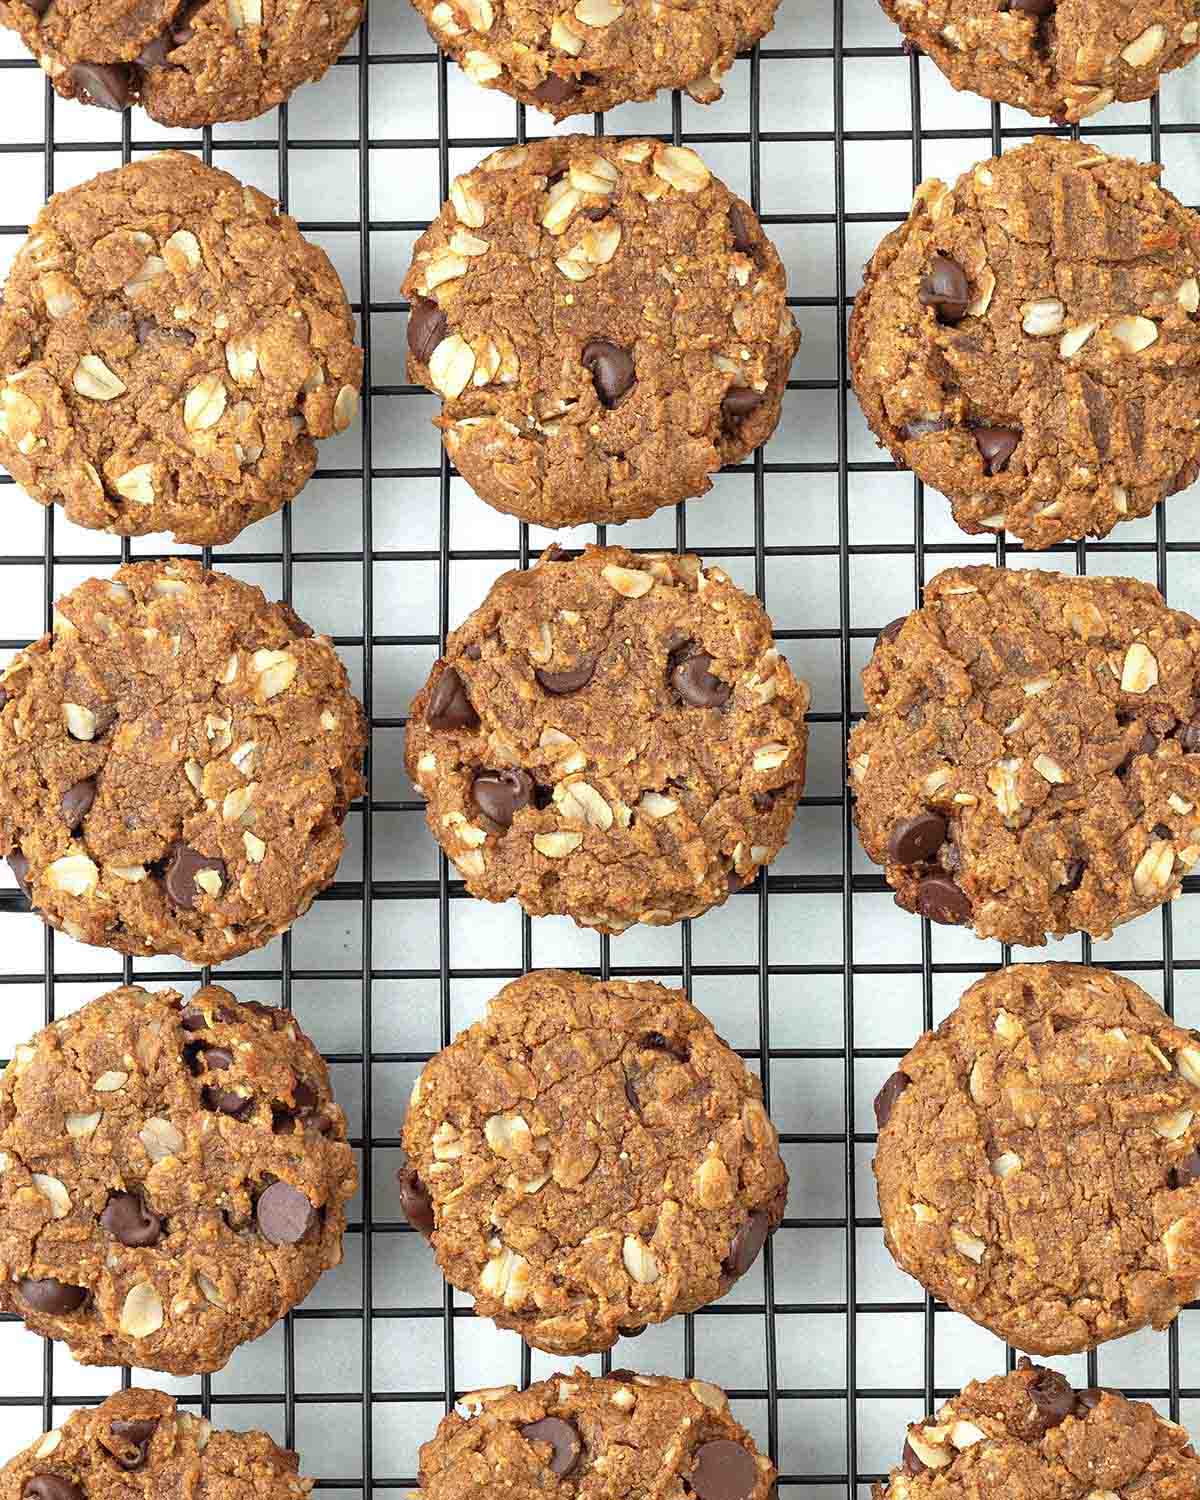
6. Using a long-pronged fork, press the fork into the top of each cookie so they flatten slightly and leave indents (don't press too hard).
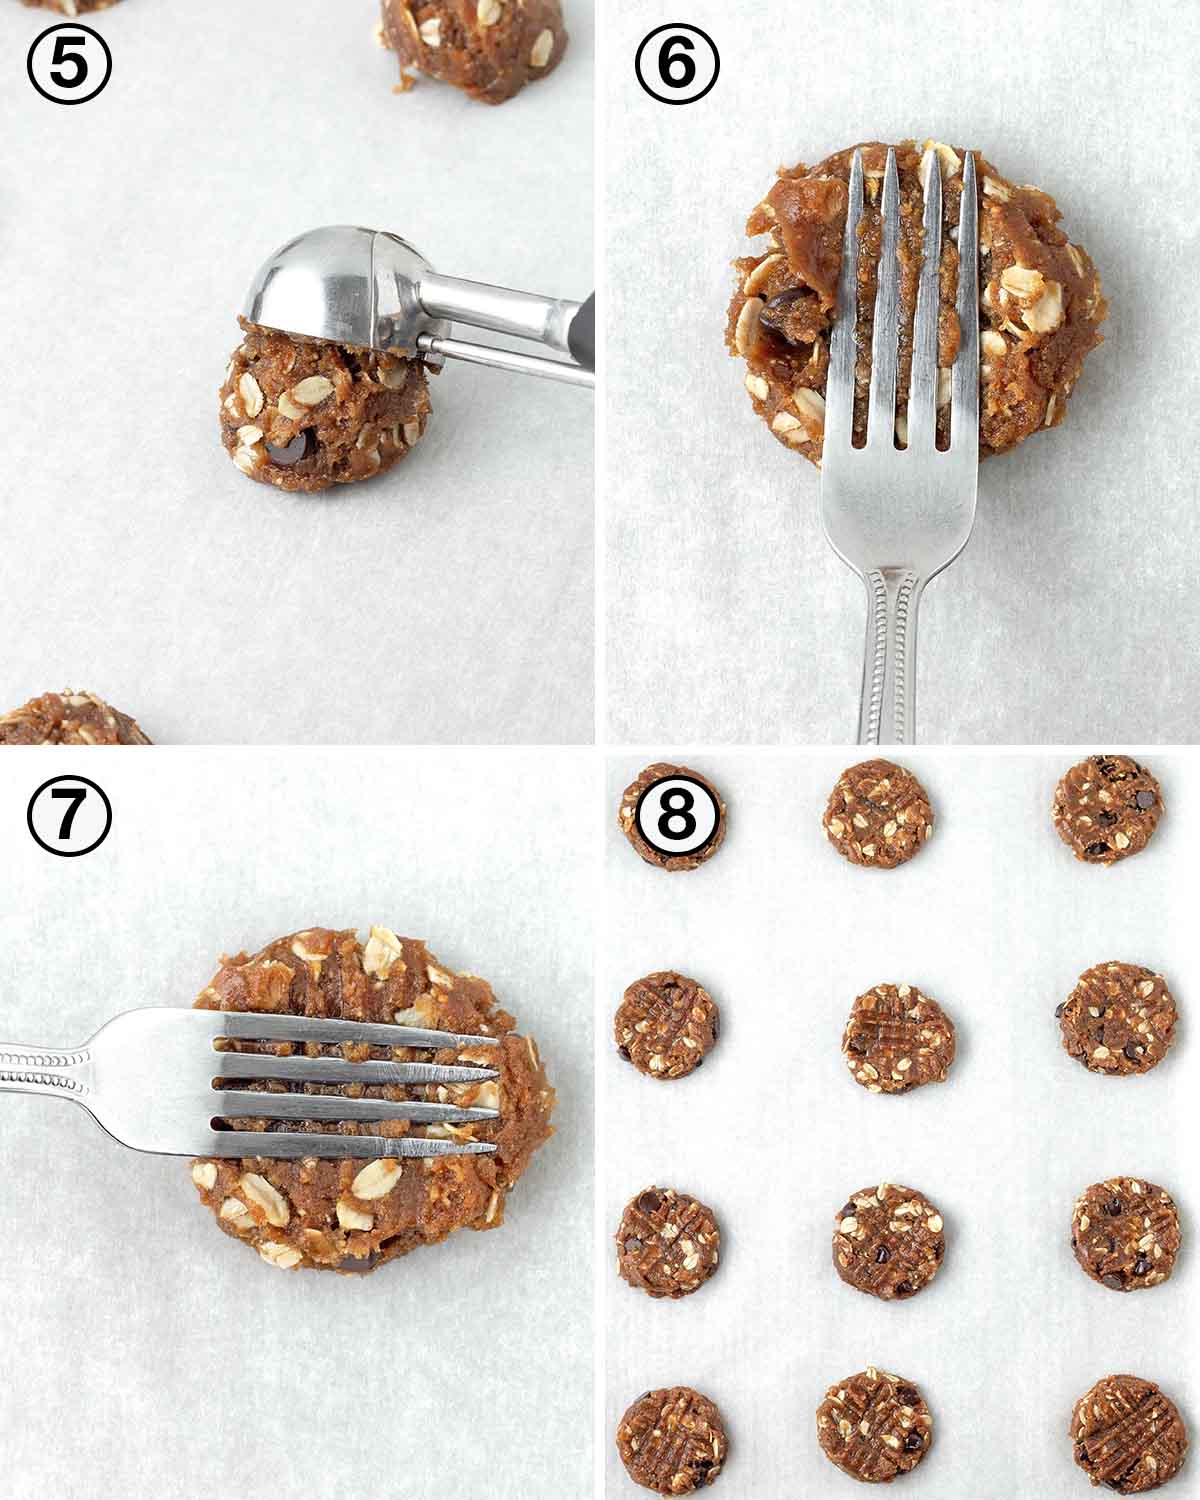
7. Turn the fork and press it into each cookie again, just slightly to create the crisscross pattern. If the fork is sticking to the cookies, dip it in water before pressing it into the top of the cookie.
8. Repeat until all cookies have been flattened and indented.
Bake and when the baking time is complete, remove the cookie sheet from the oven and allow the cookies to sit for at least 10 minutes before transferring them to a wire rack.
When you take them out of the oven, they will be very soft and will break apart if you try to transfer them right away, so don't skip this step! They will firm up while resting on the cookie sheet.
Variations
Although they are delicious as-is, you may want to use some add-ins or change things up a little.
- I love making these cookies with chocolate chips but you can replace them with raisins to make them vegan oatmeal peanut butter raisin cookies.
- Use another dried fruit such as cranberries if you don't like raisins.
- Add a little crunch by mixing in some roughly chopped peanuts to the cookie dough.
- Make them salted peanut butter oatmeal cookies by sprinkling sea salt flakes (such as Maldon brand, don't use regular salt!) on top of each cookie immediately after you remove them from the oven.
- Use smooth natural almond butter instead of peanut butter to make almond flour almond butter cookies instead.
- For a nut-free version, use sunflower seed butter instead of peanut butter.
Making Ahead
To Freeze Unbaked Cookie Dough for Baking Later
You can make the cookie dough ahead and freeze it until you are ready to bake them. To do that, scoop the dough, place the balls of dough on a parchment-lined cookie sheet, create the criss-cross indents, and place the cookie sheet in the freezer.
After the cookie dough balls are frozen, store them in an airtight freezer-safe bag or container. Place parchment paper between each layer of cookies so they don't stick together. They can be stored in the freezer for up to two months.
When you’re ready to bake them, remove them from the freezer, place them on a prepared baking sheet, and bake. You can find more details about this in the recipe notes below.
Want more vegan gluten-free cookie recipes? Then look through this list of delicious vegan gluten-free cookie recipes!
Storing and Freezing
Store fully cooled leftovers in an airtight container at room temperature for up to seven days.
Freezing Baked Cookies
Freeze your cookies in single layers in a freezer bag or airtight container, with parchment paper separating each layer, for up to 2 months.
When you're ready to eat them, thaw them in the refrigerator or at room temperature and then enjoy!
Tips for Success
- Measure your oat flour correctly. Too much will make your cookie dough too dry which will result in crumbly cookies. Please read my article about how to measure flour correctly. This tip also applies to all other ingredients, make sure to measure them accurately to get the best results. I highly recommend using a scale (this is one I have (Amazon Link) and my weight measurements.
- If you are making homemade oat flour, sift it before measuring or weighing it. Homemade oat flour does not get as fine as store-bought oat flour, not sifting will give your cookies an incorrect texture.
- Measure and have all your ingredients ready to go before starting. This will make the process run smoothly, quickly, and easily. Make sure all of your ingredients are at room temperature.
- Be sure to use natural, runny peanut butter. It should have just one ingredient: roasted peanuts! Nothing else.
- Make sure your peanut butter has been stirred well so there is no more oil floating at the top of the jar. Also make sure that you're not using any of the grainy, dry, hard parts that are sometimes found at the bottom of the jar if it wasn't stirred well.
- Use a cookie scoop to scoop the cookie dough. This will result in uniform-sized cookies so they all bake evenly. Using a scoop also makes this step quicker and easier.
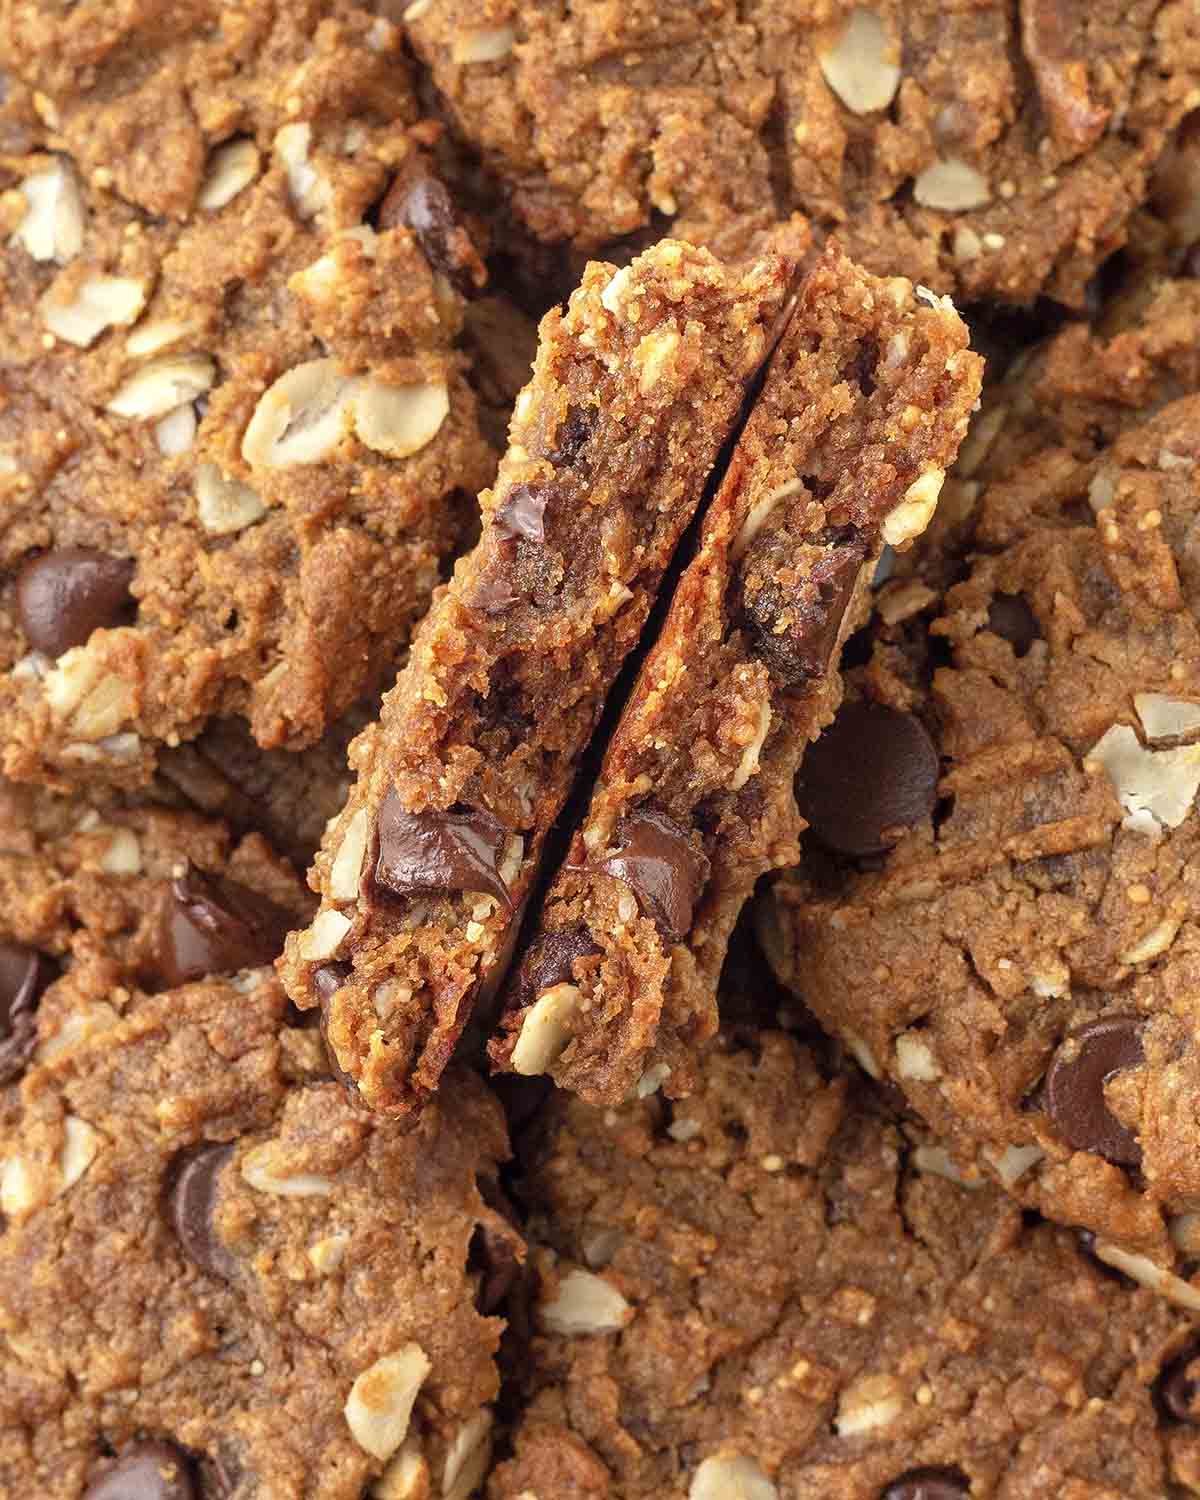
- Don't skip the resting time after you've removed them from the oven. You must wait for at least 10 minutes before transferring them to a cooling rack. These cookies are very soft and fragile right after baking, so resist the urge to grab and devour one right away or it will fall apart. They will firm up as they cool.
- Read this post from top to bottom before you start. I’ve included a lot of tips and tricks so you get things right. Also, read through the actual recipe before getting started.
- Follow the recipe exactly as it’s written for the very best results.
Are you new to vegan gluten-free baking? If so, be sure to read all of my vegan gluten-free baking tips!
Recipe FAQ
Some cookies made with peanut butter cookies are denser than other cookies, so flattening them with a fork and creating the crisscross pattern found on classic peanut butter cookies helps them to bake evenly so they end up with a great texture, inside and out.
Oats are naturally gluten-free, but during processing and even while growing in the fields, they can become cross-contaminated with gluten. To make sure the oat flour and oats you are buying are gluten-free, look for certification on the package.
If You Make This Recipe...
Let me know how your vegan oat peanut butter cookies turned out by leaving a rating and comment below or post a picture of your cookies on Instagram and tag me (@delightfuladventures) so I can see them!
And If You Like This Recipe...
You may like these other vegan peanut butter recipes and vegan oat recipes:
Vegan Peanut Butter Oatmeal Cookies
Suggested Equipment:
Ingredients:
- 2 tablespoons ground flax seeds
- 6 tablespoons water
- ½ cup (50g) rolled oats
- ¼ cup (22g) oat flour
- 1 teaspoon baking powder
- ¼ teaspoon salt
- 1 cup (250g) natural, smooth peanut butter (see note below)
- ¾ cup (114g) coconut sugar
- 1 teaspoon vanilla extract
- ⅔ cup (120g) chocolate chips
Instructions:
- Preheat oven to 350°F (177°C).
- Line cookie sheet(s) with parchment paper (if needed), and set aside.
- Prepare your flax eggs by whisking together ground flax seeds and water. Set aside to thicken.
- In a small bowl, whisk the rolled oats, oat flour, baking powder, and salt together. Set aside.
- In a large bowl, add the peanut butter, coconut sugar, vanilla extract, and flax eggs. Stir to combine.
- Add the dry ingredients to the wet ingredients and stir until combined.
- Add chocolate chips and stir until they have combined evenly with the dough.
- Using a medium-sized cookie scoop or a tablespoon, scoop the cookie dough onto the baking sheet(s). If you are using a tablespoon, roll the cookie dough into balls before placing them on the cookie sheet.
- Using a long-pronged fork, press the fork into the top of each cookie so it flattens them slightly (don't press too hard) and leaves indents, then turn the fork and press again, just slightly, to create the criss-cross pattern.
- Bake for 10 minutes, don't overbake!
- Remove from the oven and leave the cookies on the cookie sheet to cool for about 10 minutes. After the resting time has passed, using a spatula, carefully transfer each cookie to a cooling rack.
Recipe Notes:
- Please read all of the helpful tips and info above before making this recipe to make sure your cookies turn out perfectly.
- This recipe will make 20 cookies if you use a medium-sized cookie scoop, (medium scoops are usually 1.5 tablespoons), if you use a tablespoon to scoop the dough, you will end up with more than 20 smaller cookies.
- I have only made this recipe with natural peanut butter, the type that only has ONE ingredient: roasted peanuts. This is the peanut butter you have to stir to combine the oil with the peanut butter and it contains no extras on the ingredient list such as added oil, salt, sugar, or preservatives (or anything else!). If you use a different type of peanut butter, your results may be different than mine.
- Make sure your peanut butter is stirred well before measuring it.
- If you make your oat flour, be sure to sift it before using it for this recipe so none of the harder bits remain. Measure the correct amount needed for the recipe using the sifted oat flour. The oat flour needs to be fine for this recipe or the cookies will be too crumbly. If you prefer to buy it, I recommend this oat flour.
- This recipe will NOT work with coconut flour.
- Light brown sugar can be used if you don't have coconut sugar.
- When making the criss-cross pattern, if the fork is sticking to the cookies, dip it in water occasionally.
- Be sure to not over-bake your cookies, keep a close eye on them because the bottoms can burn very quickly.
- The cookies will be very soft when they come out of the oven but they will firm up as they cool. Be sure to leave them to cool on the cookie sheet for at least 10 minutes before transferring them to your cooling rack. If you remove them too quickly, they will fall apart. They will firm up as they cool.
- Store fully cooled leftovers in an airtight container at room temperature for up to 7 days.
- Freezing baked cookies: Freeze your cookies in single layers in a freezer bag or airtight container, with parchment paper separating each layer, for up to 2 months. When you're ready for them, thaw them in the refrigerator or at room temperature.
- Freezing unbaked cookies: Follow steps 2-9 in the recipe, then place the cookie sheet in the freezer. Once completely frozen, place the cookies in an airtight, freezer-safe bag or container, with parchment paper separating each layer, and freeze for up to 2 months. When you’re ready to bake them, remove them from the freezer, place them on a prepared baking sheet, and bake for 12 minutes (no need to thaw them but if you do thaw them, just bake for 10 minutes).
- The nutrition info listed below is based on one of 20 cookies and the recipe was made as written. Nutrition info is only to be used as a rough guide. Click to learn how nutrition info is calculated on this website.
Nutrition Info:
This post was updated in May 2023 to provide step-by-step images and more helpful info.




Jessi says
Hi! Could I use eggs instead of the flax eggs mix?
Gwen Leron says
Hi Jessi! I haven't ever made them with eggs, so I can't say how they would turn out, but technically, yes, you can replace the flax eggs with eggs.
Grace says
These cookies are delicious. I replaced the peanut butter and coconut sugar with almond butter and brown sugar. They came out chewy with just the right amount of crisp. Love this recipe 💗
Gwen Leron says
Hi Grace! I'm glad you like the recipe and that it turned out well with your substitutions! Thanks for taking the time to leave your comment and rating, I appreciate it very much 🙂
Kathy Sanchez says
These came out great. I used the natural grind on the spot at Whole Foods peanuts for the peanut butter. They are really tasty and healthy! Thank you for the recipe!
Gwen Leron says
Hi Kathy! I am so happy to hear that you like the cookies! And yes! The natural grind on the spot peanut butter is perfect for this recipe Thanks so much for your note 🙂
Susan says
Hi there
These were delicious. They just didn’t firm up very well. I used PB Fit and made it a bit runny, could it be that type of peanut butter?
Thank you
Gwen says
Hi Susan! I'm glad you found them delicious! Yes, I think the reason they did not firm up is because you used PB Fit (which is a peanut butter powder, right?) Even if you add liquid to make it runny, it still would not have the same consistency or makeup as jarred, natural peanut butter. If you try the recipe again, try using natural peanut butter for the best results 🙂 Let me know how it goes!