
This page may contain affiliate links. Click to learn more. As an Amazon Associate I earn from qualifying purchases.
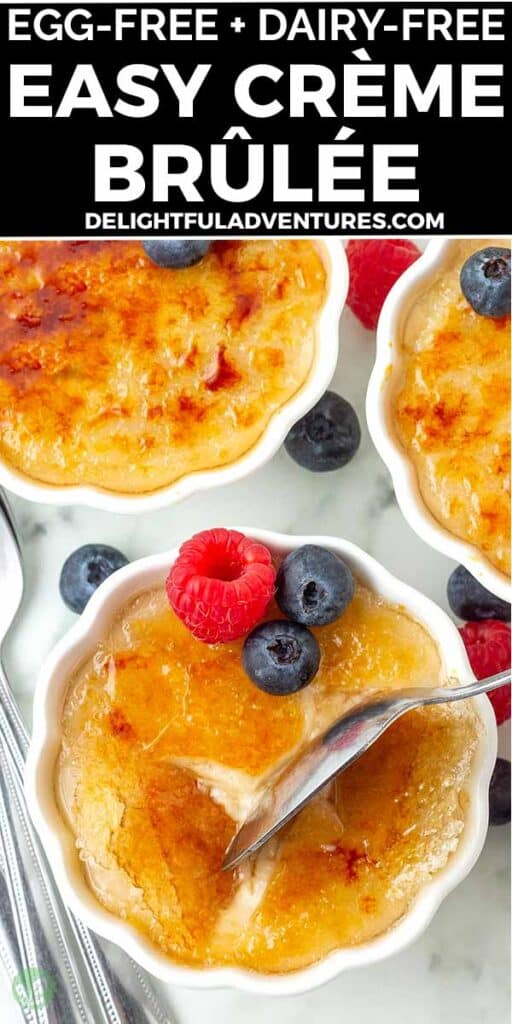
A divine French classic made vegan! My recipe for rich, creamy no-bake vegan
crème brûlée is a decadent plant-based treat that calls for just six ingredients,
including vegan heavy cream. It’s also gluten-free, dairy-free, and egg-free!
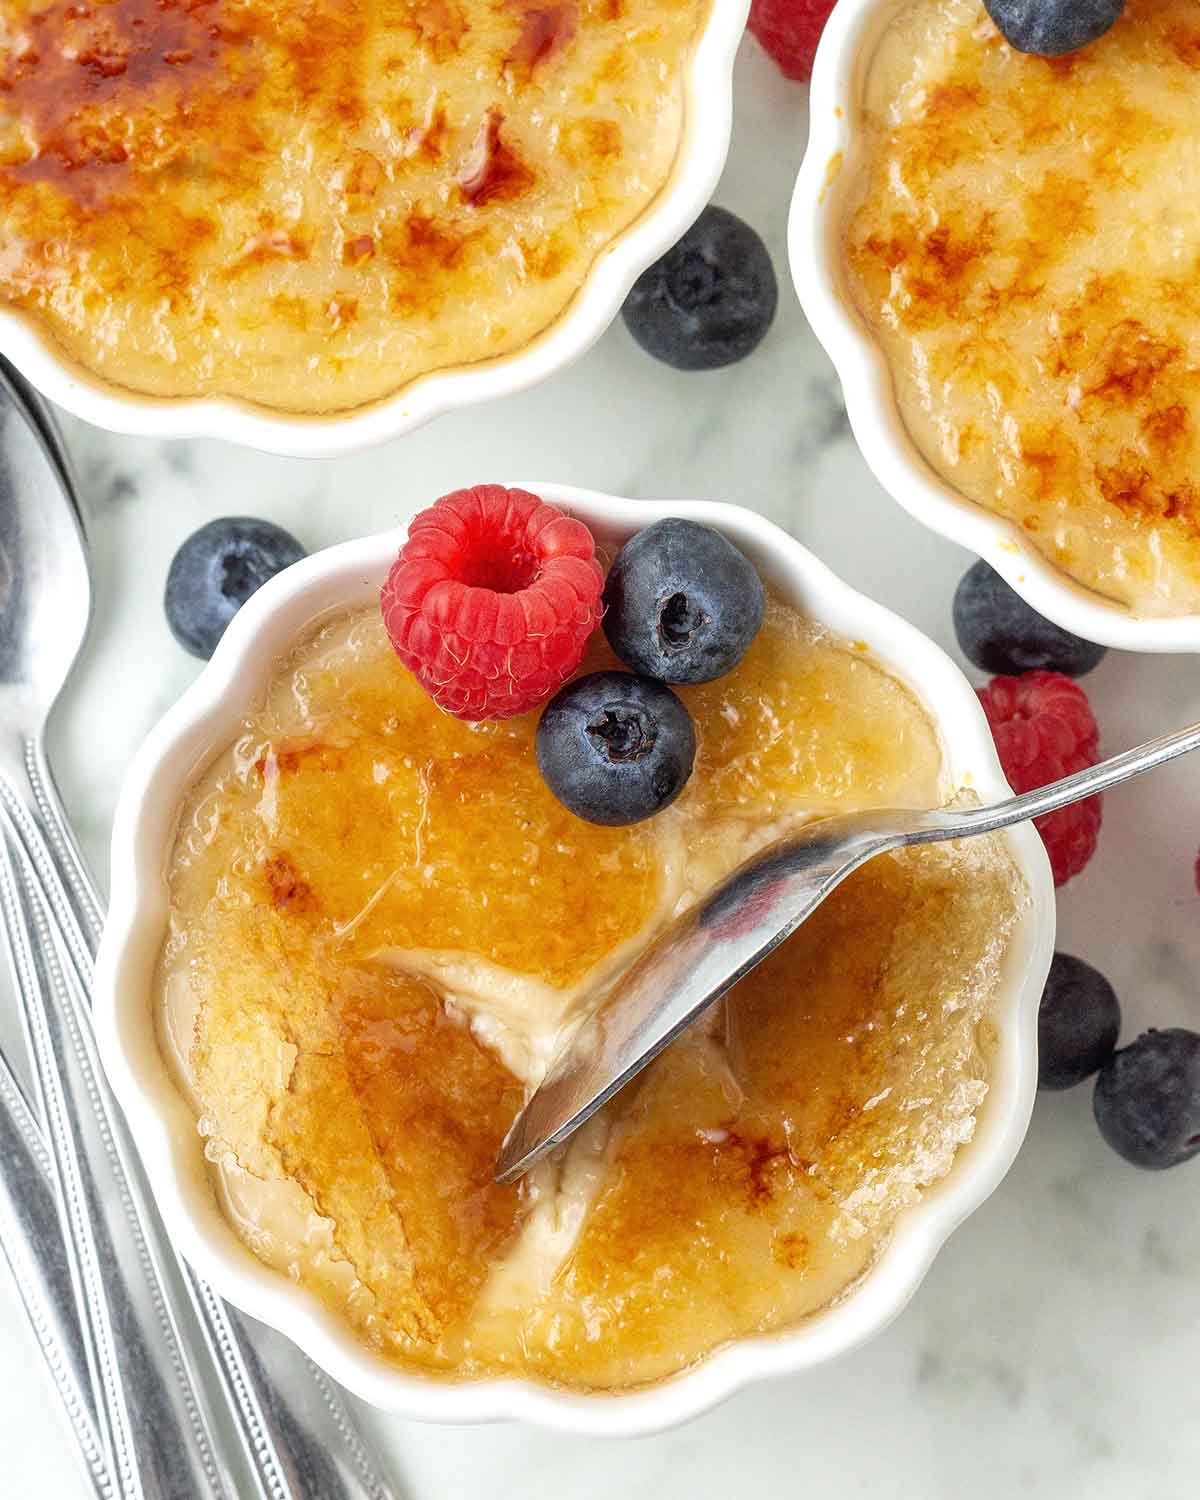
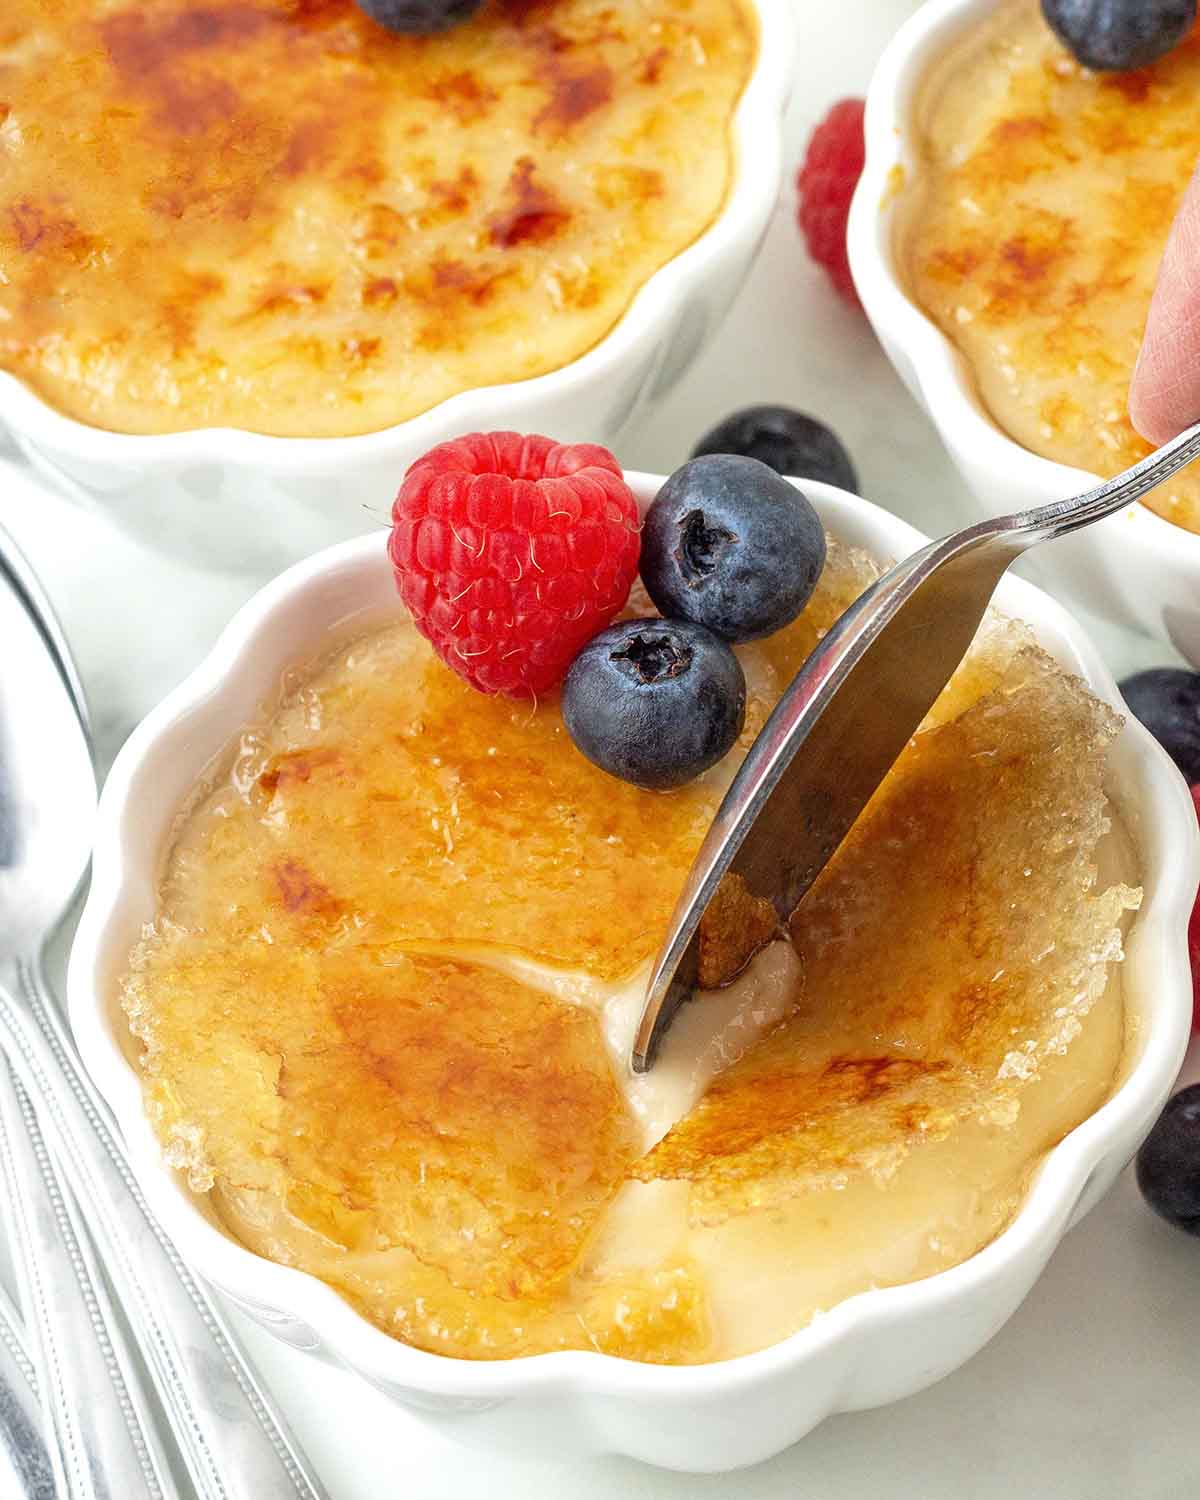
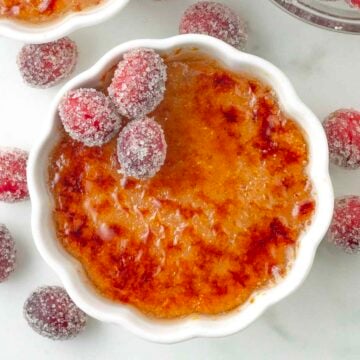
Just like the classic, this one has golden-brown caramelized sugar on top that you’ll love cracking into to reveal the rich vanilla custard beneath.
Save This Recipe!
In a hurry? Drop your email below, and this recipe will be sent straight to your inbox for later. You'll also get fresh recipes every week! You can unsubscribe anytime.
If you thought this classic dessert couldn't be made without eggs or dairy, you're in for a surprise because YES, you really can make vegan crème brûlée!
The best part? This dessert looks much more complicated than it actually is. I'll walk you through the steps so you can make that smooth, creamy custard and crisp caramelized sugar topping at home. It's so good, you'll want to add it to your list of homemade vegan desserts you’ll want to make again and again!
Whether you're making it for a holiday, a dinner party, or just because you've been craving crème brûlée, this is one of those desserts that feels fancy but doesn't need a special occasion. (And if you're making it in the fall, be sure to check out my vegan pumpkin crème brûlée, too!)
The Six Ingredients You'll Need
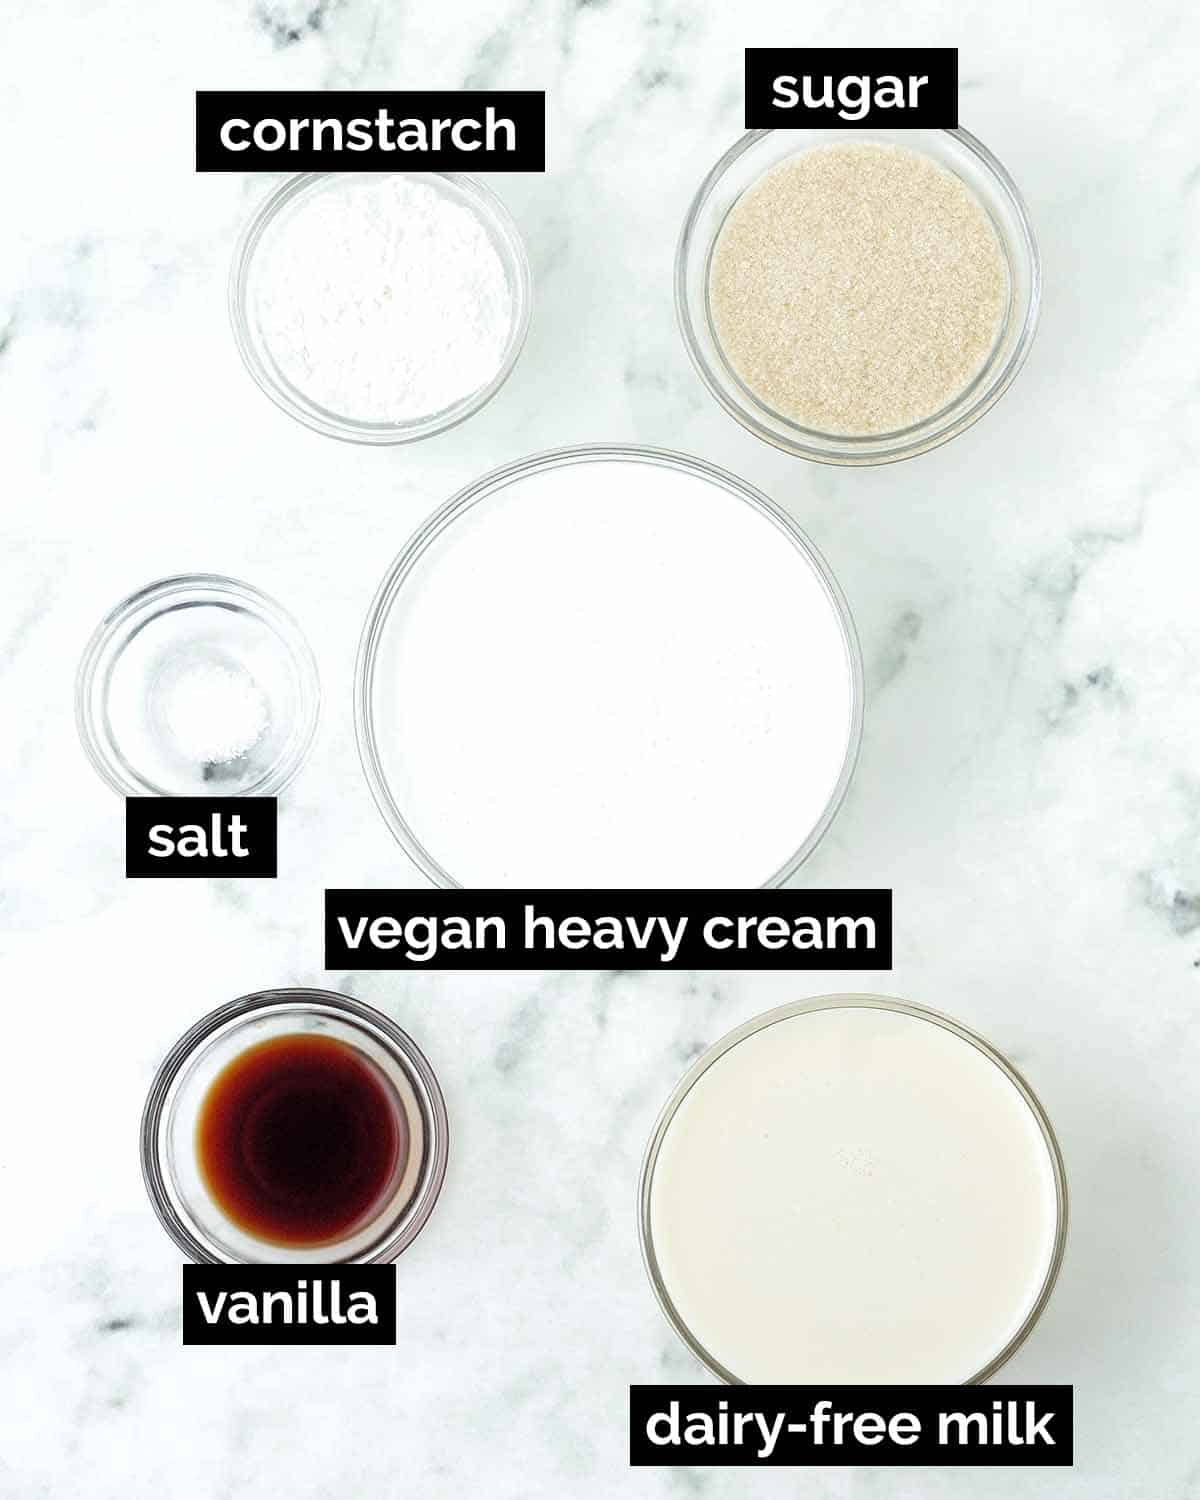
Ingredient and Swap Info
(NOTE: Only ingredients with special notes are listed below. The full ingredient list can be found in the recipe card.)
Unsweetened Vegan Heavy Cream or Vegan Whipping Cream - I developed this recipe with vegan heavy cream (or sometimes called vegan whipping cream, NOT whipped cream), which is the vegan alternative to heavy cream. Silk, Country Crock, Califia Farms, and Violife are just a few brands that make it.
Although I prefer making this vegan crème brûlée with vegan heavy cream, if you can't find it, I also tested versions using canned full-fat coconut milk and canned lite coconut milk instead of the heavy cream, and they were also great. But note that this gives the crème brûlée a coconut flavour.
Dairy-Free Milk - A mix of thicker vegan cream and thinner plant milk is used to create the perfect velvety custard texture. Any plant milk will work (almond milk, oat milk, soy milk, etc.), just make sure it's unsweetened and unflavoured.
Cornstarch - This is the ingredient that thickens the custard, without it, your dessert will be too thin, so it cannot be left out. If you want to make your vegan crème brûlée without cornstarch, arrowroot starch (also referred to as arrowroot flour or arrowroot powder) can be used instead.
Vegan Butter (Optional!) - Whisking in a little vegan butter at the end of the cooking time will result in a creamier custard. This is an optional ingredient, so it can be omitted and the result will still be perfect.
The Step-By-Step
(Note: I’ve outlined how to make this recipe here, but find the full recipe, ingredients, and directions in the recipe card at the end of this post.)
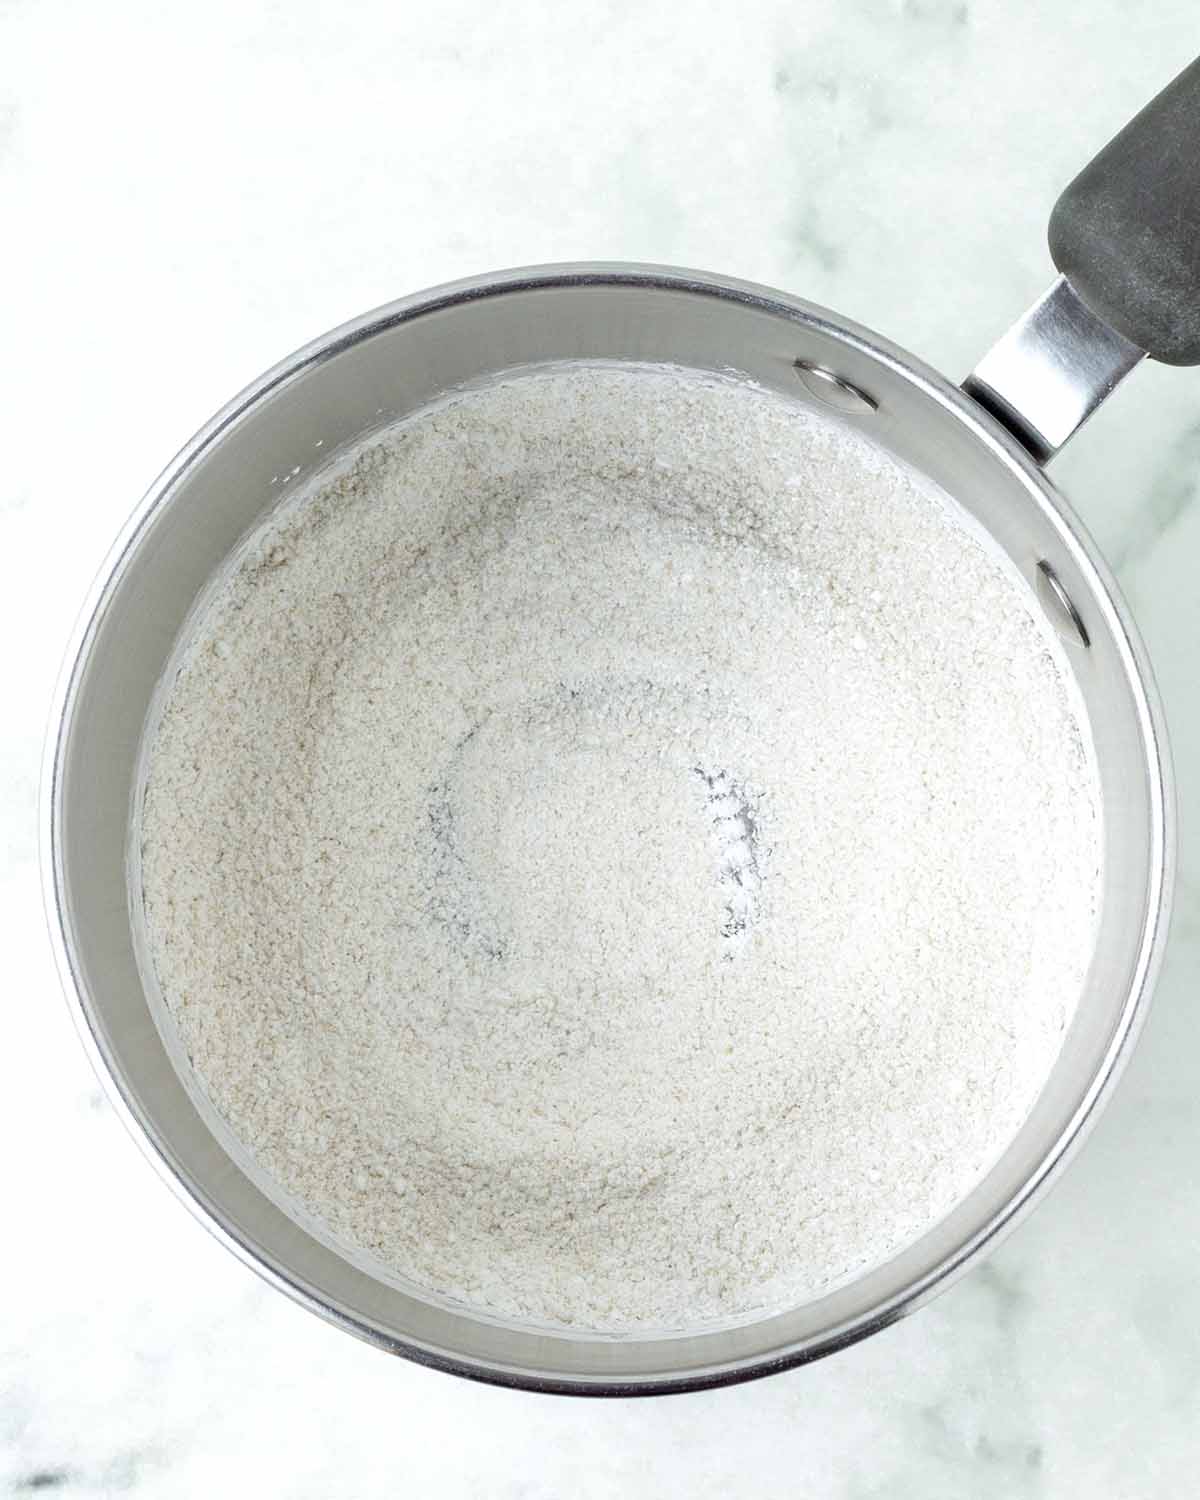
Add the dry ingredients to a medium saucepan and whisk them together, making sure there are no lumps.
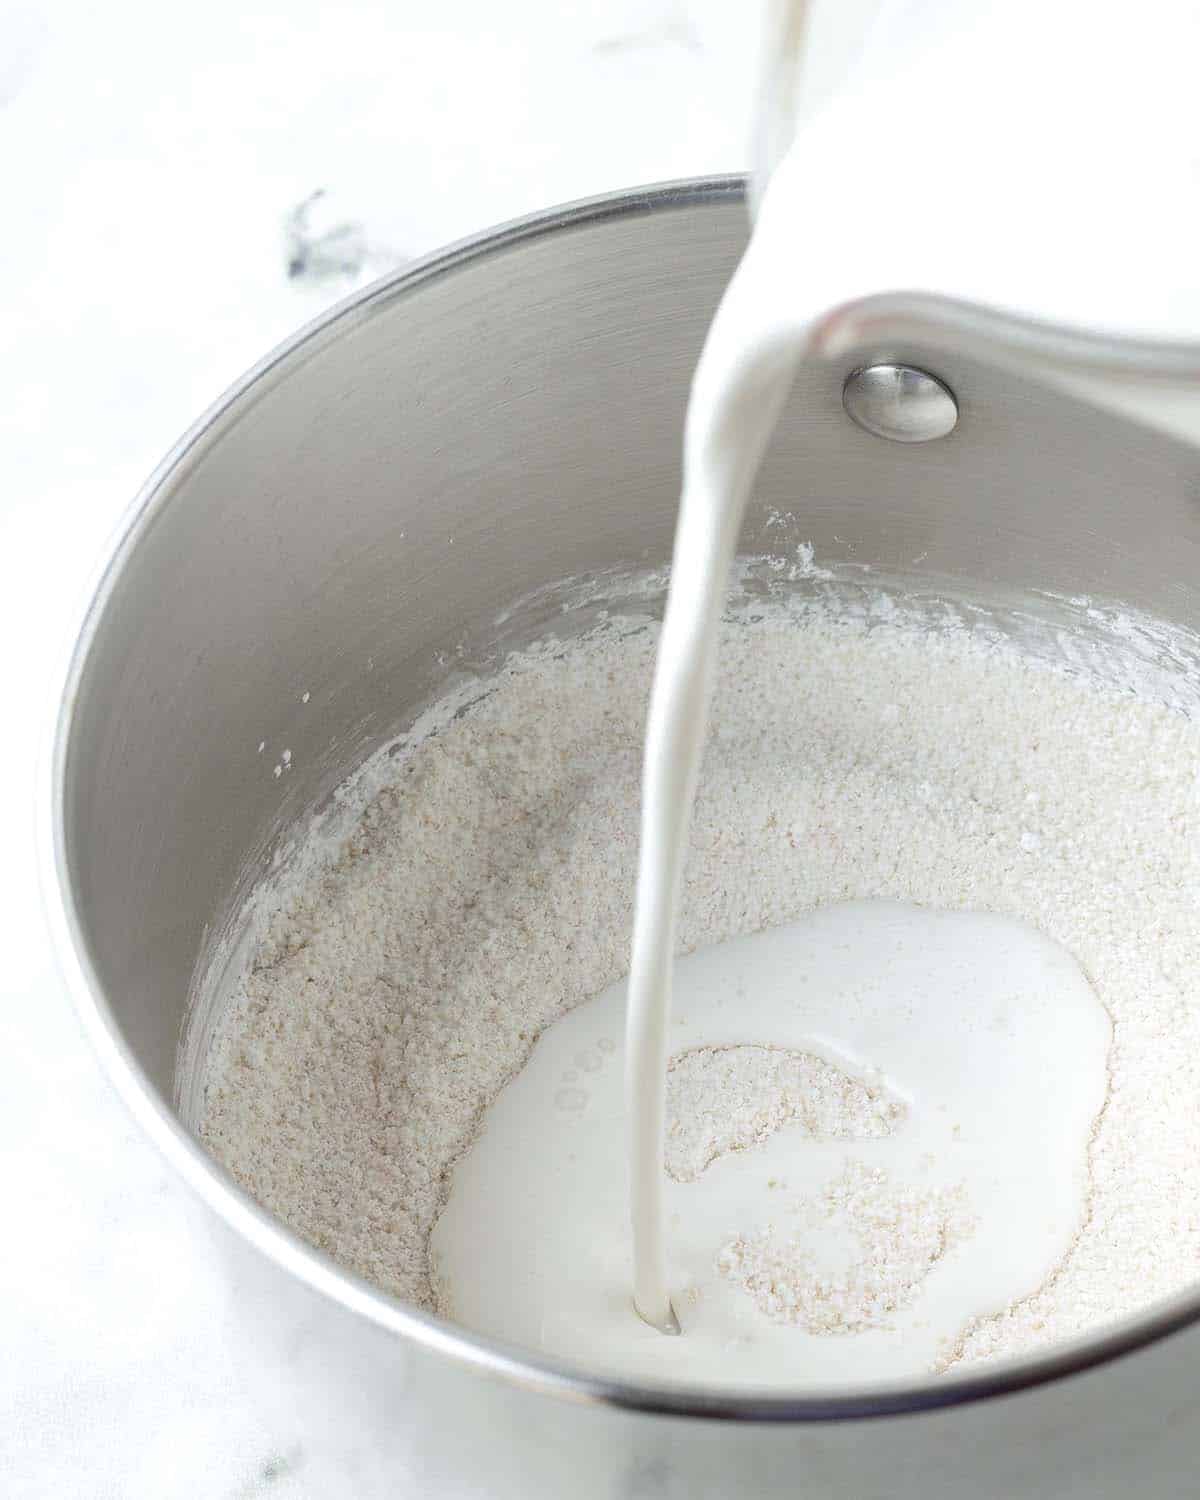
Slowly add the dairy-free heavy cream and the dairy-free milk.
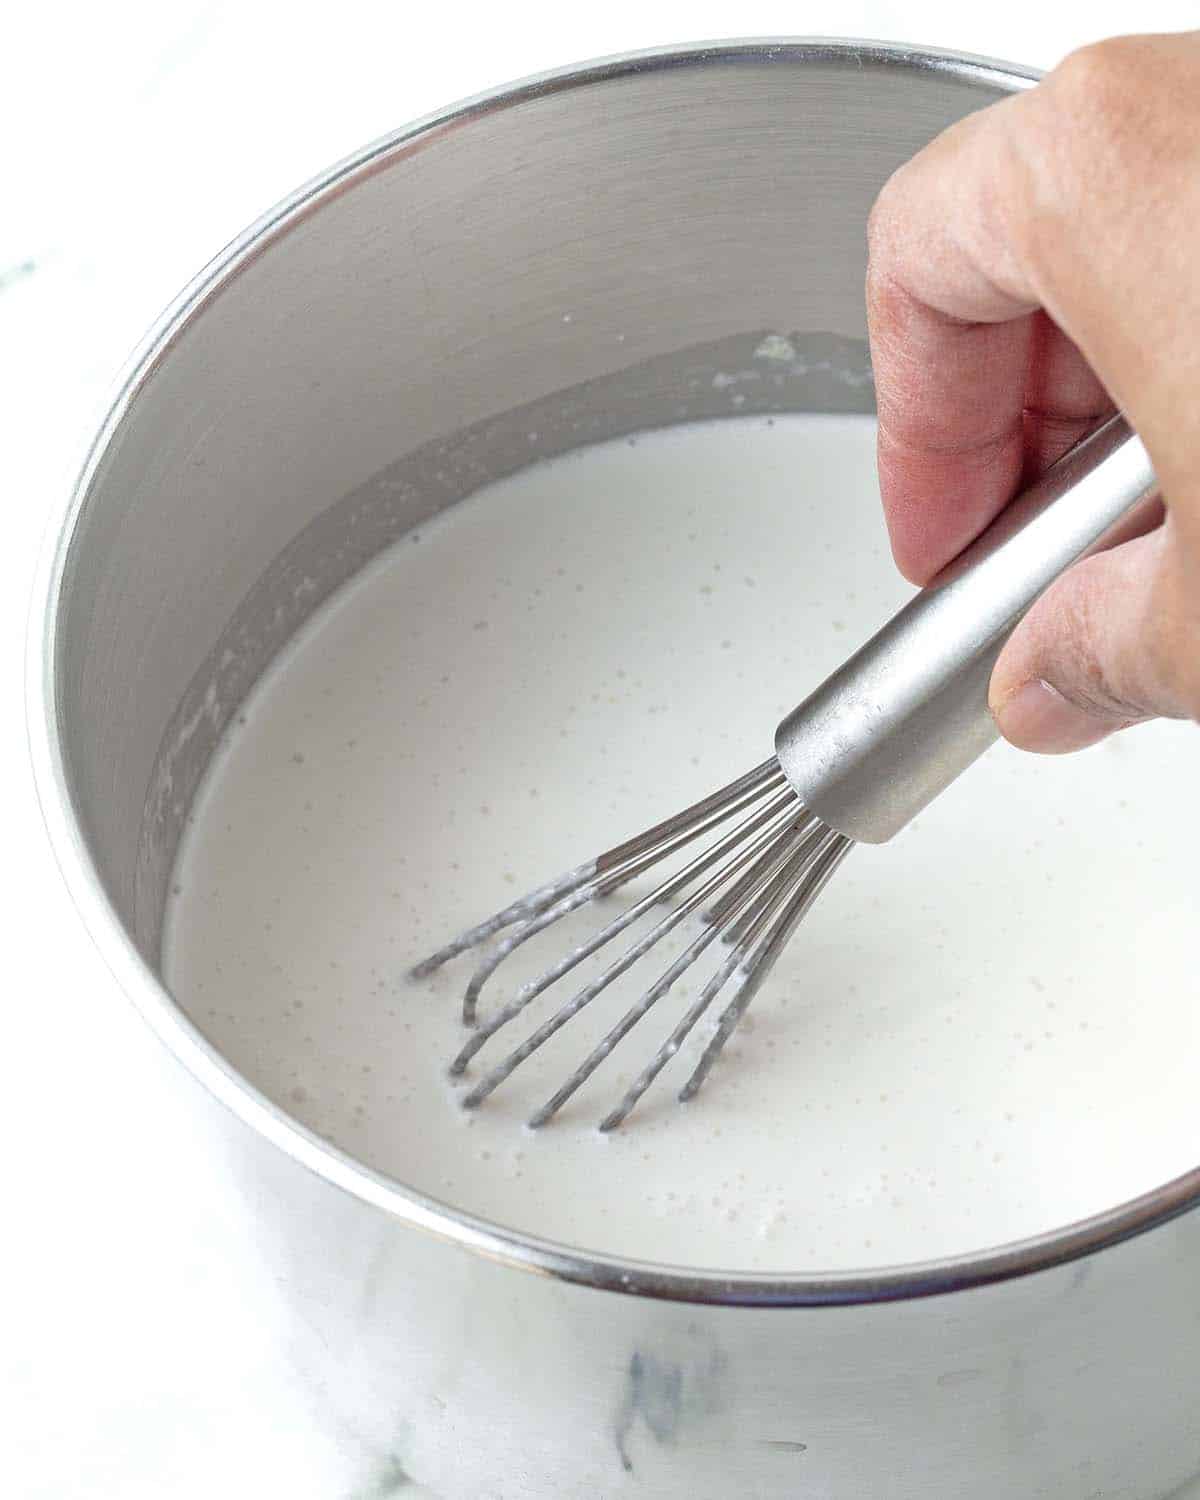
Whisk everything together. Use a spoon to scrape around the corners of the pot to make sure no dry spots remain.
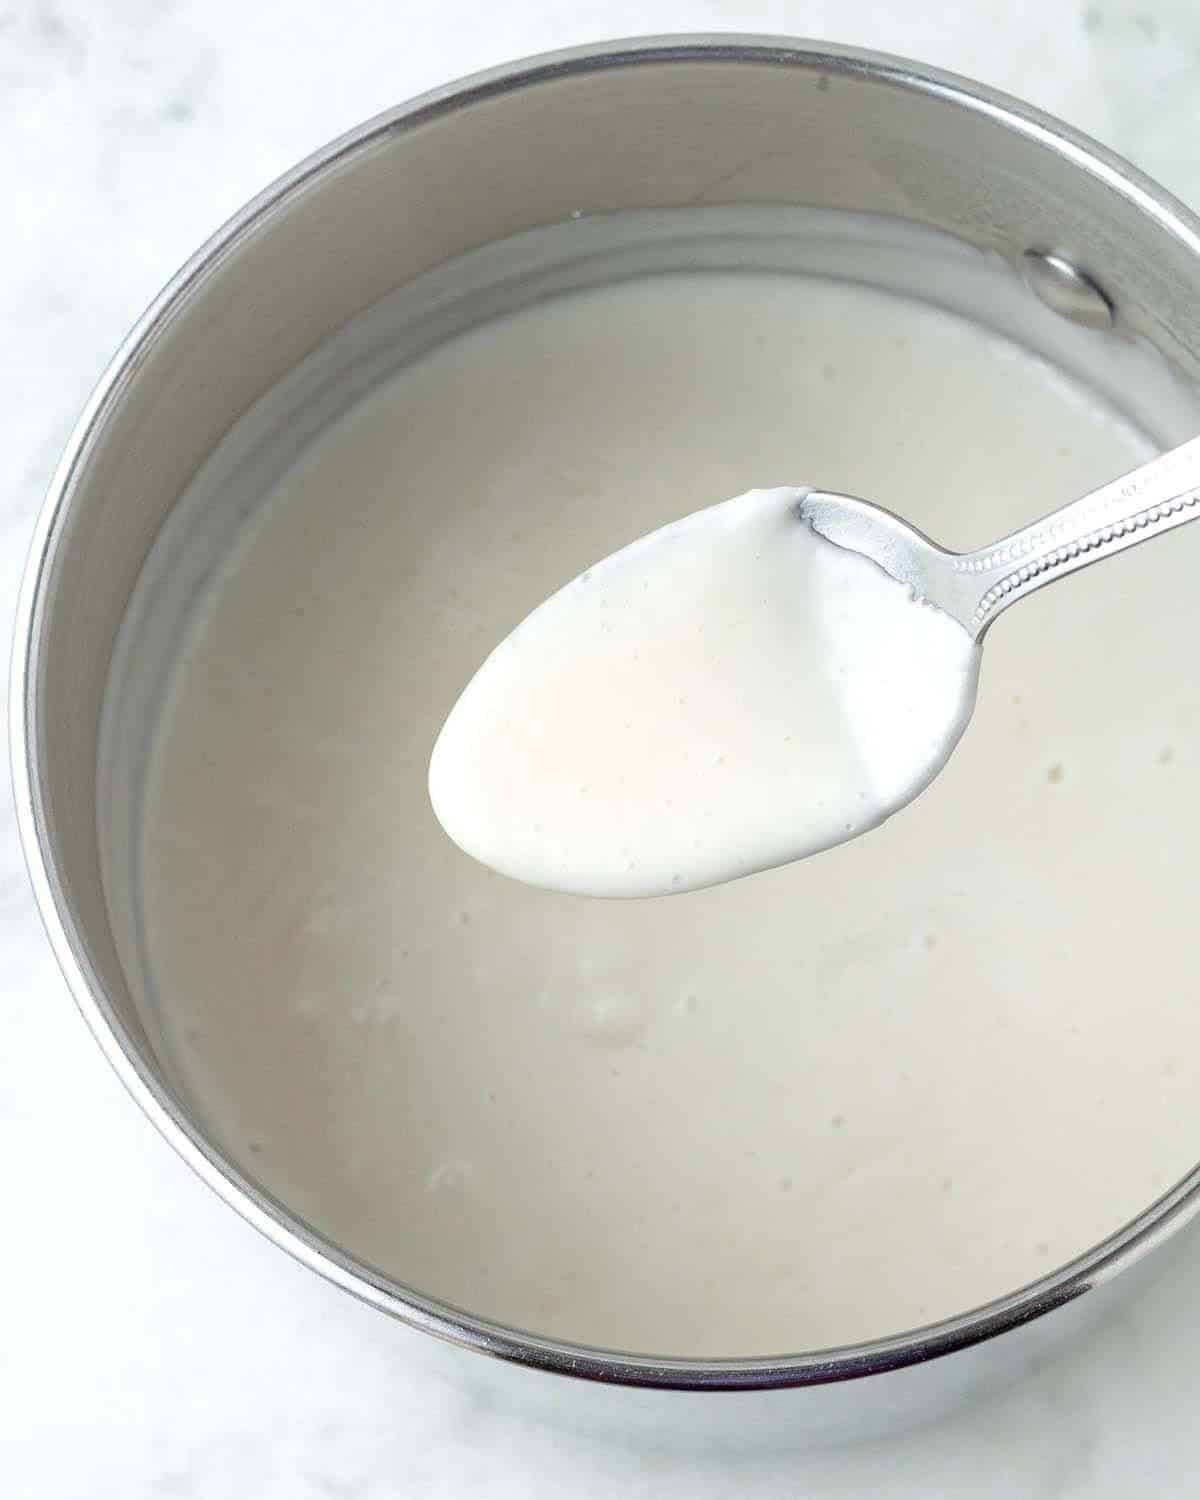
Place the pot on the stove over medium-high heat and whisk continuously until it has thickened. Remove from the heat and whisk in the vanilla and, if you are using it, the vegan butter.
Watch for Bubbles...
You don't want the mixture to come to a boil, but don't worry if you see some bubbling happening toward the end of the cooking time. That's completely normal! If it starts bubbling too much, simply lower the heat and continue cooking.
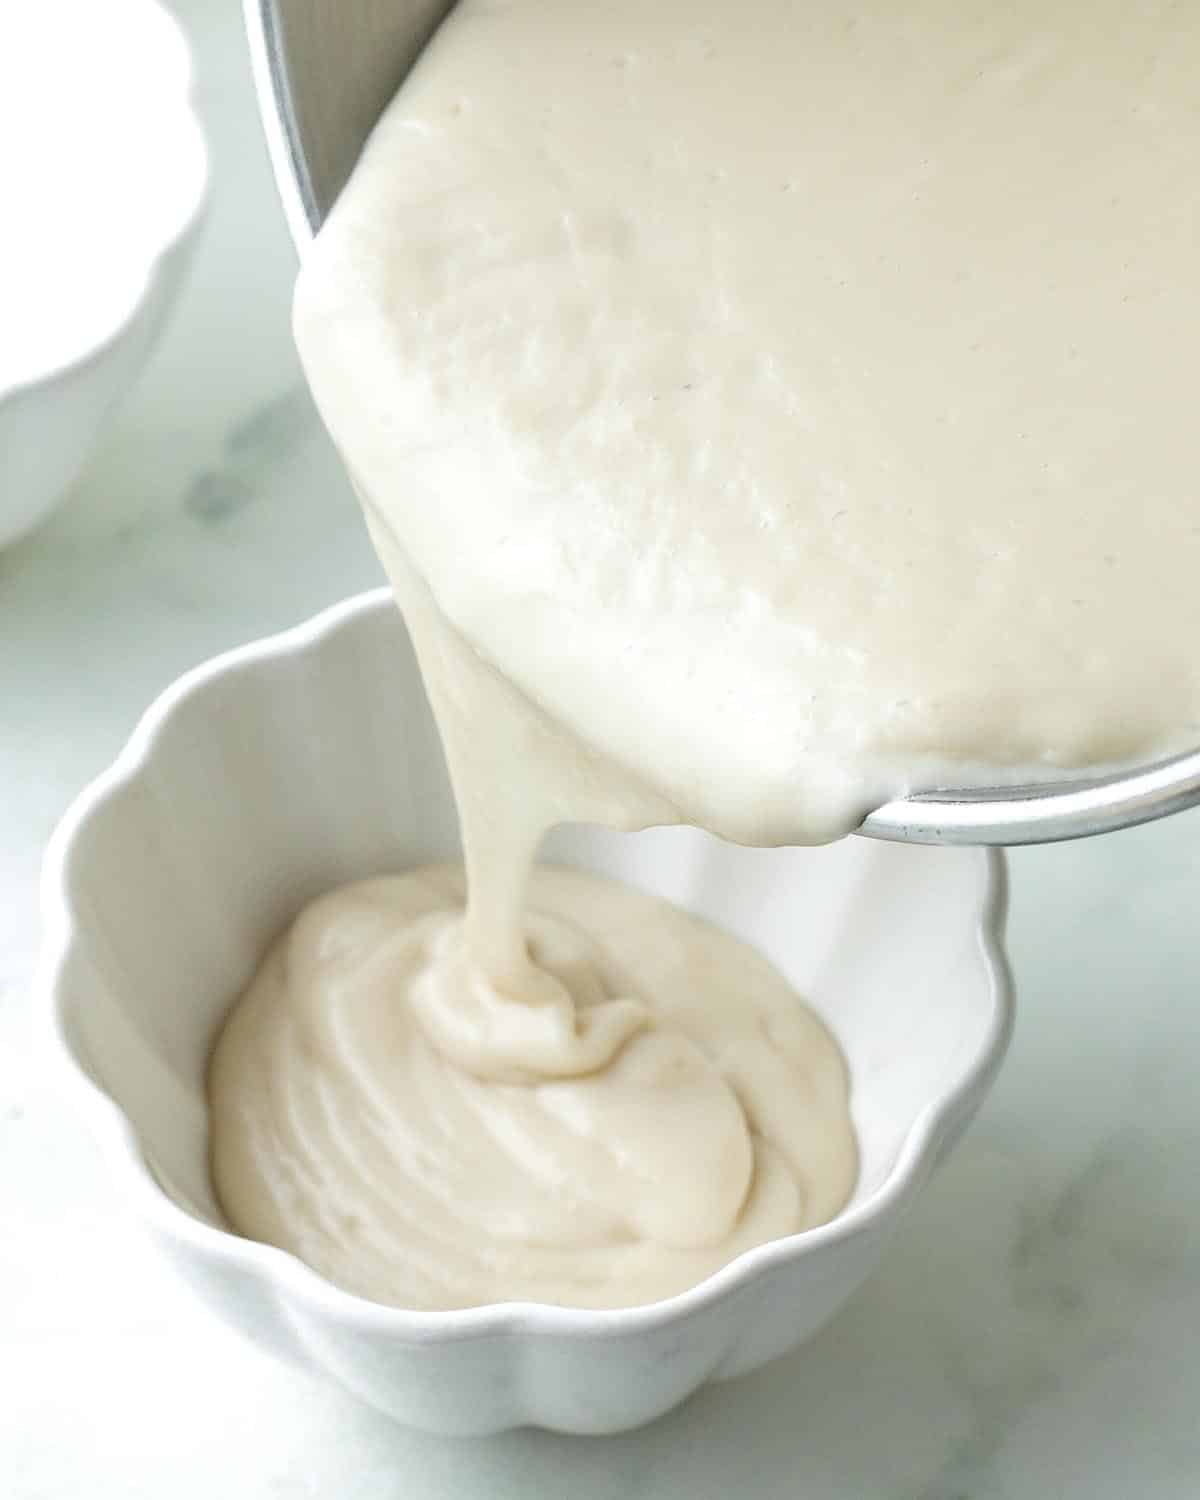
Pour the custard into ramekins and cool for about 15 minutes.
Once it's cooled, press a small piece of plastic wrap directly onto the surface of each one. This keeps a thick layer from forming on top while they chill. Put them in the fridge for at least 4 hours to finish (don't skip this step!), or up to 3 days.
Not All Dishes are Torch-Friendly...
For the best results, use ceramic ramekins or heat-safe glass dishes when making crème brûlée. Since the sugar topping is caramelized with a flame, your dishes need to be able to handle high heat. It's a small detail, but an important one.
The Final (and Most Satisfying!) Step
Once the custard has chilled, it's time for the best part: caramelizing the sugar topping!
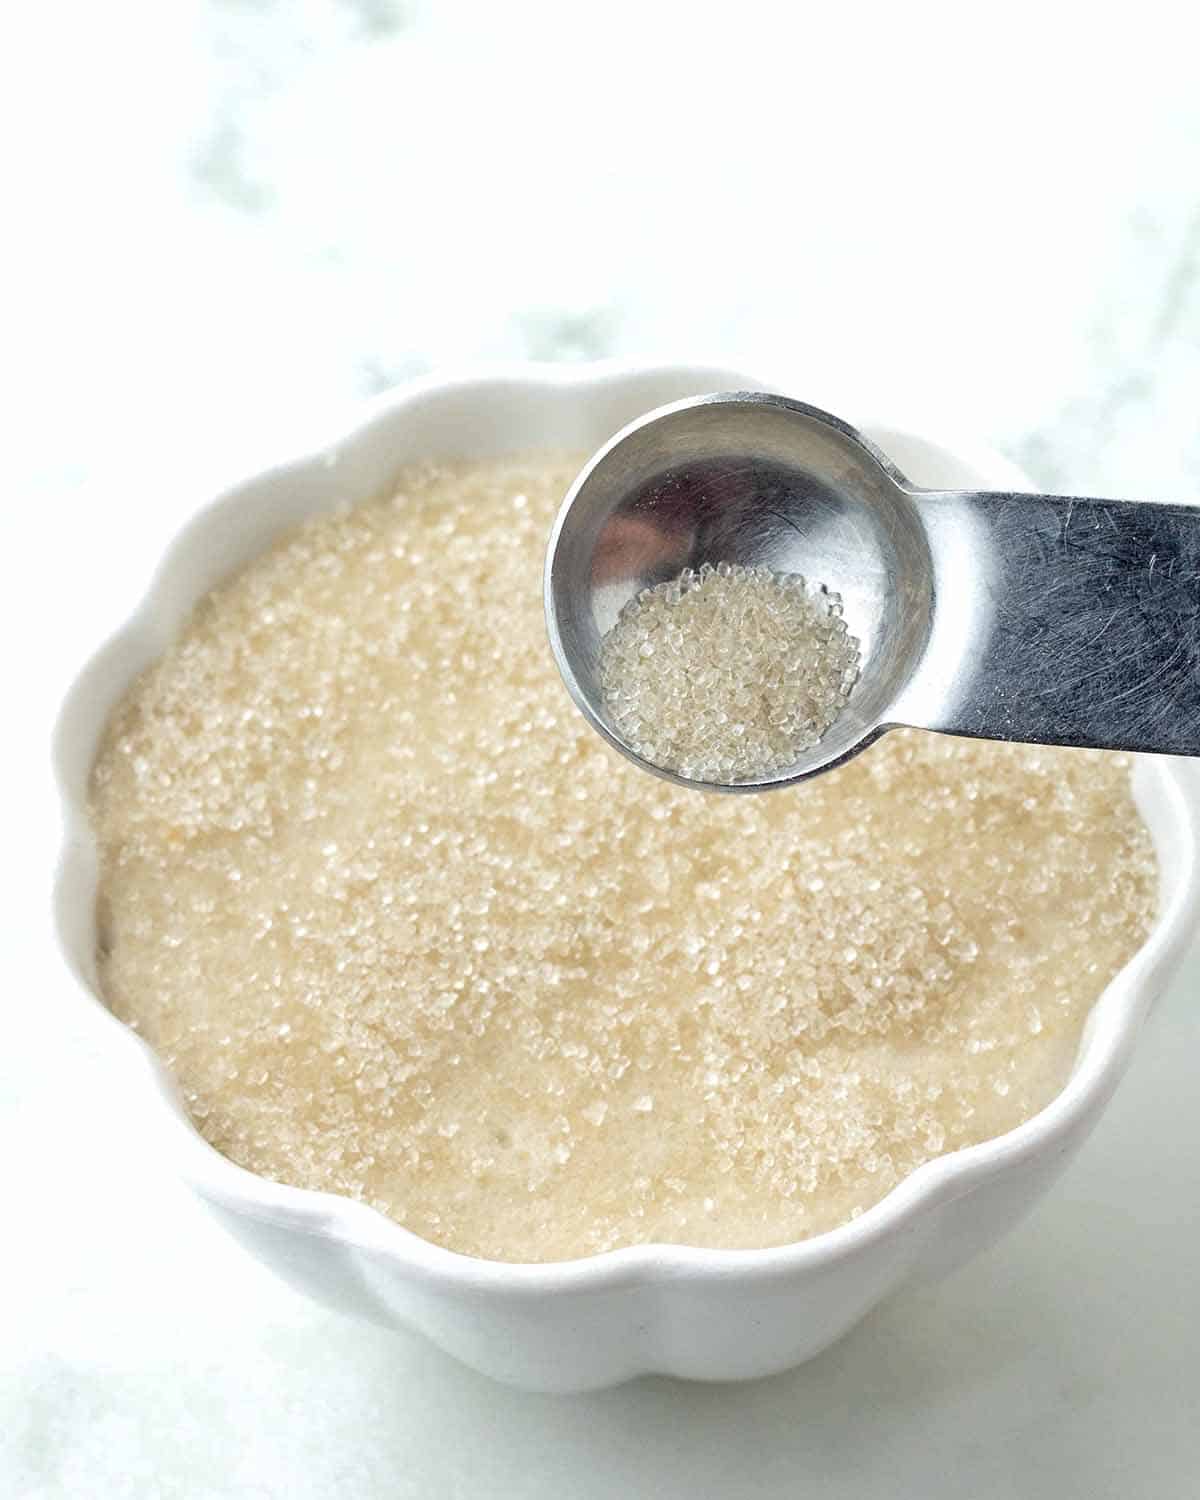
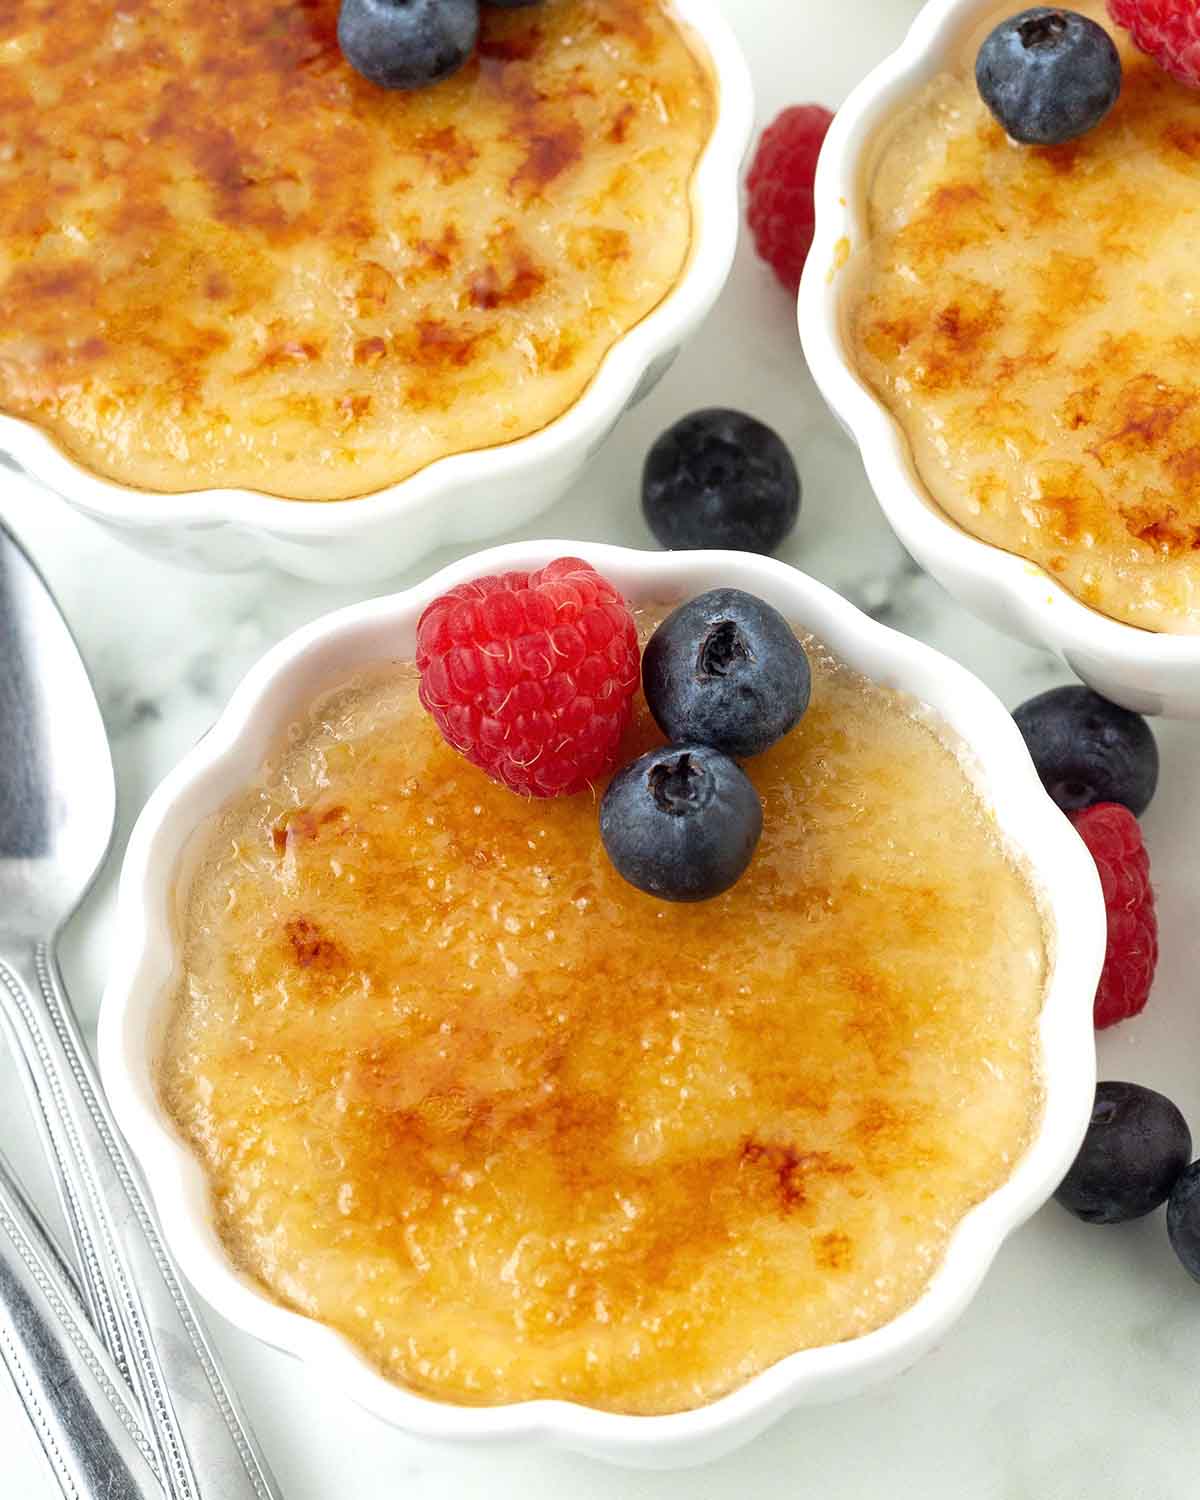
Add a thin layer of sugar over the custard and use a kitchen torch to caramelize it until golden and crisp. Enjoy right away as-is or top with fresh berries.
Caramelizing Tips:
- The layer of sugar should be thin, but not so thin that you can see the custard underneath.
- Too much sugar will start to burn before it has fully caramelized, and if you use too little, it won't caramelize and will just melt into the custard.
- Keep the torch moving when caramelizing the sugar. Holding it in one spot for too long will burn the sugar and make it dark and bitter.
A Kitchen Torch is Worth It
For the best caramelized sugar topping, a kitchen torch is essential (also called a brûlée torch). It melts the sugar quickly and evenly without heating up the custard, which is important since crème brûlée is meant to be served cold.
Some recipes suggest using the oven broiler, but I don't recommend it. When tested, I found the results were inconsistent, and the custard warmed up too much.
A Few More Things Before You Start...
- Measure and have all your ingredients ready to go before starting. This will make the process run smoothly, quickly, and easily.
- Measure your ingredients correctly. I highly recommend using a scale and my weight measurements to make this recipe. (See the "Suggested Equipment" section in the recipe card for the scale I use and recommend.)
- Cornstarch can be difficult to measure properly since it clumps up, so I highly recommend using a scale especially for this ingredient, if you don't have one, use the scoop and level method outlined in my article about how to measure flour the correct way. Too much or too little cornstarch will result in custard that is way too thick or too thin. It can also cause the custard to taste like cornstarch.
- Cook it for the proper amount of time. If it's not cooked long enough, the cornstarch will not fully dissolve so it can do its job of thickening the custard properly. This will also cause it to taste like cornstarch.
- Read this post from top to bottom before you start. It's not difficult to make but I’ve included a lot of tips and tricks I've gathered while extensively testing this recipe, things you may not think of. Also, read through the full recipe before getting started.
- Follow the recipe exactly as it’s written for the very best results.
After You Make It...
Please tell me everything! Leave a comment and star rating below or you can post a picture on Instagram and tag me so I can see it. (I’m @delightfuladventures on Instagram!)
Easy Vegan Crème Brûlée (No Bake)
Suggested Equipment:
Ingredients:
- ⅓ cup (67g) granulated sugar
- 3 tablespoons (24g) cornstarch (arrowroot starch can also be used, see note below)
- ⅛ teaspoon salt
- 1 ¼ cups (300ml) unsweetened vegan heavy cream or vegan whipping cream (see note below)
- ¾ cup (180ml) unsweetened dairy-free milk (see note below)
- 1 tablespoon vanilla extract
- 2 tablespoons (28g) unsalted vegan butter (optional, see note below)
- 6-8 teaspoons granulated sugar (for caramelizing the tops, adjust as needed, see note below)
Instructions:
- Add the sugar, cornstarch, and salt to a medium saucepan. Whisk until combined and no lumps remain. You may need to break up any lumps with the back of a spoon.
- Slowly whisk in the dairy-free heavy cream and dairy-free milk until combined with the dry mixture. Scrape around the corners of the pot with a spoon to be sure no dry ingredients remain.
- Place pot on medium-high heat and continuously whisk until mixture has thickened. It will start to thicken around the 4½ - 5 minute mark but cook for a full 6 minutes. When finished, it will be thick enough to coat a spoon. (See images above)
- Remove the pot from the heat and whisk in vanilla and if using, the vegan butter.
- Evenly divide the custard into individual 4oz ceramic ramekins. Allow the ramekins to sit for 15 minutes to cool slightly.
- Place plastic wrap and lightly press it directly on the surface of each custard and carefully place them in the refrigerator. Allow them to chill for at least 4 hours to set.
- Remove from refrigerator and remove plastic wrap. Evenly sprinkle 1 ½ - 2 teaspoons of sugar on top of each dessert ensuring that the entire surface has been covered all the way to the edges.
- Turn your kitchen torch on and hold the flame roughly 1-2 inches above the sugar. Using a circular motion, move the flame across the entire surface of the dessert. Don't stay too long in one area or the sugar will burn, move away as the sugar bubbles and turns a golden colour. Continue until all of the sugar has melted and has completely caramelized.
- Let the desserts sit for a few minutes before handling, the rims of the ramekins will be very hot. Serve right away as-is or top with fresh berries.
Recipe Notes:
- Please read all of the information above, as well as the notes below, before making this recipe.
- This recipe makes 2 cups of custard in total. Divide into 4 ramekins for ½ cup servings or you can divide it between 5 or 6 small ramekins for smaller servings.
- If there are lumps in the custard while it's cooking and whisking isn't helping, run the custard through a sieve after it has finished cooking before chilling.
- If you are using a wider ramekin than the ones in the picture, you will need more sugar to cover the entire surface of the dessert before torching it. If you're using something smaller, use less.
- The custard can be made ahead and stored in the refrigerator for up to 3-4 days.
- Do not torch the sugar until you're ready to serve and do not refrigerate after you have caramelized it or it will soften and melt away.
- The nutrition info listed below is for 1 of 4 servings (each serving is ½ cup) with the recipe made as written using silk heavy whipping cream, unsweetened unflavored almond milk, and no vegan butter. Nutritional data is only to be used as a rough guide. Click here for more info on how nutrition info on this website is determined.
Laurie says
I made this for a dinner party where one of the guests is gluten and dairy free. I tried other recipes and this was by far the best. Smooth, creamy and vanilla-y it hits all the notes! Thank you!!
Gwen Leron says
You're so welcome, Laurie! I'm glad everyone like it. Thanks for giving it a try and for coming back with your kind review, I appreciate it!
Eric says
Thanks for the recipe. Could I broil the ramekins in the oven to crystallize the sugar? I don't have a torch.
Gwen Leron says
Hi Eric, I wrote about this a little in the post above. I did test broiling them in the oven to caramelize the sugar but my results were not good and consistent, so I did not include info on how to use the oven for this step. I found that the custard would warm up too much and sometimes the sugar did not caramelize well. I highly recommend getting a torch if you can for the very best results.