This page may contain affiliate links. Click to learn more. As an Amazon Associate I earn from qualifying purchases.

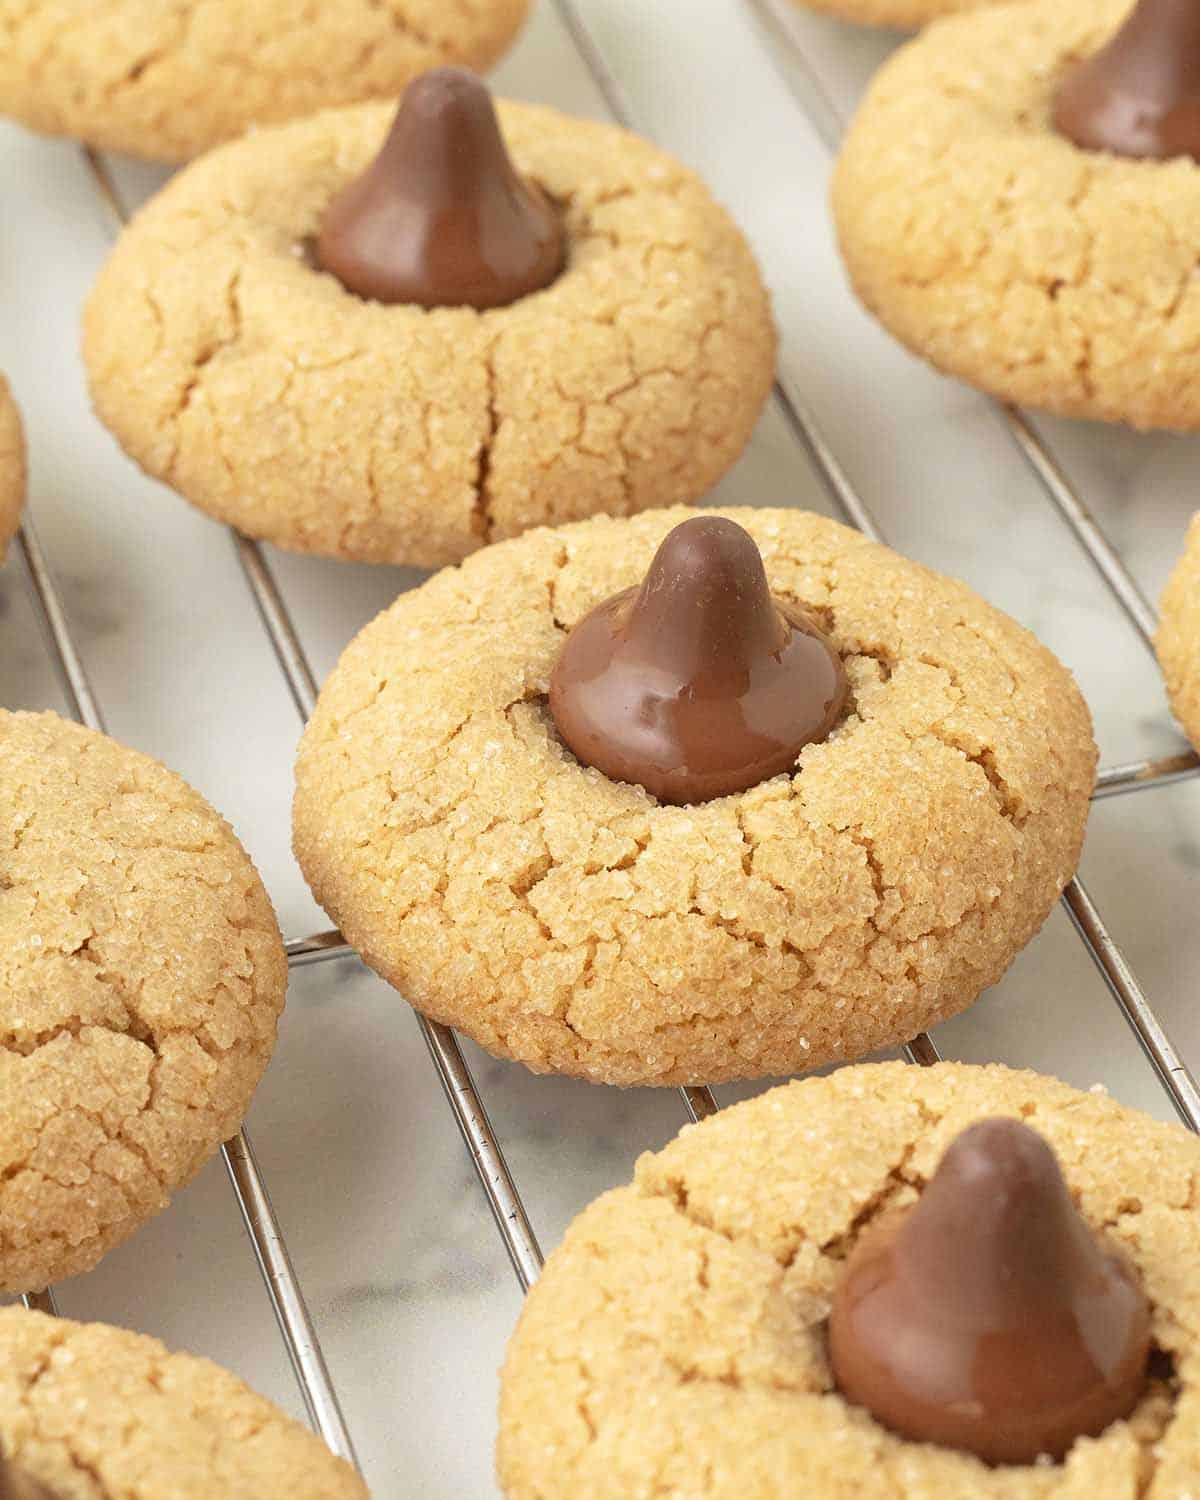
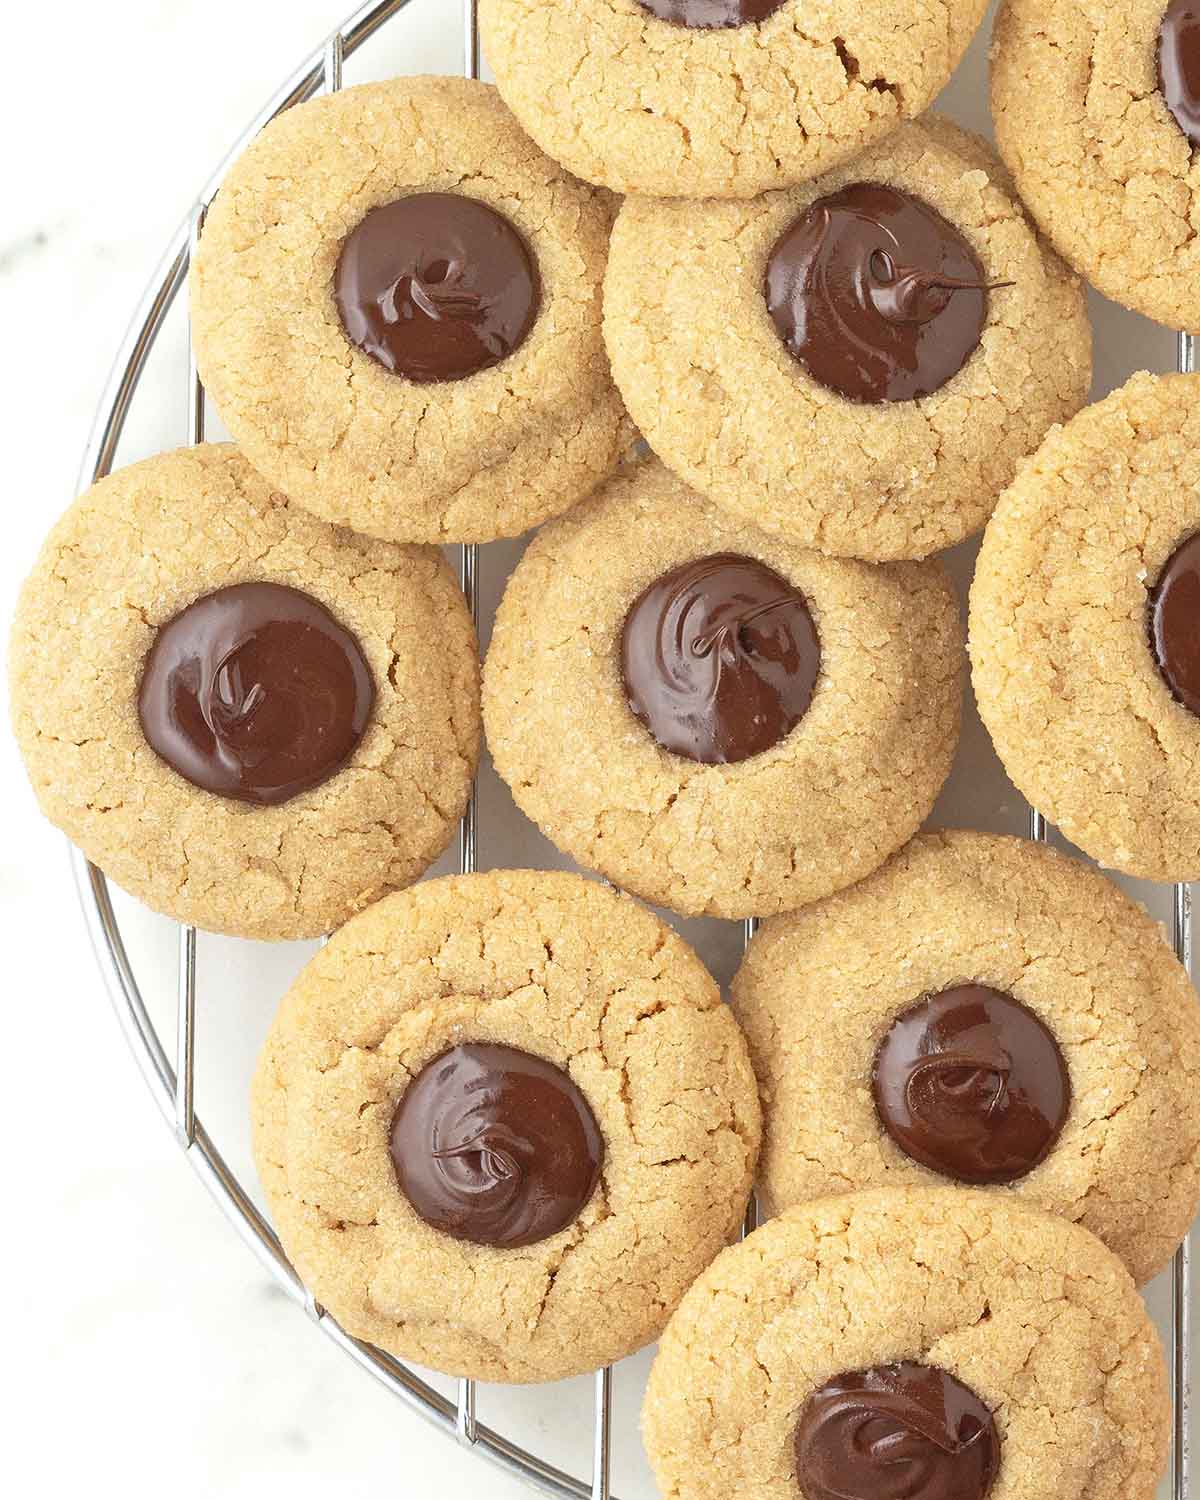
Soft, melt in your mouth vegan peanut butter blossoms that are easy to make and perfect any time of year, not just the holidays! These tender cookies are full of peanut butter flavour and have that classic chocolate center. They’re dairy-free and egg-free, and this recipe can also be made gluten-free if needed. Perfect for sharing, gifting, or just having them to yourself!
(And yes, store-bought vegan chocolate kisses do exist. I’ll share all the details below, along with a backup option that works just as well!)

Save This Recipe!
In a hurry? Drop your email below, and this recipe will be sent straight to your inbox for later. You'll also get fresh recipes every week! You can unsubscribe anytime.
I've mentioned before how much I love peanut butter and chocolate together. If you love that combo too, you're in for a treat with these vegan peanut butter blossoms!
They’re super soft and rich with a delicate texture that melts in your mouth, and the outside has a sparkly, crackly finish from rolling the dough in sugar before baking.
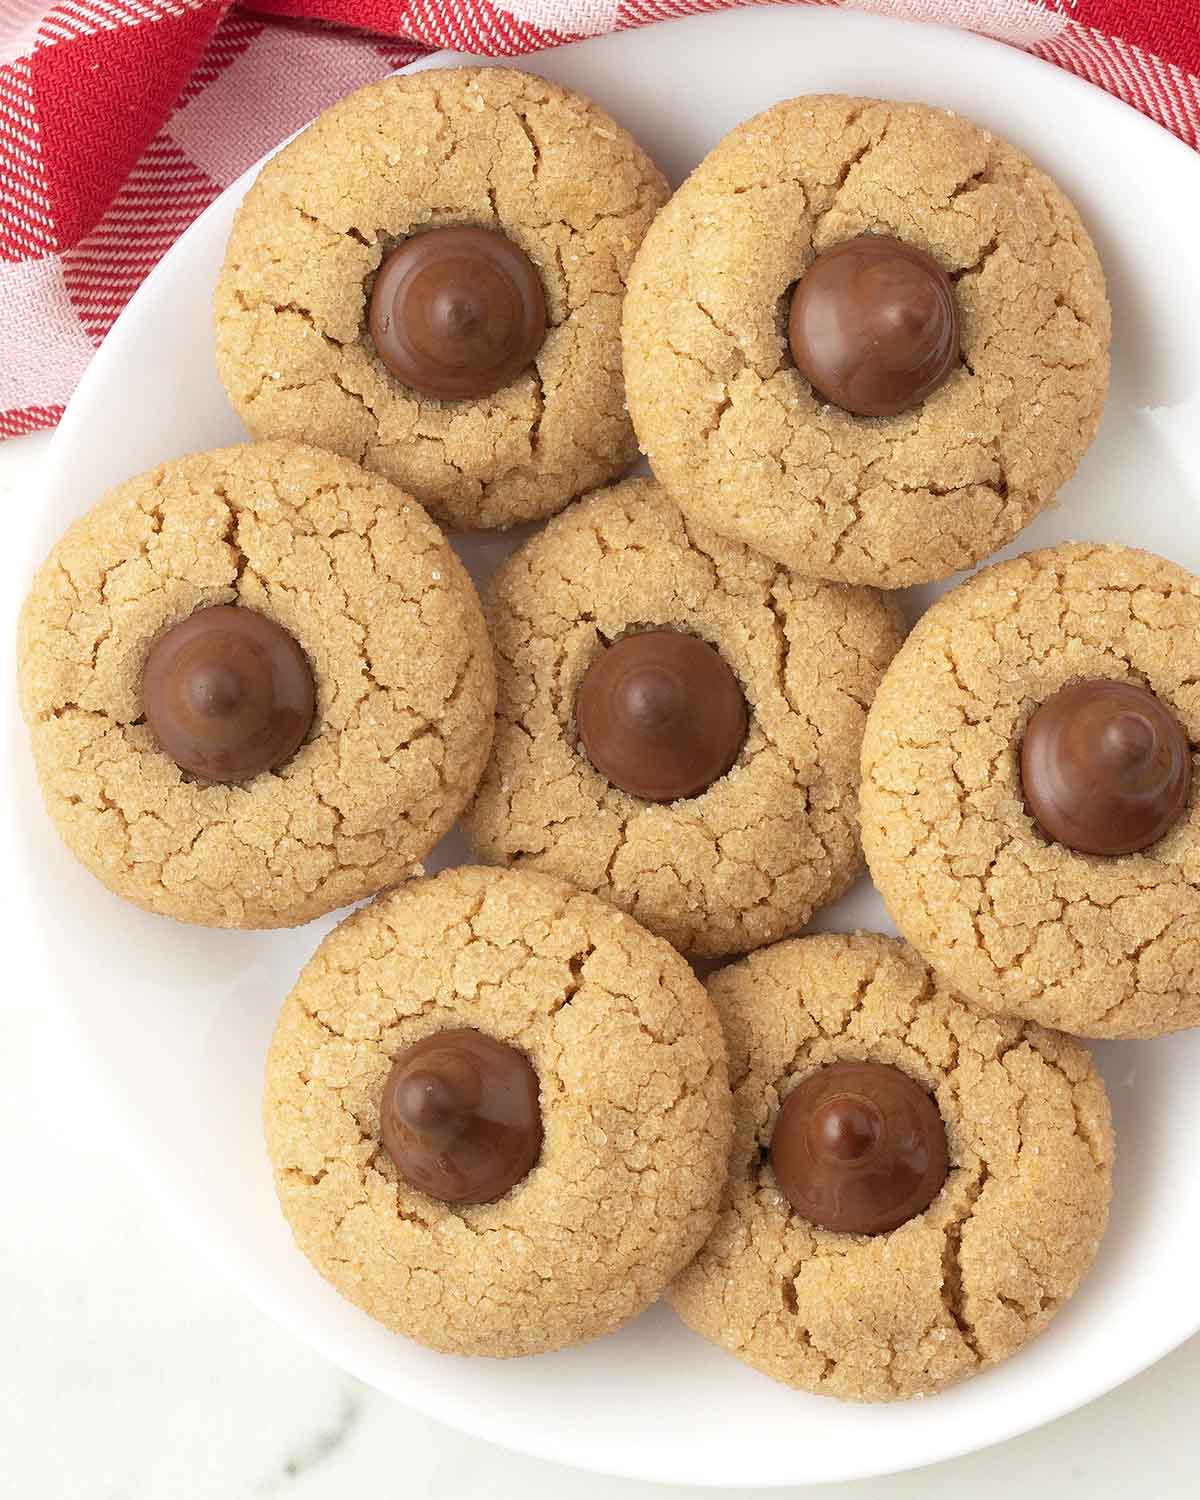
They're a crowd pleaser and a perfect addition to your cookie tray or gift-giving cookie box. It's another classic, nostalgic cookie made vegan, I love everything about them, and I hope you do too! And don’t feel like you’re limited to making them just during the holidays. Make them anytime you have a craving (like I do!).
I think they’ll earn a spot on your baking list every festive season, but you’ll have to try them first to decide, so let’s get started with everything you need to know!
All the Stuff You'll Need
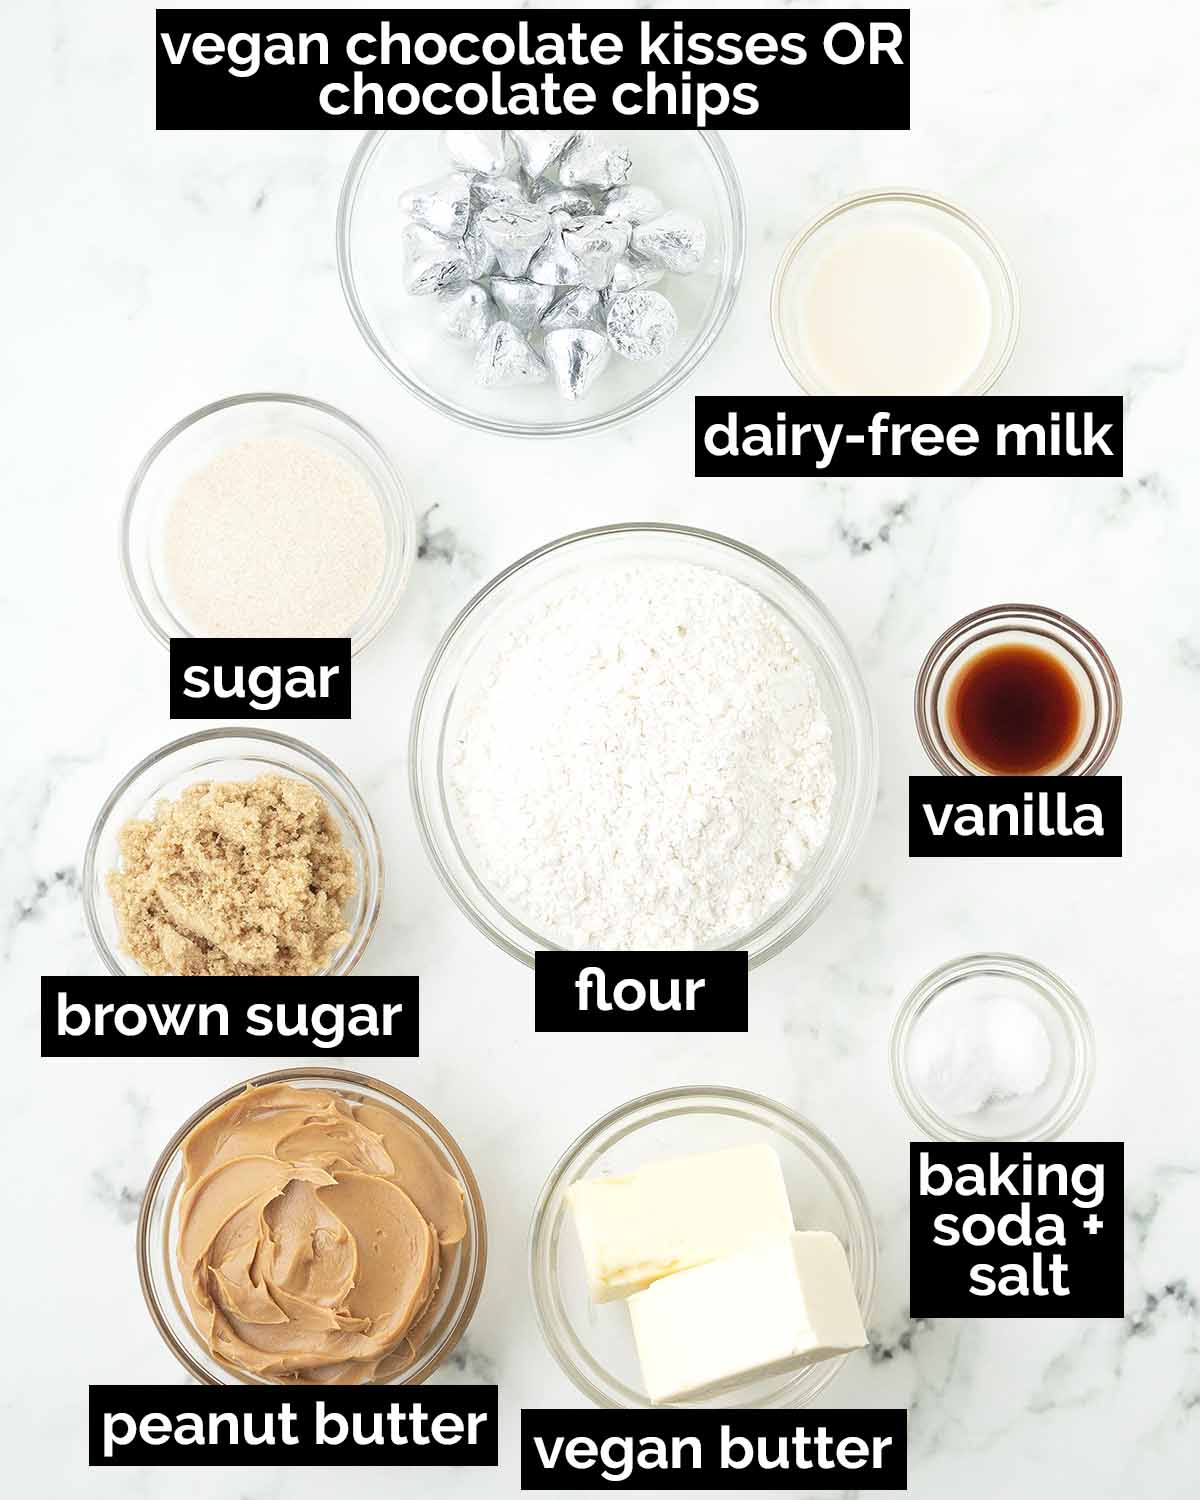
Key Ingredient Notes (And Sub Info!)
(NOTE: Only ingredients with special notes are listed below. The full ingredient list can be found in the recipe card.)
Flour - This vegan cookie recipe was developed with all-purpose white flour. The only other flour I tested with is the gluten-free blend mentioned below.
For vegan gluten-free peanut butter blossoms: I tested with Bob's Red Mill Gluten-Free 1-to-1 Baking Flour in the BLUE bag (NOT their gf flour in the red bag!), and the results were soft, tender, and melt in your mouth, just like the ones made with wheat flour! There are a few other small changes for this version, see the recipe notes for the details.
Peanut Butter - This ingredient really matters for your vegan peanut butter blossom cookies to turn out perfectly. Use a smooth, store-bought creamy peanut butter that stays firm and thick at room temperature. Do not use natural or homemade peanut butter that separates and/or needs stirring, or crunchy peanut butter. Brands like Kraft, Skippy, or Jif are good options.
Unsalted Vegan Butter – Use vegan butter sticks, not the type that comes in containers / tubs, they're not suitable for these cookies. Make sure your butter is at room temperature before starting.
Chocolate Kisses - Until recently, vegan chocolate kisses were not available anywhere, but the brand No Whey! makes them. They call them "smooches," and they can be ordered online or in stores that have a good selection of vegan / dairy-free products. If you can't find them or don't want to use them, I have a backup option for you, which I will go through below.
The Step-by-Step (With My Tips!)
(Note: I’ve outlined the step-by-step here, but find the full recipe, ingredients, and directions in the recipe card at the end of this post.)
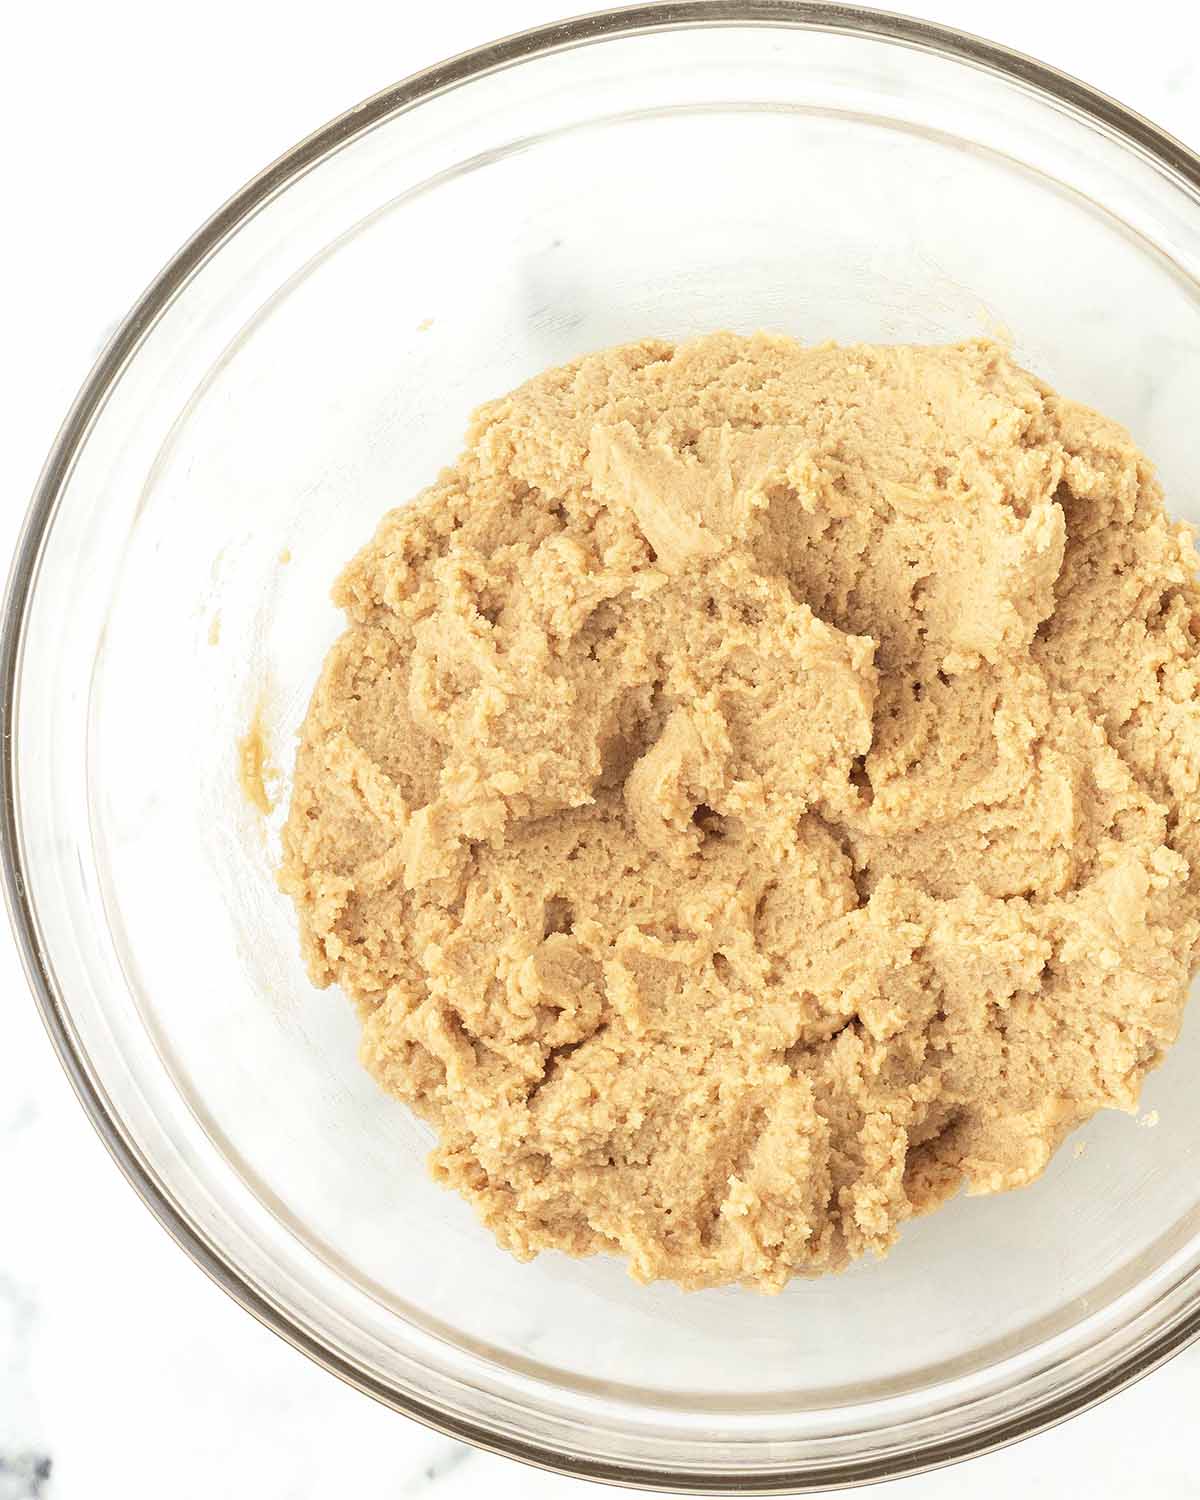
Mix the wet and dry ingredients in separate bowls, and combine them. Take care not to overmix, the dough will be soft and sticky.
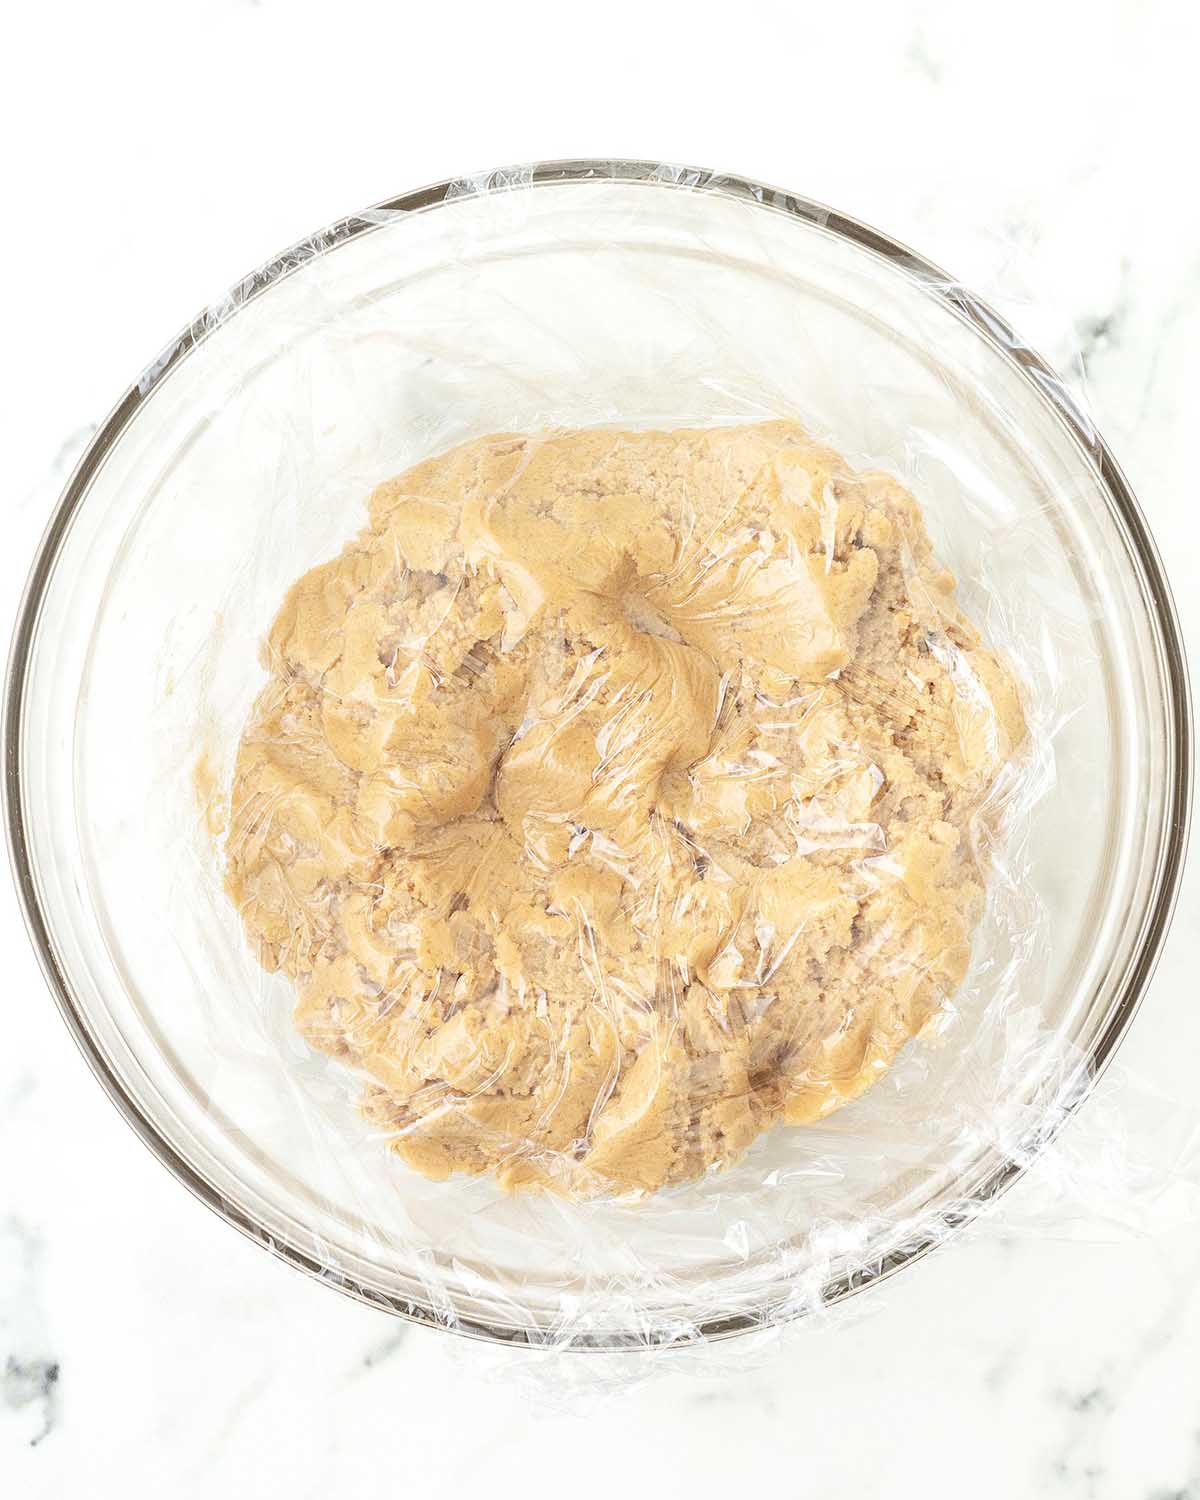
Cover the bowl to make it airtight or place plastic wrap directly on top of the dough. Place in the refrigerator to chill.
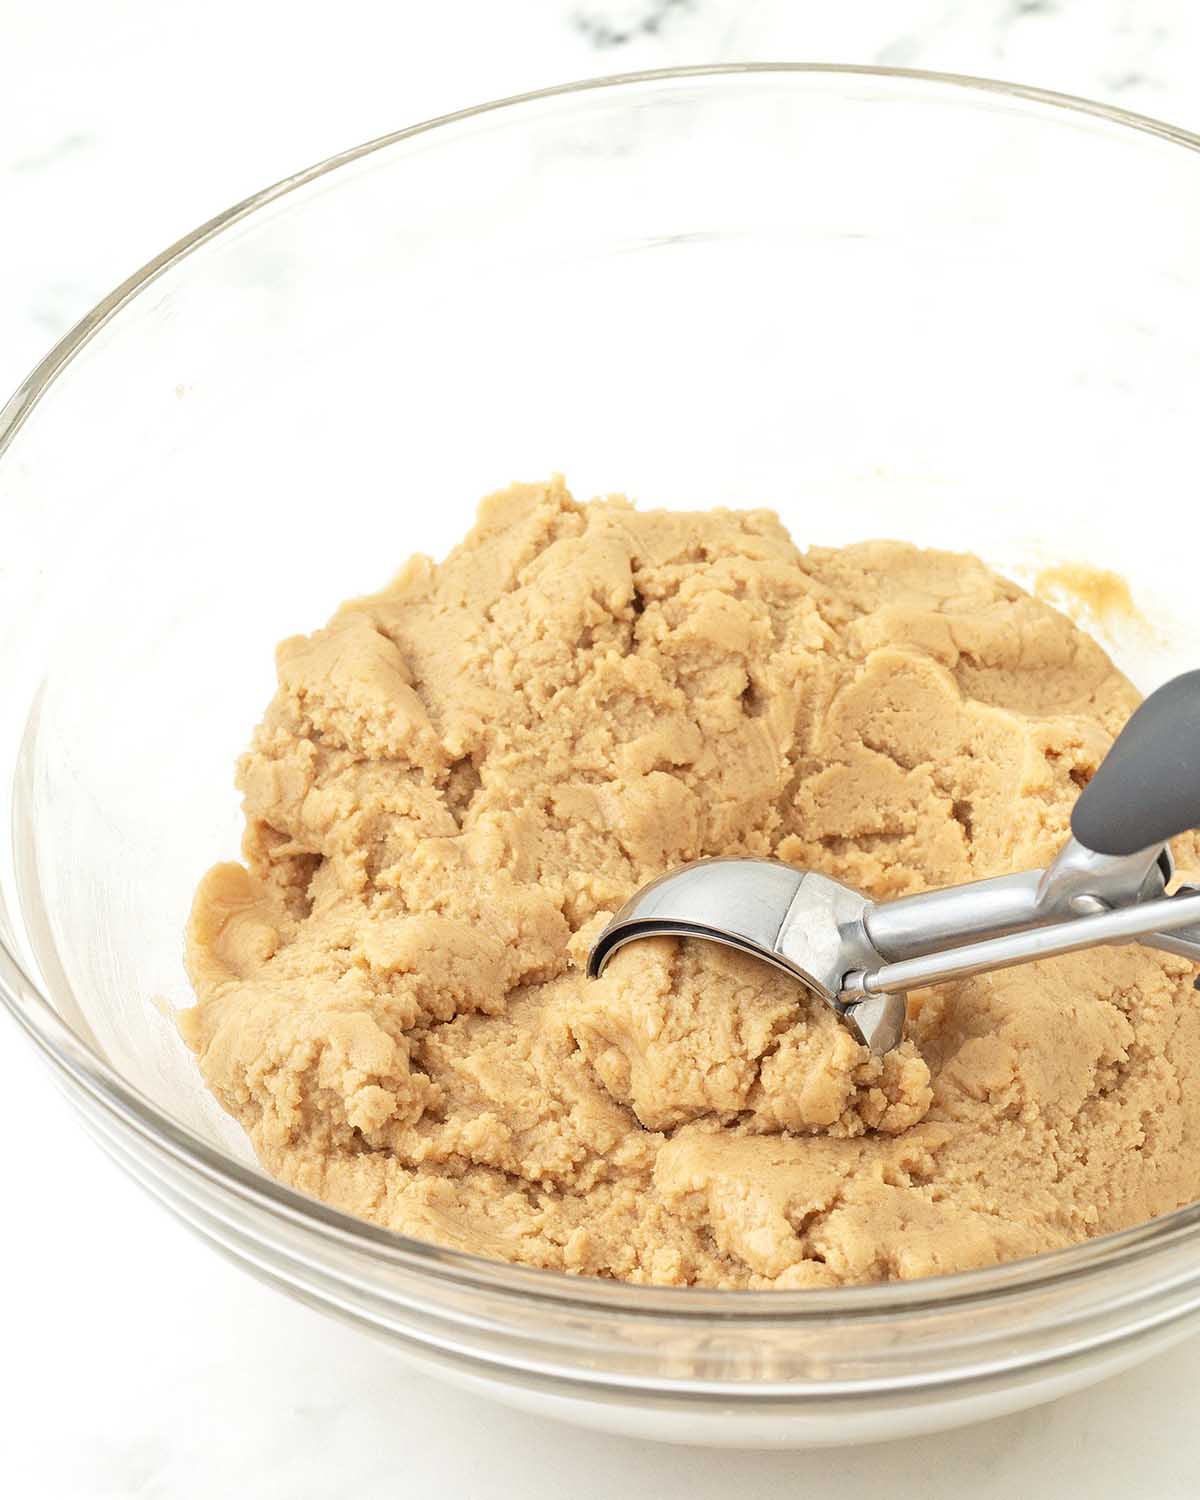
After the dough has chilled, using a cookie scoop or a spoon, scoop up some dough and, using your hands, roll it into a ball.
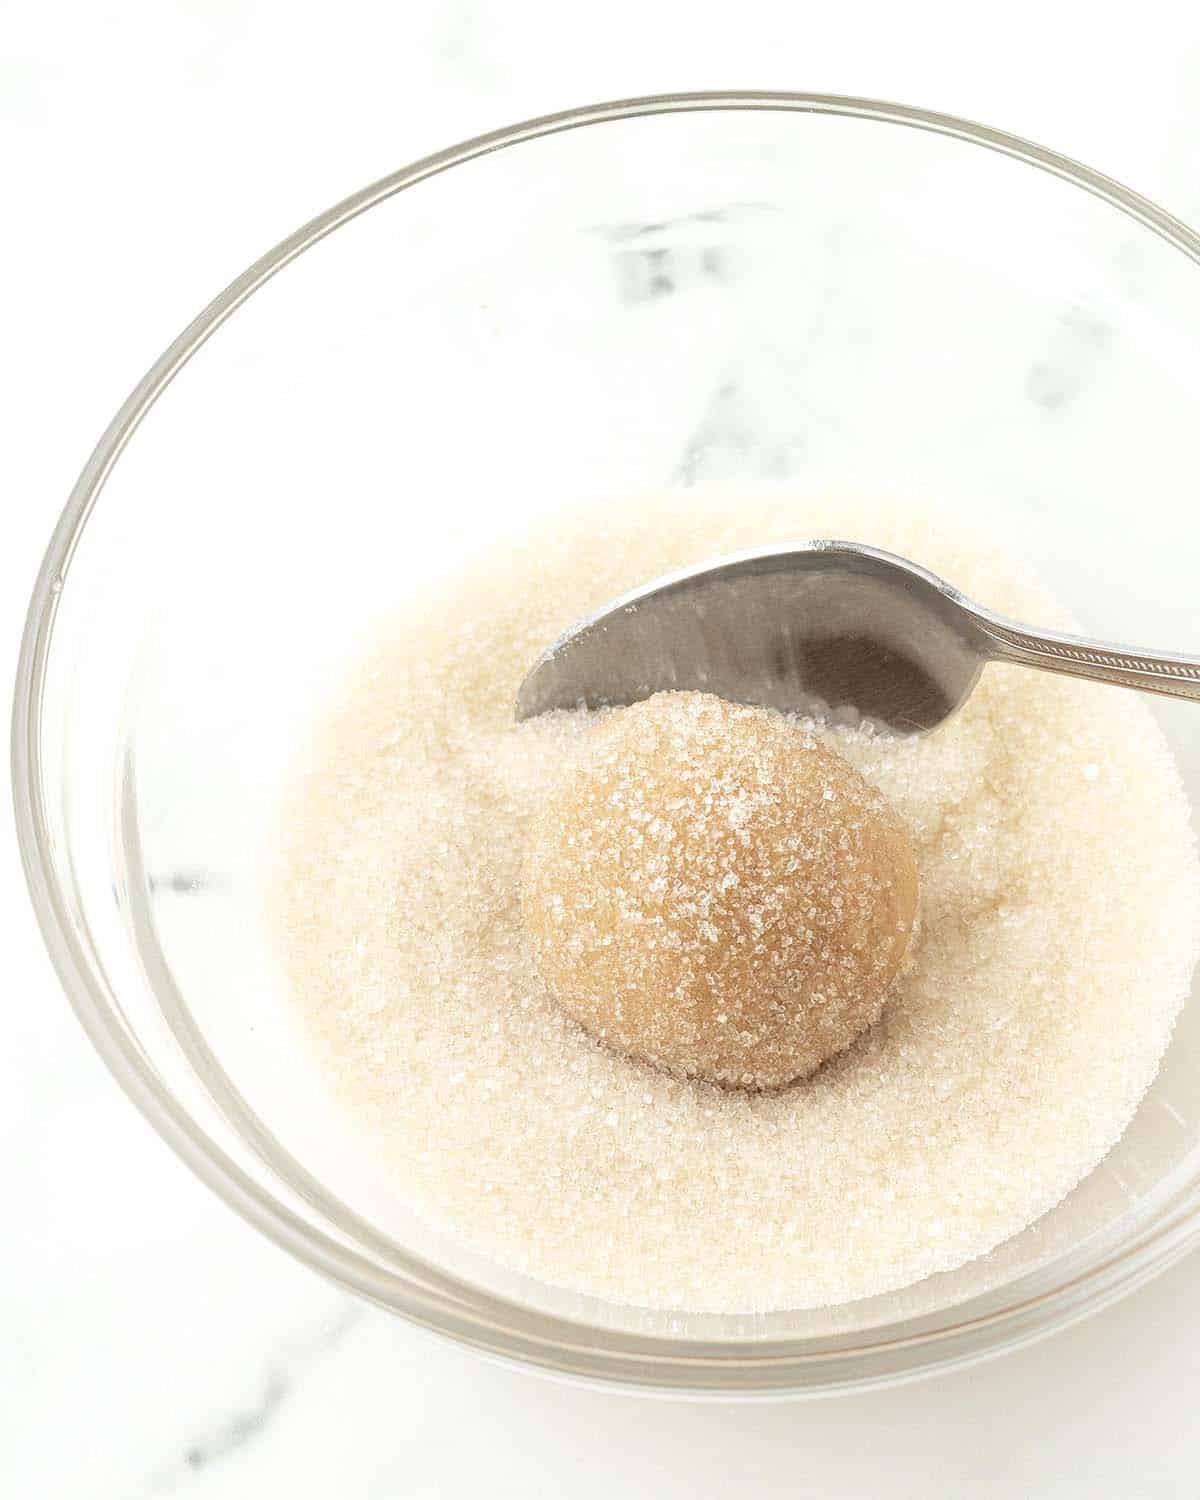
Roll each ball in sugar and place on the cookie sheet.
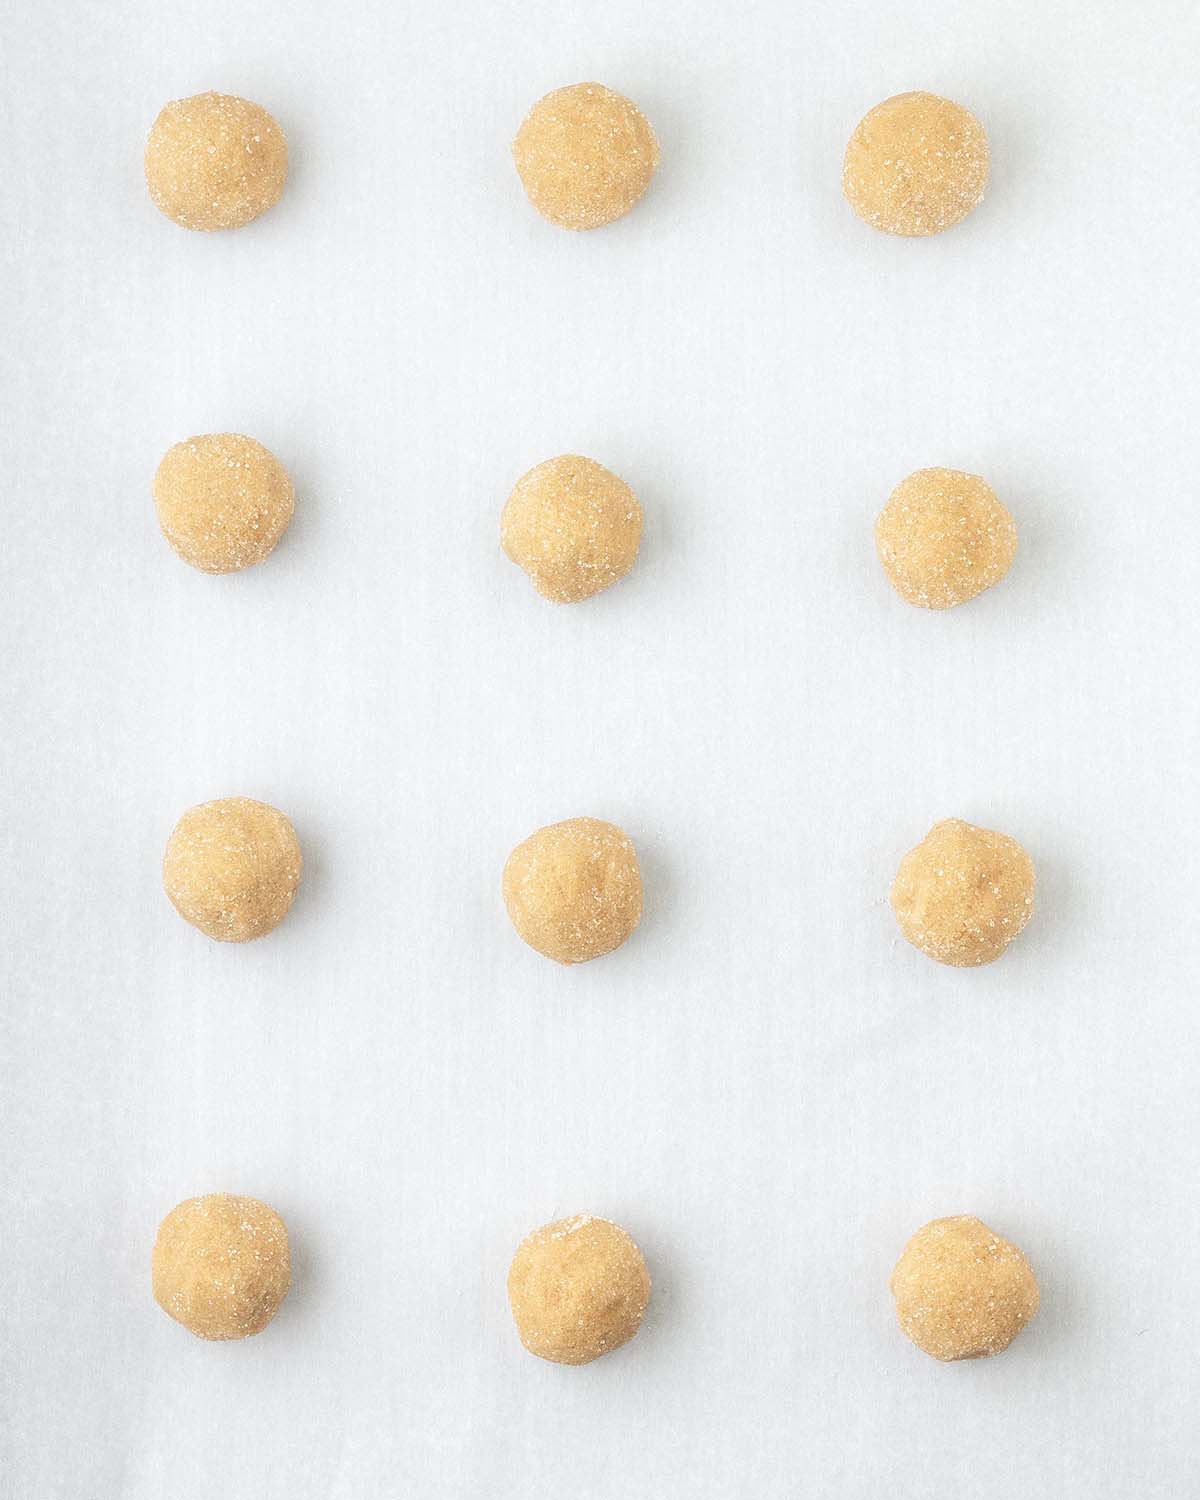
Continue until all of the dough has been used. Bake.
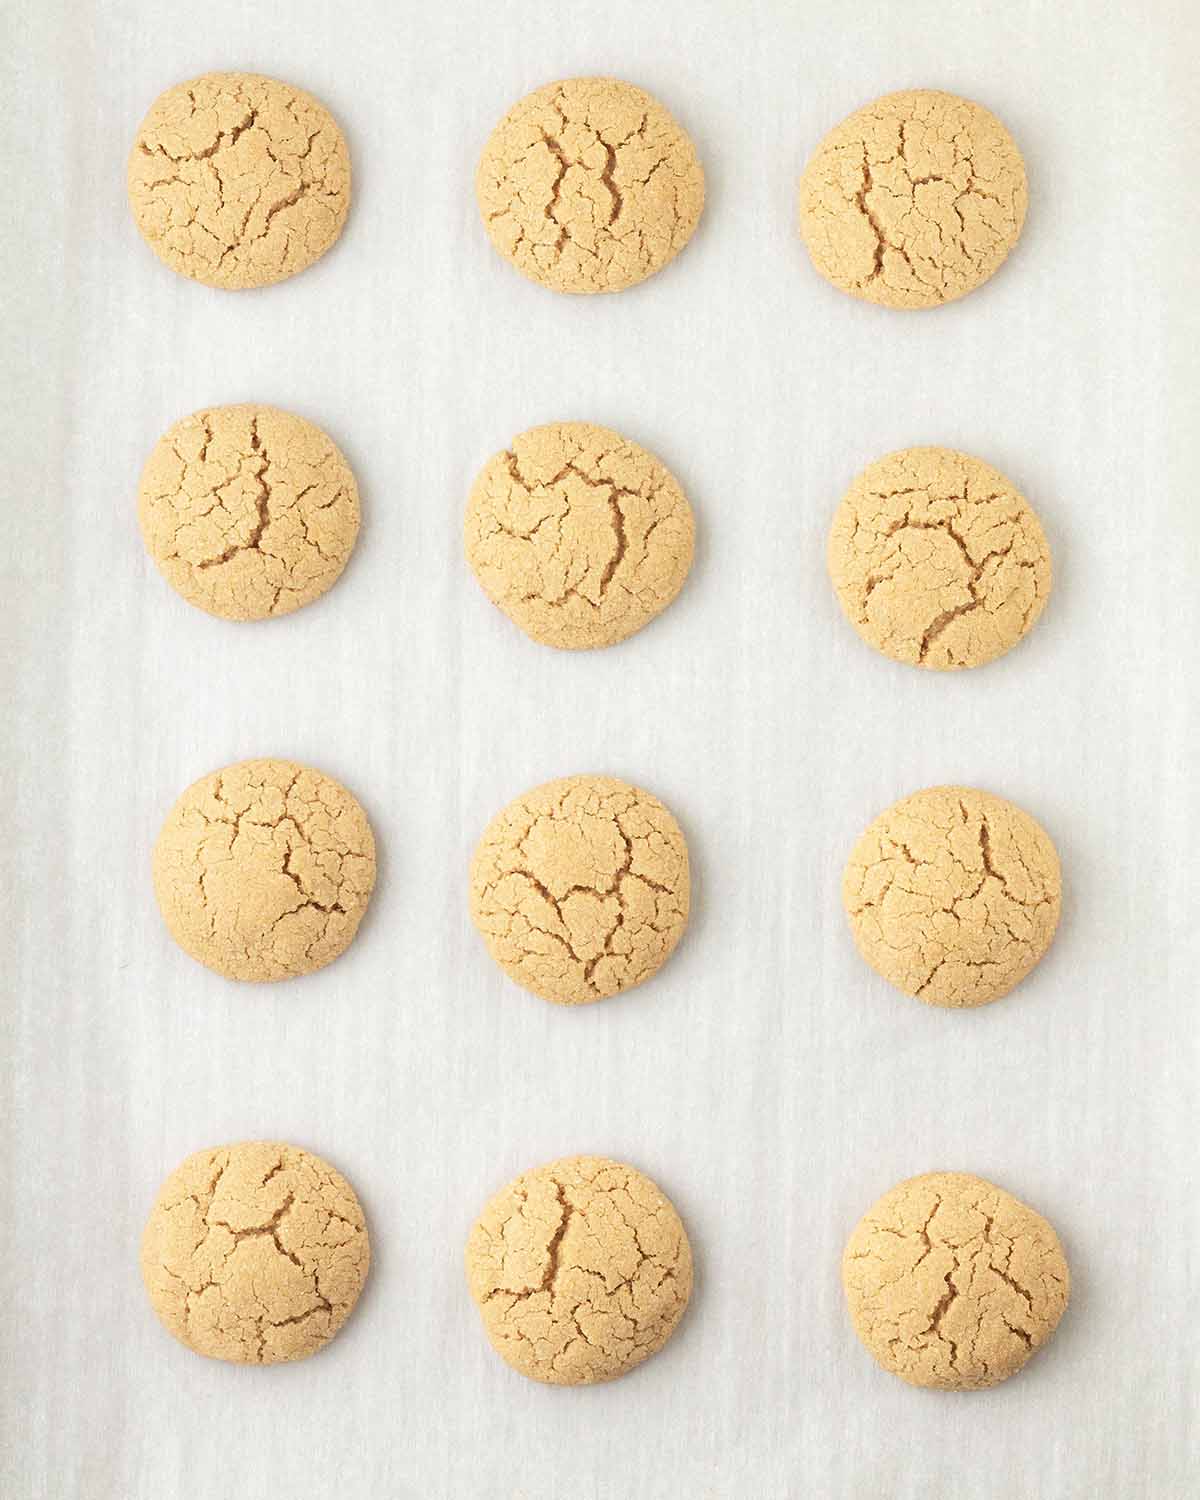
Carefully remove the cookie sheet from the oven. Let them rest for at least 2 minutes before moving to the next step.
Recipe Note
The cookies will have cracks and be very soft when they come out of the oven, that is how they're supposed to be. Don't try to handle them. They will be puffy but will flatten slightly and firm up as they cool.
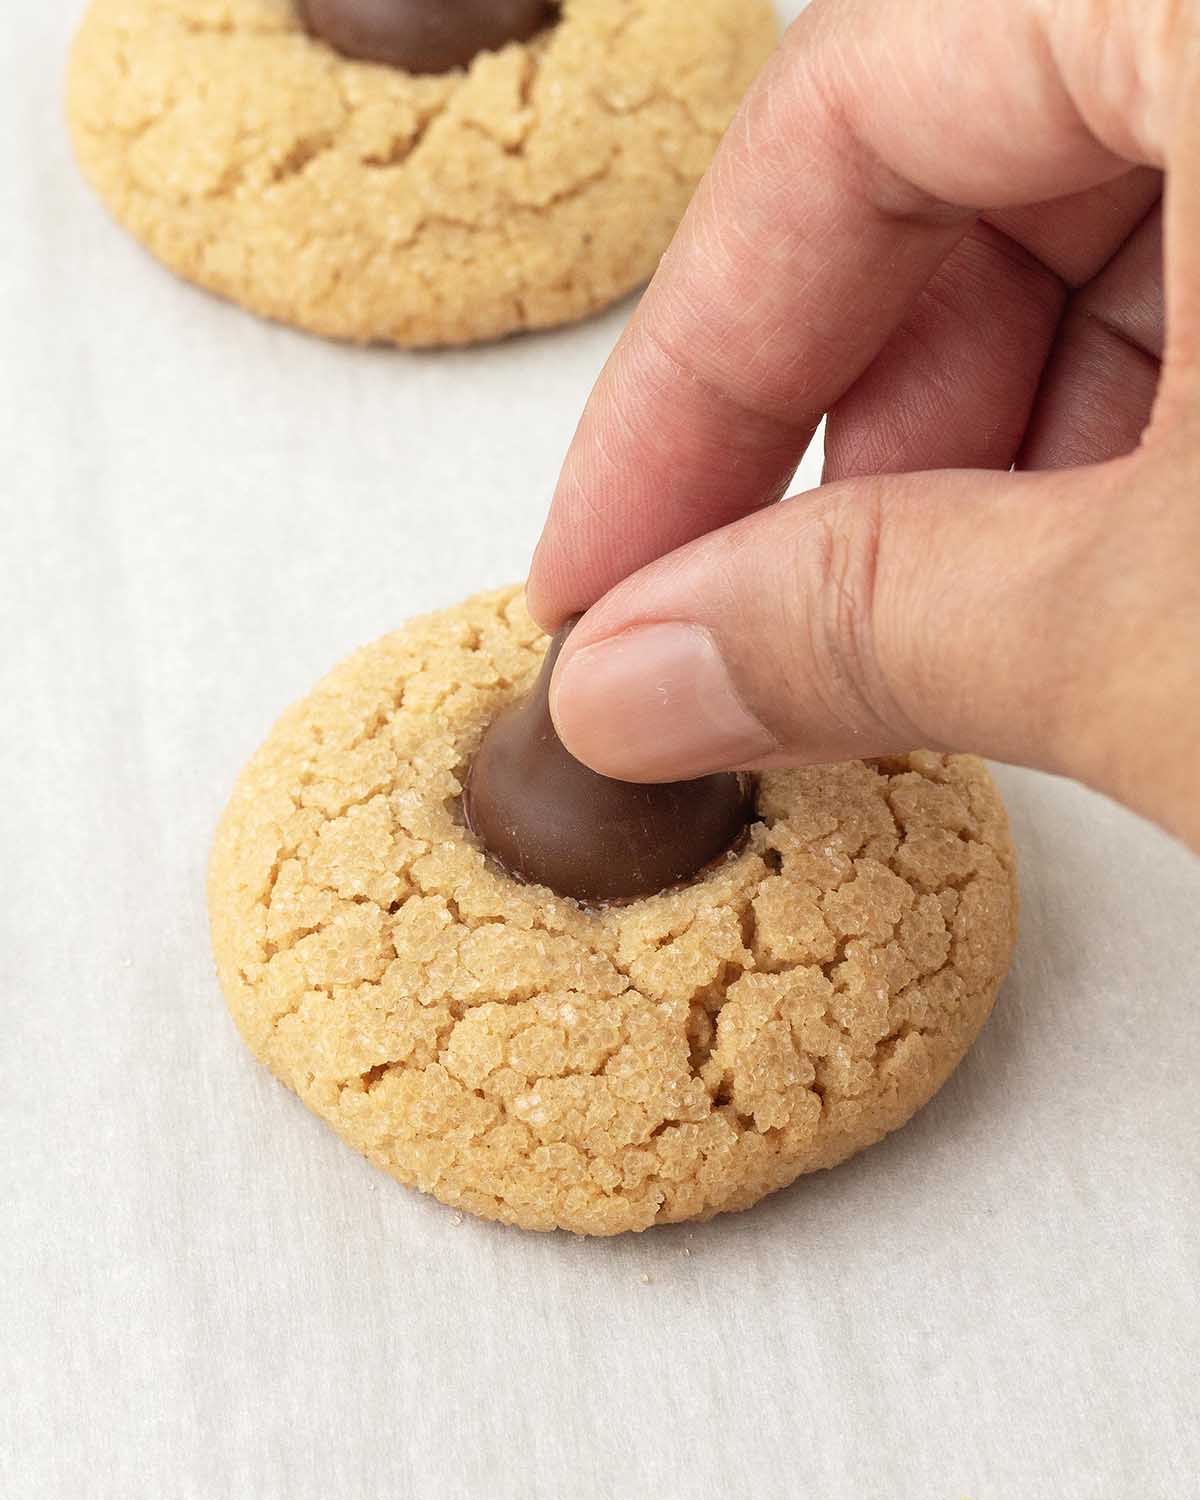
Gently press a chocolate kiss into each cookie. The cookies will crack a little more as you do this, that's okay!
After they have rested for a few minutes, transfer them to a cooling rack.
Recipe Tips
- Unwrap the kisses while the cookies are baking, so you have them ready to go.
- As the cookies cool, the bottoms of the chocolate kisses will soften and stick to the cookies. Let them cool completely on the rack before handling and serving.
No Chocolate Kisses? No Problem!
You don't need chocolate kisses to make this recipe; the other option is to use melted chocolate chips.
Melt the chocolate chips while the cookies are baking and set aside.

Gently press the back of a measuring spoon into the freshly baked cookies.
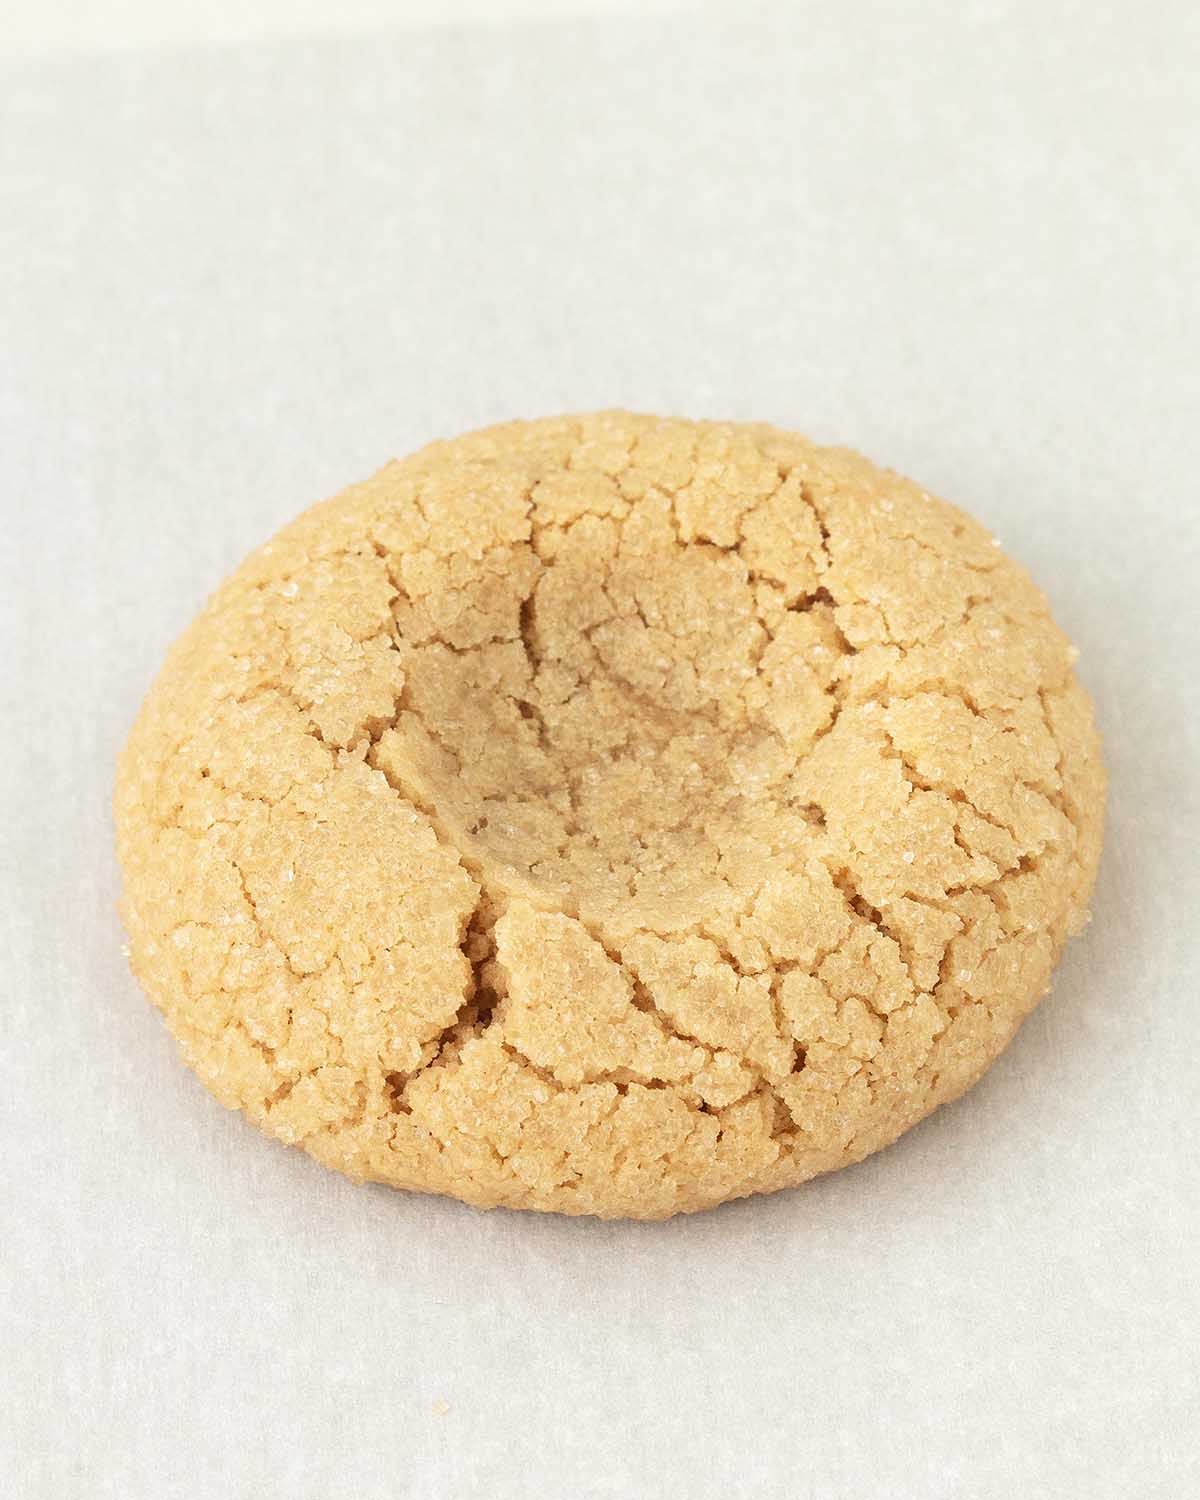
This will form an indent. After a few minutes, transfer the cookies to a cooling rack and let them cool completely before adding the chocolate.
Recipe Tip
Make sure the melted chocolate isn’t too hot when you add it to the cookies. Let it cool until it’s just a little warm, but not completely cold, or it will become stiff and tricky to work with.
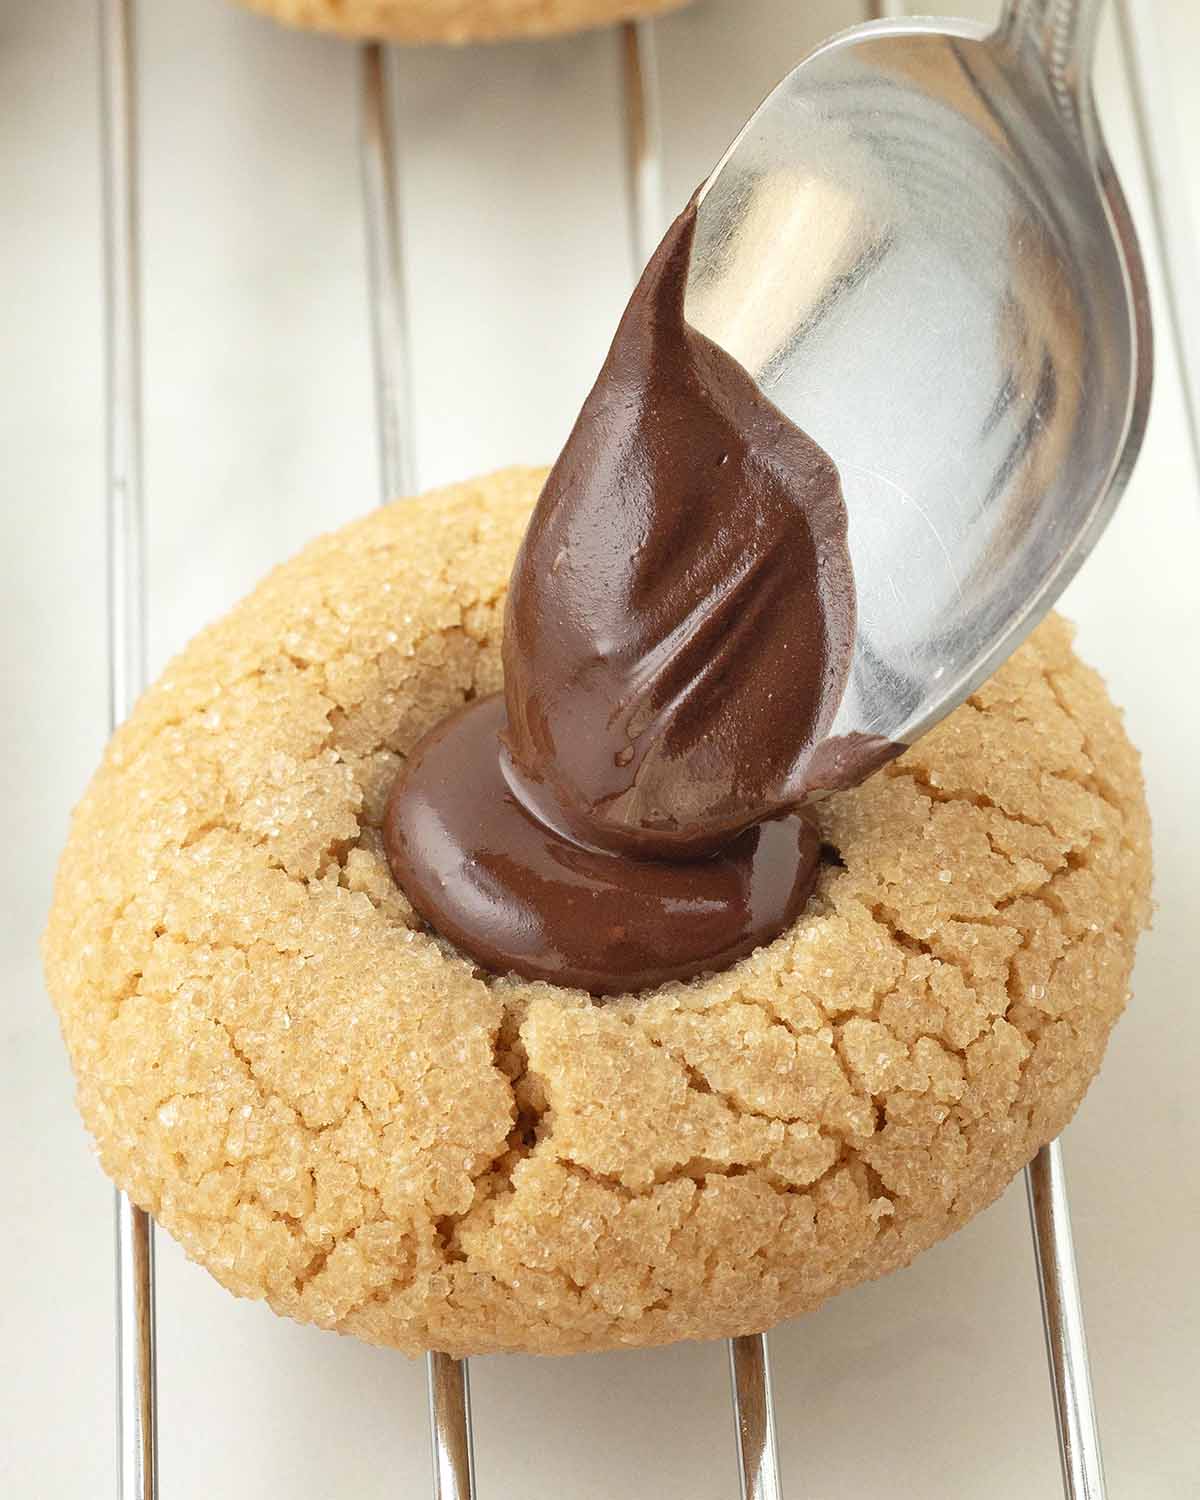
Add a small amount of the melted chocolate to each indent and smooth the tops.
Let the cookies rest until the chocolate has firmed up.
Enjoy your vegan blossom cookies with a cold glass of plant milk, an easy homemade latte or creamy hot chocolate!
Tips for the Perfect Blossoms
- Measure and have all your ingredients ready to go before starting. This will make the process run smoothly, quickly, and easily.
- Measure your ingredients correctly. Please read my article about how to measure flour correctly. I highly recommend using a scale and my weight measurements to make this recipe. (See the "Suggested Equipment" section in the recipe card for the scale I use and recommend.)
- Don't skip chilling the cookie dough. This step is VERY important for the cookies to turn out properly. If the dough is not chilled, the cookies will be hard to roll. They will also spread too much, not form properly while they're baking, and you won't get the sparkly, crackly outer texture.
- Don't over-bake them. If overbaked, your cookies won't be tender with a soft center, instead, they'll be dry and crumbly.
- Read this post from top to bottom before you start. I’ve shared my tips gathered during testing so you get everything right. Also, read through the full recipe and recipe notes before getting started.
- Follow the recipe exactly as it’s written for the very best results.

I’d love to hear how this vegan peanut butter blossom cookie recipe turned out for you! Share your thoughts with a comment and rating below, and/or post a photo of your cookies on Instagram and tag me so I can see it. (I'm @delightfuladventures on Instagram).

Melt In Your Mouth Vegan Peanut Butter Blossoms
Suggested Equipment:
Ingredients:
For Cookie Dough:
- 1 ¼ cups (156g) all-purpose flour **please see important notes about the gluten-free option below**
- ¾ teaspoon baking soda
- ¼ teaspoon salt
- ¾ cup (188g) creamy peanut butter
- ½ cup (1 stick / 113g) unsalted vegan butter (room temperature)
- ⅓ cup (67g) light brown sugar
- ¼ cup (50g) granulated sugar
- 1 teaspoon vanilla extract
- 2 tablespoons unsweetened dairy-free milk
For Rolling:
- ¼ cup (50g) granulated sugar
For Finishing:
OR
- ½ cup (90g) vegan chocolate chips (only needed if you DON'T have chocolate kisses)
Instructions:
Make Cookie Dough:
- In a small bowl, add the flour, baking soda, and salt. Whisk to combine and set aside.
- In a medium bowl, using an electric mixer, beat the peanut butter, butter, brown sugar, and granulated sugar until blended and creamy, about 2 minutes. Stop to scrape down the sides of your bowl when needed. Add the dairy-free milk and vanilla extract, blend again.
- Gradually add the flour mixture to the peanut butter mixture and mix on low speed with your electric mixer or with a wooden spoon until a soft, sticky dough has formed.
- Place a piece of plastic wrap directly on top of the dough and place the bowl in the refrigerator to chill for at least 1 hour.
Prepare Cookie Dough for Baking:
- When the dough has finished chilling, preheat the oven to 350°F (177°C).
- Line cookie sheet(s) with parchment paper.
- Using a medium-sized cookie scoop (or a tablespoon), scoop the dough and, using your hands, roll it into a smooth ball.
- Roll the ball in the granulated sugar and place on the cookie sheet. Be sure to give the balls space, so they have enough room to spread while baking. (Don't press them down, they will flatten while baking). Repeat until all the dough has been used.
- Bake for 11 minutes. (See notes below for gluten-free version baking time).
- While the cookies are baking, unwrap the chocolate kisses.
Cool and Add Chocolate Kisses:
- Remove the cookies from the oven and let them cool on the cookie sheet for two minutes.
- Gently press a chocolate kiss into the top of each cookie. Allow the cookies to rest on the baking sheet for another 3 minutes before transferring them to a cooling rack. Fully cool before serving.
If You Don't Have Chocolate Kisses:
- While the cookies are baking, place the chocolate chips in a microwave-safe bowl. Microwave in 20-second intervals, stirring after each one, until melted. Stir well until smooth, and no pieces remain. Set aside to cool slightly.
- Remove the cookies from the oven and let them cool on the baking sheet for 2 minutes.
- Gently press the back of a round 1-teaspoon measuring spoon into the center of each cookie to create an indent. Let the cookies rest for another 3 minutes before transferring them to a cooling rack. Allow the cookies to fully cool.
- Using a spoon, add a small amount of the melted chocolate into each indent, smoothing it out as best you can.
- Allow the cookies to rest until the chocolate has firmed up.
Recipe Notes:
- Please read all of the information above, as well as the notes below, before making this recipe.
- This recipe makes 22 cookies when using a medium cookie scoop. A medium scoop holds 1.5 tablespoons of dough. If you don’t have a scoop, just measure out 1.5 tablespoons for each cookie to get the same amount.
- IF MAKING THE VEGAN GLUTEN-FREE VERSION: Use 1 ½ cups (222g) Bob’s Red Mill Gluten Free 1 to 1 Baking Flour (Amazon link) in the blue package, NOT the red package. Omit the milk and bake the cookies for 13 minutes. Everything else in the recipe and process remains the same.
- Different gluten-free flour blends use different ingredients and ratios. I’ve only tested this recipe with the gluten-free flour blend mentioned above, and the 222g weight applies to that specific brand. Using a different blend may change the results. This recipe will not work with coconut flour or any single gluten-free flour. It must be a gluten-free blend, ideally the one noted above, for the best and expected results.
- Storing: Keep fully cooled leftovers in an airtight container at room temperature for up to one week.
- Freezing: Place fully cooled cookies in single layers in a freezer bag or airtight container, with parchment paper separating each layer, for up to 2 months. Thaw in the refrigerator or at room temperature.
- Nutrition info is based on 1 of 22 cookies with No Whey! brand chocolate kisses and the recipe made as written. The vegan gluten-free version has a calorie count of 178 per cookie. This info is only to be used as a rough guide. Click to learn how nutrition info is calculated on this website.


Did You Make This Recipe or Have a Question About It?