
This page may contain affiliate links. Click to learn more. As an Amazon Associate I earn from qualifying purchases.
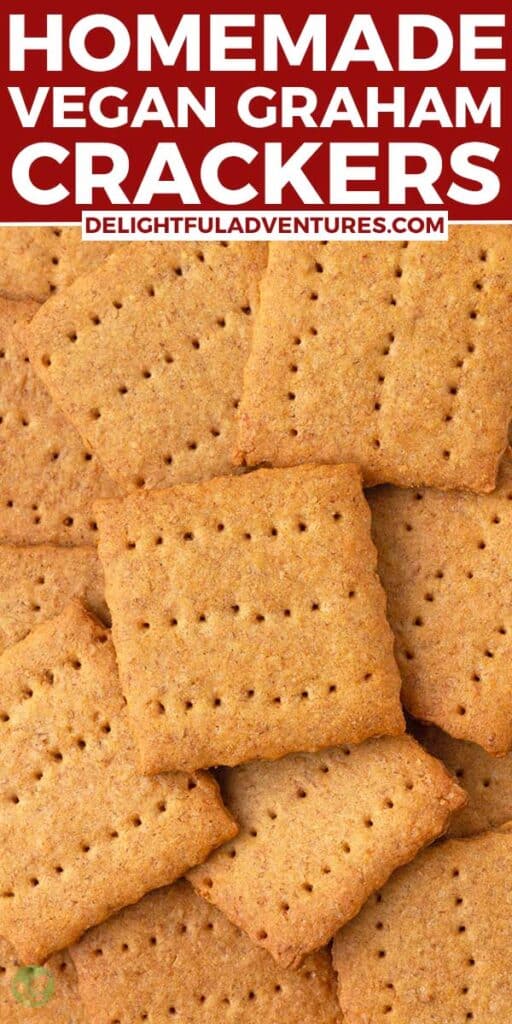
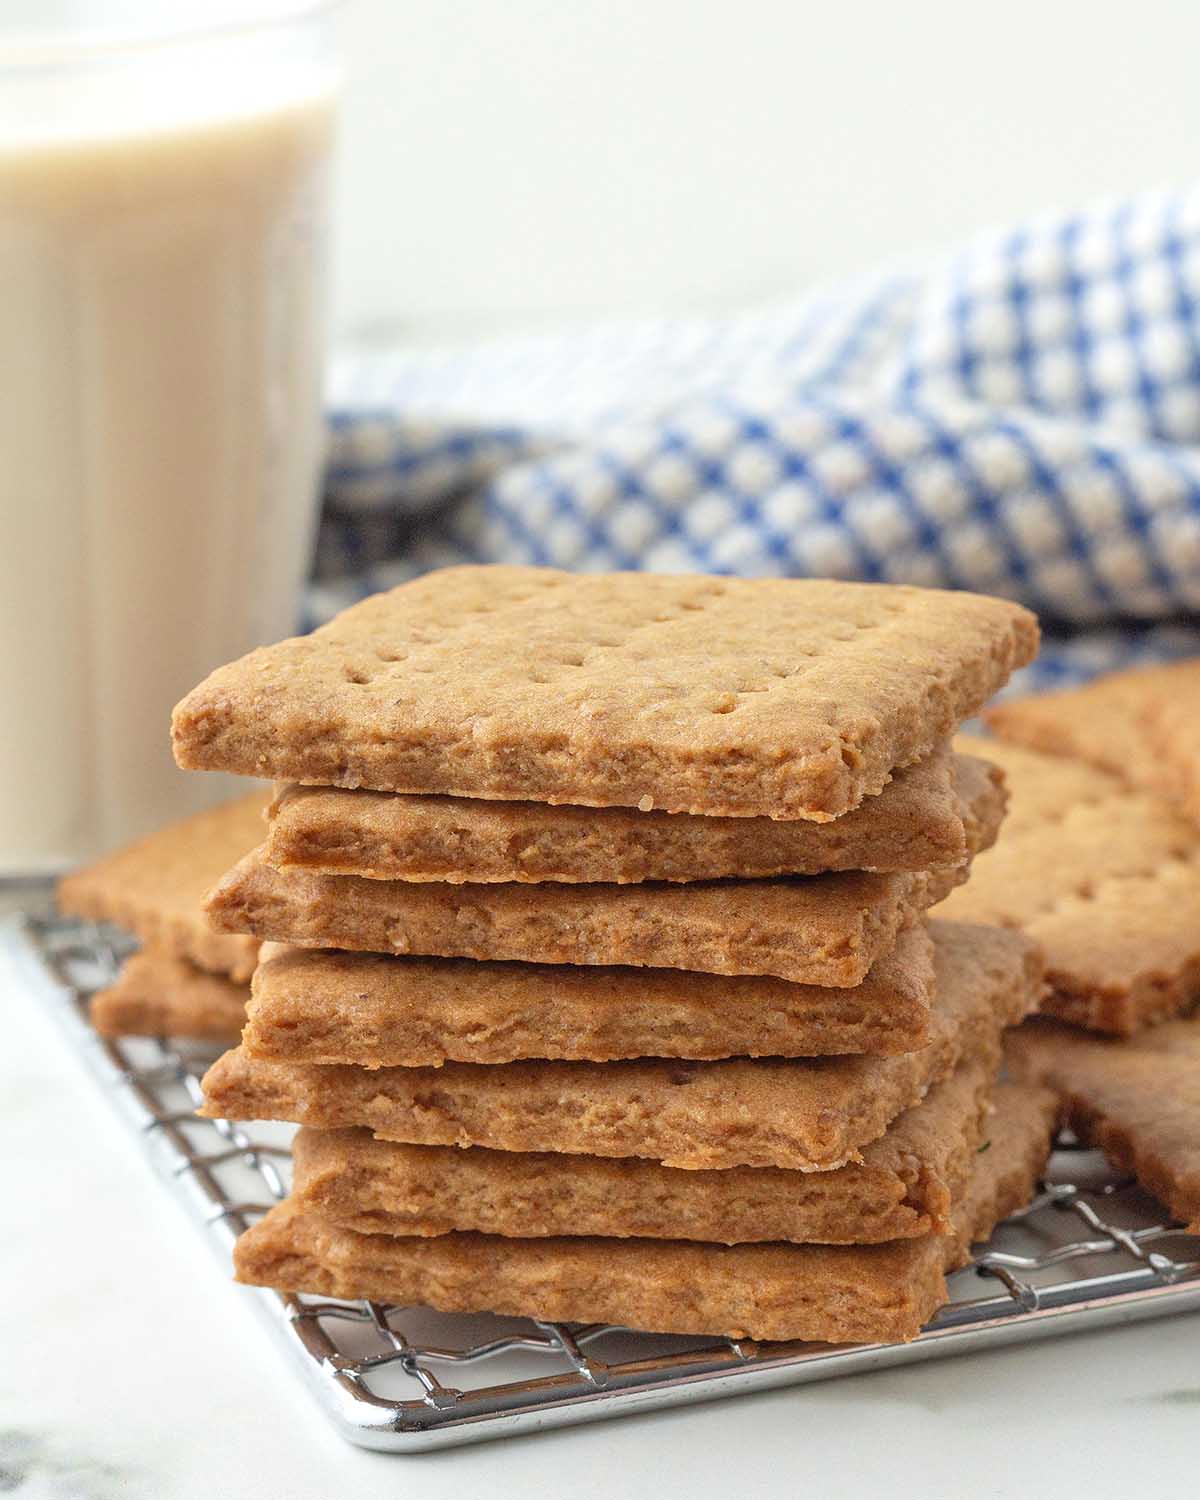
These homemade vegan graham crackers are crispy, crunchy, and perfectly snappy with a light touch of cinnamon in every bite. Made with simple pantry ingredients, this recipe lets you skip the search for hard-to-find vegan graham crackers.
They're perfect for snacking, making s'mores, or homemade pie and cheesecake crusts. Plus, they're dairy-free, egg-free, and include two gluten-free options.
Save This Recipe!
In a hurry? Drop your email below, and this recipe will be sent straight to your inbox for later. You'll also get fresh recipes every week! You can unsubscribe anytime.
I realized, not long ago, that vegan graham crackers aren’t easy to find. They’re not something I use often, but when I needed them for a new recipe I wanted to test (vegan s'mores cookies!), I could only find one brand.
I bought them, hoping they would work, but quickly learned that they didn’t taste good... at all. Unfortunately, they were the only option available where I live.
So, I decided to make my own. It did take me several tries to get them just right, but they’re so easy to make, I’m not going to keep searching. When I want graham crackers, I’ll make this recipe.
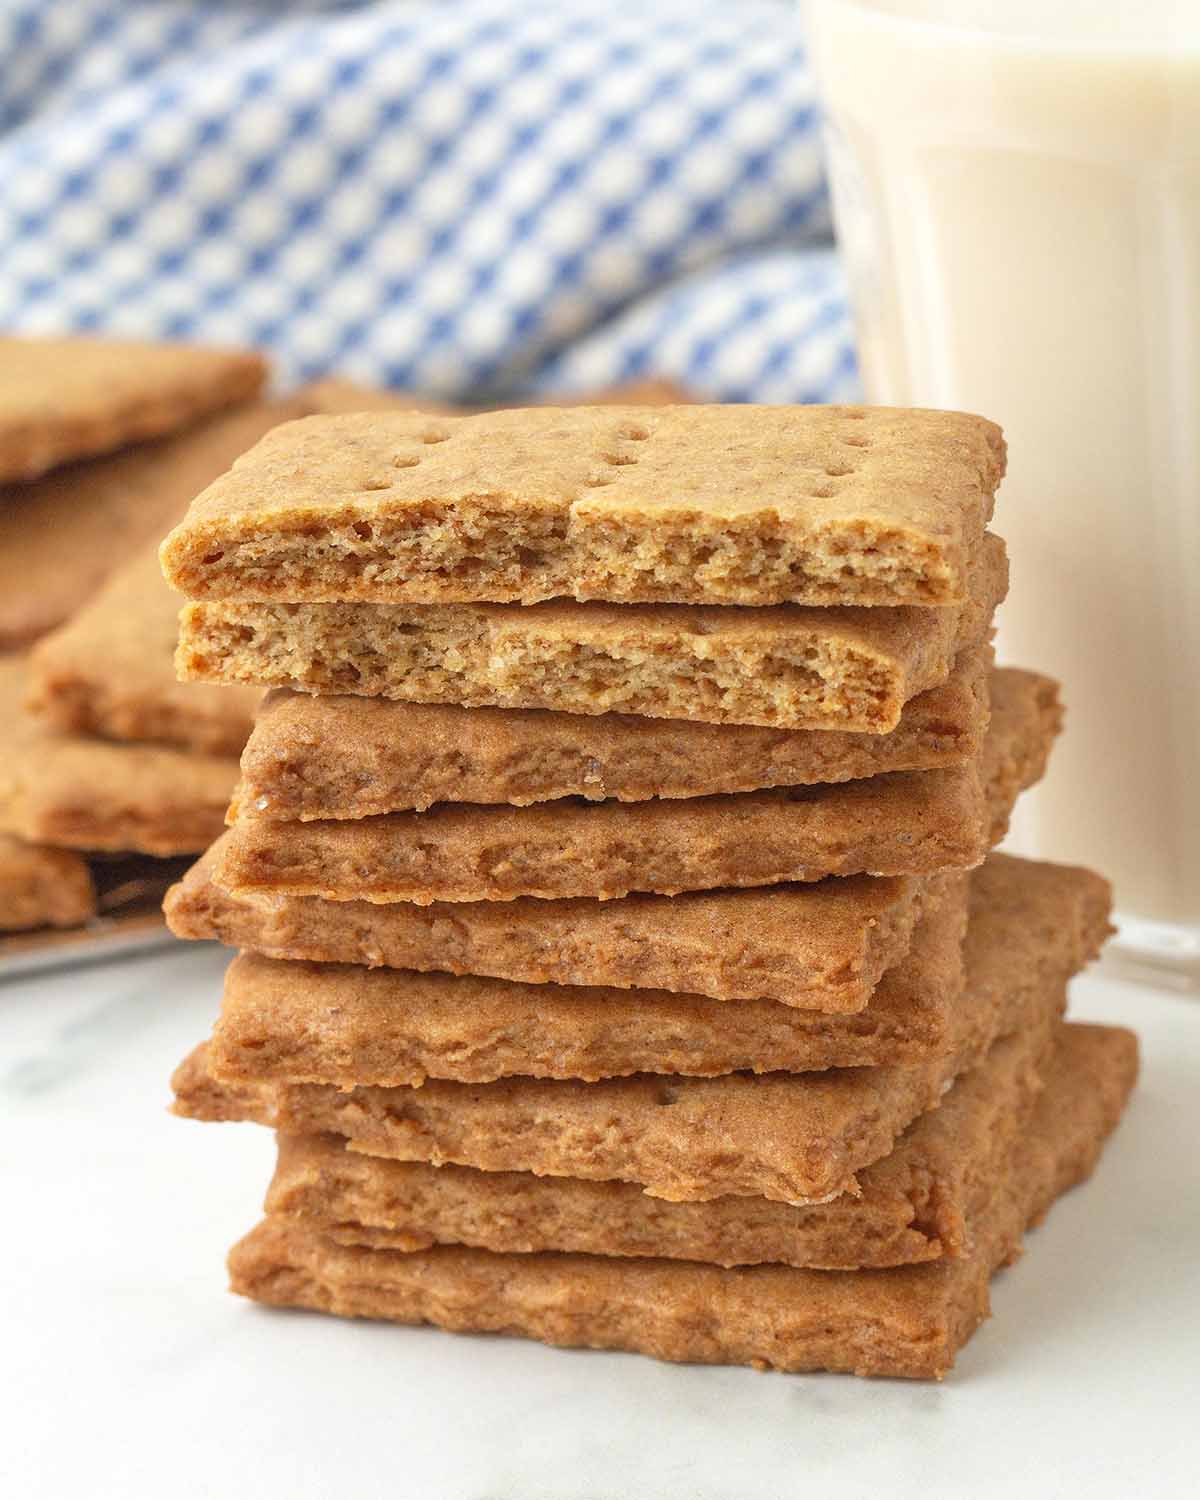
These homemade graham crackers are crunchy with a satisfying snap, and they taste so good! They’re made with maple syrup instead of honey, so they won’t have the exact classic graham cracker flavour you may be used to, but think of them as a homemade vegan take on graham crackers, with a crisp texture and sweet flavour all their own.
I didn’t use graham crackers often before, but now that I have a homemade vegan version I love, I know they’ll be making more appearances in my kitchen! I hope you love them, too.
Gather These Ingredients
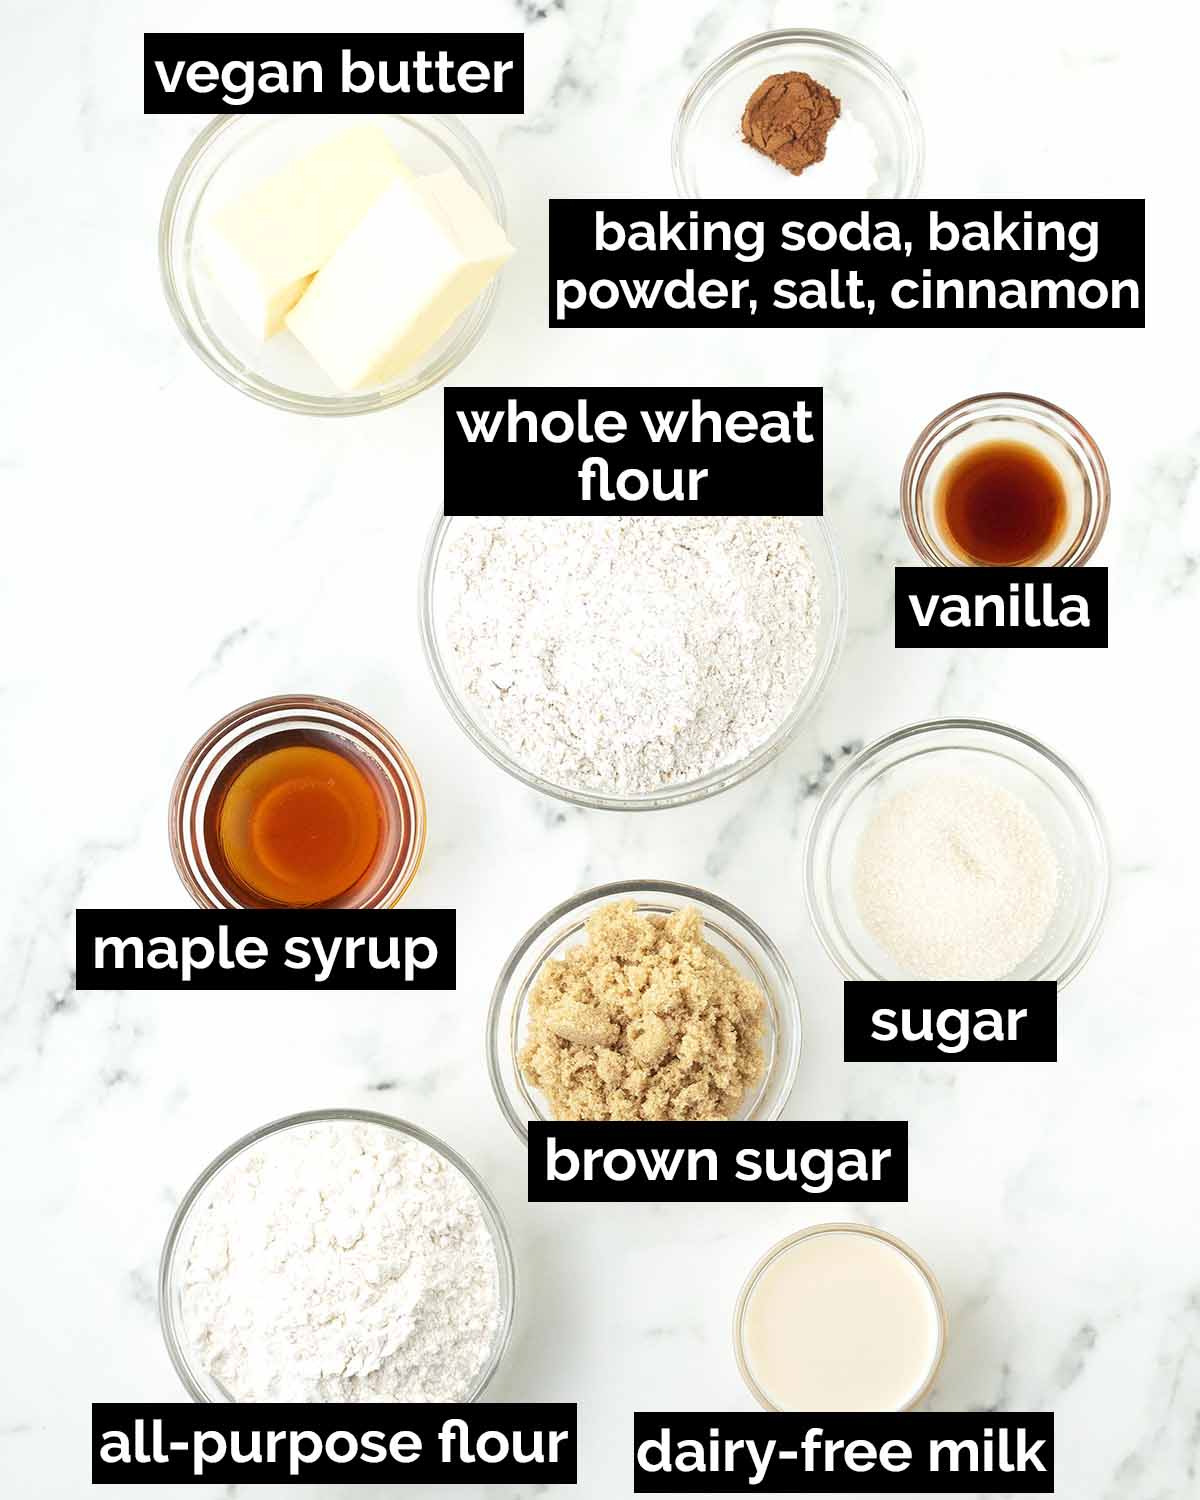
A Few Key Ingredient Notes
(NOTE: Only ingredients with special notes are listed below. The full ingredient list can be found in the recipe card.)
Whole Wheat and All-Purpose Flour - Traditional graham cracker recipes call for graham flour, but since it can be hard to find, we'll be using a blend of white and whole wheat. Whole wheat gives them their classic nutty flavour, and together, they give the crackers the ideal texture.
For gluten-free vegan graham crackers: I tested this version several ways, and there were two I liked best. You can find both options, along with substitutions, in the recipe notes.
Vegan Butter - Use the sticks rather than spreadable vegan butter from a container, the softer texture of margarine won't work well in this recipe. Before you begin, make sure it's at room temperature.
Brown sugar, granulated sugar, and maple syrup - All three contribute sweetness and structure, but individually, each one adds different things to the recipe (crunch, colour, flavour, etc.). Don't reduce any of them, and don't leave any out, the recipe is perfectly balanced as written.
Dairy-Free Milk - Any type will work, just make sure it's unflavoured and unsweetened. Note that this ingredient changes with the two gluten-free versions, so read the recipe notes very closely before starting.
Here's How to Make Them
(Note: I’ve outlined the step-by-step here, but find the full recipe, ingredients, and directions in the recipe card at the end of this post.)
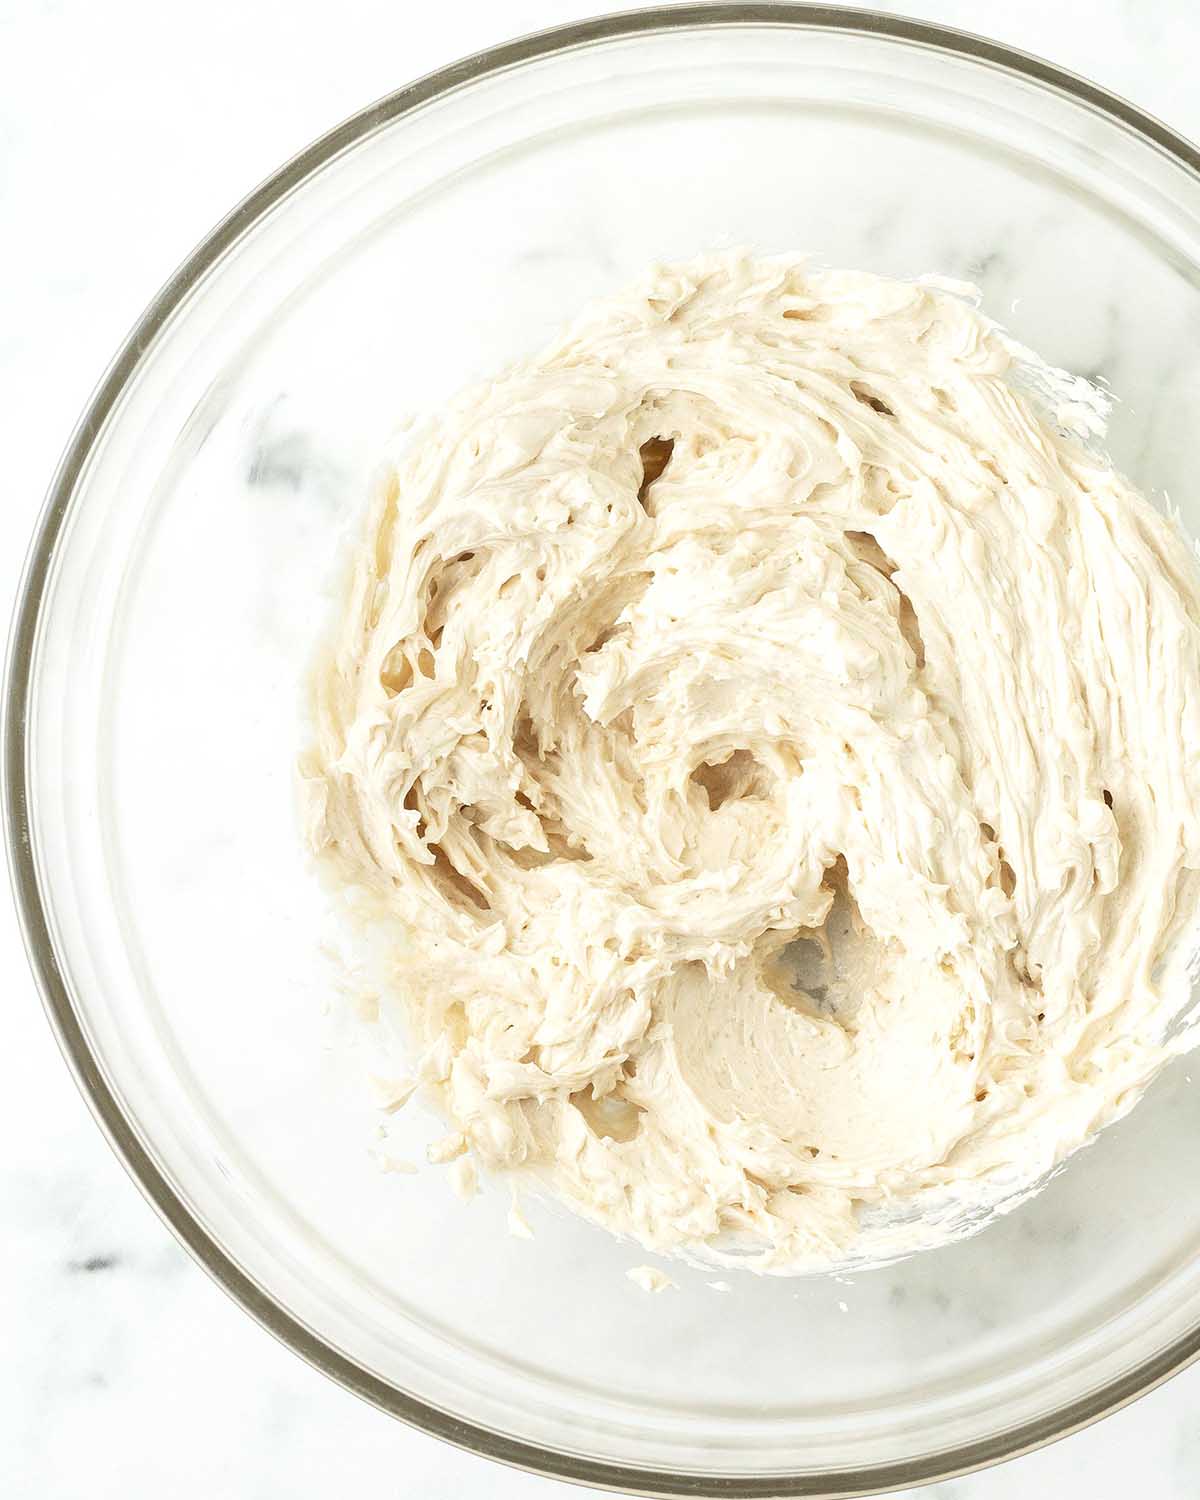
Mix the dry ingredients, set aside, and use an electric hand mixer to mix the wet ingredients together.
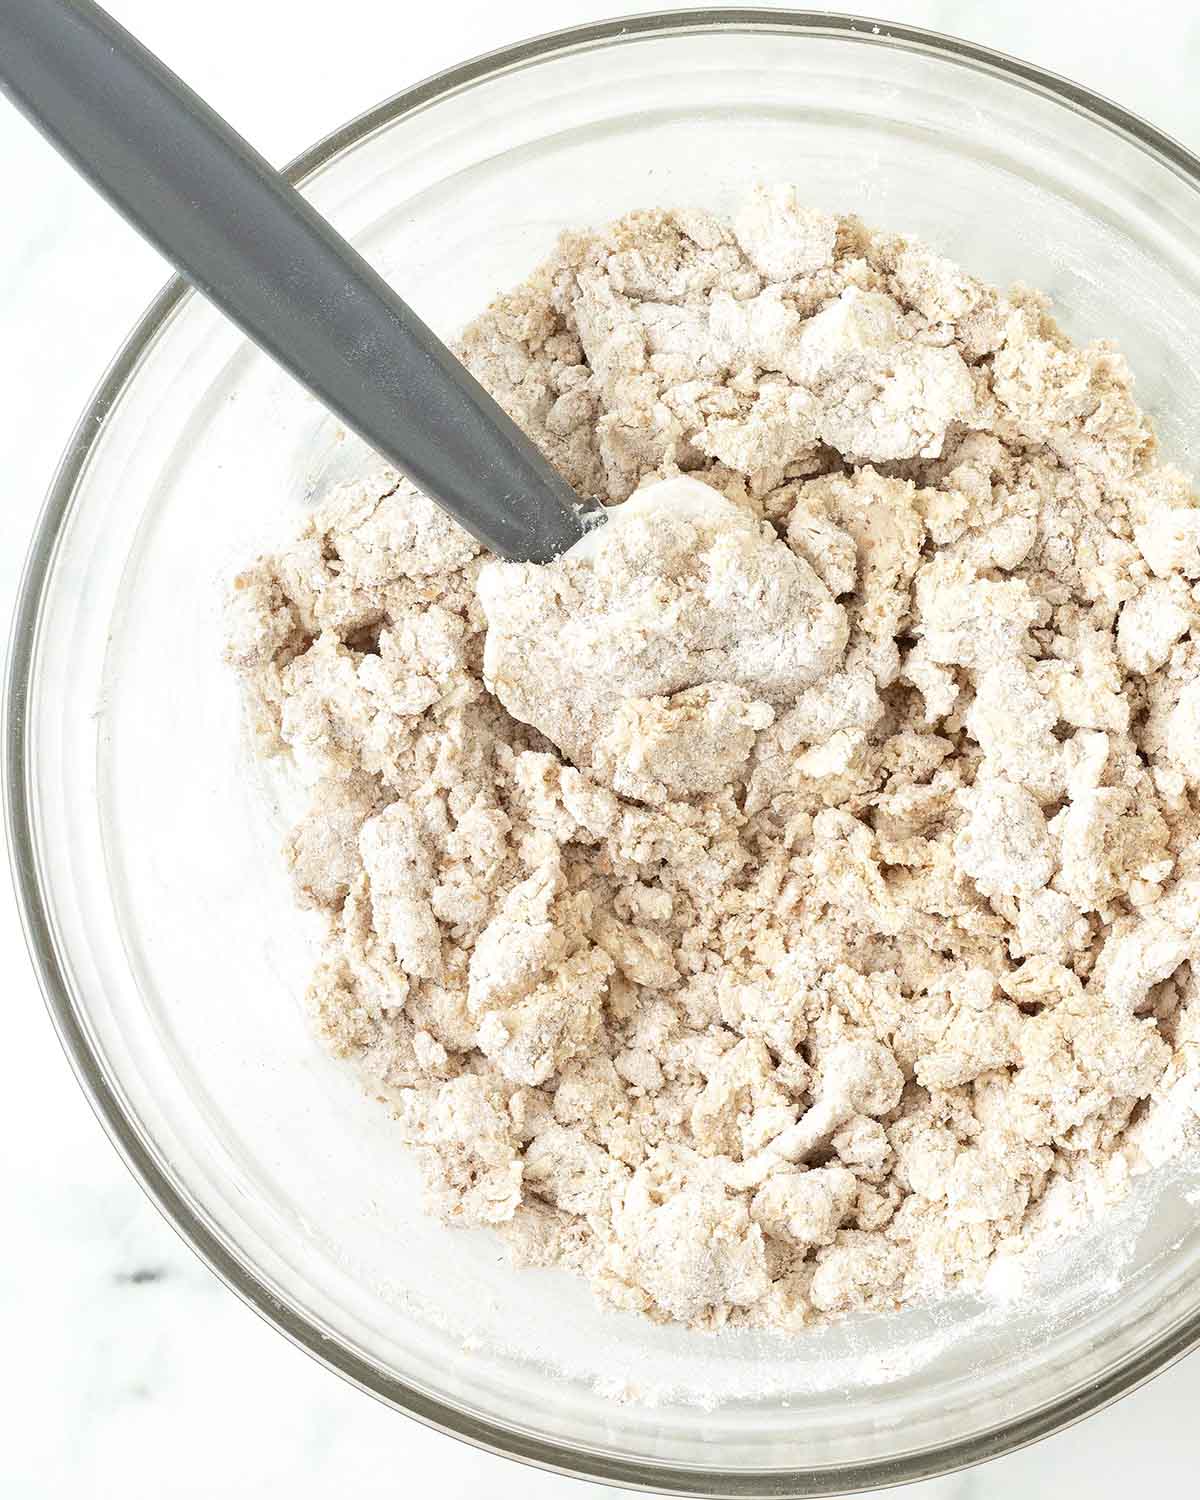
Add the dry ingredients to the wet ingredients and mix until a sticky, soft dough has formed. I switch over to mixing by hand at this point.
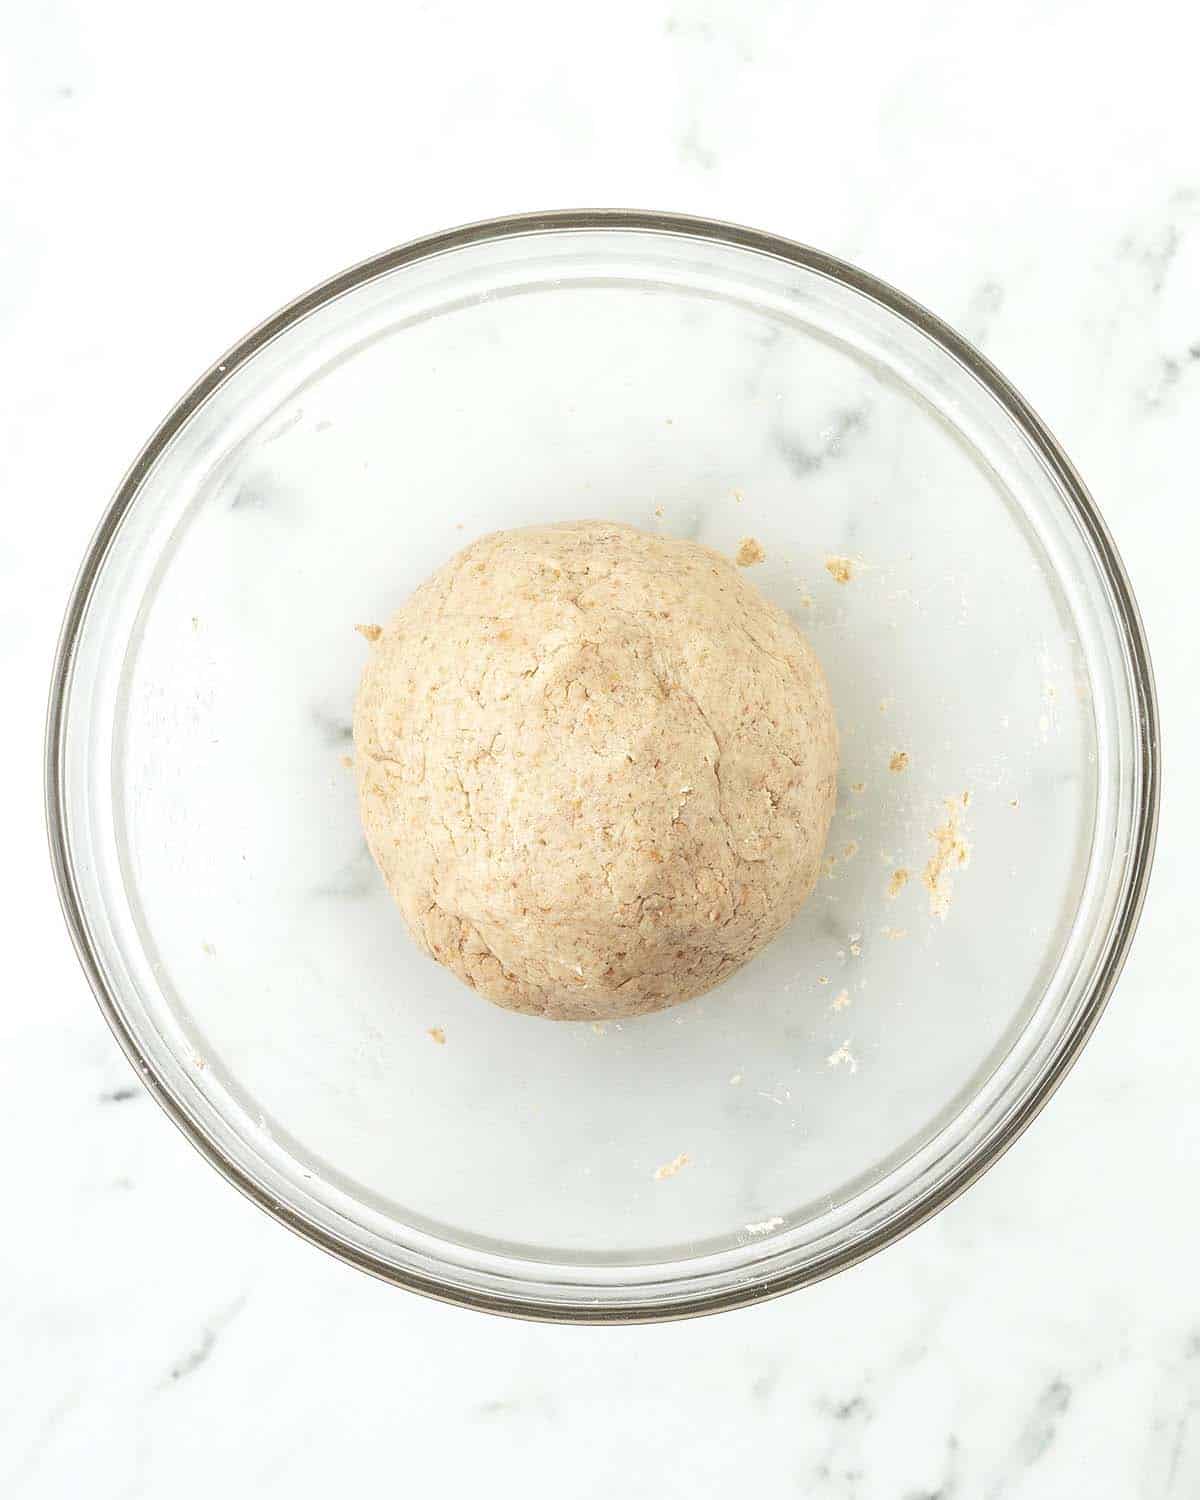
Continue mixing until everything has combined and you're able to form a ball with the dough.
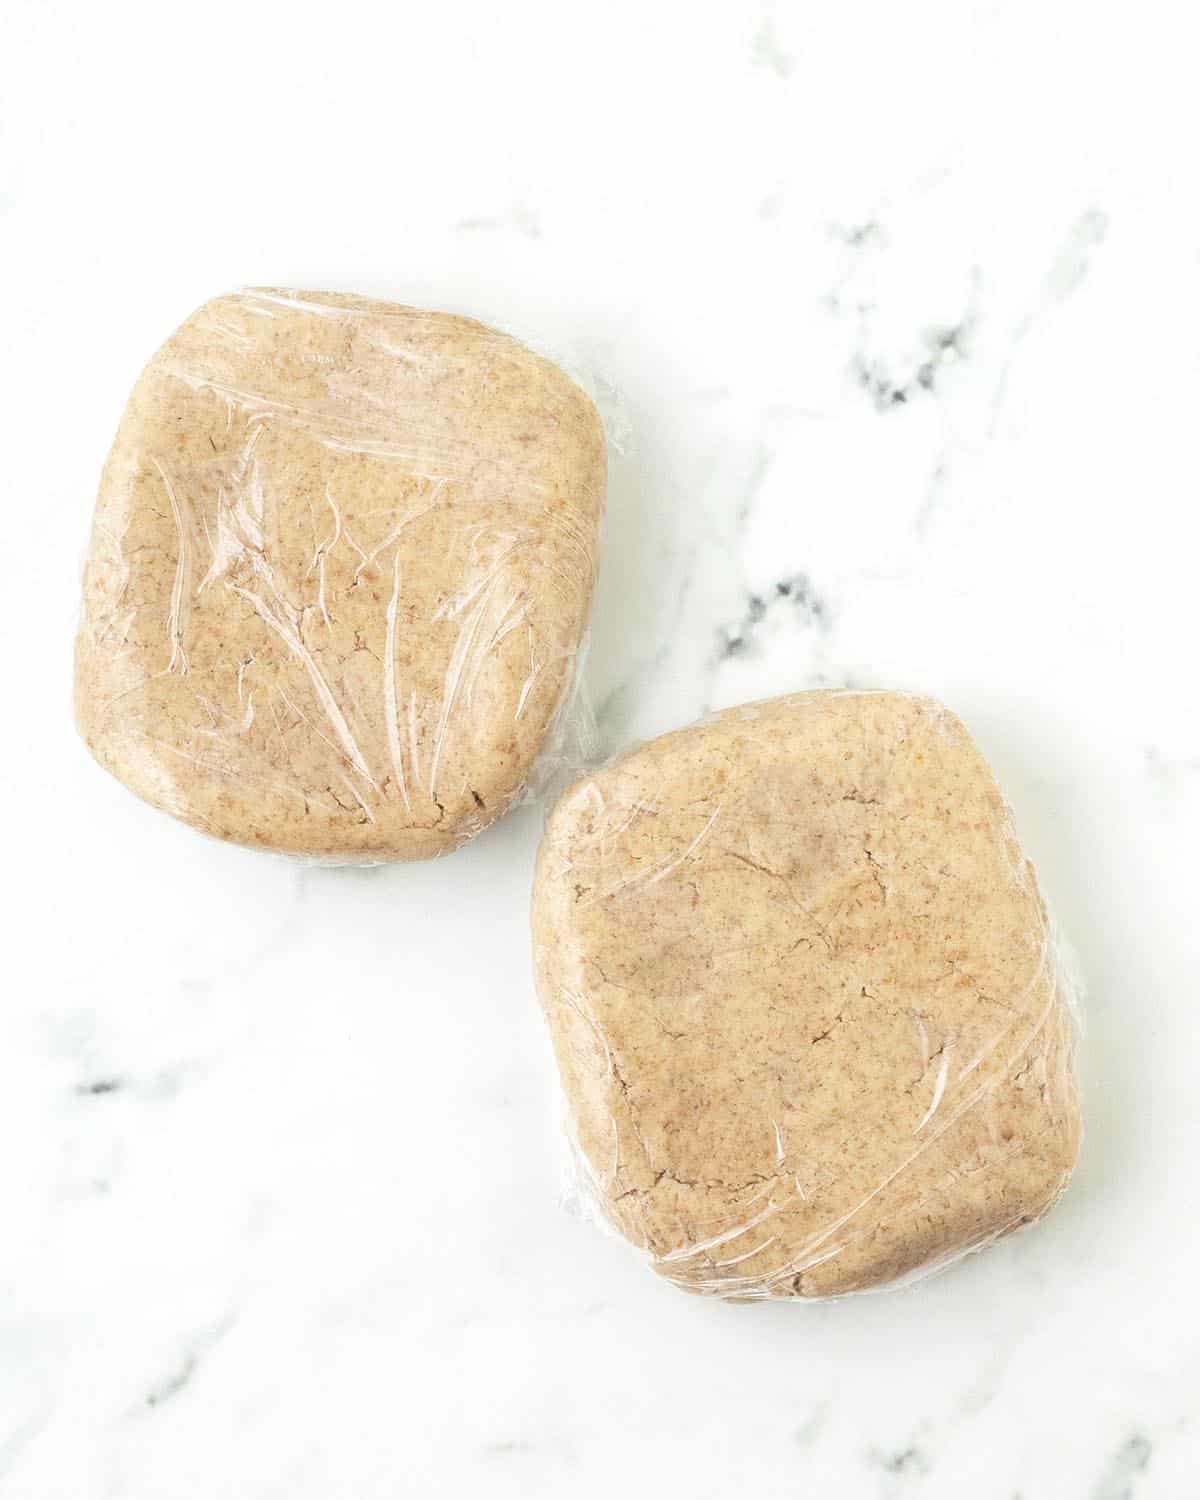
Divide the dough into two, flatten and wrap each tightly in plastic wrap. Place in the refrigerator to chill.
The S'mores Can Wait!
I know it’s tempting to skip the chill time, but this step is worth it. Chilled dough is easier to roll and cut, and it helps the graham crackers hold their shape during baking. If the dough becomes too soft while working with it, return it to the refrigerator until it firms up again.
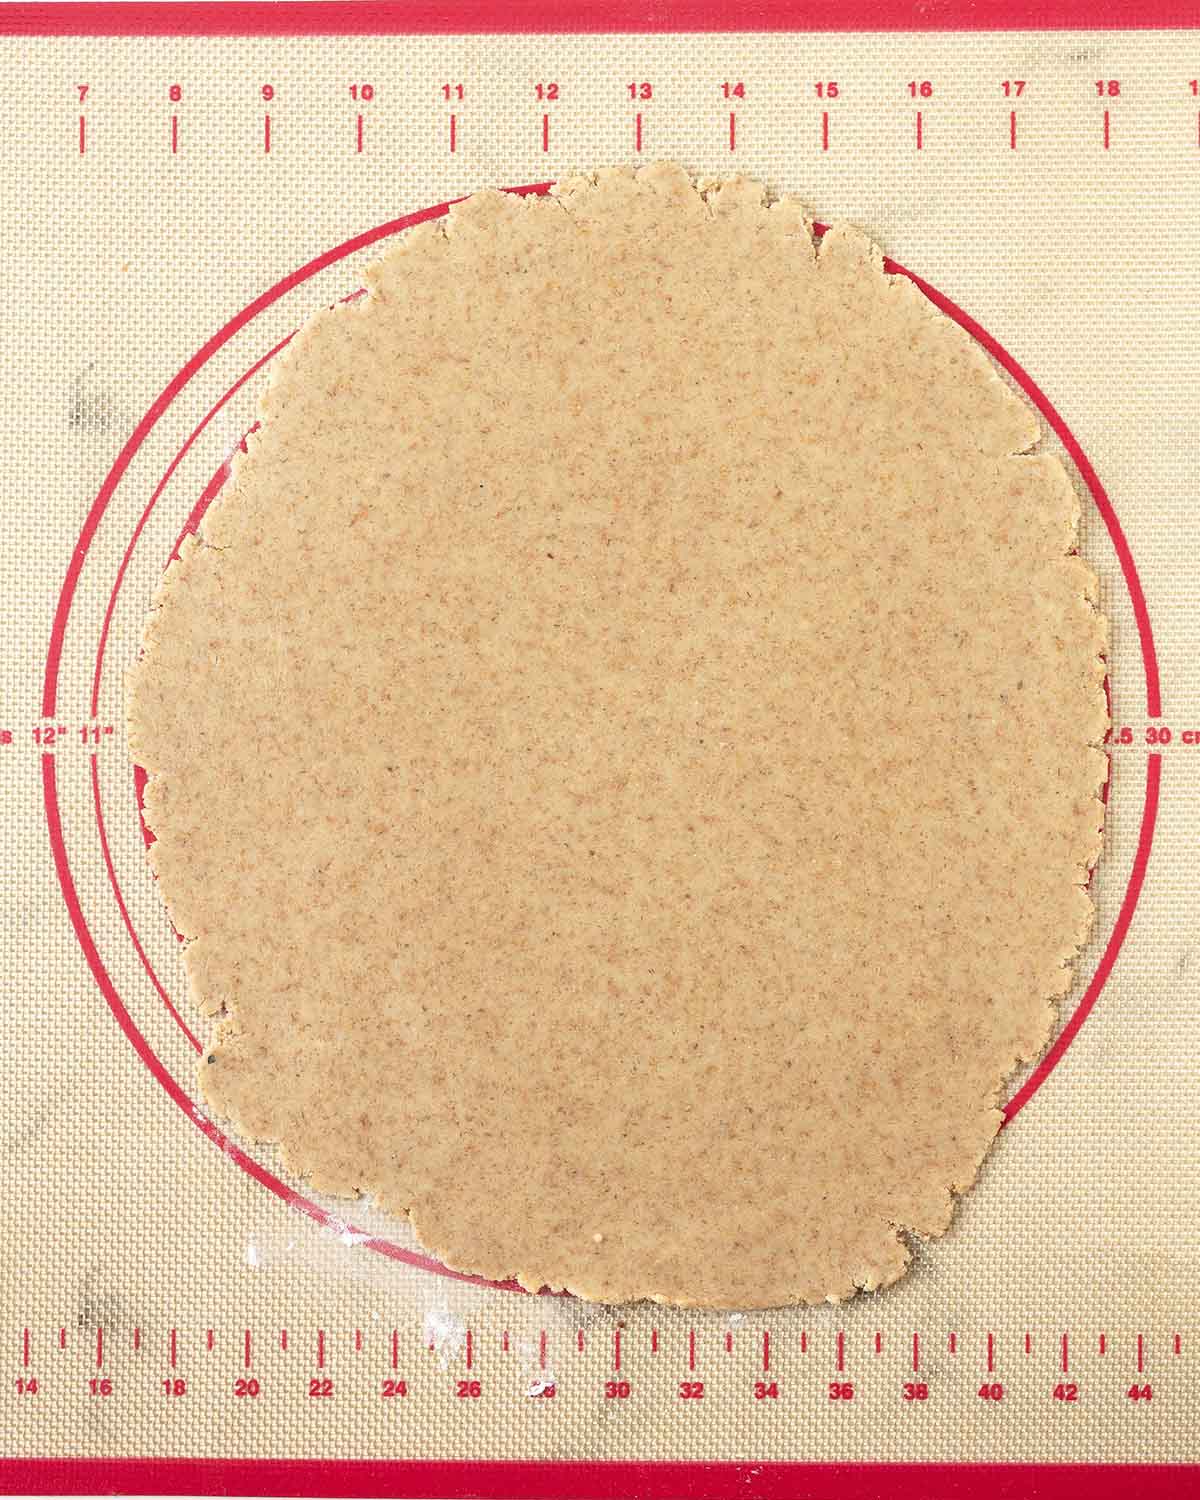
Remove one piece of dough from the refrigerator and roll it until it's ⅛ inch thick.
NOTE: I recommend rolling it out on parchment paper or a pastry mat. This helps prevent sticking and makes it much easier to lift and transfer the cut graham crackers to the baking sheet.
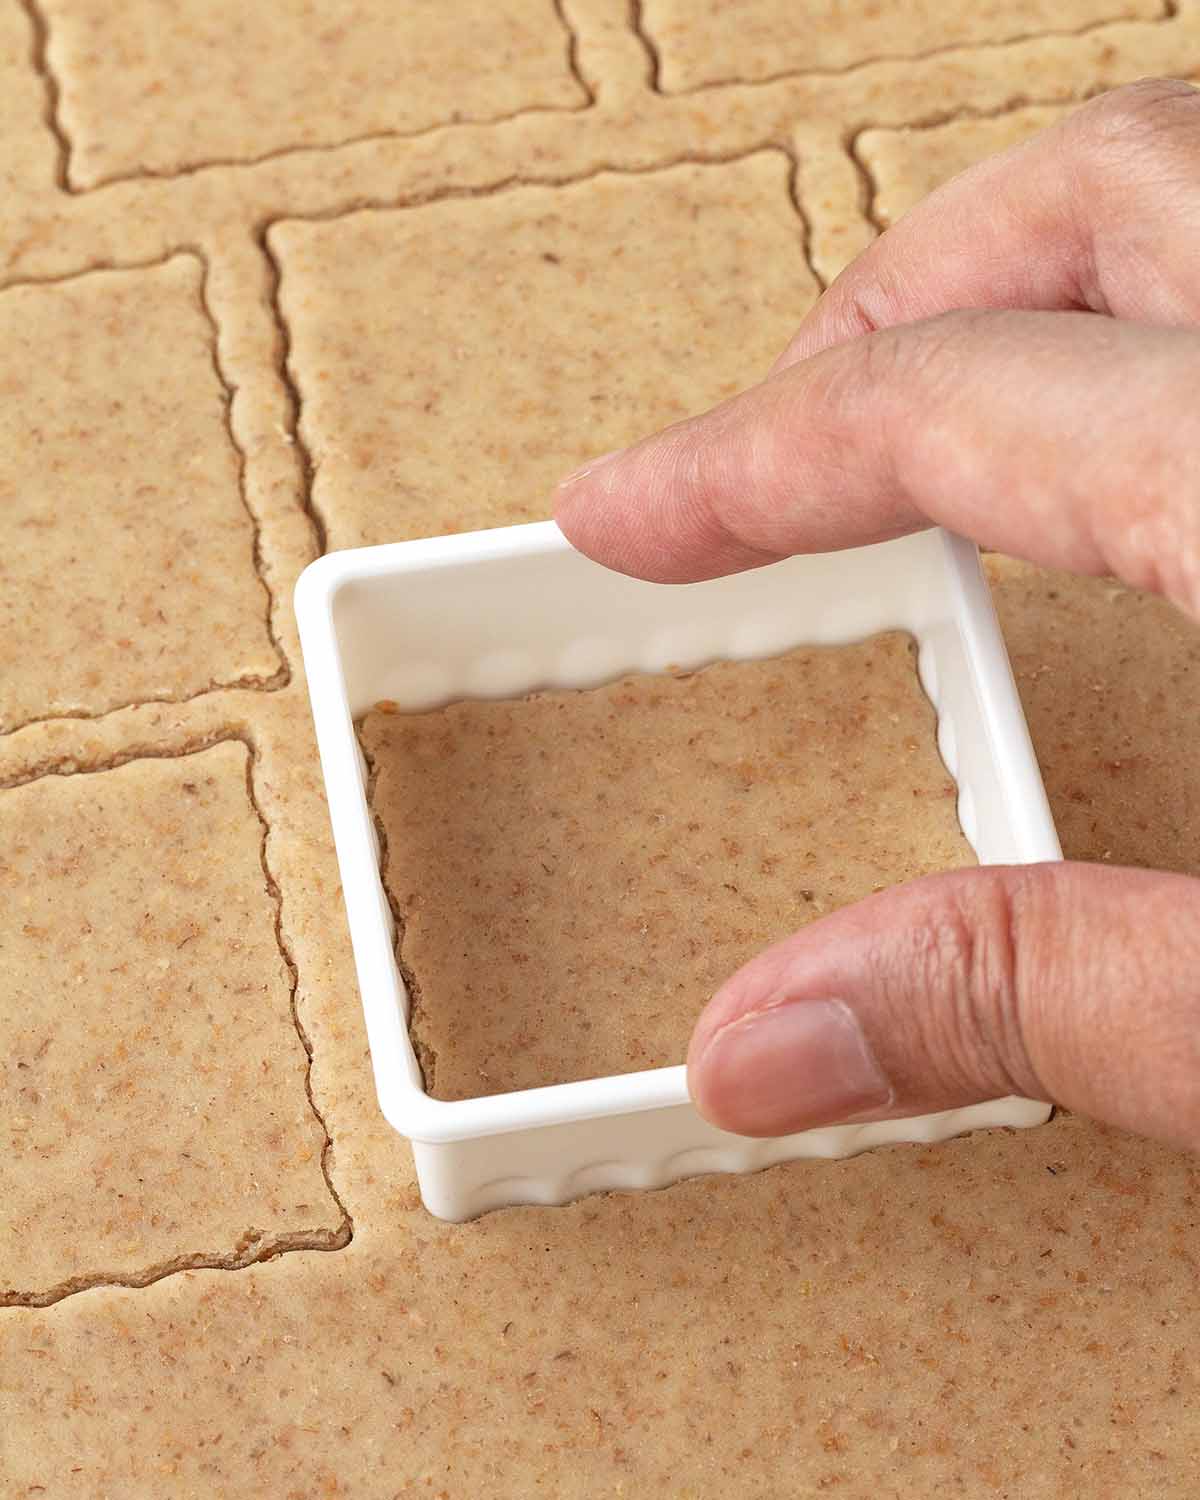
With a cookie cutter, cut them as close as possible to each other. Transfer to the baking sheet. Gather up the dough scraps, form them into a ball again and repeat the rolling and cutting process.
Get the Thickness Right
I tested several dough thicknesses while developing this recipe, and ⅛ inch was the perfect balance. Roll the dough too thin, and the crackers can become brittle, break easily, or burn. Roll them too thick, and they may not bake through properly and can end up tough.
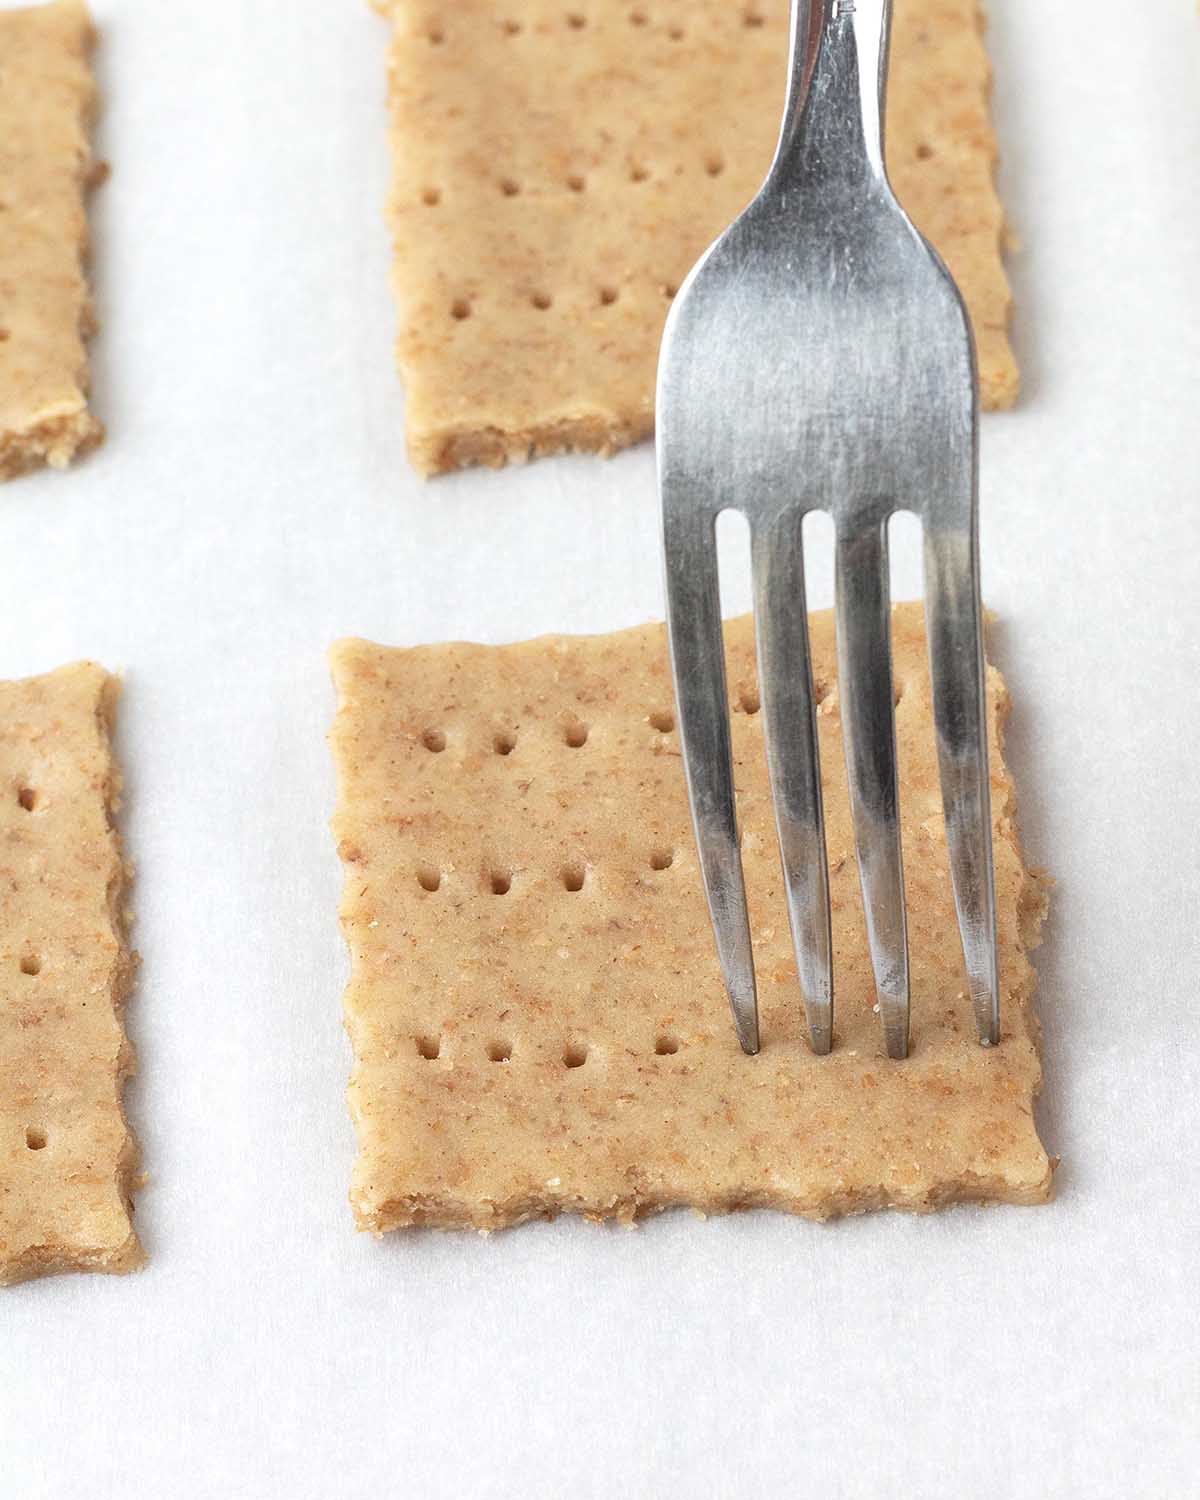
Using a fork, poke holes in each graham cracker (this is called docking). Docking prevents the crackers from puffing up as they bake and also gives them the classic graham cracker look. Once this is done, bake.
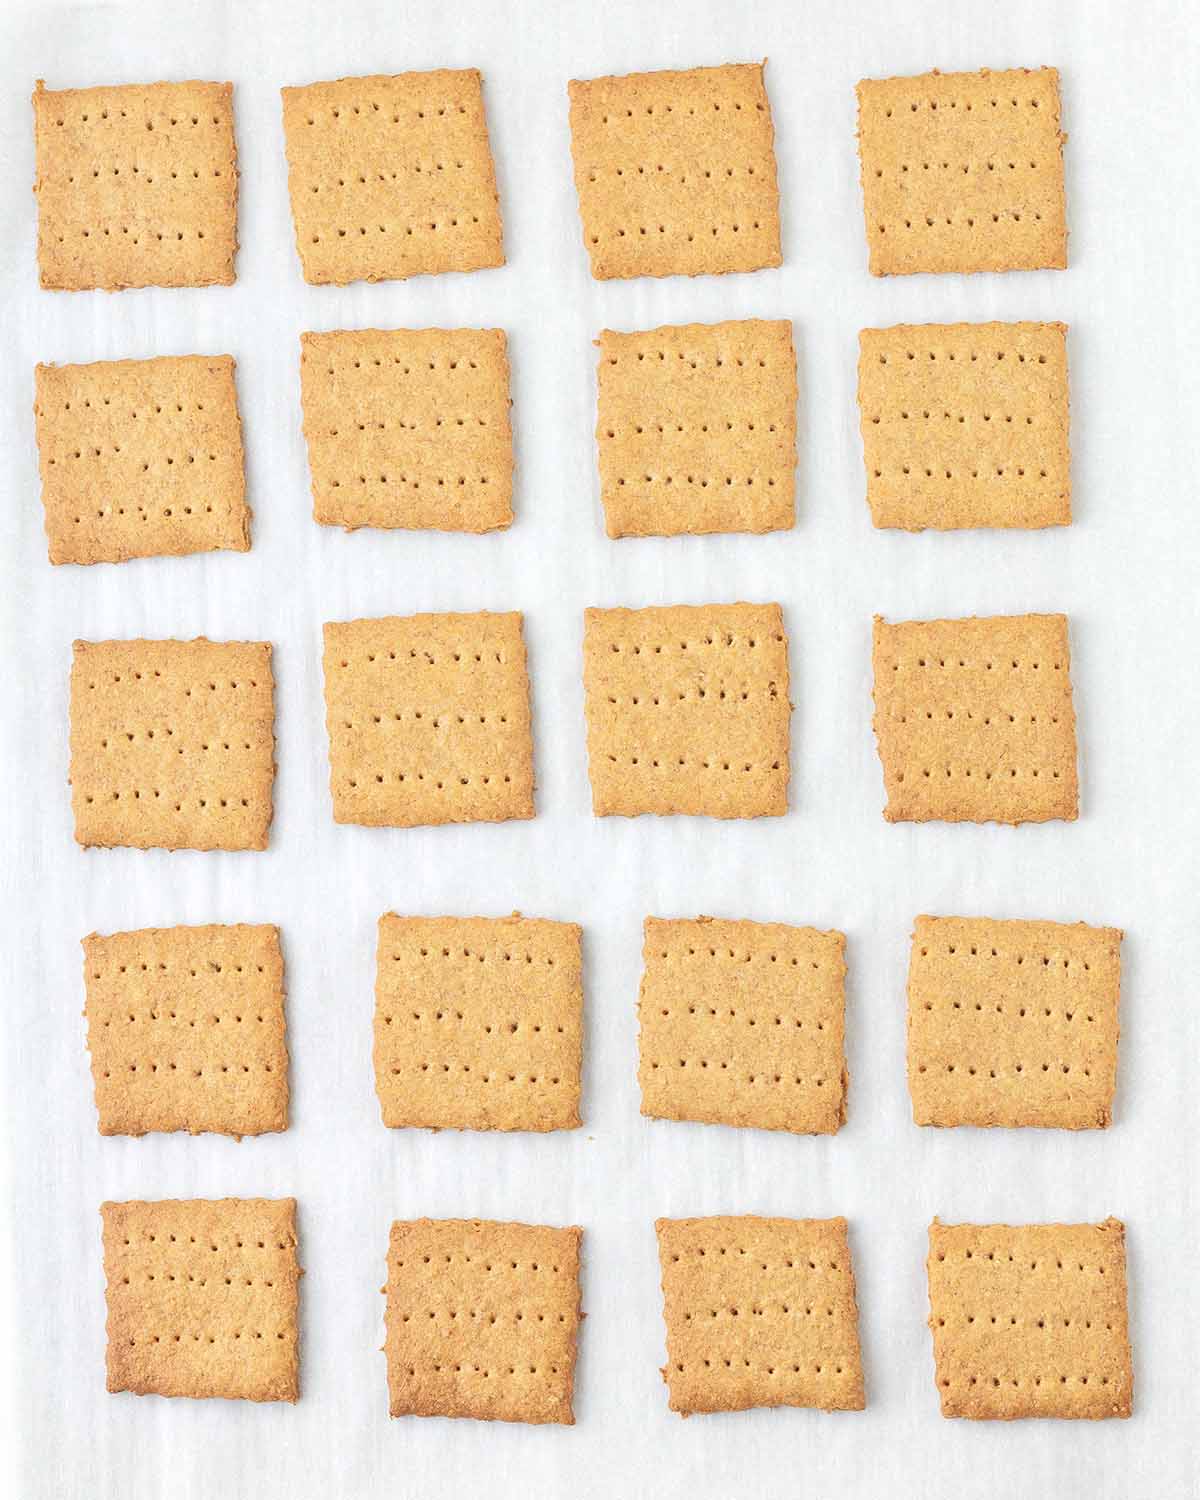
When the baking time has ended, carefully remove the baking sheet from the oven, rest the crackers for 2 minutes, then transfer them to a cooling rack. Cool them completely before serving for the best texture and snap.
Once done, remove the second piece of dough from the fridge and repeat the rolling, cutting, docking, and baking steps, or you can save it for later since it can stay in the fridge for up to 3 days. You can also freeze it. See the recipe notes for details.
Keep an Eye on the Bake Time
Don’t overbake! The graham crackers will still feel slightly soft when they come out of the oven, but they'll continue to firm up and become crisp as they cool. For this recipe, it's best to rely on the bake time rather than the usual visual cues, as overbaking will make them too hard.
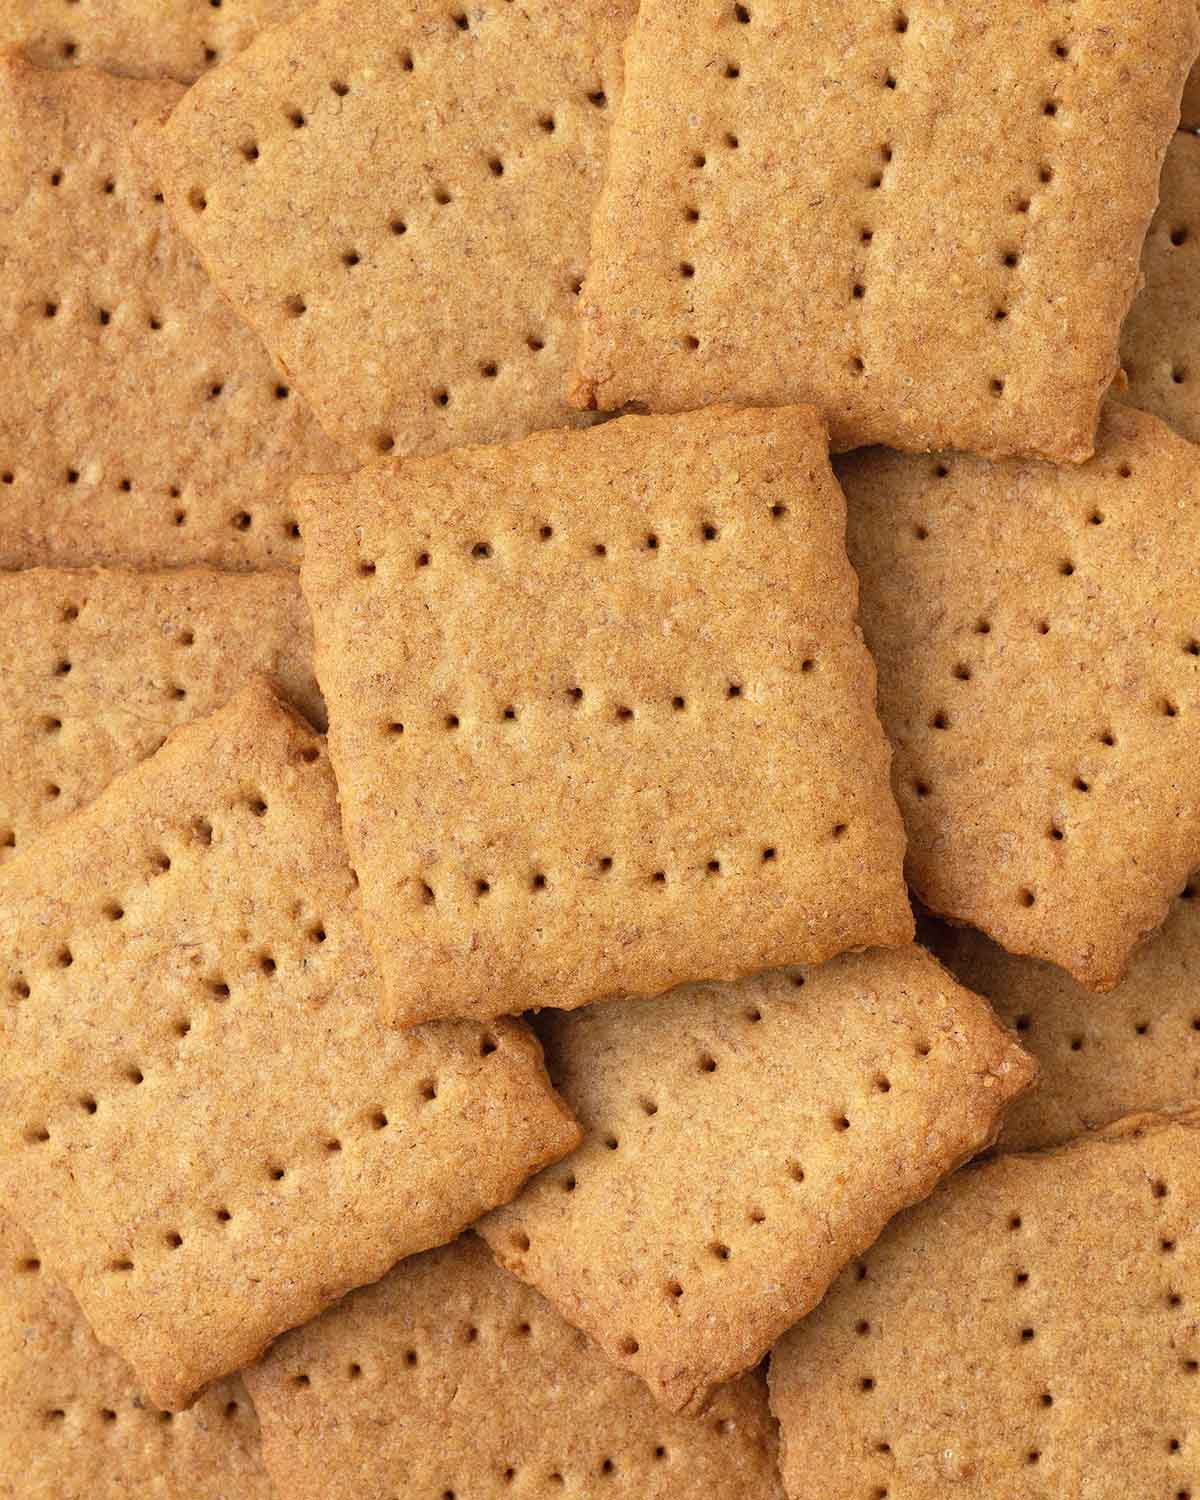
So Many Ways to Enjoy Them
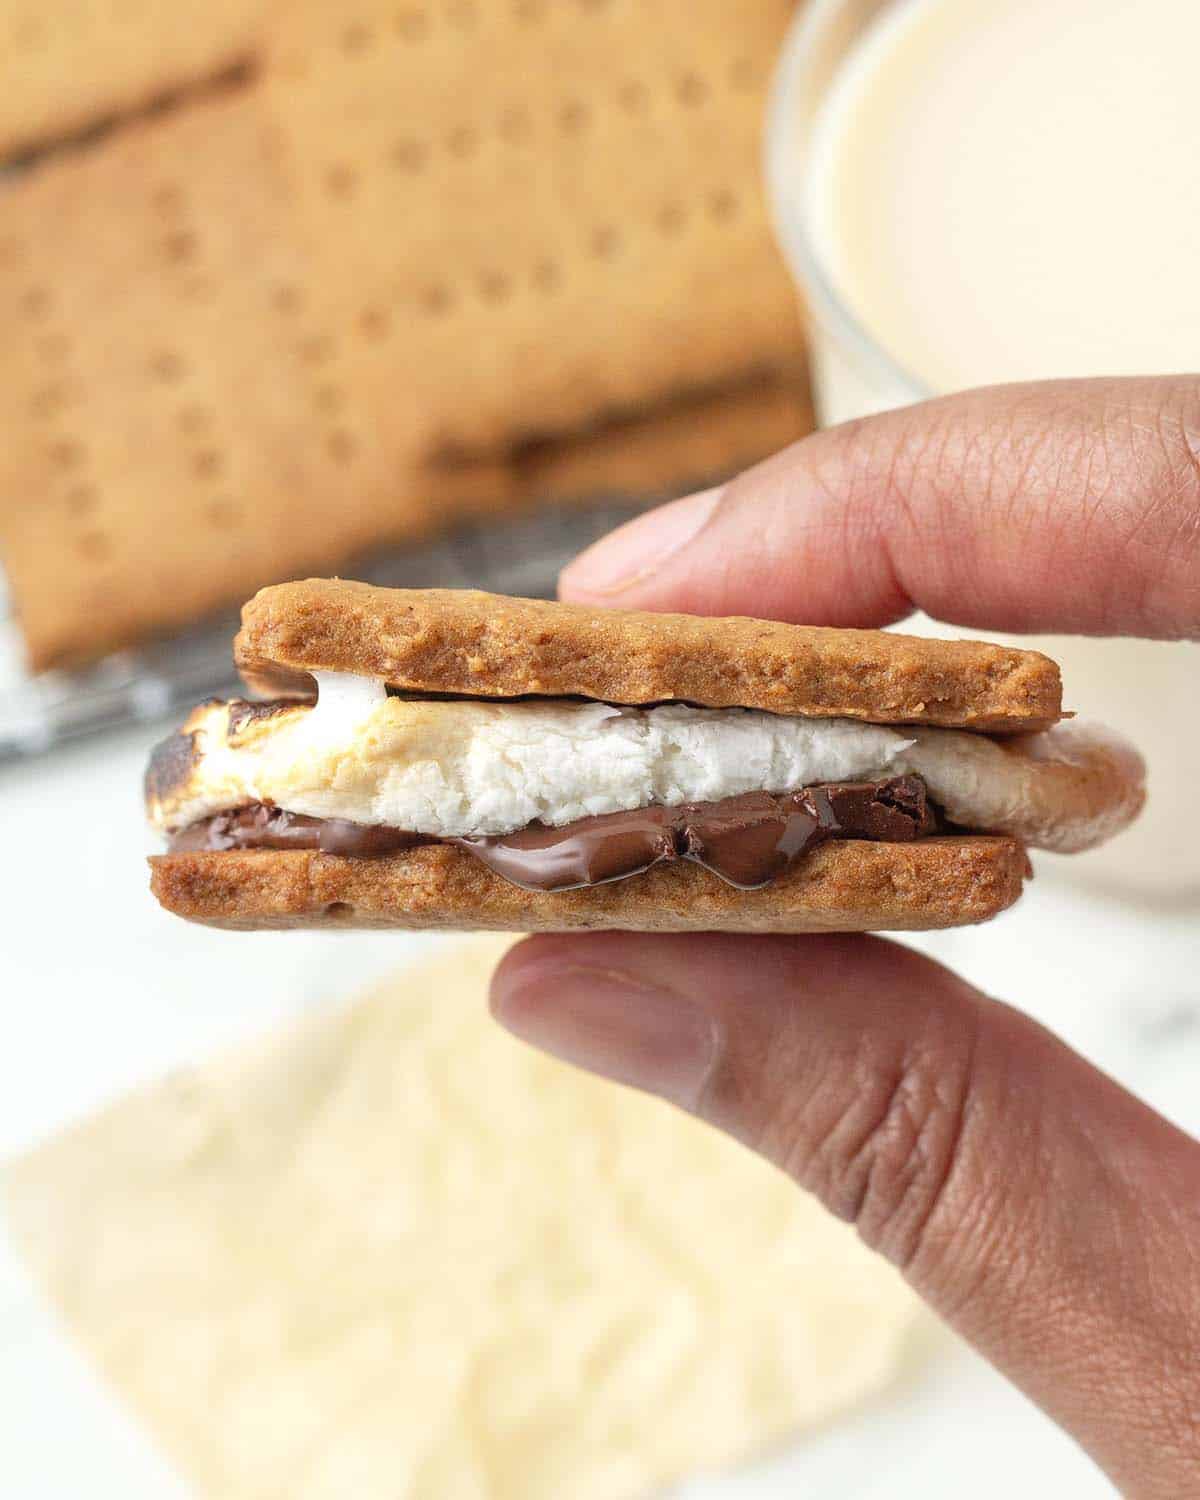
S’mores are the obvious choice, but these homemade graham crackers are great for so much more. Enjoy them just as they are for a simple, sweet snack, or dunk them in your favourite plant milk or homemade hot vegan drink.
They’re also delicious crushed and sprinkled over ice cream, parfaits, and yogurt, or layered into desserts for a little extra crunch. You can even use them to make vegan s’mores cookies and graham cracker crust for pies and cheesecake.
Before You Start, Read These Tips
- Measure and have all your ingredients ready to go before starting. This will make the process run smoothly, quickly, and easily.
- Measure your ingredients accurately for the best texture and flavour. I highly recommend using a kitchen scale and the weight measurements provided for this recipe, especially when measuring flour. Read my guide How to Measure Flour Correctly for more tips. (See the “Suggested Equipment” section in the recipe card for the scale I use and recommend.)
- Read this post from top to bottom before you start. This recipe took several rounds of testing to get just right, and I learned a lot along the way. I've shared what I learned from my testing so you can make these with confidence. Be sure to read through the full recipe and recipe notes before you begin.
- Give yourself enough time. The dough needs to chill for at least 2 hours before cutting and baking, so take that into account when you plan to make this recipe.
- Follow the recipe exactly as it’s written, and they will turn out perfectly every time!
After You Make Them...
I’d love to hear how this vegan graham crackers recipe turned out for you! Share your thoughts with a comment and rating below, and/or post a photo of your crackers on Instagram and tag me so I can see it. (I'm @delightfuladventures on Instagram).
Homemade Vegan Graham Crackers (No Honey)
Suggested Equipment:
Ingredients:
- 1 ¼ cups (156g) whole wheat flour (see notes about the gluten-free options below)
- ¾ cup (94g) all-purpose flour
- ¾ teaspoon ground cinnamon
- ½ teaspoon baking soda
- ¼ teaspoon baking powder
- ½ cup (113g) unsalted vegan butter (softened)
- ¼ cup (50g) light brown sugar
- 2 tablespoons (25g) granulated sugar
- ½ teaspoon salt
- 2 tablespoons pure maple syrup
- 1 teaspoon vanilla extract
- 2 tablespoons unsweetened dairy-free milk
Instructions:
- Add the whole wheat flour, all-purpose flour, cinnamon, baking soda, and baking powder to a medium bowl. Whisk to combine and set aside.
- Using an electric mixer, beat the butter, brown sugar, granulated sugar, and salt in a medium bowl until blended and creamy, about 3 minutes. Stop to scrape down the sides of your bowl when needed. Add the maple syrup, vanilla extract, and milk, blend again until combined.
- Gradually add the flour mixture and mix on low speed until combined, or mix with a wooden spoon until a soft dough forms. Form the dough into a ball. Don't knead or overwork the dough.
- Divide the dough into two even balls, place each one on a piece of plastic wrap, pat them down, and shape them into squares. Wrap them up and place them in the refrigerator to chill for at least 2 hours or up to 3 days.
- Remove one of the chilled dough pieces from the fridge and let it sit at room temperature for about 10 minutes.
- Preheat oven to 350°F (177°C).
- Line cookie sheet(s) with parchment paper.
- Dust a piece of parchment paper or a baking mat with a little flour and place the dough on top of the flour. Place another piece of parchment paper on top of the dough and, using a rolling pin, roll the dough out until it is ⅛-inch thick.
- Using a 2-inch x 2-inch cookie cutter, cut out the graham crackers and place them on the prepared baking sheets, leaving a little space in between each one.
- Gather the dough scraps into a ball and reroll, cut, and transfer the graham crackers to the baking sheet. Continue until all of the dough has been used. Repeat with the remaining dough, or refrigerate or freeze it to bake later.
- Bake for 14 minutes.
- Remove from the oven and let them rest on the cookie sheet for 1-2 minutes before transferring them to a cooling rack. Fully cool before serving. They will continue to harden while cooling.
Recipe Notes:
- Please read all of the information above, as well as the notes below, before making this recipe.
- This recipe makes 40 graham crackers using a 2-inch x 2-inch cookie cutter.
- For the gluten-free version with almond flour: Omit the milk, whole wheat flour, and all-purpose flour. Use 1 ½ cups (222g) of Bob’s Red Mill Gluten Free 1 to 1 Baking Flour (Amazon link) and ½ cup (56g) of fine almond flour (NOT almond meal), no milk. This version has a lighter, crisper texture.
- For the gluten-free version without almond flour: Omit the whole wheat and all-purpose flours. Use 2 cups (296g) of Bob’s Red Mill Gluten Free 1 to 1 Baking Flour (Amazon link) and 3 tablespoons of dairy-free milk (instead of 2). This version is a little harder than the almond flour version.
- I have only tested this recipe using Bob’s Red Mill Gluten Free 1 to 1 Baking Flour in the blue bag with xanthan gum, not the red package. Results may vary if you use a different gluten-free flour blend. Please know that your results may not be the same as mine if you substitute with another gluten-free flour blend. The weights listed above are for this specific brand of flour.
- Store leftovers in an airtight container for up to 2 weeks.
- To freeze the dough for baking later: Wrap the dough tightly and place it in an airtight freezer-safe bag or container and freeze for up to 2 months. When you’re ready to bake the crackers, remove the dough from the freezer and thaw it overnight in the refrigerator. When ready, start back at step 5.
- Nutrition info is based on 1 of 40 crackers using the recipe as written, and is only to be used as a rough guide. Calorie count for the gluten-free version with almond flour is roughly 57, and the gluten-free flour only version is roughly 56 per cracker. Click to learn how nutrition info is calculated on this website.


Did You Make This Recipe or Have a Question About It?