This page may contain affiliate links. Click to learn more. As an Amazon Associate I earn from qualifying purchases.
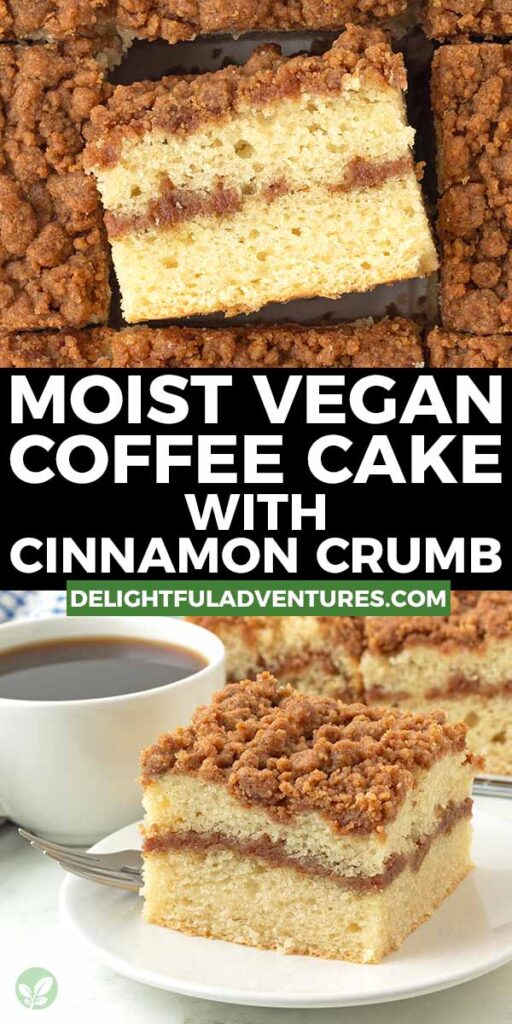
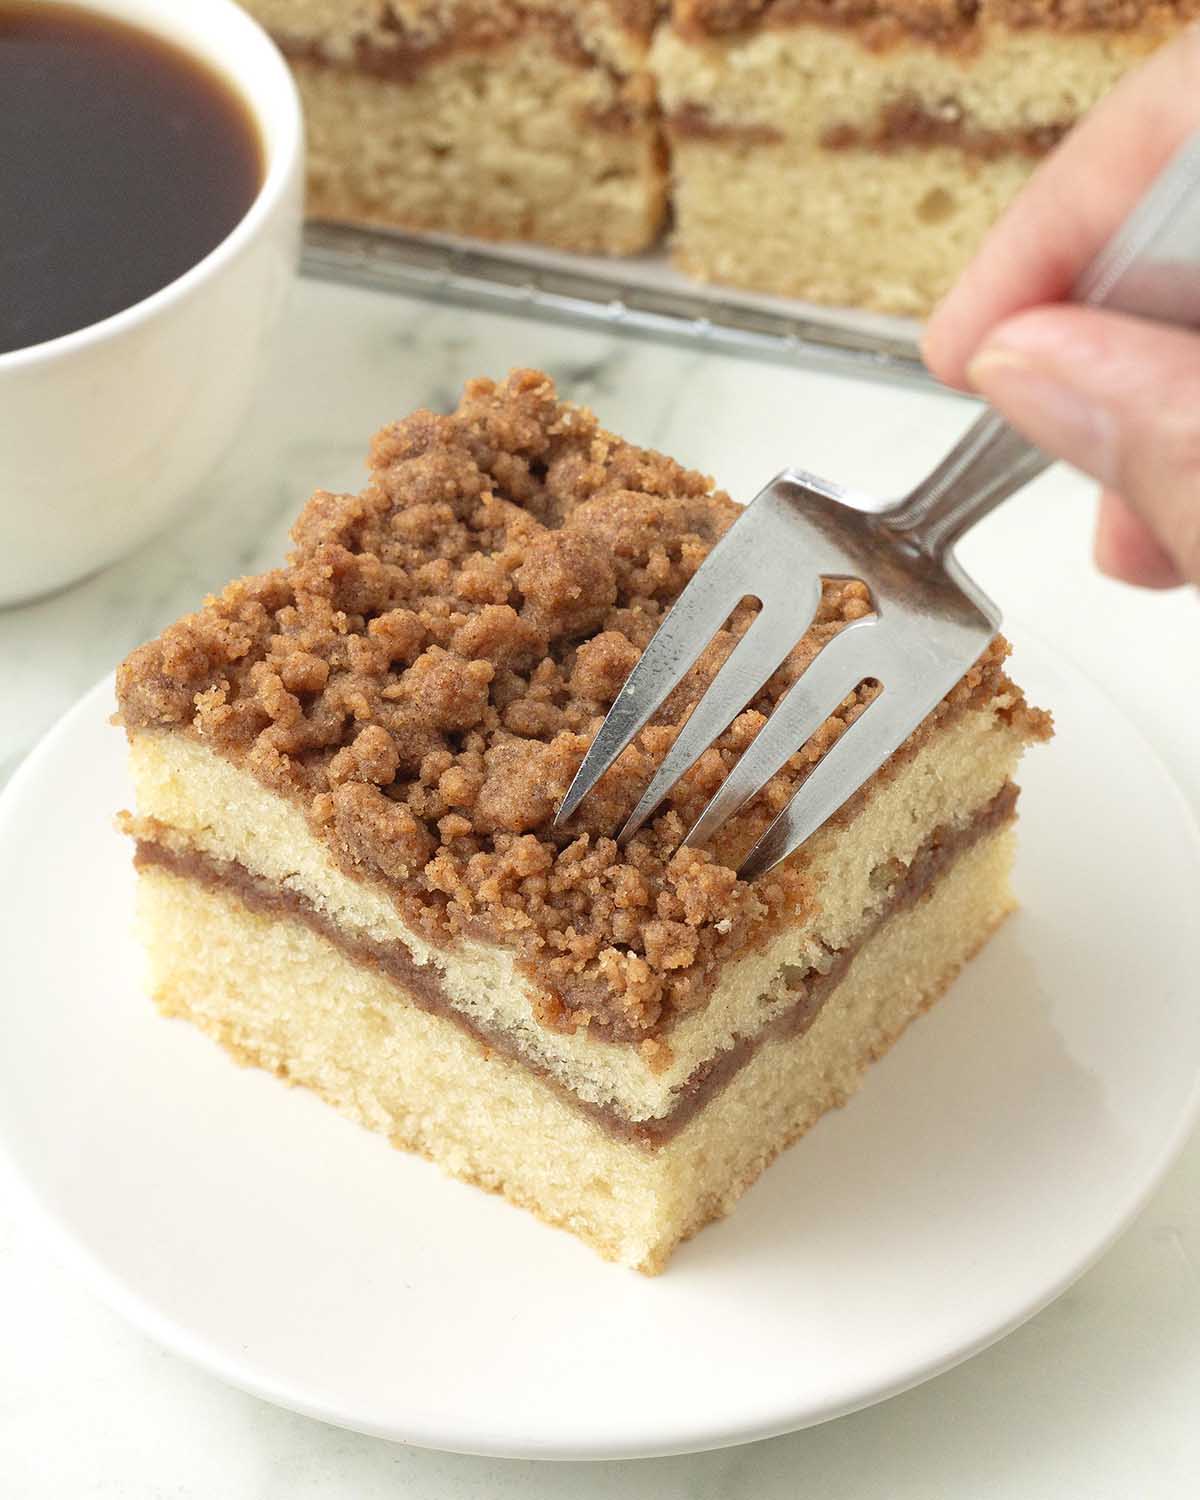
Soft, tender, and completely irresistible, this moist vegan coffee cake bakes up with generous layers of cinnamon crumb in the middle and on top. It’s perfect as an afternoon treat (with a cup of coffee, of course!) and easy to make gluten-free, so everyone can enjoy a slice.
Make this delightful dairy-free, egg-free dessert any time a craving for a luscious vegan cake comes calling!

Save This Recipe!
In a hurry? Drop your email below, and this recipe will be sent straight to your inbox for later. You'll also get fresh recipes every week! You can unsubscribe anytime.
For me, the perfect time for coffee cake is when it's served as an after-dinner dessert or an afternoon treat with coffee or tea. It’s also perfect to make if guests are coming over or if you’re hosting (or attending!) brunch.
Some people even enjoy it for breakfast with their morning cup of coffee. If that’s you, enjoy this vegan coffee cake whenever you like. If a morning slice makes you happy, go for it, because, to me, there's never a wrong time for vegan cake!
This one is soft, moist, and light, with a fluffy texture that will melt in your mouth. The lightly-spiced, buttery cinnamon crumb makes every bite turn into a little moment of happiness...which will make you want to come back for more!
Once you make it, I think it will quickly become a favourite to bake for guests or to enjoy whenever you feel like treating yourself.
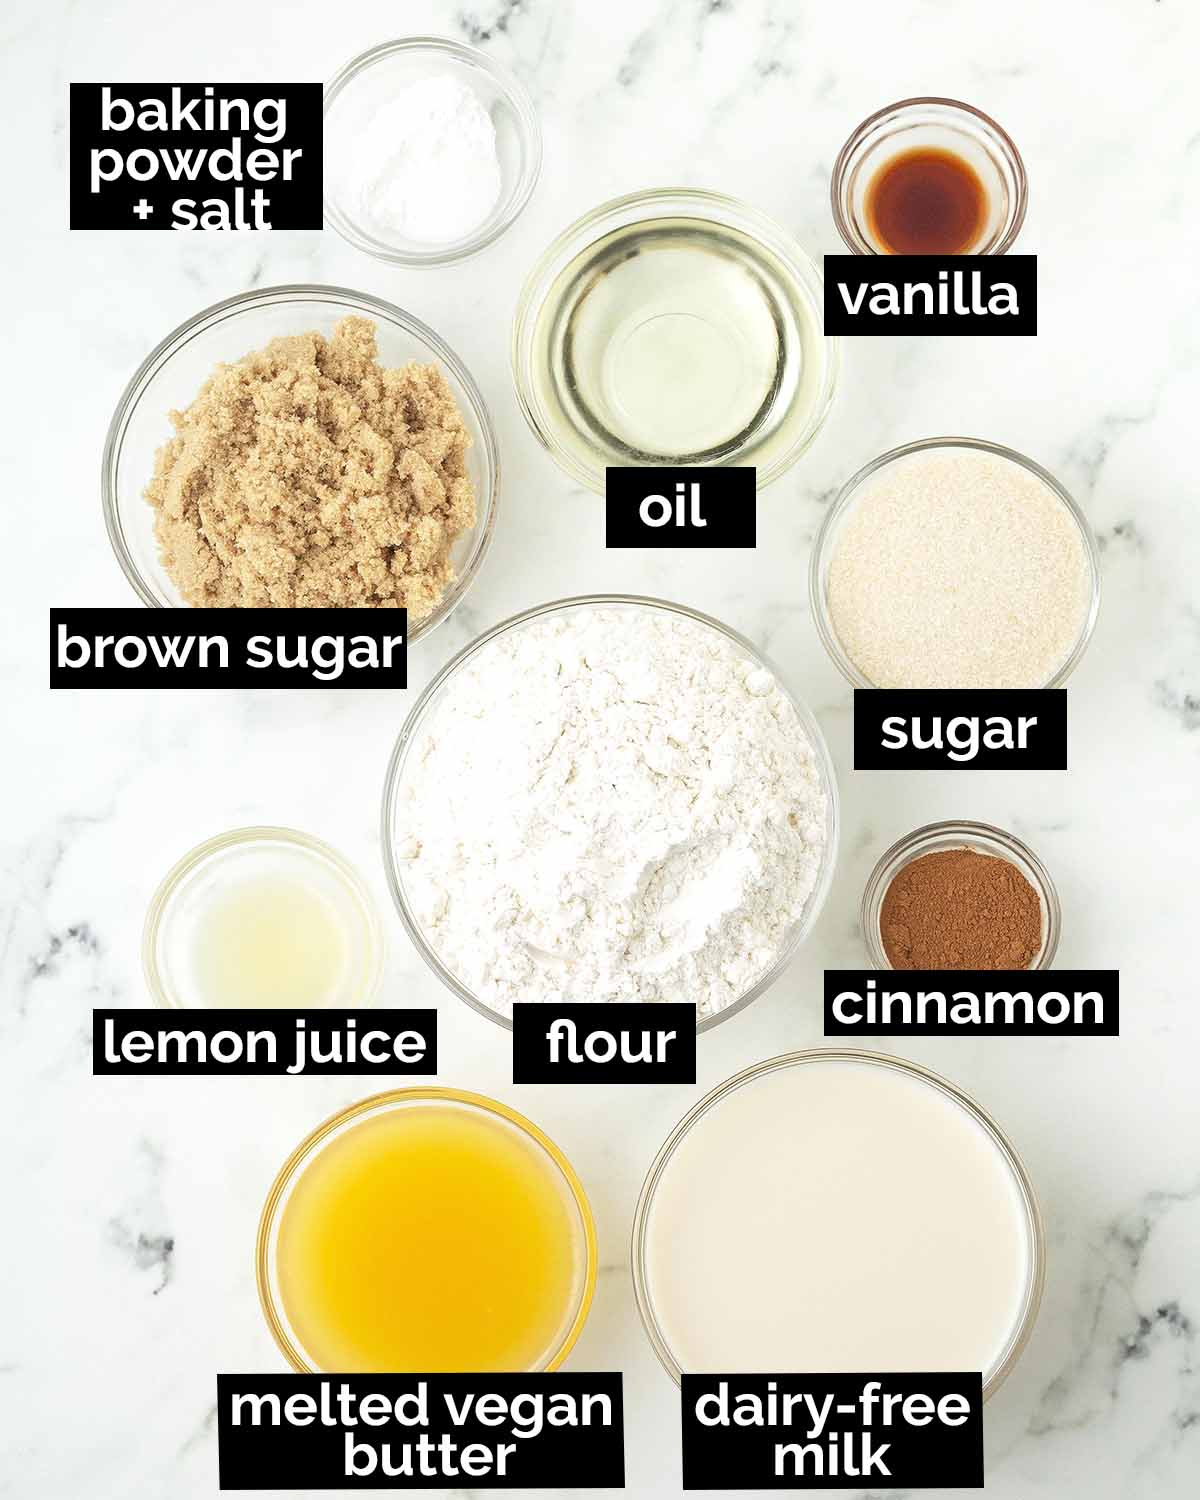
The Ingredient Lineup
You'll notice that coffee is not an ingredient in this cake, it's called "coffee" cake because it's meant to be enjoyed with coffee (or tea...or whatever drink you prefer!).
Ingredient Tips and Alternatives
(NOTE: Only ingredients with special notes are listed below. The full ingredient list can be found in the recipe card.)
Flour - This recipe was developed with all-purpose white flour. I haven’t tested it with other flours, other than the gluten-free blend mentioned below.
For vegan gluten-free coffee cake: I tested with Bob's Red Mill Gluten-Free 1-to-1 Baking Flour in the BLUE bag (NOT their gf flour in the red bag!). The cake will turn out denser than the one made with wheat flour, but it's still just as delicious. Find all the details in the recipe notes.
Dairy-Free Milk + Lemon Juice - The secret to this cake’s tender, soft texture is vegan buttermilk. These are the two ingredients you need to make it.
Soy milk always makes the best vegan buttermilk, however, if you don't have soy milk, any dairy-free milk will work. Make sure it's unflavoured and unsweetened.
Lemon juice can be replaced with apple cider vinegar or white vinegar.
How It Comes Together (A Quick Walkthrough)
(Note: I’ve outlined the step-by-step here, but find the full recipe, ingredients, and directions in the recipe card at the end of this post.)
Make the Cinnamon Crumb First
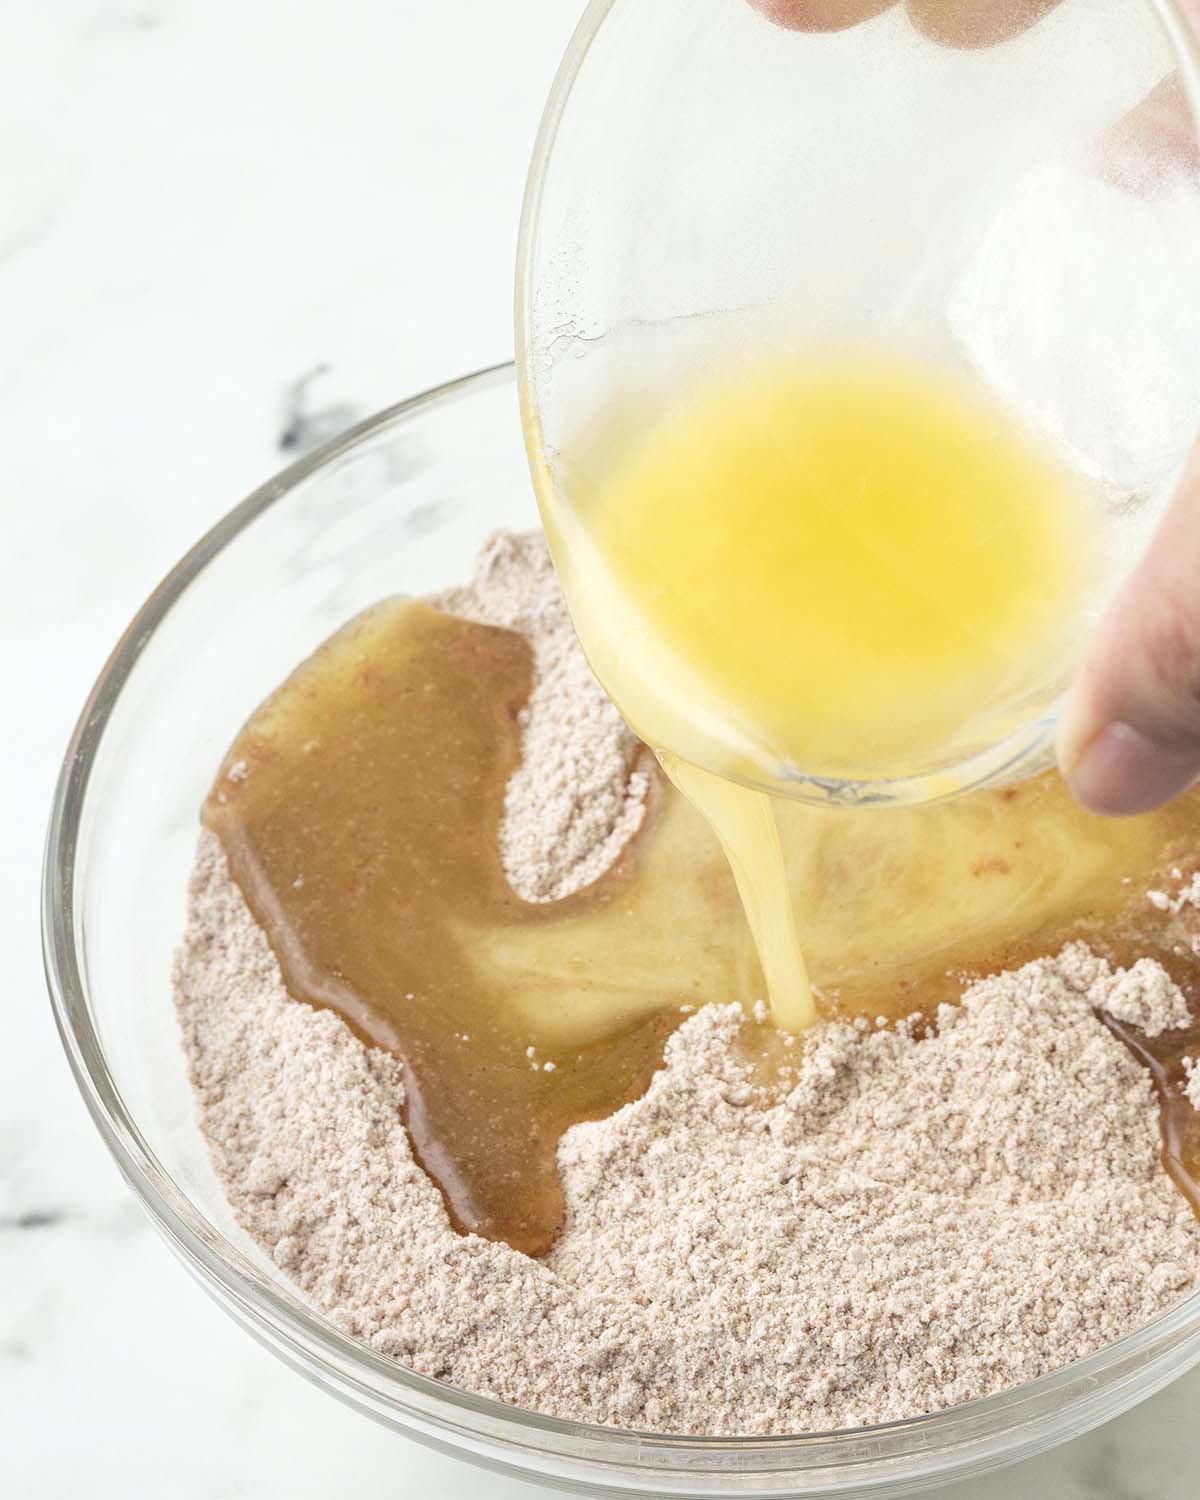
Mix the dry ingredients for the crumb together, then pour in the cooled, melted butter.

Using a fork, mix and drag it through the mixture until a crumb with a mix of larger and smaller pieces forms.
Get the Batter Ready

The batter comes together quickly, no mixer needed.
Combine the dry ingredients in one bowl, the wet ingredients in another, and mix them, taking care not to overmix (overmixing will result in a dense, heavy cake).
You'll notice that the batter is quite thick, that's okay, that's how it's supposed to be.
Layer It Up
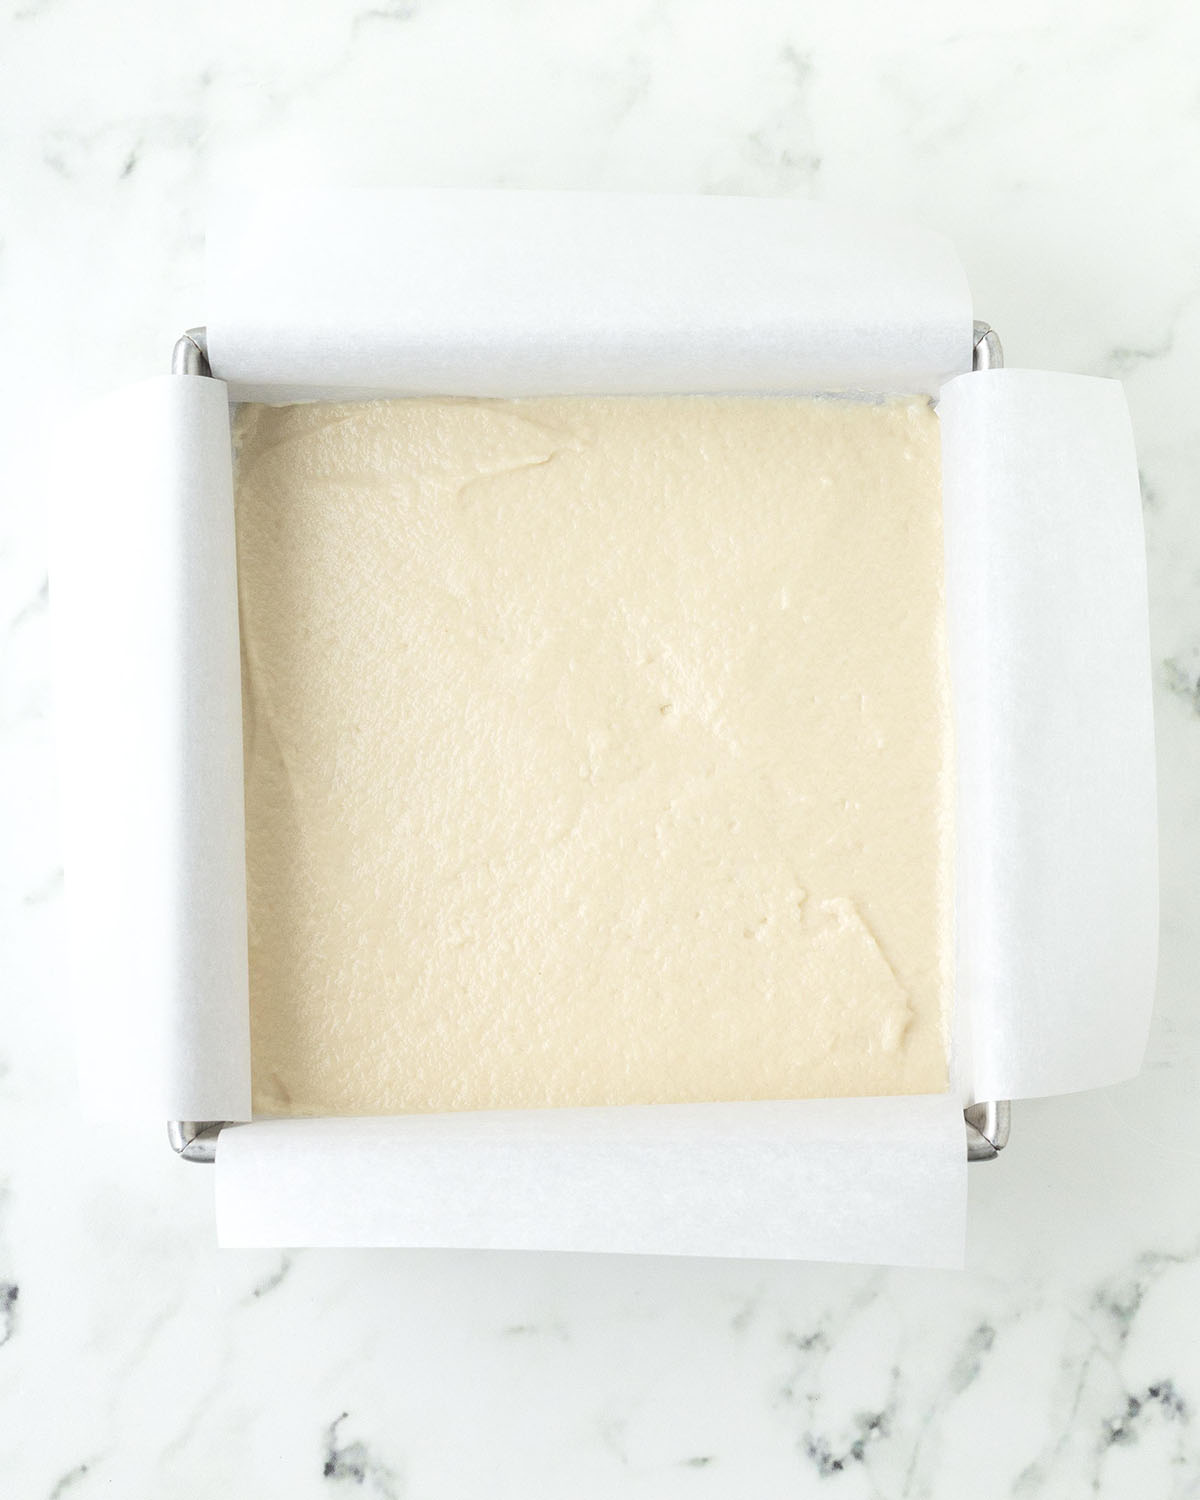
Add half the batter to the pan and smooth it into an even layer.
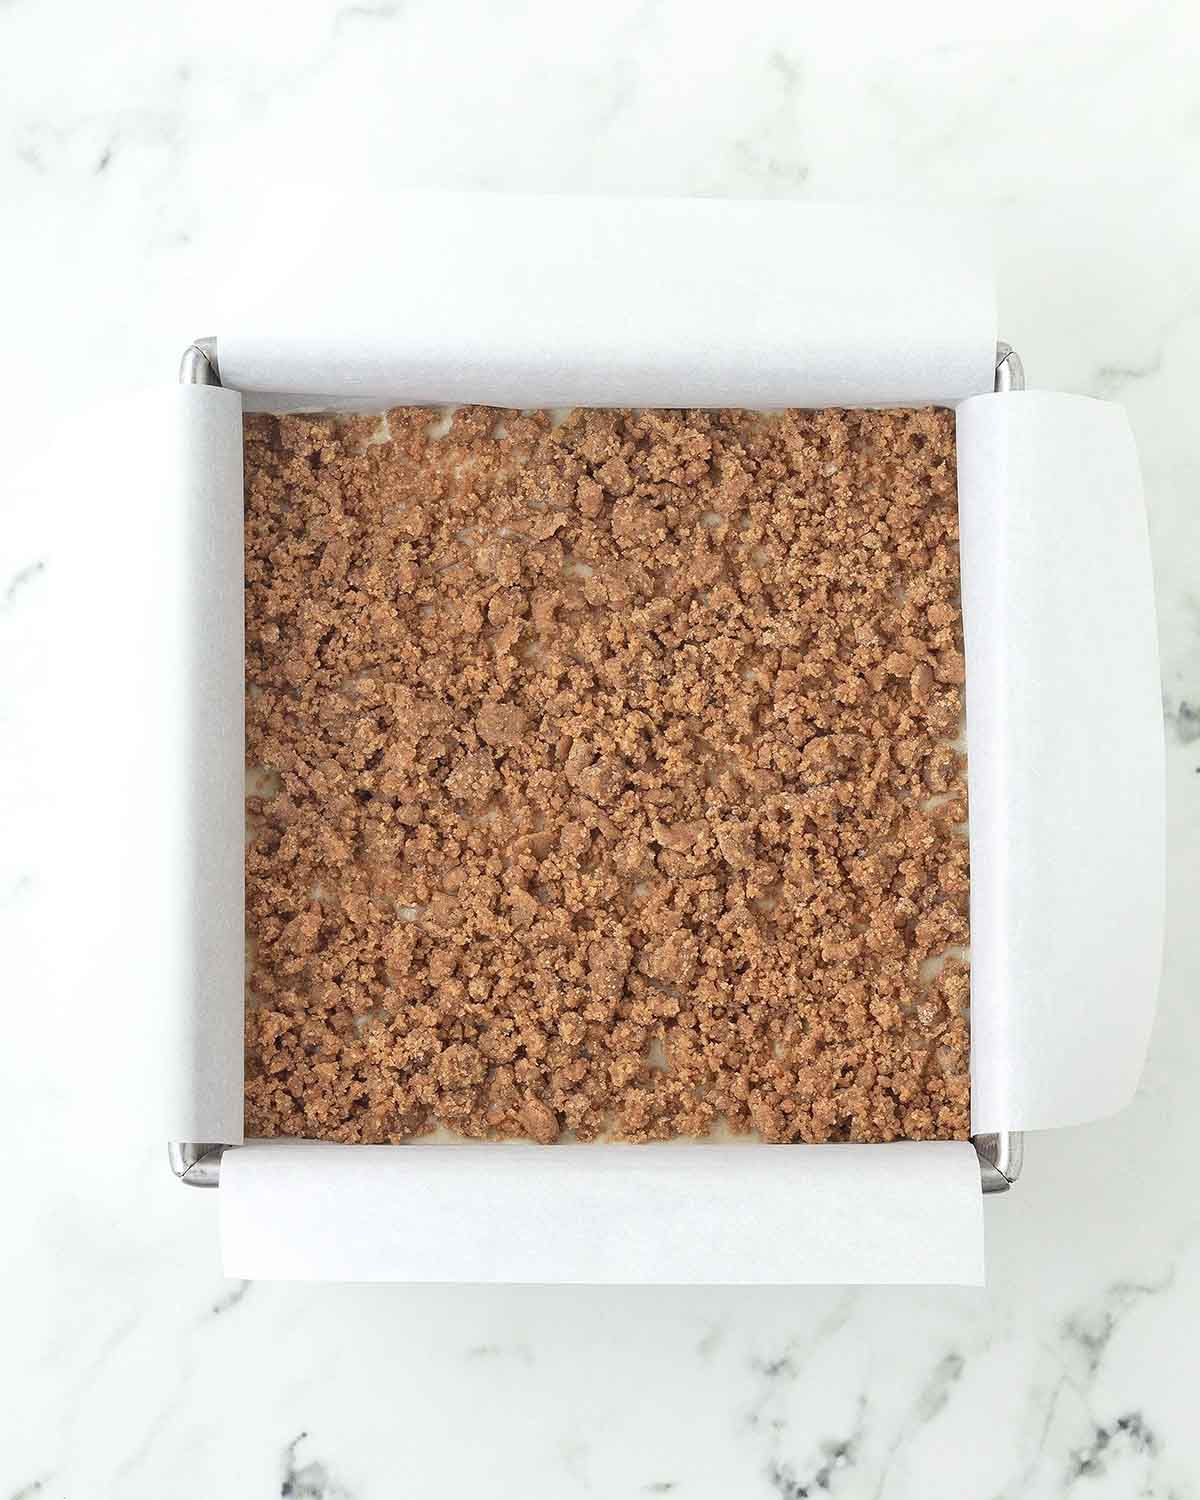
Sprinkle half the cinnamon crumb over the batter in an even layer.
Recipe Tip
When dividing the batter and the cinnamon crumb, you can eyeball it or use a kitchen scale for perfectly even portions.
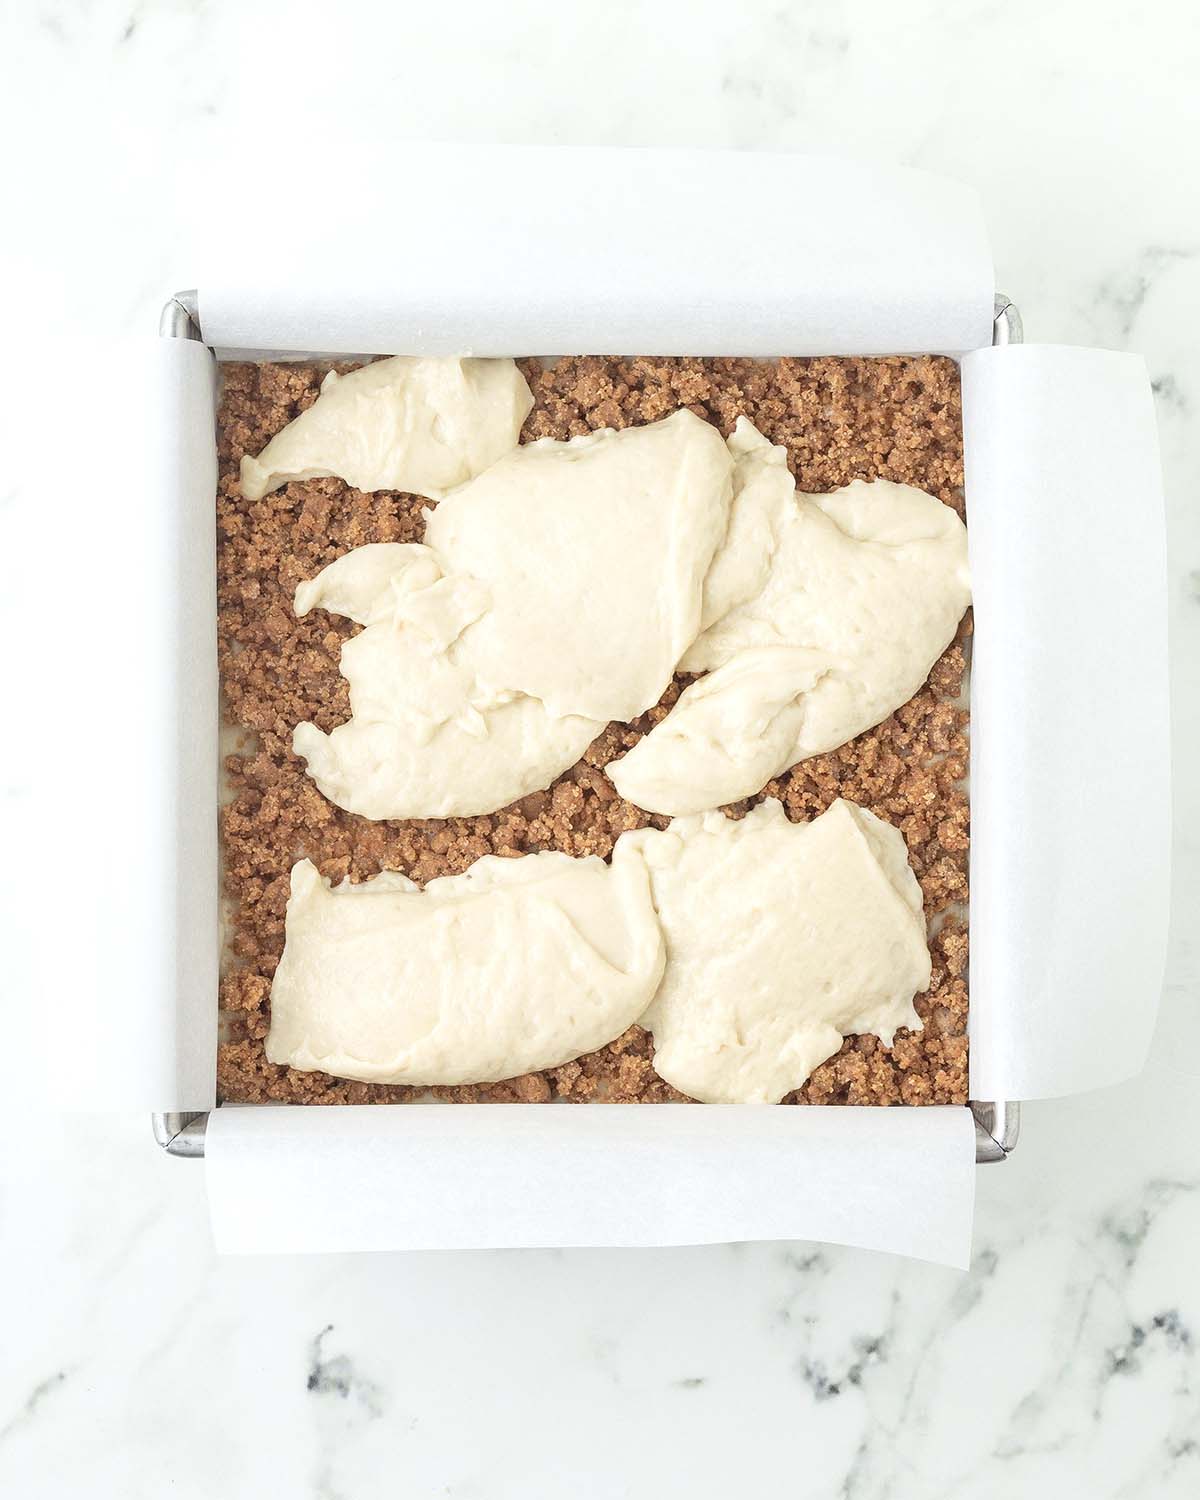
Dollop the remaining batter over the crumb layer.
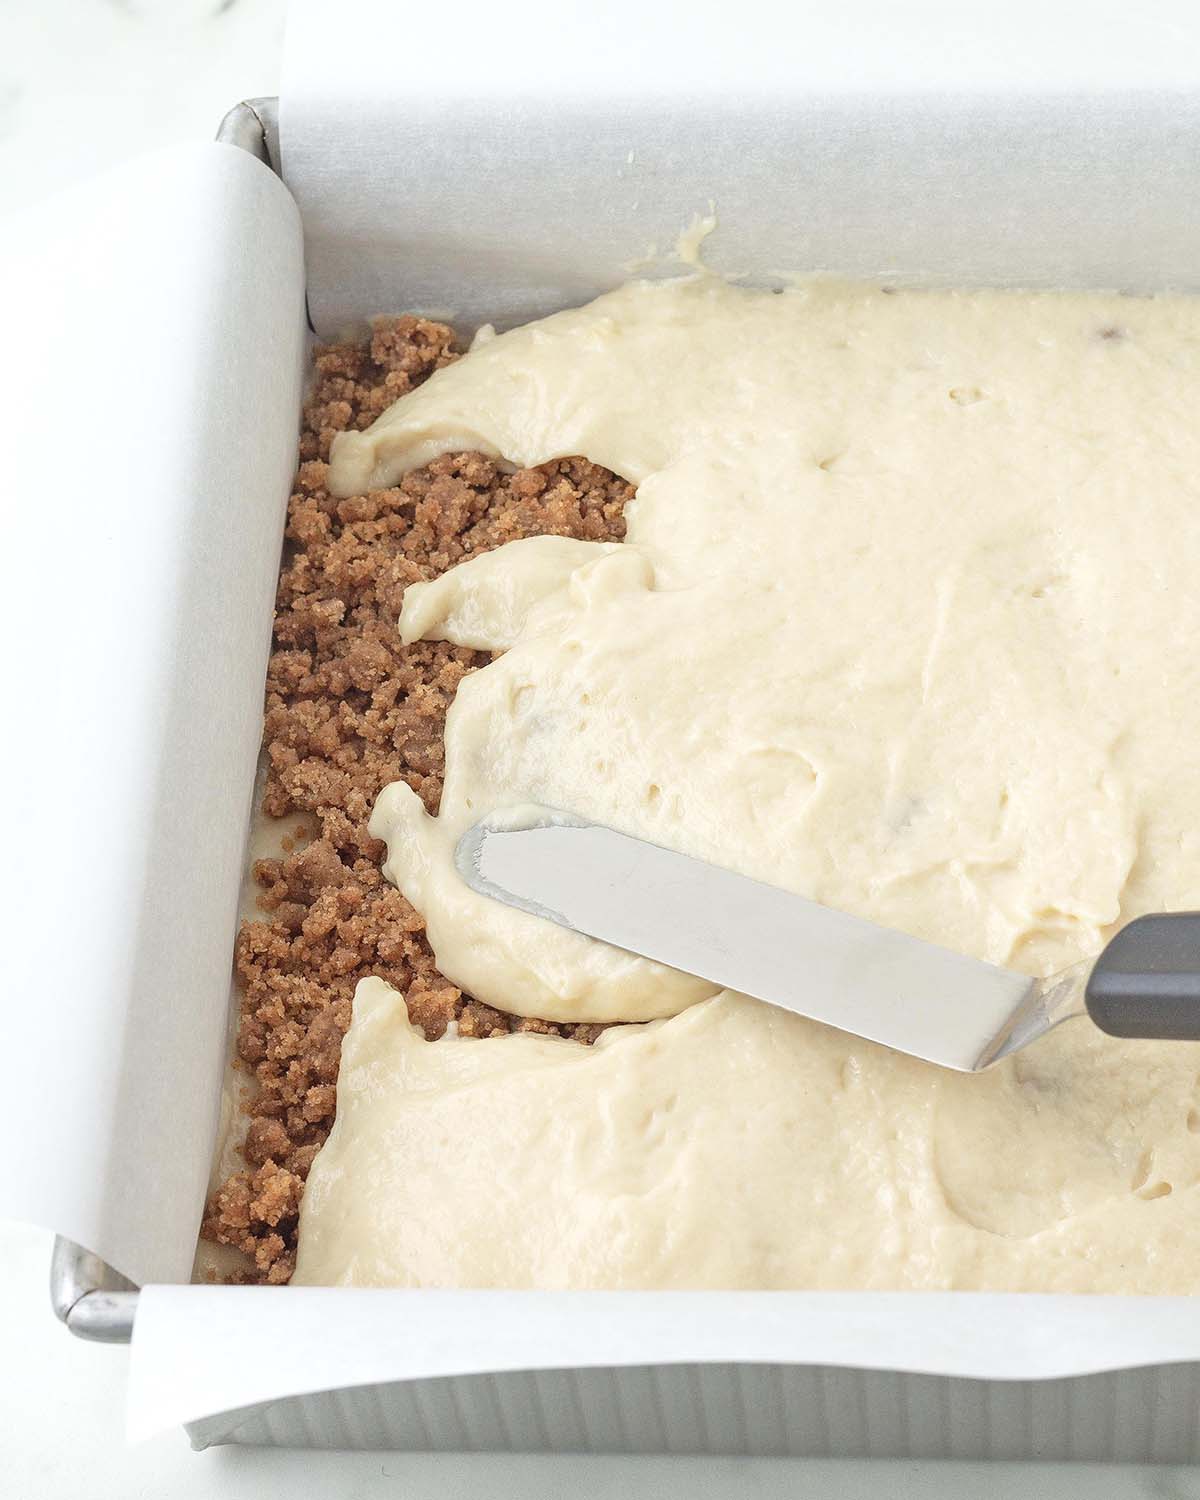
Gently smooth it with a small offset spatula. Since the batter is so thick, go slowly.
Smooth until the batter is even. Some crumb may peek through, which is fine.
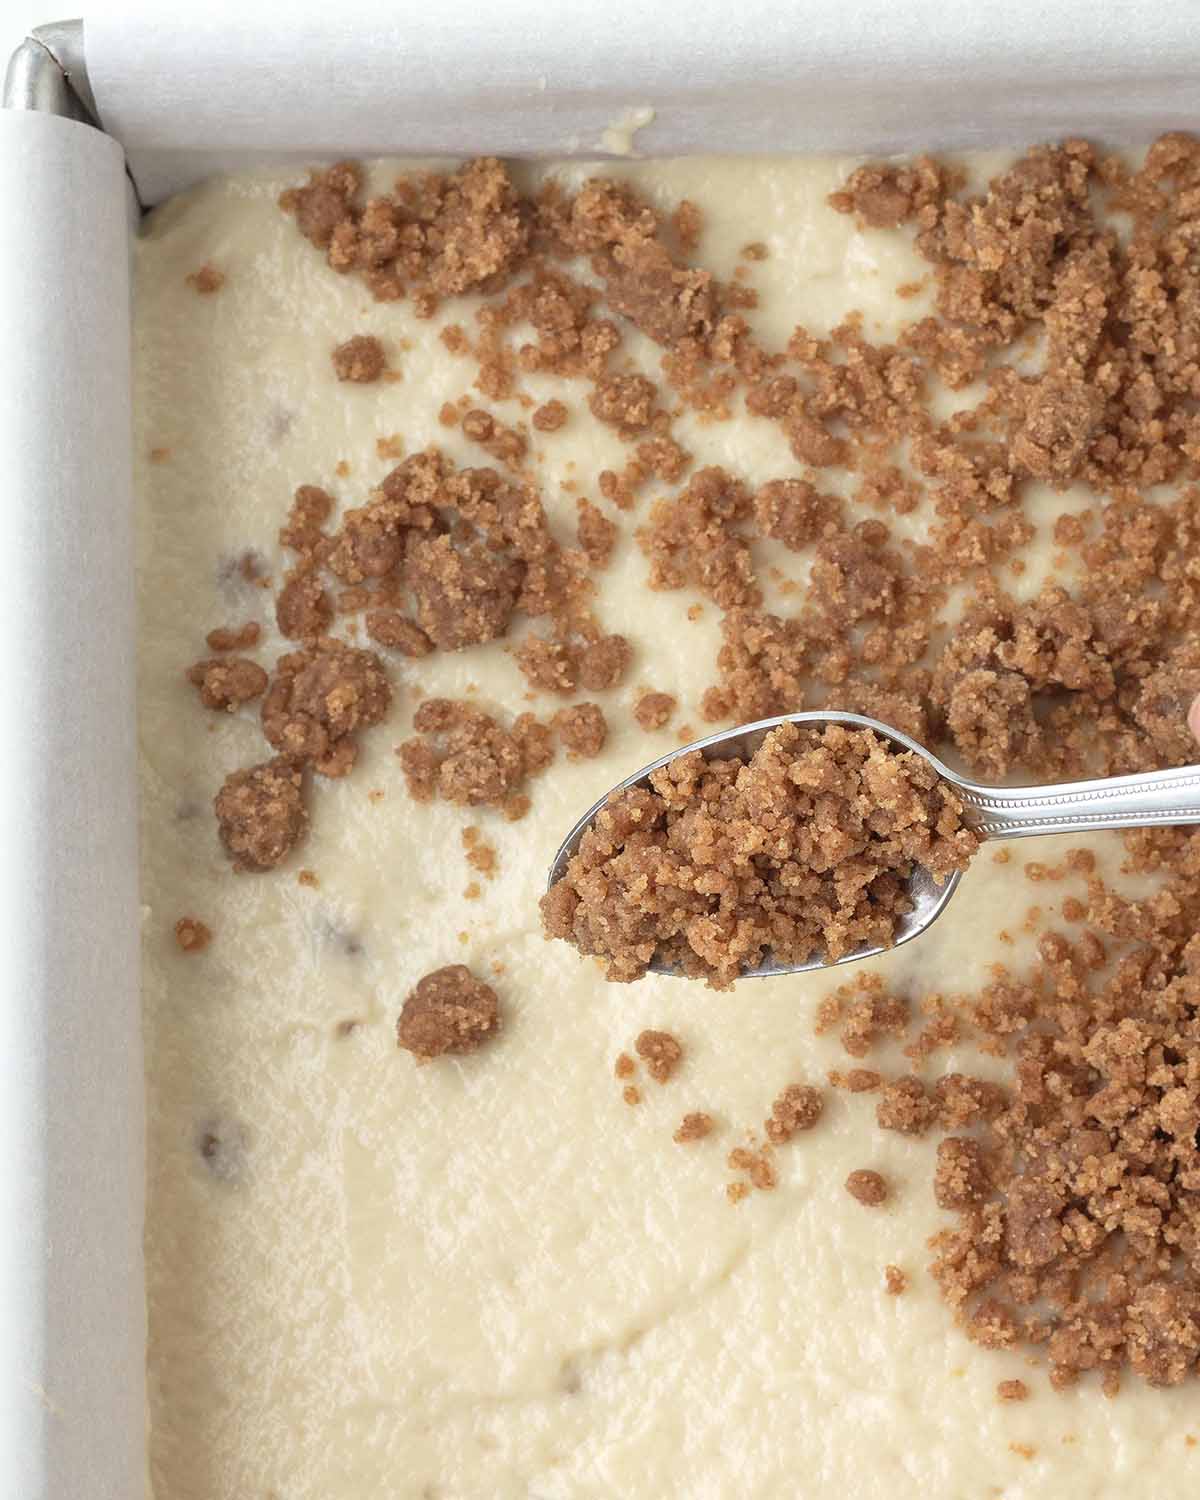
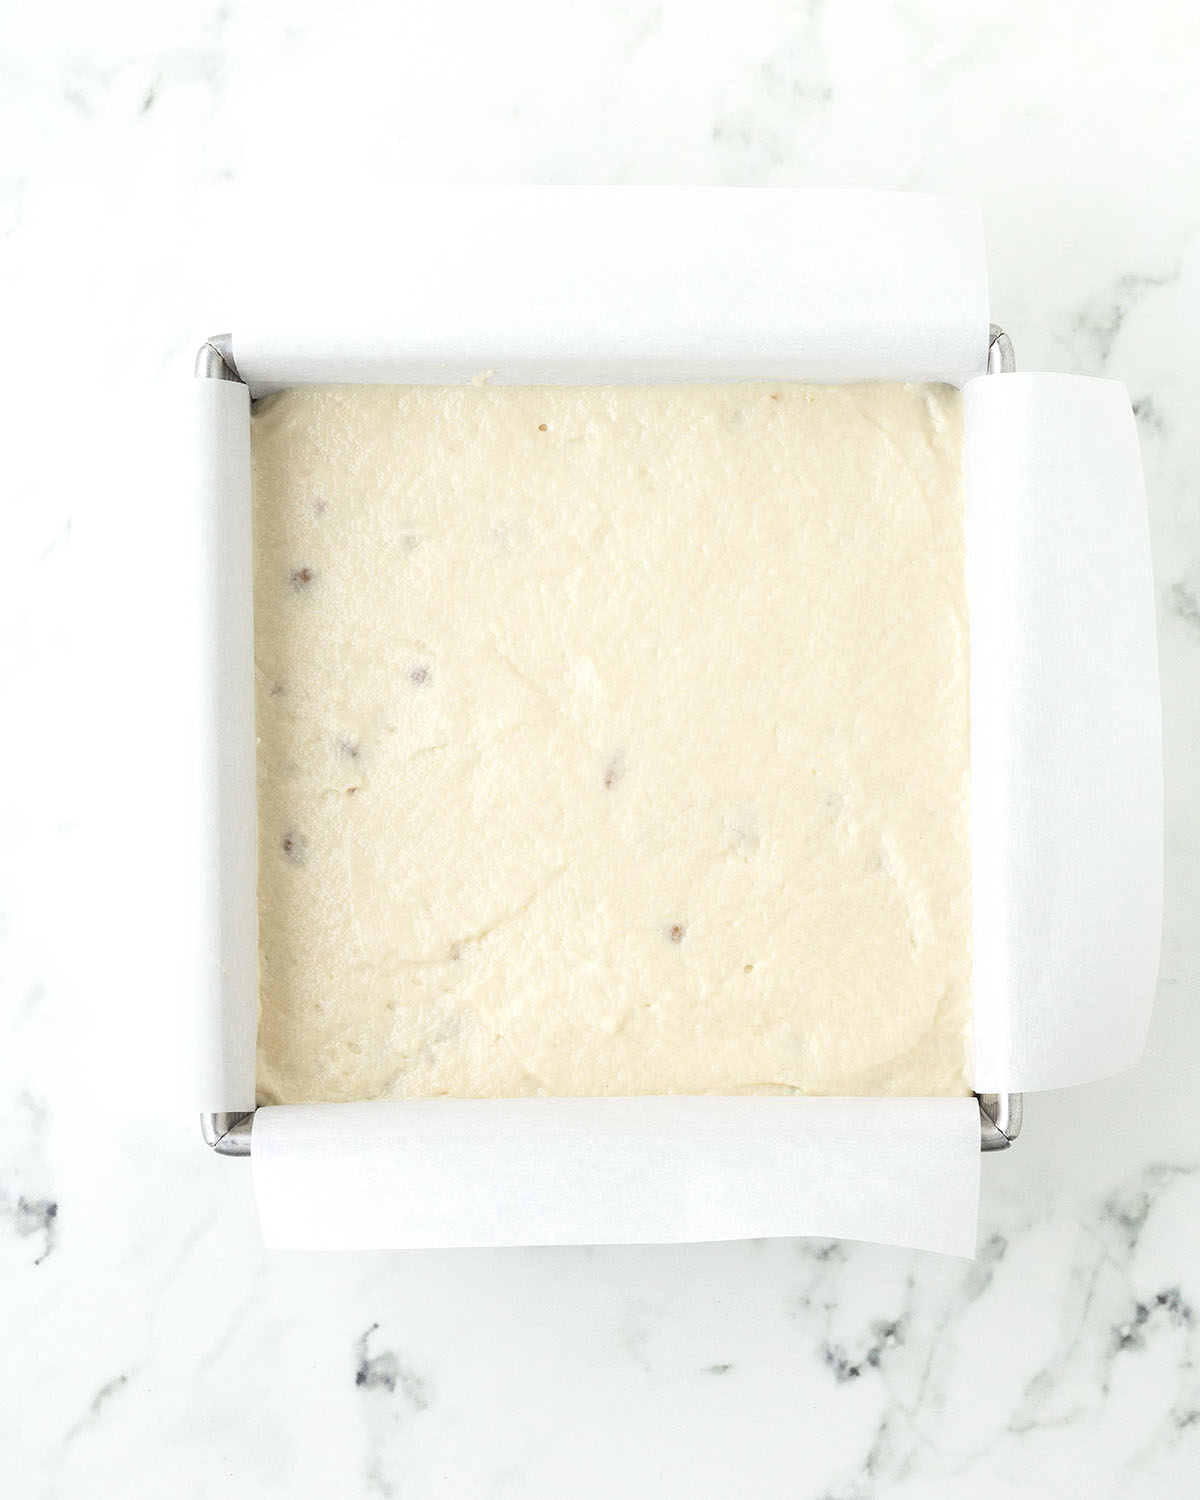
Sprinkle the remaining cinnamon crumb over the top.
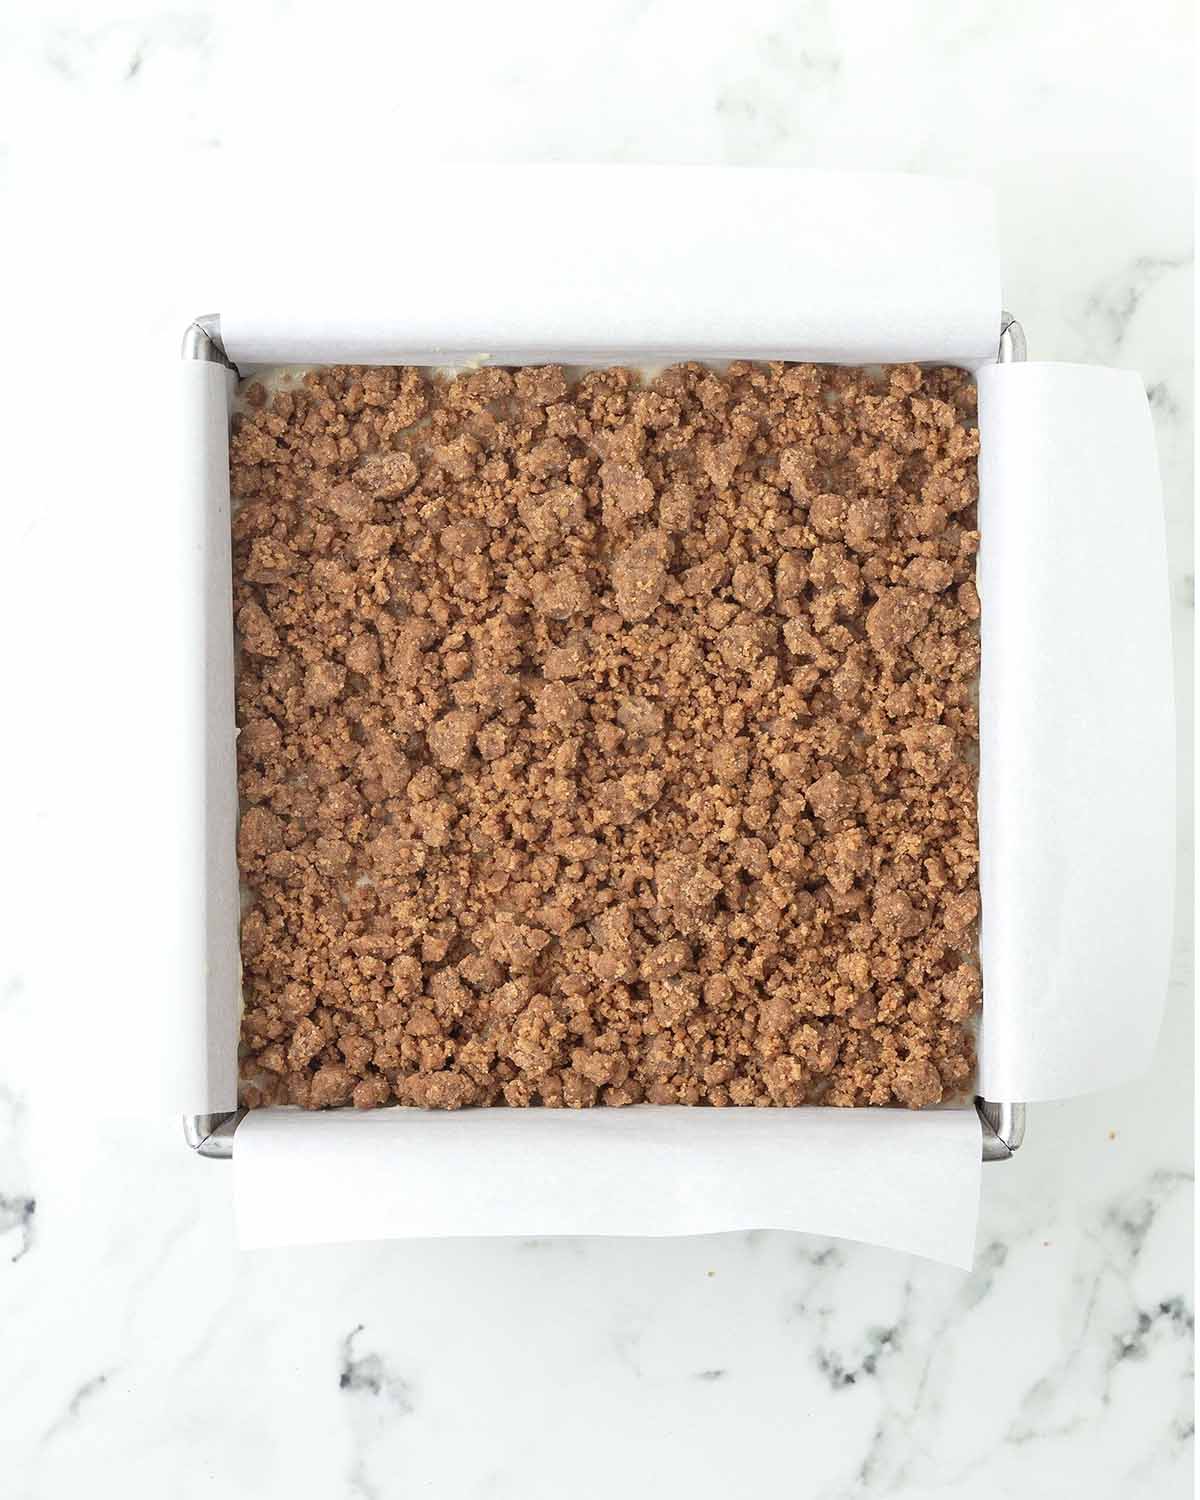
Make sure to distribute the top layer of crumb evenly so the cake can rise properly.
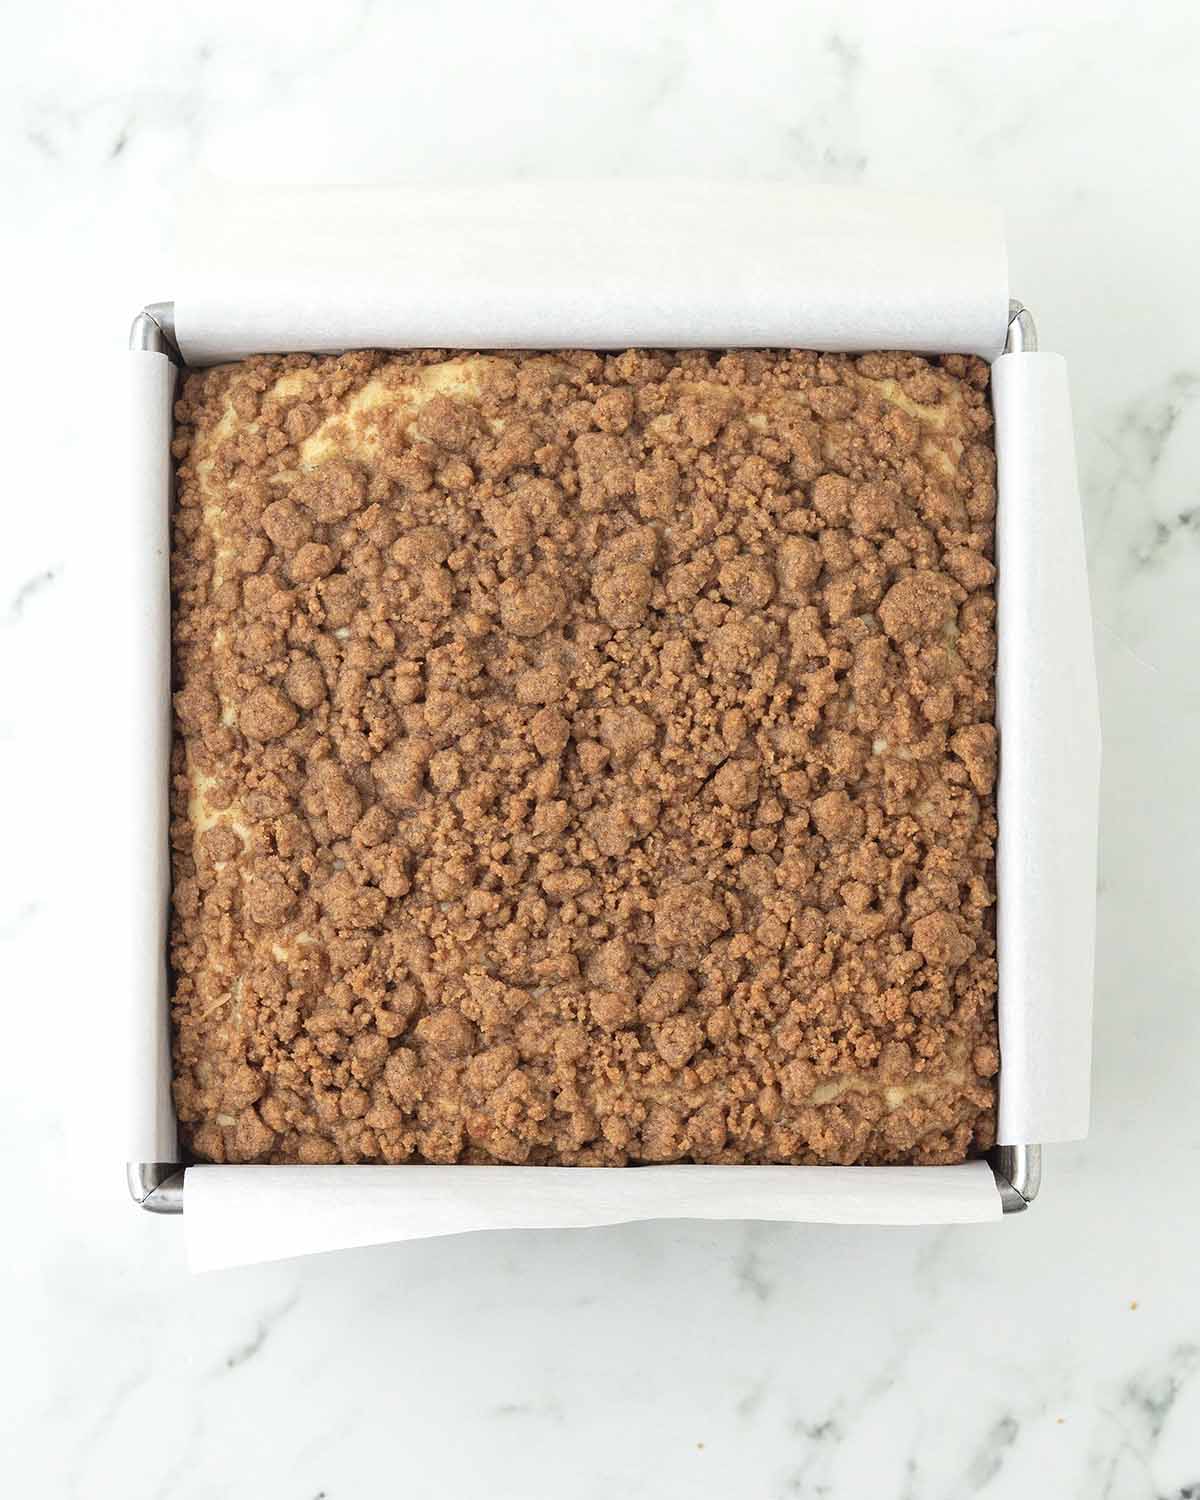
Bake! And be careful not to overbake.
Recipe Tip
I mentioned above not to overbake this cake. Please learn from my mistakes! During testing, I kept baking it longer than needed because of its thickness and the crumb layers. The results were tougher, drier cakes instead of the fluffy, moist cake I wanted. After several rounds, I figured out the perfect timing. Check it at the 30-minute mark, and if it’s not ready yet, bake for 5 more minutes before testing again.
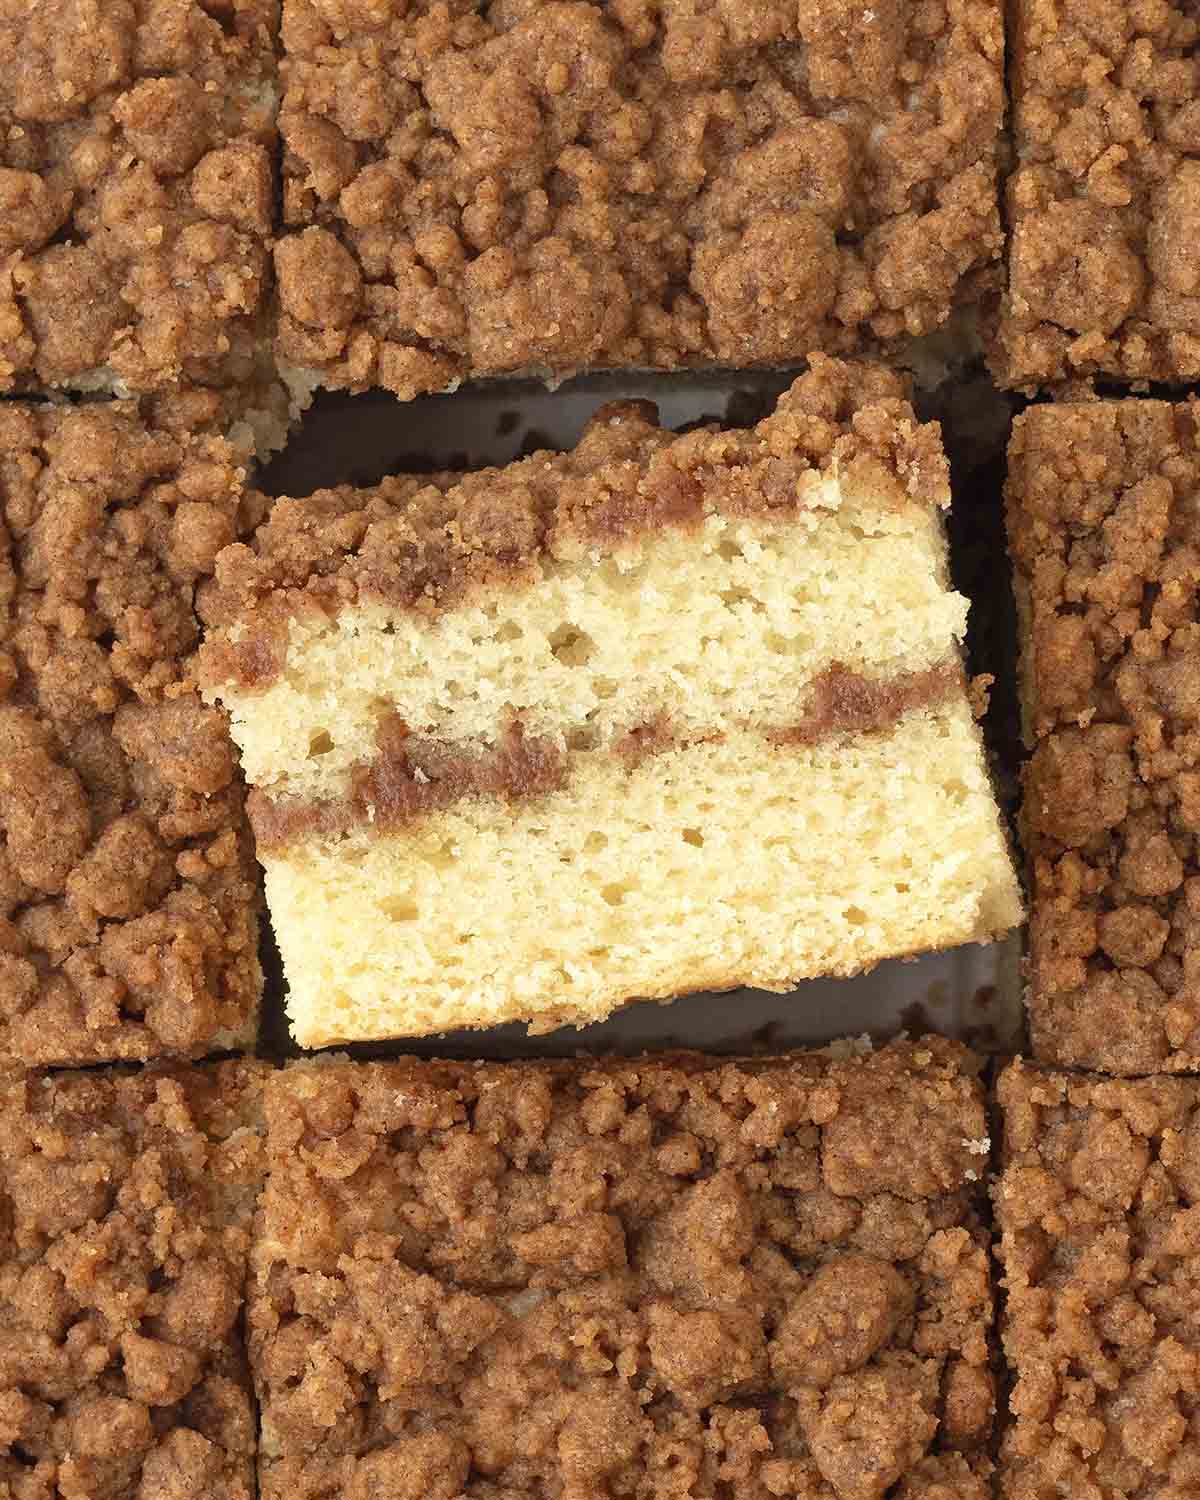
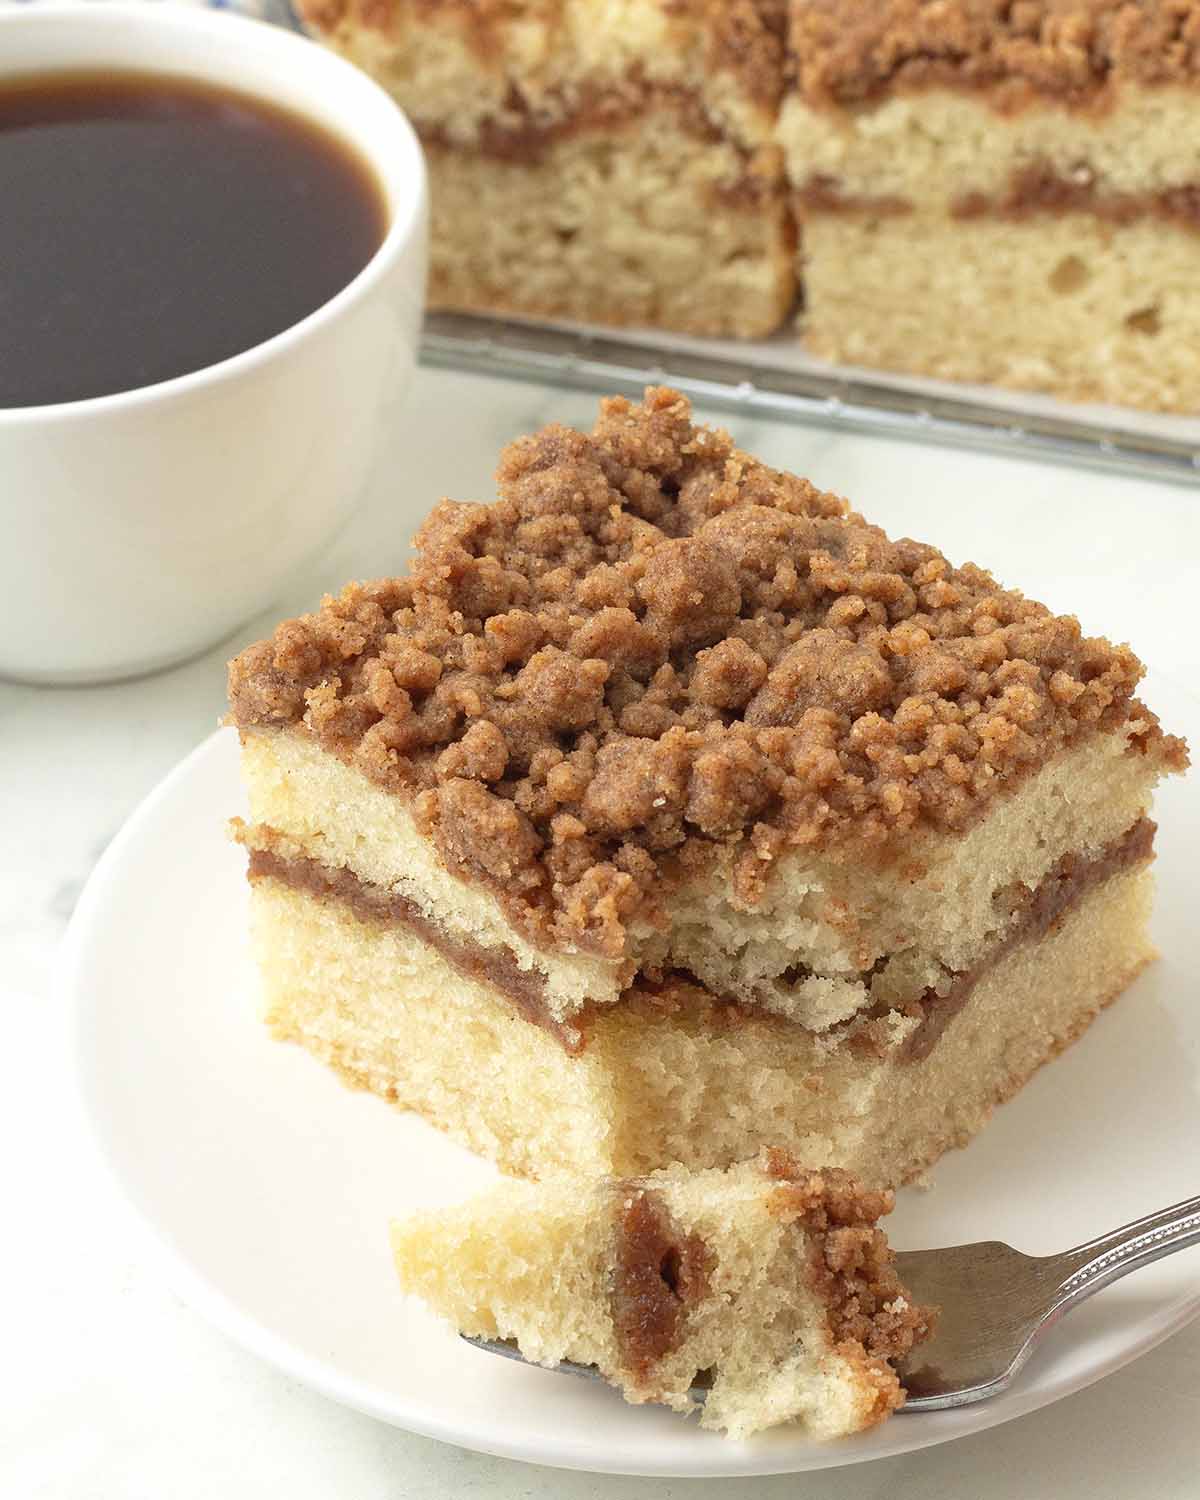
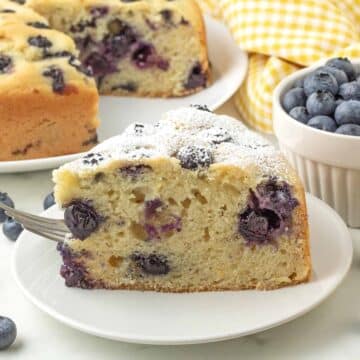
After the cake has fully cooled, you can go ahead and slice it. (Just look at that tender cake crumb in the image above! Perfect!)
I usually slice it into 12 squares, but you can make the squares bigger and slice into 9, or you can slice into 16 pieces if you want mini squares.
If you want something other than plain coffee or tea to pair up with your coffee cake, how about a cozy, creamy almond milk latte or a simple oat milk hot chocolate?
Secrets to the Ultimate Vegan Coffee Cake
- Measure and have all your ingredients ready to go before starting. This will make the process run smoothly, quickly, and easily.
- Measure your ingredients correctly. Please read my article about how to measure flour correctly. I highly recommend using a scale and my weight measurements to make this recipe. (See the "Suggested Equipment" section in the recipe card for the scale I use and recommend.)
- Give yourself time for the milk to warm up and the butter to cool down. The milk should be at room temperature, and the melted butter should have time to cool before being added. Set aside enough time in the process to do these properly.
- Make sure your baking powder is fresh. If it isn't, the texture of your cake will not be correct.
- Read this post from top to bottom before you start. I’ve shared my tips gathered during testing throughout, so you get everything right. Also, read through the full recipe before getting started.
- Follow the recipe exactly as it’s written for the very best results.
Did You Make It? Tell Me Everything!
I’d love to hear how this vegan coffee cake recipe turned out for you! Share your thoughts with a comment and rating below, and/or post a photo of your cake on Instagram and tag me so I can see it. (I'm @delightfuladventures on Instagram).
Moist Vegan Coffee Cake with Cinnamon Crumb
Suggested Equipment:
Ingredients:
For Cinnamon Crumb:
- ½ cup (113g) unsalted vegan butter (melted and cooled)
- 1 ¼ cups (156g) all-purpose flour **see below for the gluten-free option info**
- ¾ cup (150g) light brown sugar
- 2 ½ teaspoons ground cinnamon
- ¼ teaspoon salt
For Cake Batter:
- 1 cup (250ml) unsweetened dairy-free milk (room temperature)
- 1 tablespoon lemon juice
- 2 ¼ cups (281g) all-purpose flour **see below for the gluten-free option info**
- 1 tablespoon baking powder
- ½ teaspoon salt
- ½ cup (100g) granulated sugar
- ½ cup (125ml) oil
- 1 teaspoon vanilla extract
Instructions:
- Preheat oven to 350°F (177°C).
- Line an 8" x 8" square baking pan with parchment paper and make an overhang on all sides so removing the cake will be easy. Set aside.
Make Vegan Buttermilk:
- Pour the dairy-free milk into a measuring cup or bowl.
- Add the lemon juice to the milk and stir. Set aside for 10 minutes.
Make Cinnamon Crumb:
- Add the flour, brown sugar, cinnamon, and salt to a medium bowl. Whisk well to combine.
- Pour the cooled vegan butter into the dry mixture and, with a fork, mix until it starts to combine.
- Mix and drag the fork through the mixture until it forms a crumb with a mix of larger and smaller pieces. Make sure all of the flour mixture is fully worked in with no dry bits remaining.
- Place the bowl in the refrigerator while you prepare the cake batter.
Make Cake Batter:
- In a medium bowl, add the flour, baking powder, and salt. Whisk well to combine and set aside.
- In a large bowl, whisk together the sugar, oil, vanilla, and vegan buttermilk.
- Gradually add the dry mixture to the wet mixture and stir until a thick batter has formed. Don't over-mix.
Layer the Batter and Cinnamon Crumb:
- Add half of the batter to the prepared baking pan and carefully smooth it into an even layer with a small offset spatula.
- Sprinkle half of the cinnamon crumb on the top of the batter, spreading it evenly. Don't press it in.
- Dollop the remaining batter over the crumb layer. Carefully spread it with a small offset spatula, taking care to keep the layer even without disturbing the crumb topping. The batter is thick, so this part can be a little tricky. Take your time, it doesn't have to be perfect.
- Sprinkle the remaining cinnamon crumb over the top. Avoid adding too much in the center, or the cake may have trouble rising. Spread it evenly across the surface and don't press it in.
Bake:
- Bake for 30-35 minutes, until a toothpick inserted into the center comes out clean. Take care not to over bake.
- Remove the cake from the oven and place the pan on a cooling rack.
Cool:
- Let the pan sit for 15 minutes, then, using the parchment overhang, carefully remove the cake from the pan and place it on a cooling rack. Allow the cake to fully cool before slicing.
Recipe Notes:
- Please read all of the information above, as well as the notes below, before making this recipe.
- If you are making the vegan gluten-free version, I use Bob’s Red Mill Gluten Free 1 to 1 Baking Flour (Amazon link) in the blue bag, NOT the red bag. Use 2 ¼ cups (333g) for the batter, and 1 ¼ cups (156g) for the cinnamon crumb. Different gluten-free flour blends use different ingredients and ratios, so results may not be the same if you use a different blend. This recipe will not work with coconut flour or any other single gluten-free flour.
- Storing Leftovers: Store leftovers in an airtight container at room temperature for up to 3 days, then refrigerate for another 2-3 more days.
- Freezing: Once fully cooled, wrap the cake tightly, place it in an airtight container or freezer bag, and freeze up to two months. Thaw at room temperature before serving.
- The nutrition info listed below is based on one of 12 servings made as the recipe is written. The cake made with gluten-free flour has a rough calorie count of 387 per serving. Info is only to be used as a rough guide. Click to learn how nutrition info is calculated on this website.


Abby says
You have the best gf/vegan recipes and have become my go-to for baking recipes for my kiddo with gluten/egg/dairy allergies! The texture on this recipe is amazing. My husband is picky about the allergy-friendly treats I make and he said he wouldn’t have even known this one was gf/vegan. Thank you!!
Would you do a pizza crust recipe?
Gwen Leron says
Hi Abby! Than you so much for your kind comment. I'm so glad you've been enjoying the recipes. I spend a lot of time testing different things to get that texture, so it makes me so happy to know that it's appreciated by you and your family. As for a gluten-free vegan pizza crust recipe, I have actually been trying off and on for several years (yes, years!) and I haven't figured it out quite yet, but once I do, I will share the recipe. Enjoy the coffee cake, and thanks again 🙂